Final Project
Task: final project documentation
Go Coffee Table, upgraded
I finally got around to laser cutting some parts for my table, 3D printed a case for my timer, and coded more for my timer.
Laser Cutting and Assembly
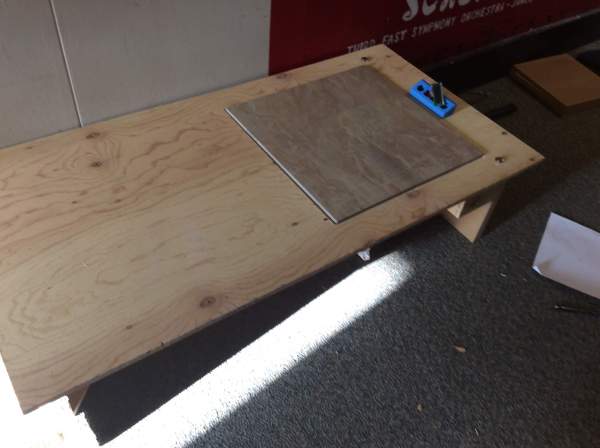
I needed to put together my coffee table from Week 4, but to do so I needed to first laser cut my plywood for the side designs. 1/2" plywood is pretty thick, so I did a bunch of testing to see what would cut through.
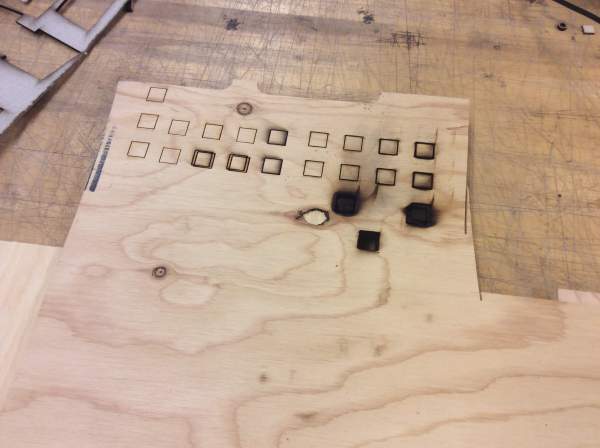
Even 8 passes wouldn't cut through! What finally worked was two cuts on one side then two on the other side. Unfortunately, for some reason the cuts weren't directly on top of each other after the flip, despite it theoretically matching perfectly on the Rhino file. Similarly, it also shifted my image for some reason, again even though the Rhino file had things lined up perfectly. To deal with the first issue, I ended up hammering out each piece individually.
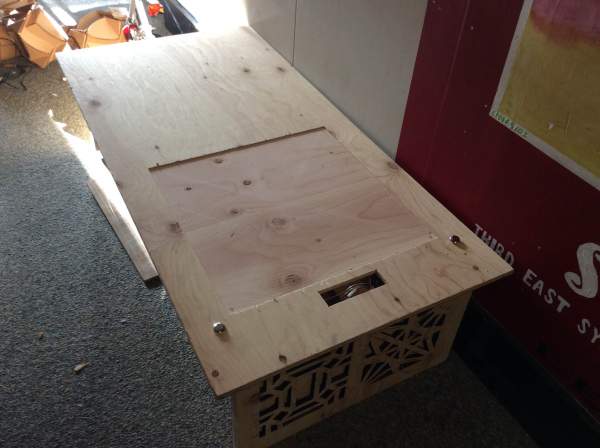
Here's my assembled table!
Etching the Go Board
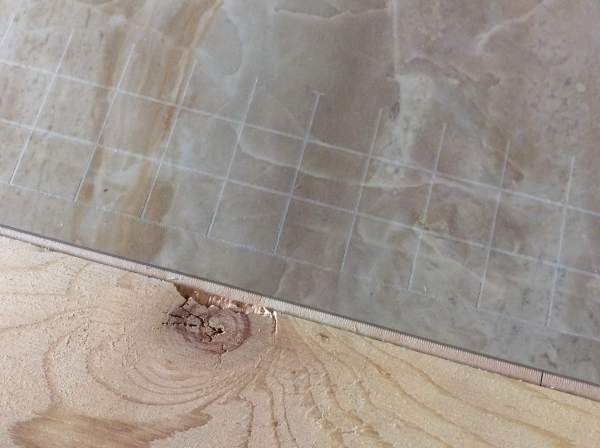
I went to Home Depot and bought this 18"x18" slab of onyx crystal porcelain to use as my board. I started etching via the laser cutter, and it looked like it would take 12 hours. After a little while I checked up on it and noticed that some of the lines were going off the board D:. Apparently things sold as 18"x18" isn't exactly that (I really should've checked...). I plan on going back to Home Depot to get another board and try again. Also, the lines aren't extremely visible, so after a quick google search I found this paint called "Rub n Buff" which should color the etchings and not the rest.
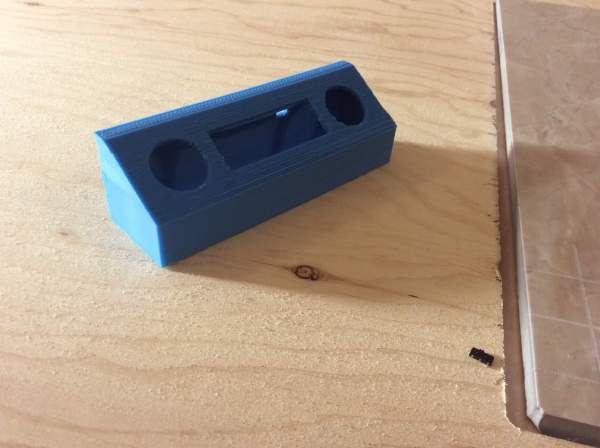
3D Printing Timer Case
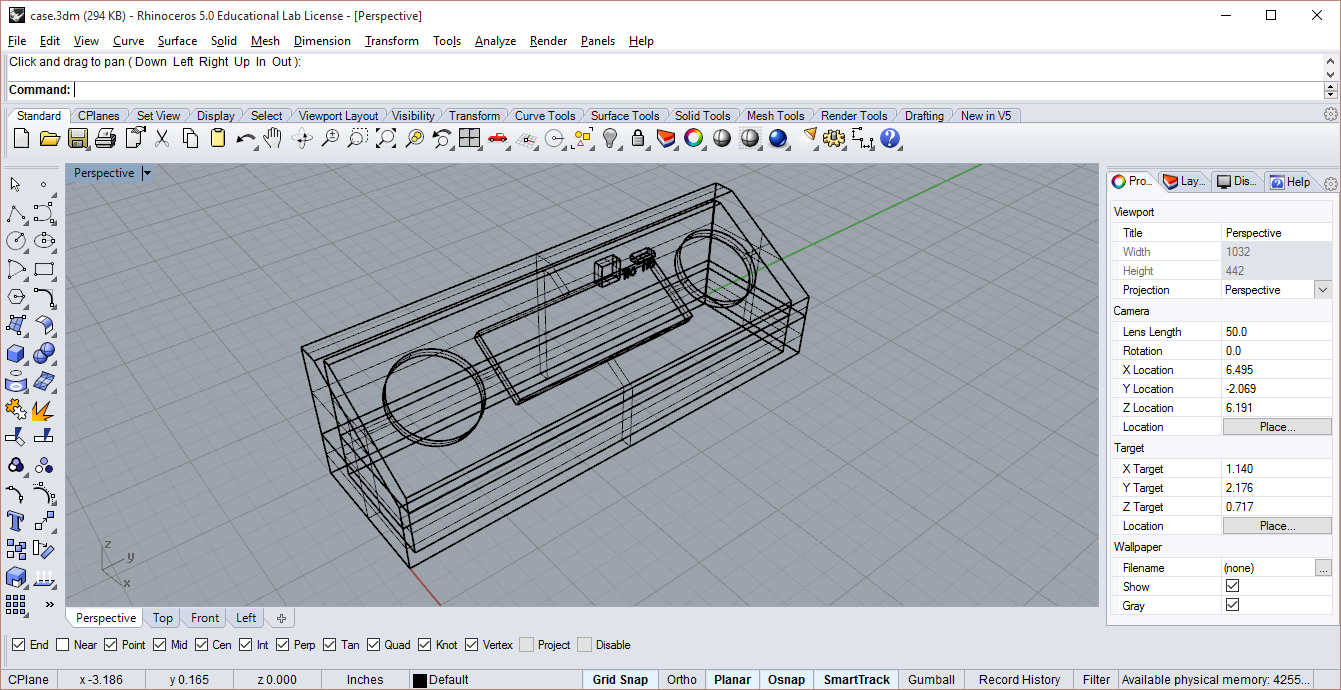
For my timer, I wanted to have a nice protective case which also would make the timer more visible. My Rhino file:
Printed case:
Coding the Timer
The timer needed much more than a countdown. This part actually took an extremely long time in troubleshooting. I took many detours before ending up with the correct solutions. Some of these included: figuring out clocks and interrupts, which kept on failing so I ended up creating a separate button detecting program that also counted the clock at the same time; actually understanding the lcd_putcmd function in order to turn off the cursor, and overflowing the memory and crashing my program, which happened because I hadn't put a really long string into EEPROM so it took up 96 bytes that didn't need to be and thus my instructions and ram were crashing into each other, but I had done so because I didn't understand how to read from EEPROM until an upperclassman on hall (Peter Schmidt-Nielsen) showed me where my error occured and how to fix it. Eventually things started to work out and I now have a working timer! There are still a few timing systems that I have yet to code.
Finished Project!
Where to go from Here
There's still so much to do! I need to finish coding my timer and get the speakers working and put in the on/off button. I also need to go get another tile to laser etch and color in the lines. Finally, I want to treat the wood and fix a drawer that broke a bit. I can't wait to have a completed piece for my room in January!