Week 4: 3D Printing and Scanning
adding it up

The Assignment
make something that only an additive process could make
- The Problem: I get an ugly stripe up my bike when I cycle on a wet day, but it's hard and expensive to find a component to fit the thicker tubing on my bamboo bike.
- The Solution: Make a cheap attachment that fits the diameter of the bamboo.
- Time Investment: 11.5 hrs (5 hours learning 3D CAD, 4 hours designing component, 2 hours hours 3D printing, 30 minutes laser cutting)
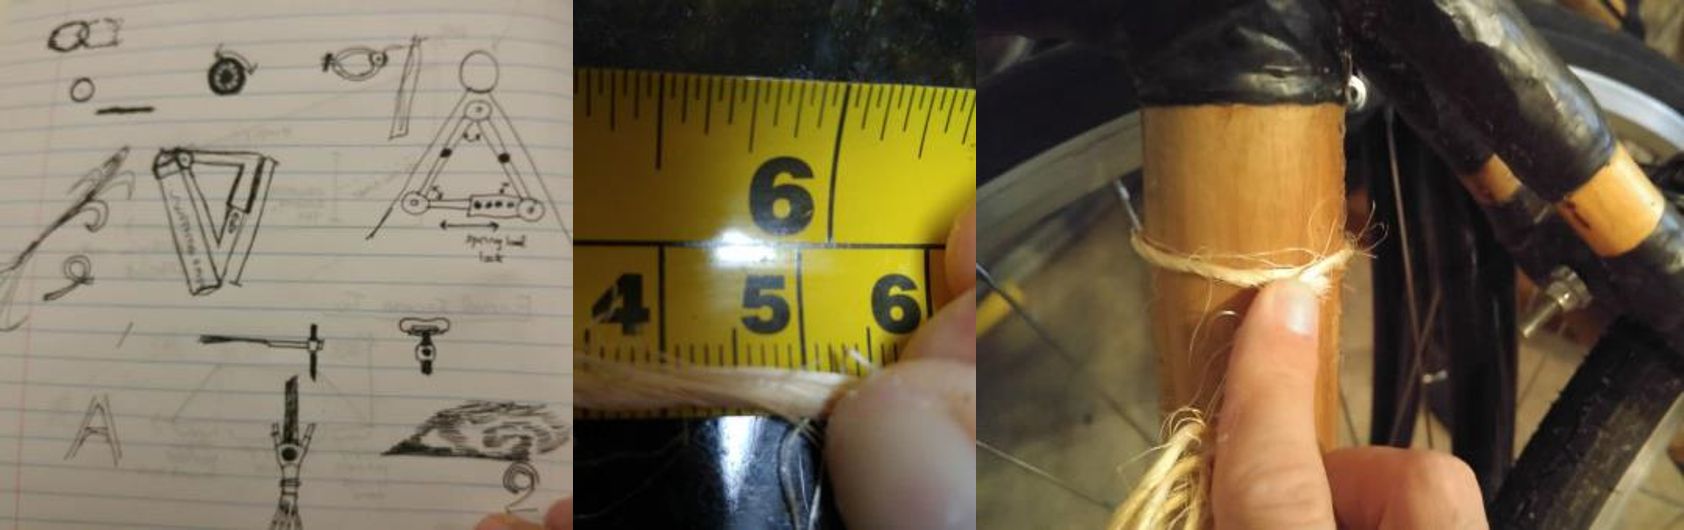
Quick Concepting
pen and a string
Sketched up some ideas and realized I really need to know the diameter of the bamboo seat stays first. They came out to about 23mm each.
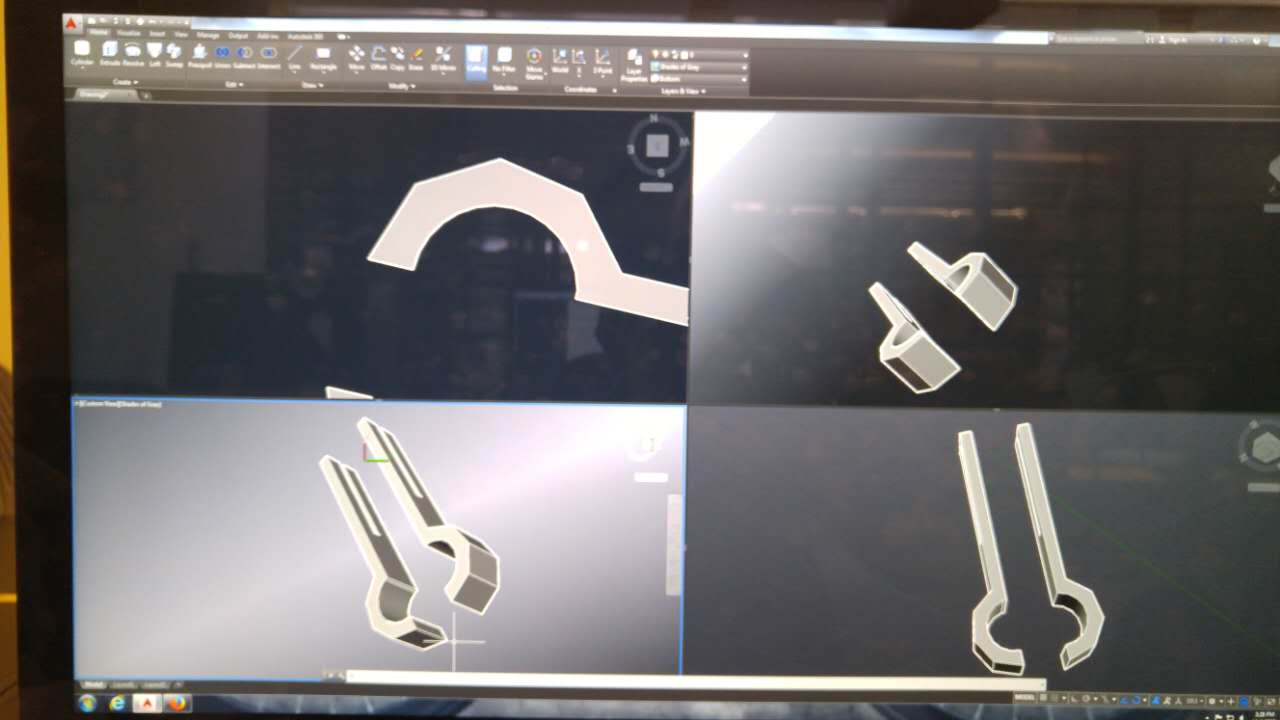
CAD
can't wait until I get good at this!
3D printing requires that you can 3D design. I had some ideas in my head, but first I needed to learn how to make ideas appear on the computer so the computer could tell the machine what to do.
I spent a few hours watching tutorial videos for AutoCAD and fumbled through putting together two components that would be designed to clip in any rigid, light material to act as a fender.
- Rudimentary hinge that allows to attach to bamboo without hurting it
- Fender can be quickly switched with different right, light materials (like bamboo)
- Adjustable angle(Didn't get time to add this in)
Setting up the 3D Printer
plug and wait
Pretty simple once your done designing. Just exported the design as an STL file and the Ultimaker's software made it pretty simple. My first trial failed because I didn't add a raft for the object to be built on.
My one concern was that the hinge wouldn't actually be able to move. I left a pretty big 1.5mm distance between the three different components.
click, leave, and come back
Printing is not too hard... which is why I guess everyone is so excited about the idea of 3D printing - it does it itself. BUT, it takes a long time. This piece took about 1.5 hours.
The machine extrudes melted resin layer by layer until it's done. Watching it print makes one less enchanted by 3D printing...

The bottom of the hinge still attached to the support raft.
Post Processing
rough on the edges
Coming back to the machine is exciting but the final product is still pretty rough around the edges as the filament isn't as precise as one would expect, especially if you use a lot of supports.
I was frustrated to find that the bottom of my hinge detached when I took off the supports. But that was quickly remedied by melting the piece back on with a soldering iron.
I was also happy to find that with a little cleaning the hinge rotated perfectly. I was also going to 3D print a screw and bolt but didn't have time for it.
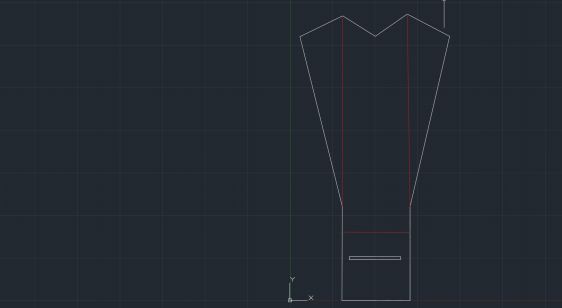
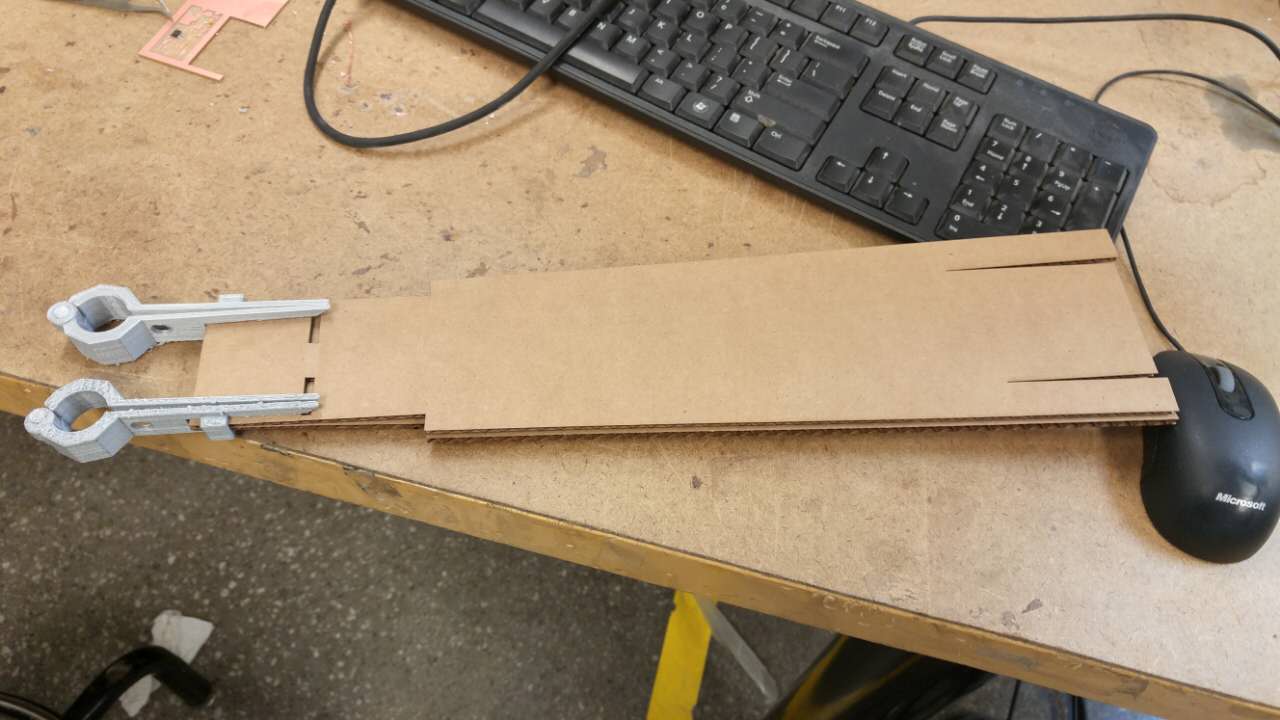
Laser cut the fender
cardboard is great for prototyping
I quickly designed a fender that could pop into the newly printed component. Perhaps in the future I will make a better design using laminated bamboo, but this will do for now!
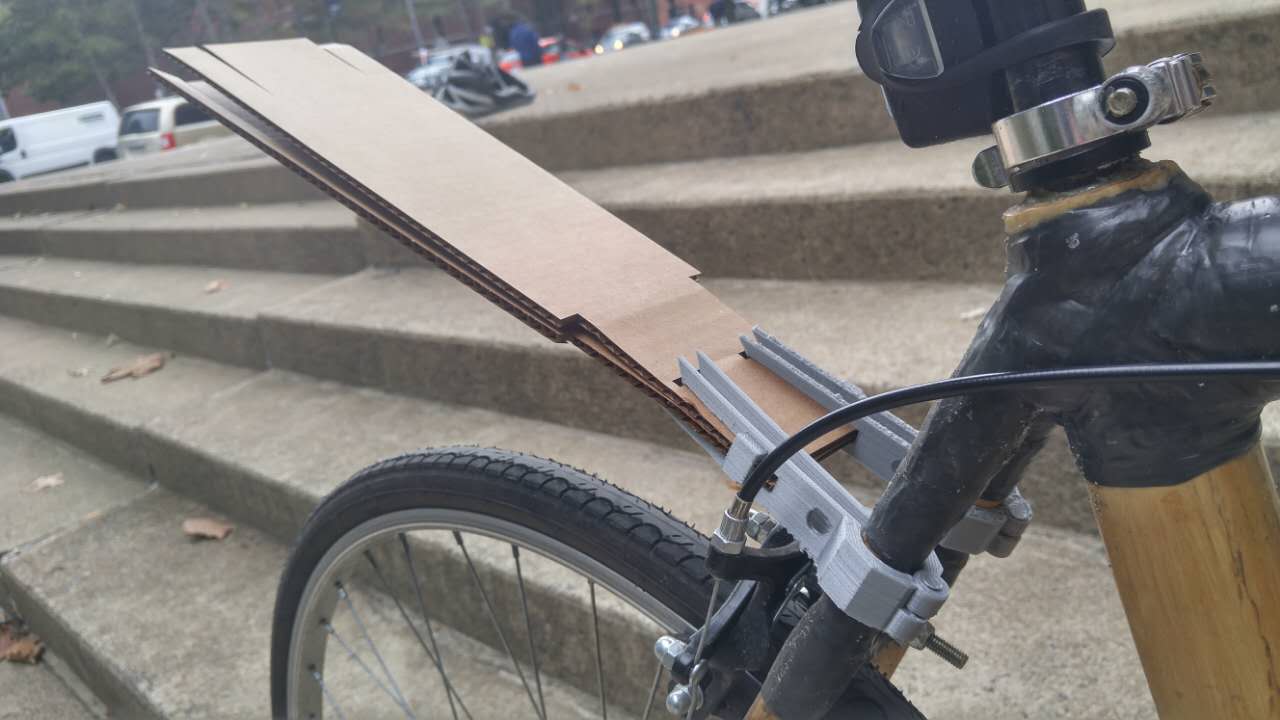
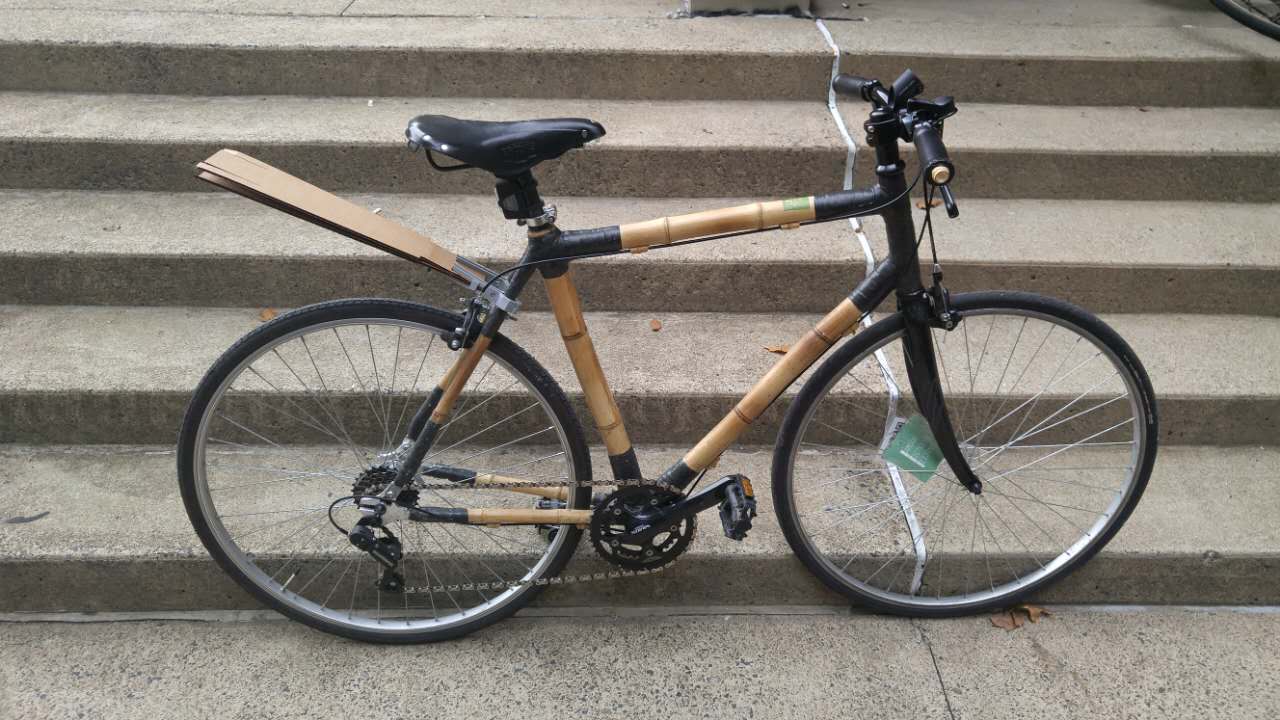
Try it out!
can't wait for the rain!
The components did the work! It was a near perfect fit which I was surprised with because bike component fitting is always a fussy business, but I was able to pop in the cardboard fenders!
The only concern I have is that if the cardboard gets wet, it will sag. Maybe a coat of epoxy...?
I also would like to add an element that allows for an adjustment of angle.
 s
s3D Scanning
sort of fun...
I tried scanning a bunch of things (a bicycle, apple, a remote control) with my phone but none of them worked...
I ended up using the Sense scanner in the workshop to scan myself which was fun but not super exciting.
I would have preferred to have scan my bike because with that information I might be able to design specifically for it.