Press-fit kit trial_3: openable geodesic dome struts
Meanwhile, even though it was still quite early in the semester, I started thinking about how to realize my final project. I had set my mind to 3D print the nodes during the 3D printing week, so I was mainly concentrating on the struts. Well, there were many options when it comes to finding linear structural pieces; for the sake of filtering some out I had to define my priorities. The most crucial feature of the struts were to be "openable" when needed, considering that a network of circutry was planned to be deployed within. When there will be a problem with one of the electric components or simply when it would be necessary to replace the batteries, one should not have to be to disassemble the whole structure for the sake of reaching to the struts' interior. At this point, I decided to design press-fit struts which can be easily opened when needed.I started with trying out bunch of different notch designs with different materials
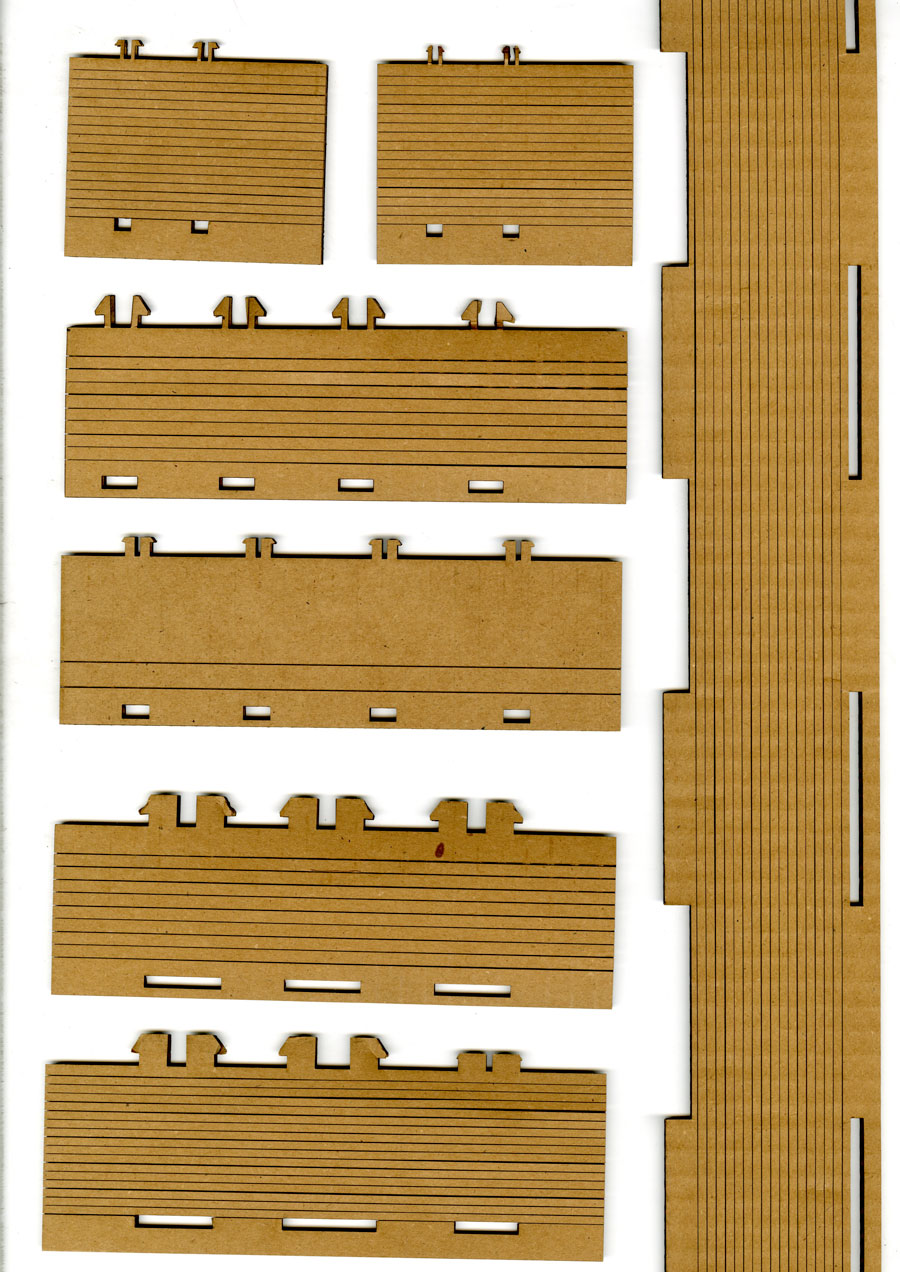
my first trial was almost instinctively with the cardboard since that was the generic material provided for the press-fit kit week. However, soon later it became obvious that this type of living hinge would need a more resilient material such as plastic (maybe polypropylene or polyethylene?).
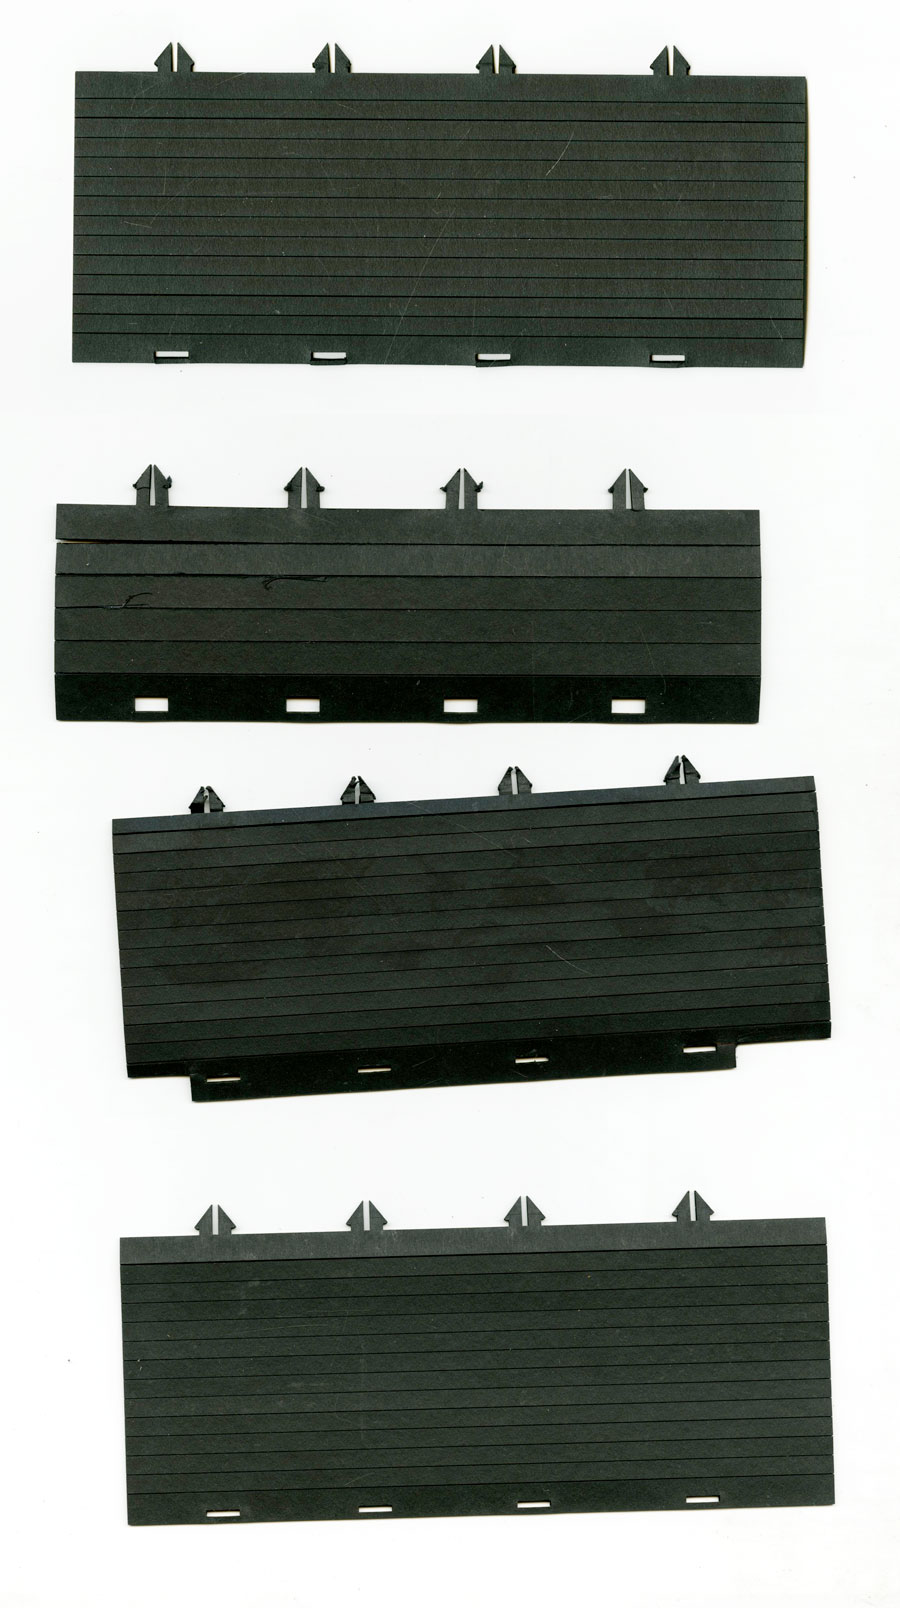
However, since the prices for such plastics aren't very cheap and thus not very suitable for 'just experimenting', I decided to find a type of cardboard that is more dense than corrugated sheets, yet still accessible and easily processable (plastics -except for acrylic- aren't allowed to be laser cut).
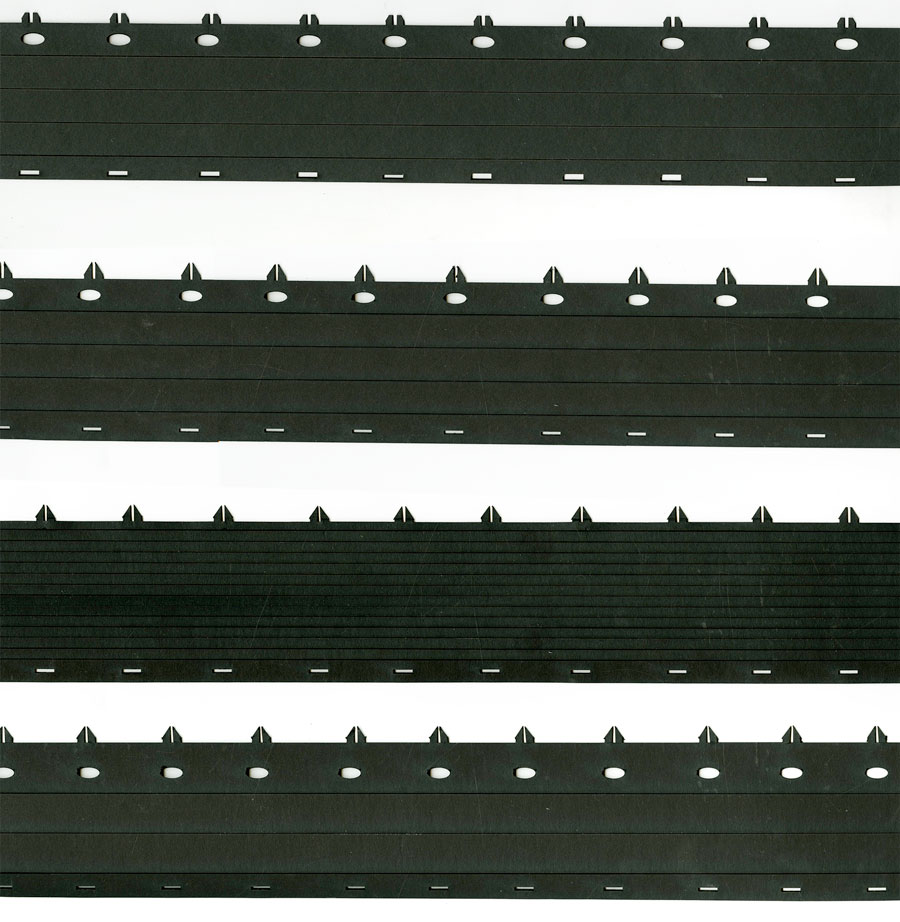
thus I started experimenting with this black cardboard that is called "a museum board". Compare to corrugated cardboards, this material is still quite expensive (9$ per sheet @Blick; I have used about 10 sheets for the whole 1:1 scale dome).
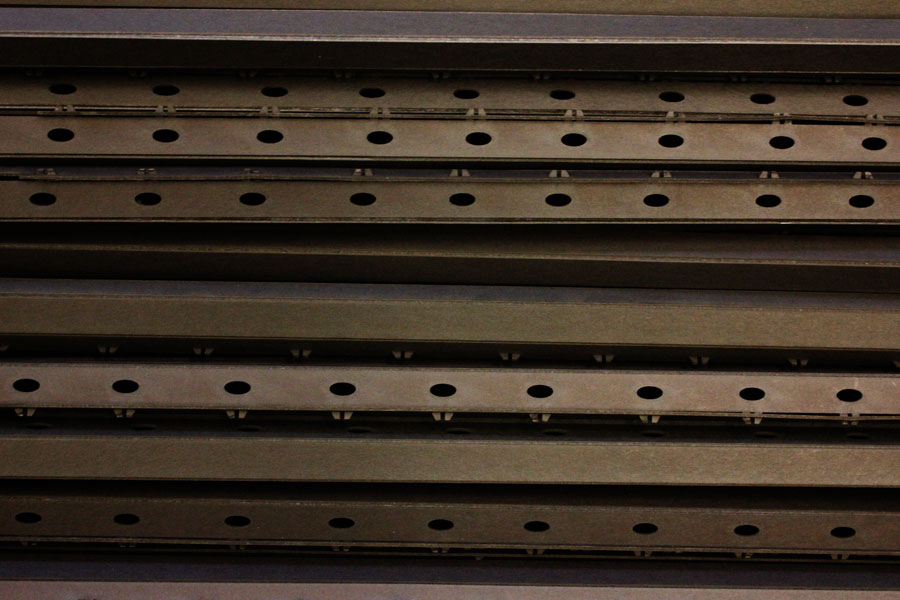
the notches were finally buckling and unbuckling well. I wouldn't change that nice 'click' sound to anything else!!!
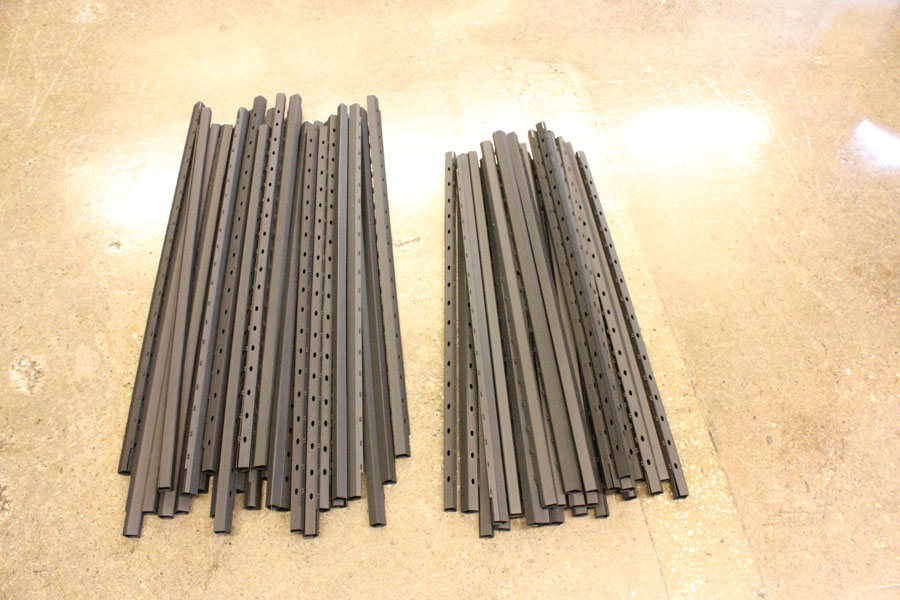
Since the frequency of my geodesic dome was 2; I was only required to fabricate two different sized struts for the dome.
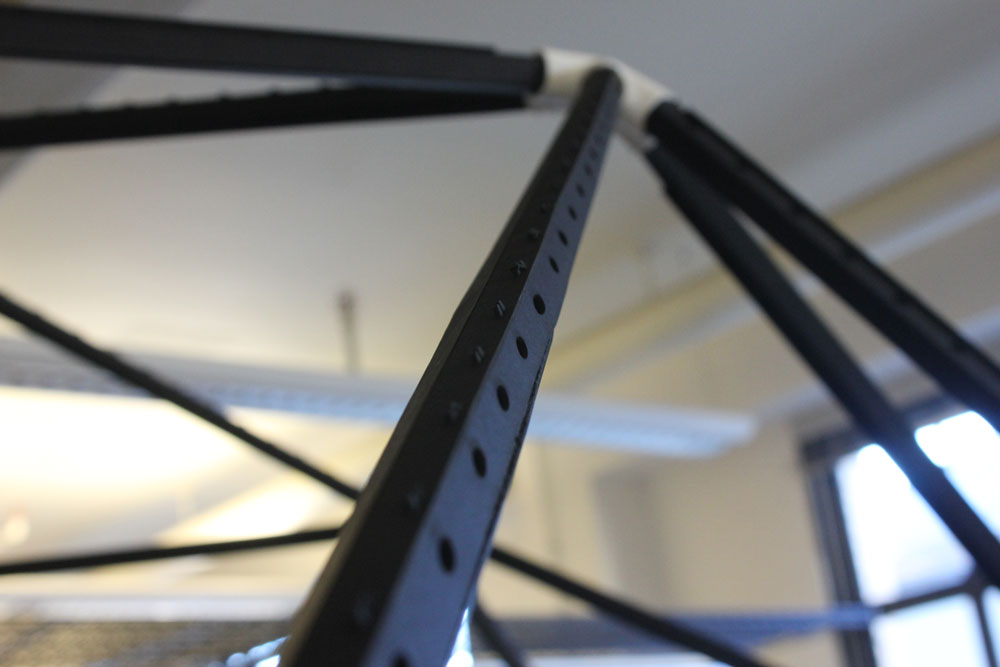
you can view my second trial for the make something big" week to see how these struts were assembled with the 3D printed nodes to become the 1:1 scale dome!
Press-Fit Kit_trial2:Staircase
after having tried the plate edge forming press fit construction method, I decided to experiment with plate countoring method using the Luban -a planar structure slicing software.
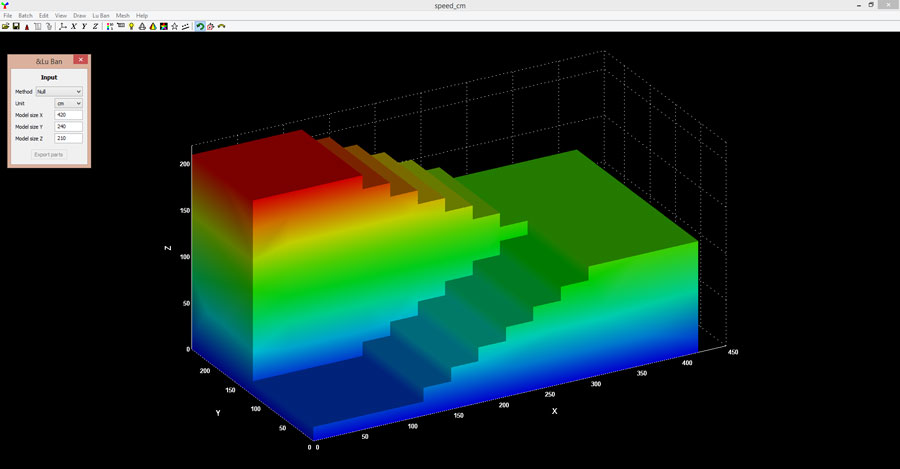
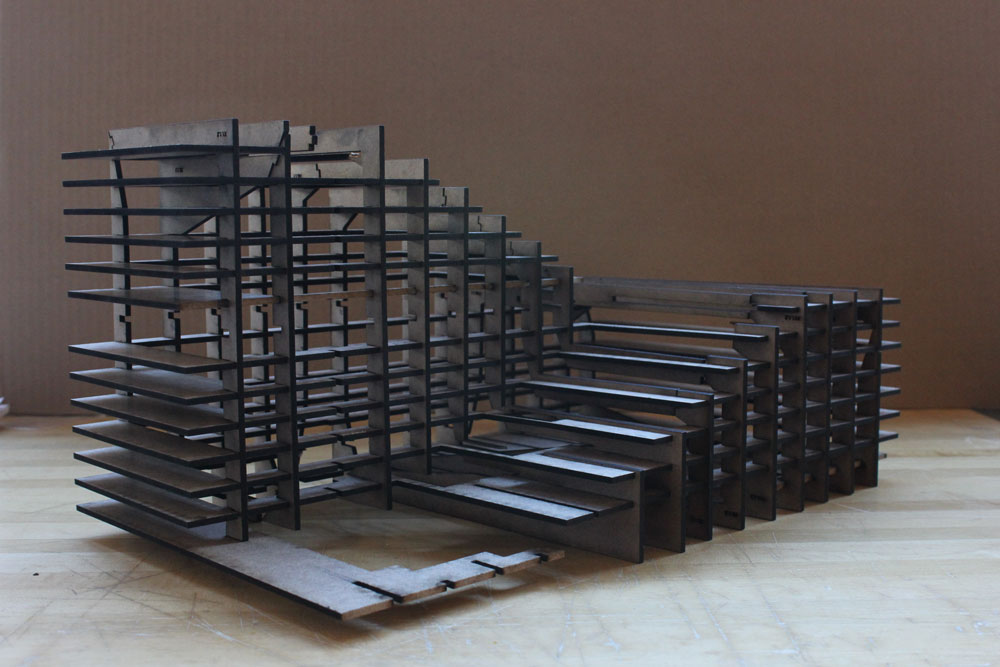
I wanted to construct this simple staircase.
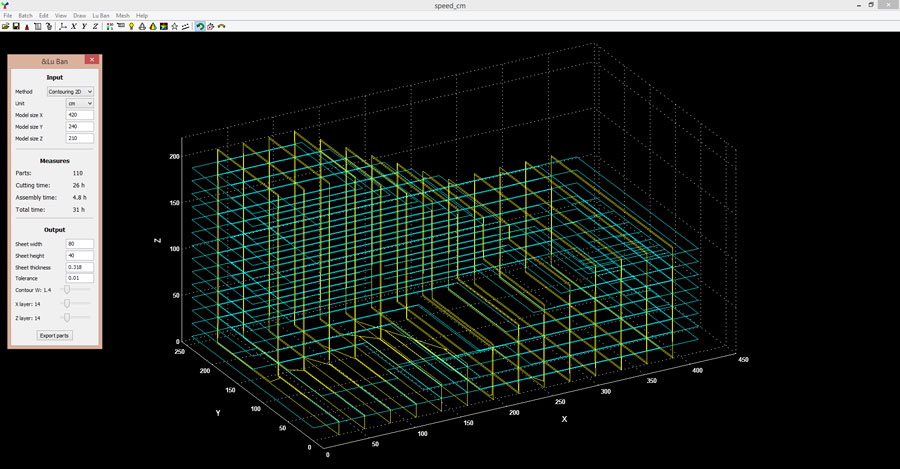
I have selected the 2D contouring option and limited the number of slices to 14 on both axes (one plane per riser)
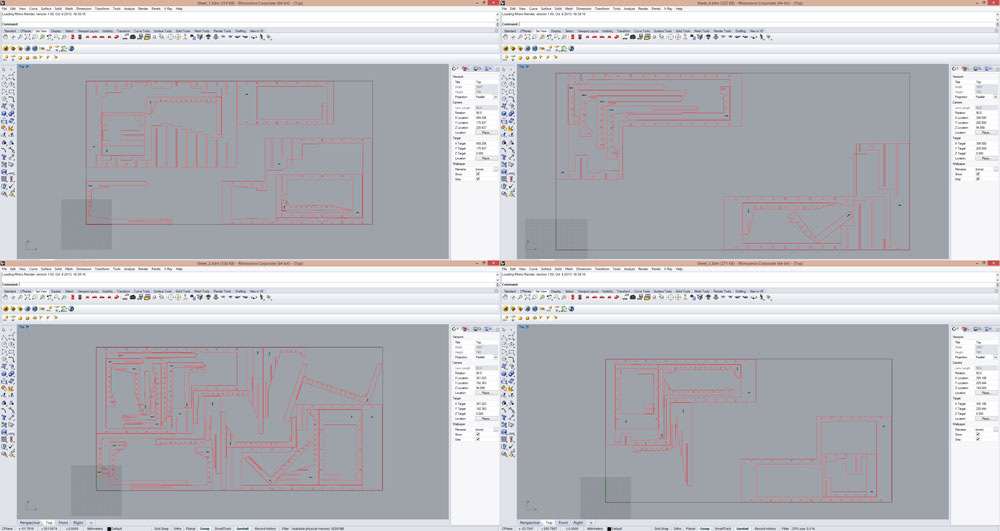
the great thing about Luban is the fact that it creates laser cut sheet files automatically based on a sequencing algorithm.
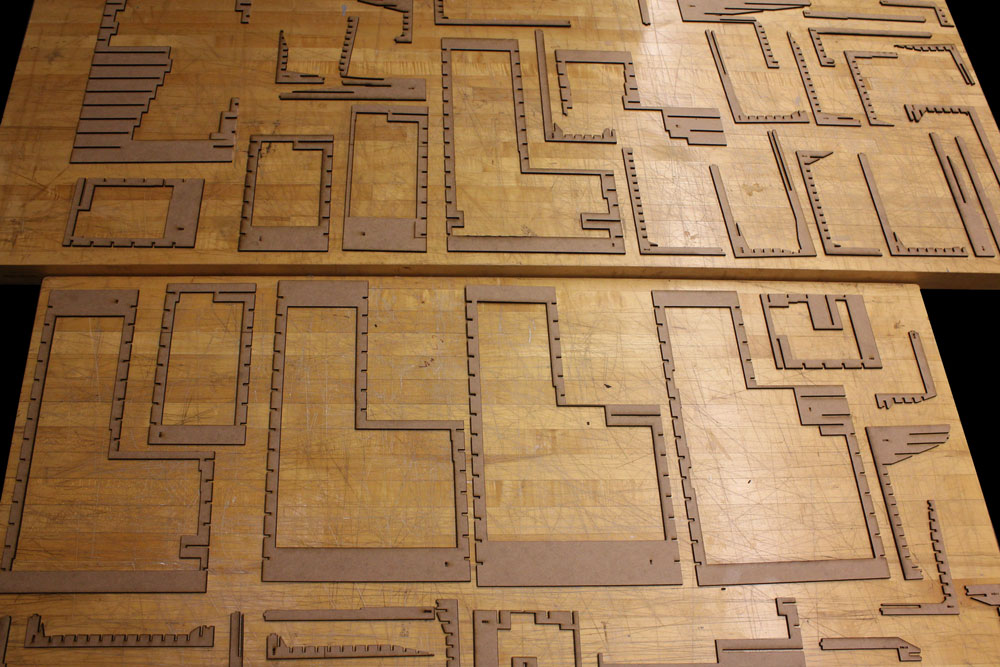
after parts being laser cut, it was time for the assembly. I must acknowledge Dishita Turakhia and Oscar Rosello's contributions at this point, as this project was also submitted as a group assignment to the course 'Inquiry into Computation'.
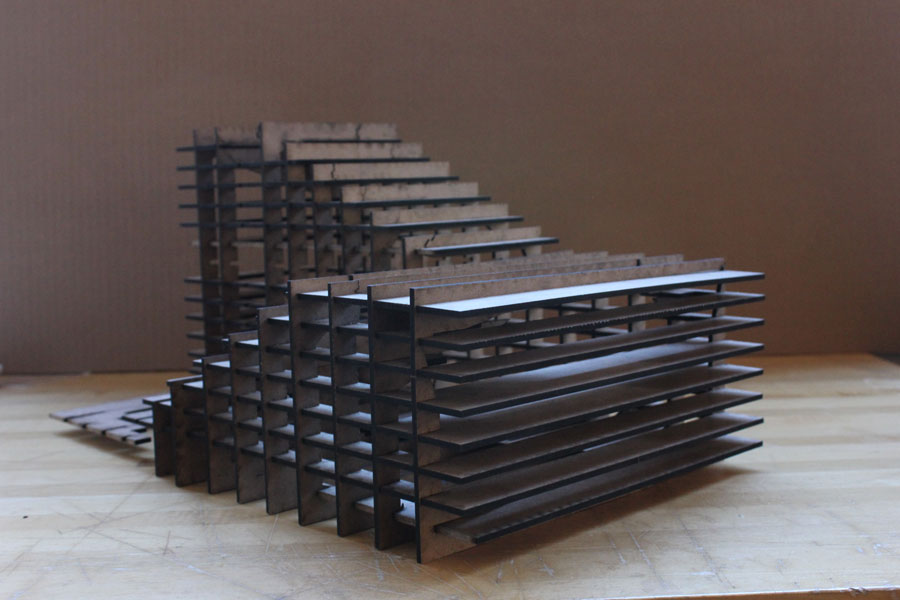
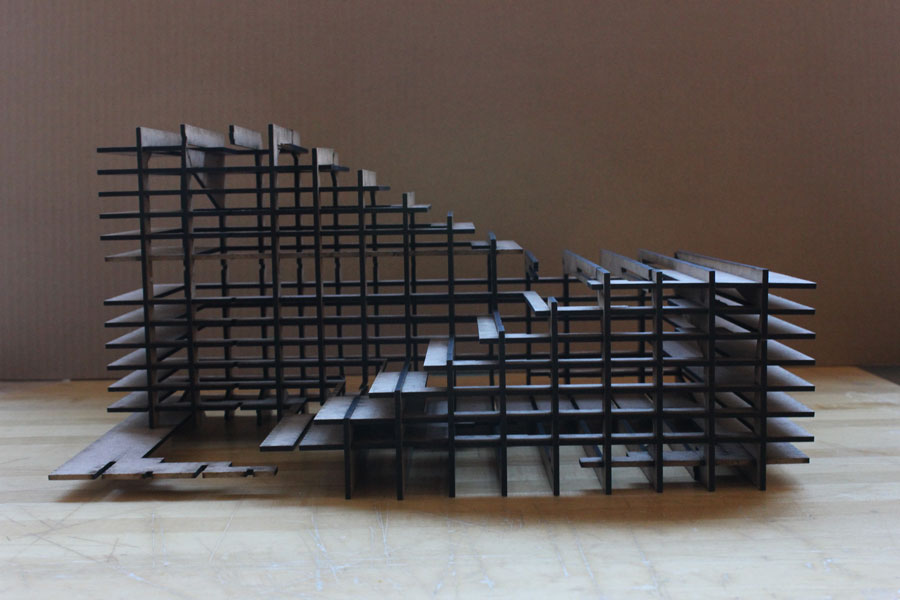
Press-Fit Kit_trial1: smartphone holder for bikes
I decided to design a smart phone holder for my bike which comes quite handy when I try to find a destination with which I am not familiar. It is a pain to stop at every corner and pull my phone from my backpack to make sure that I am on the right track!
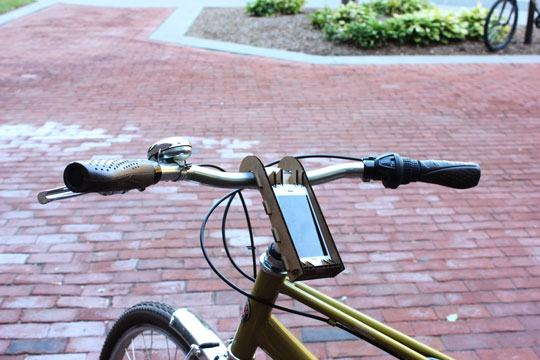
thanks to the supports at the top and the bottom, the phone doesnt jump at bumps!
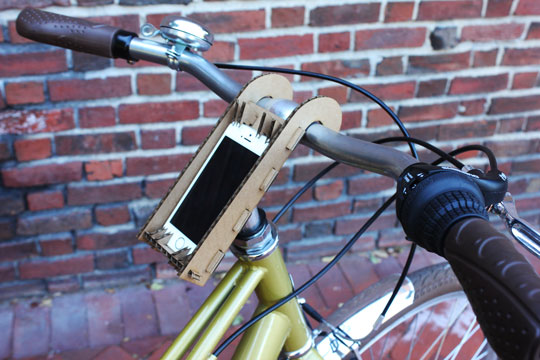
and the best side is if your phone starts to ring, you can just pull over and unhook the kit from the handlebar easily and talk while the phone is still in the holder!
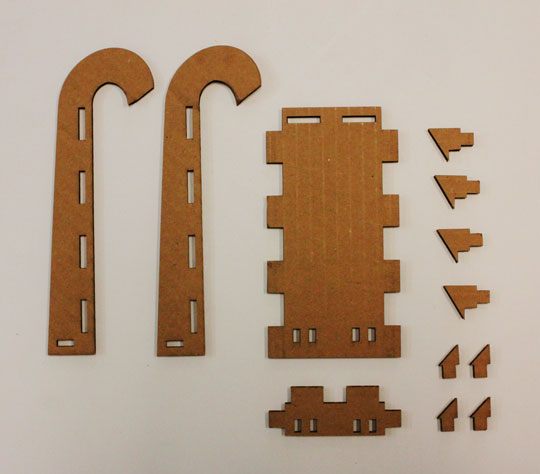
The point of designing a press-fit kit is not only to make the assembly process convenient and fast but also to be able to disassamble the object easily when needed. You never know when it is going to start to rain!
Vinyl-cutting: sticker organizer for my mini-fridge to run errands
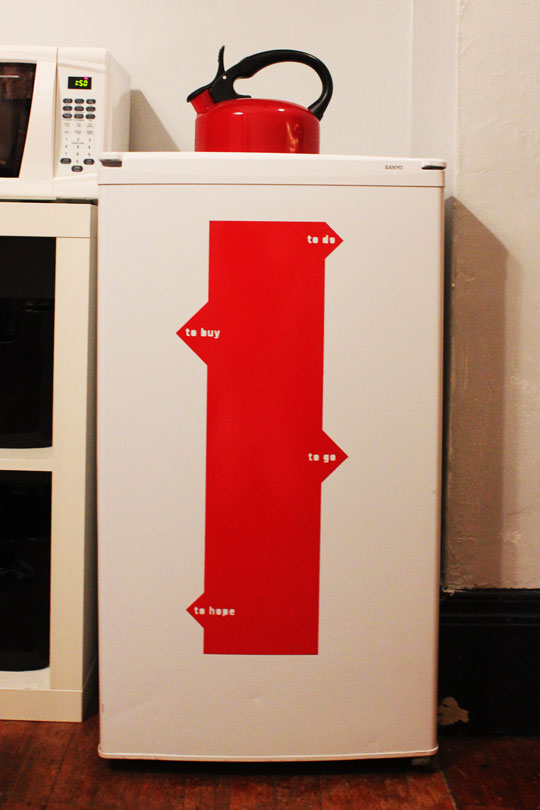
fridges has traditionally been immuned to hold as much information as there are in Wikipedia! Needed an organizer to make sure everything goes smooth.

all I need now is a board pen!