Fourth trial: Printing with Stratasys

finally, I started wondering if there were more 'cleaner' and convenient ways to produce the nodes. At this point, Stratasys' ABS printer was a marvellous choice since it produces desolving support and thus creates a seamless surface finish! Structural properties of it is also way reliable than PLA which is the substance of the filament used by classic desktop printers.

however it takes way more time than the desktop printers and cannot printe in great numbers due to the high demand and expense.
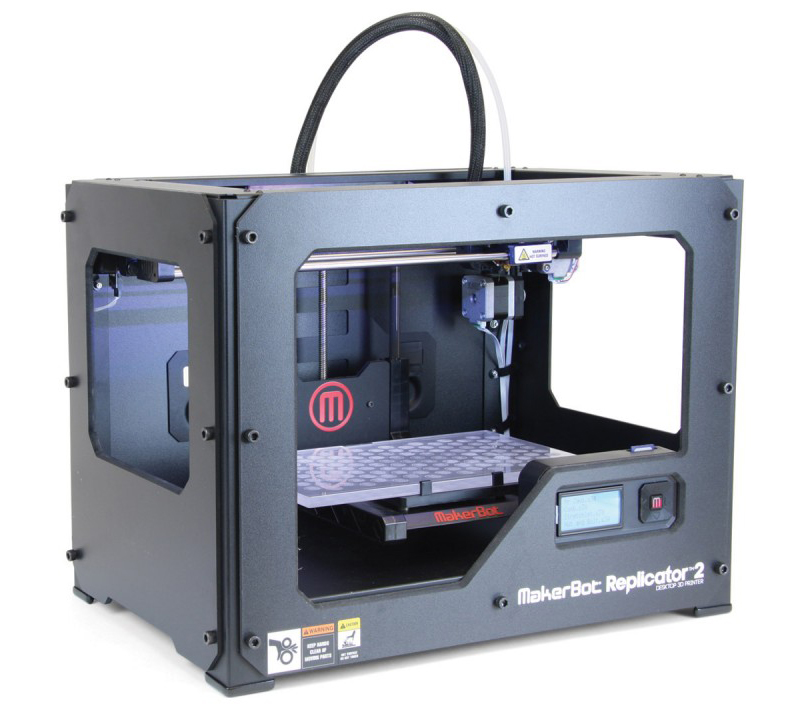
Third trial: Printing with Makerbot
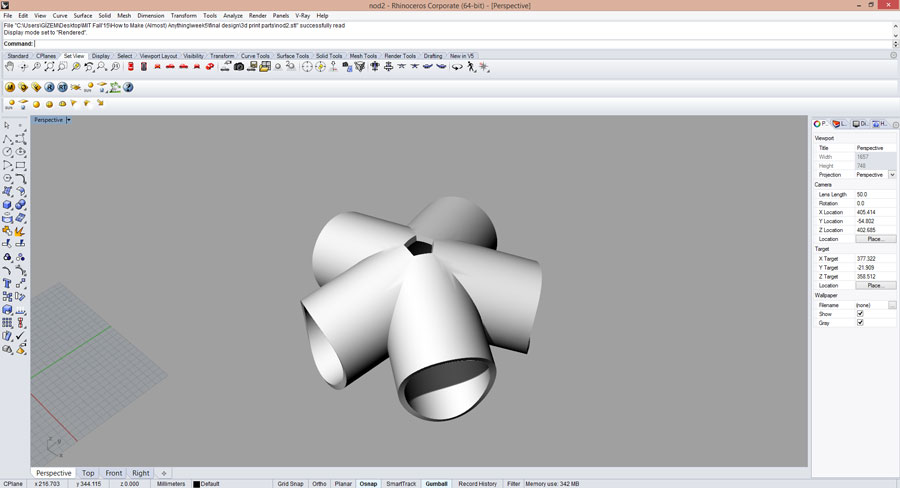
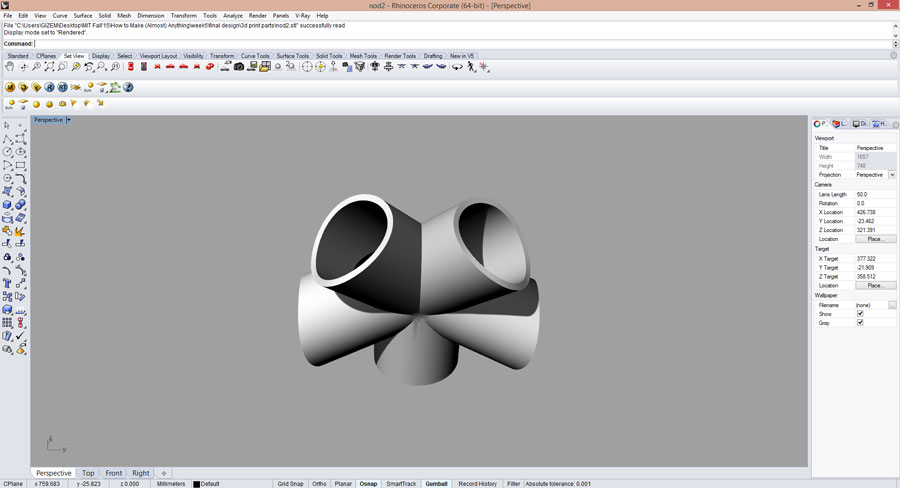
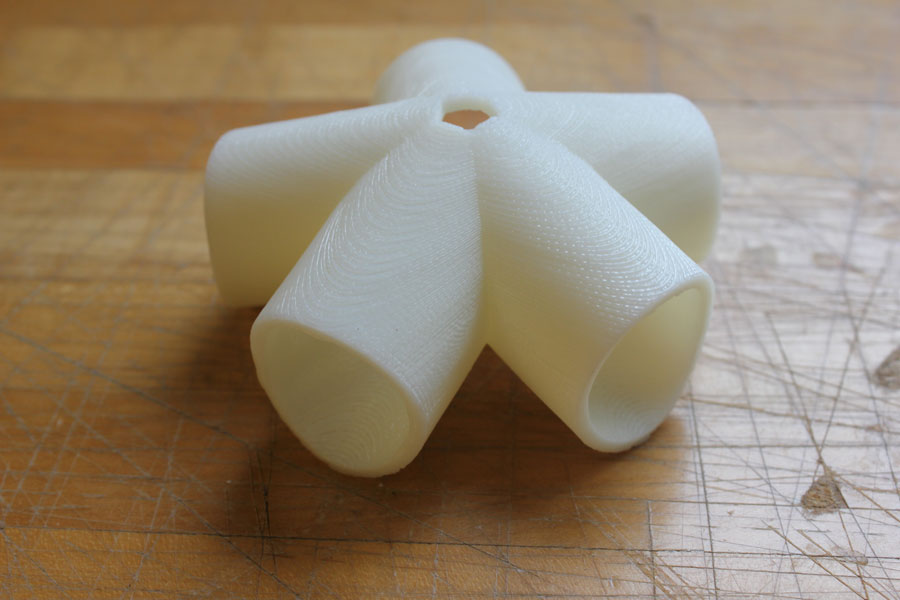
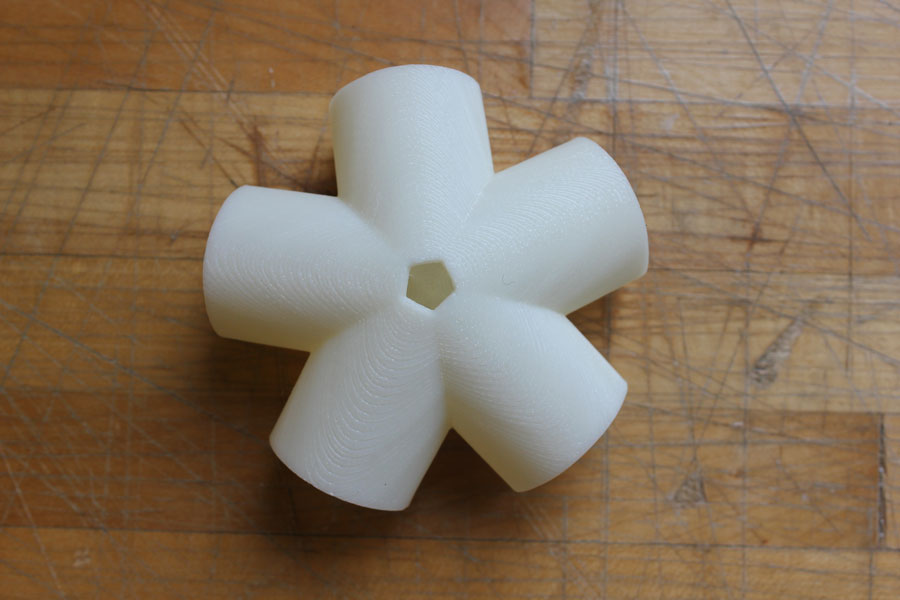
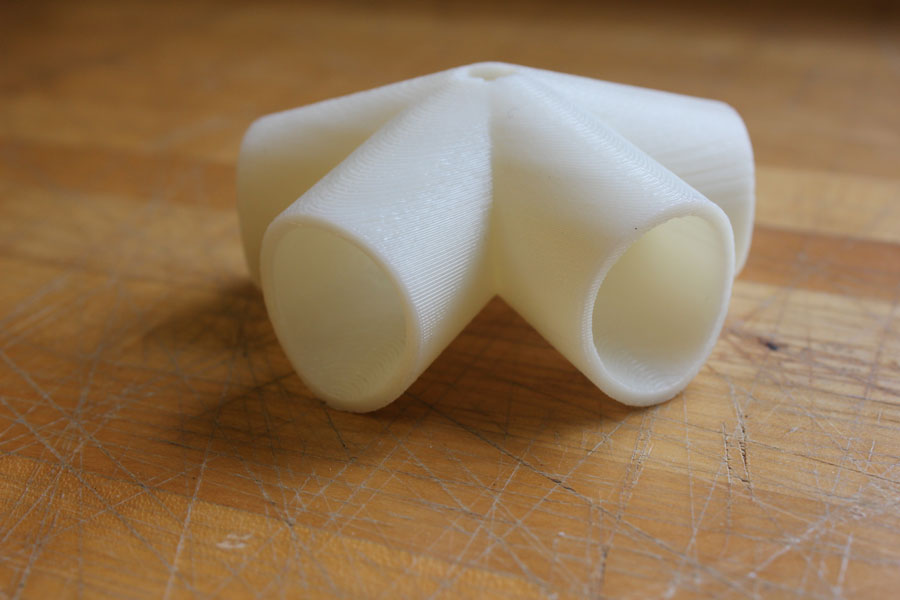
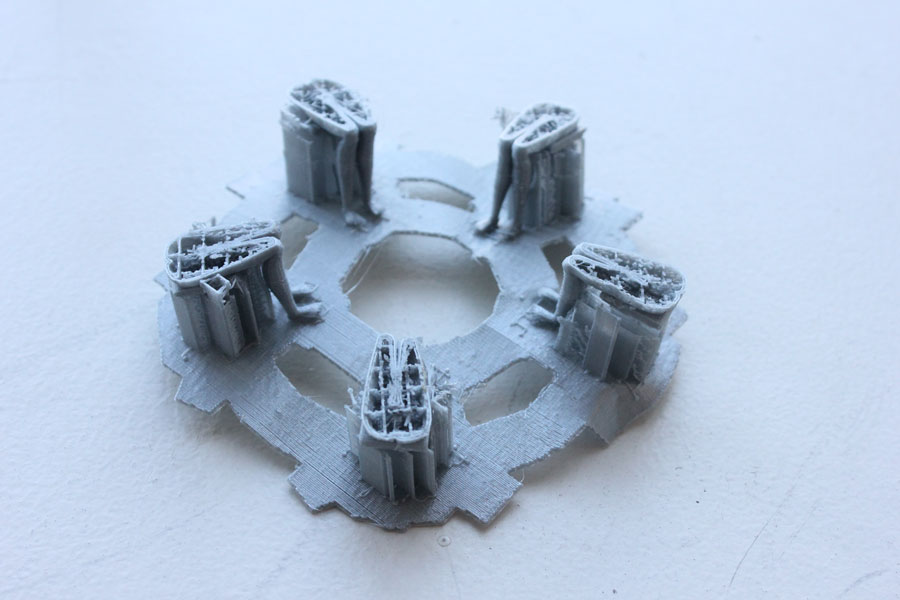
at this point, I had decided to build a full scale model of my dome fairly soon and thus decided to change gears with the 3D printing and print a node.
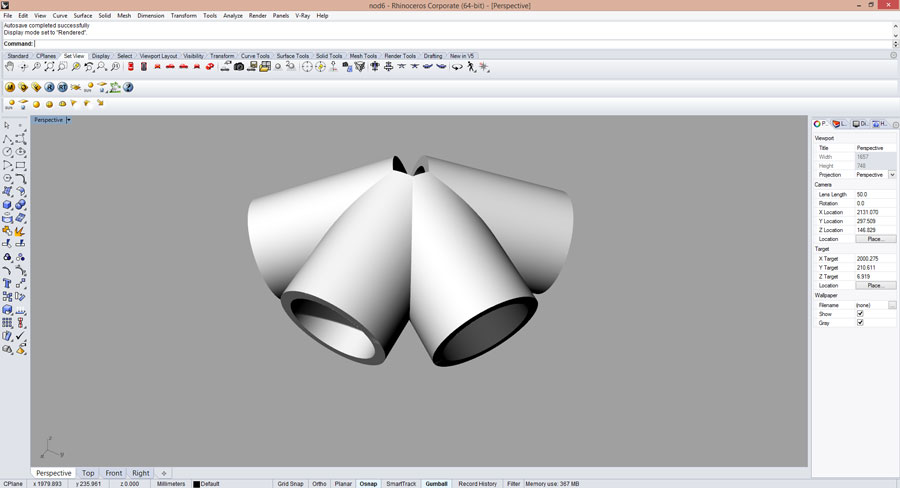
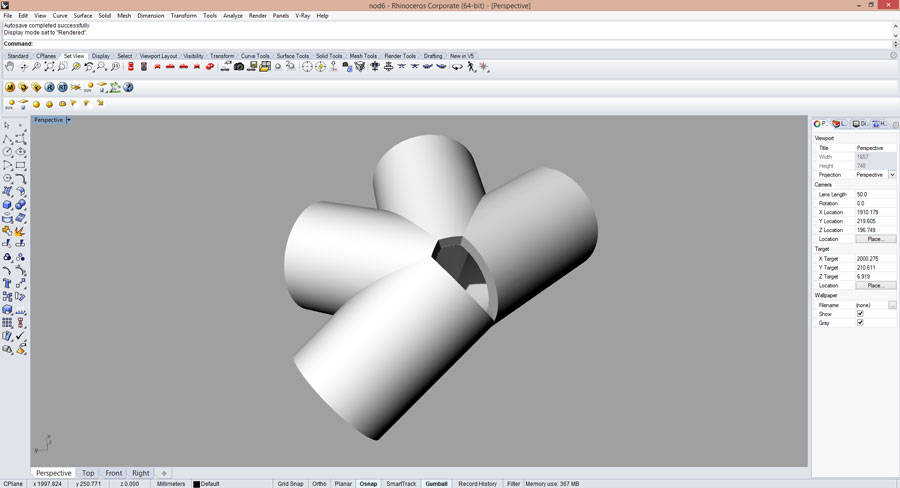
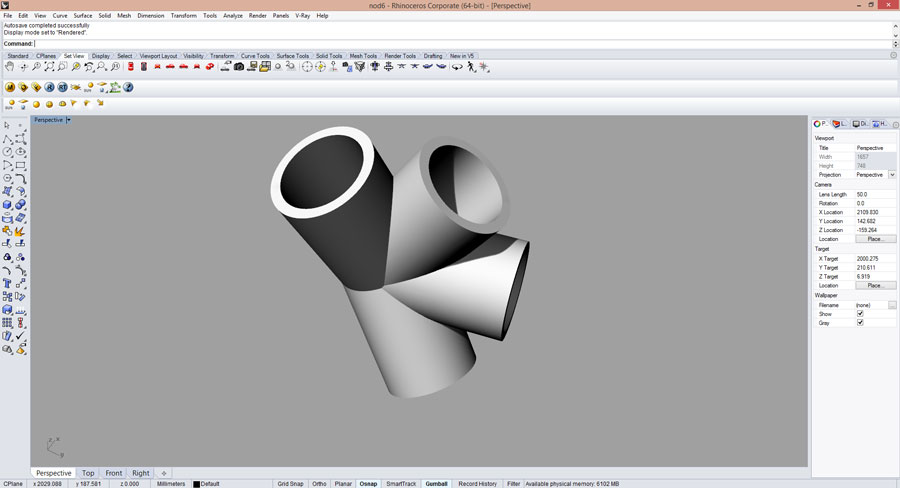
after designing the node in Rhino, printed it in the Makerbot which is similar to the Ultimaker in the sense that they both are desktop machines. On the other hand, the fact that you can 'tune' ultimaker as you go is definitely a huge plus compare to the non-malleability of the process in the Makerbot.
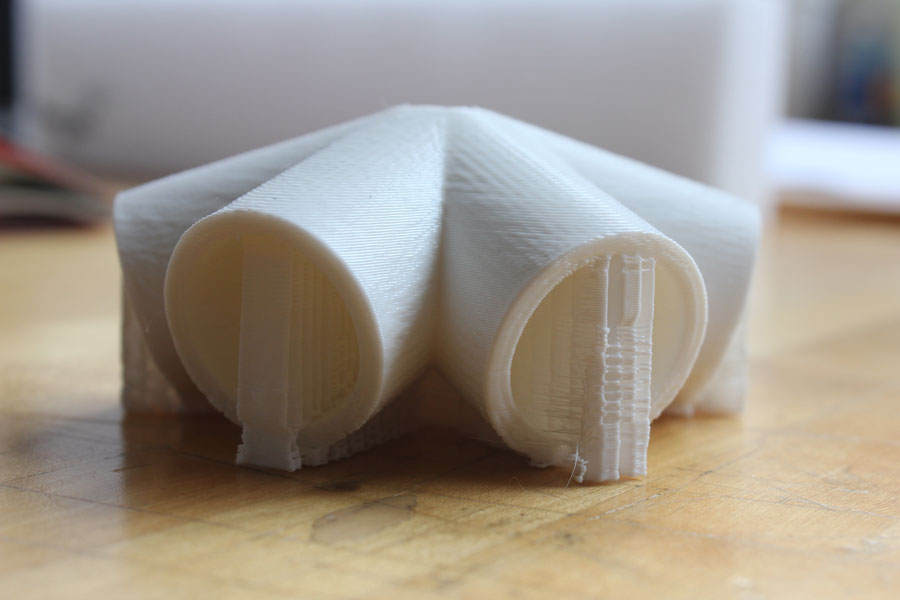
The print came out fine. The supports were going to left marks after being removed, though.
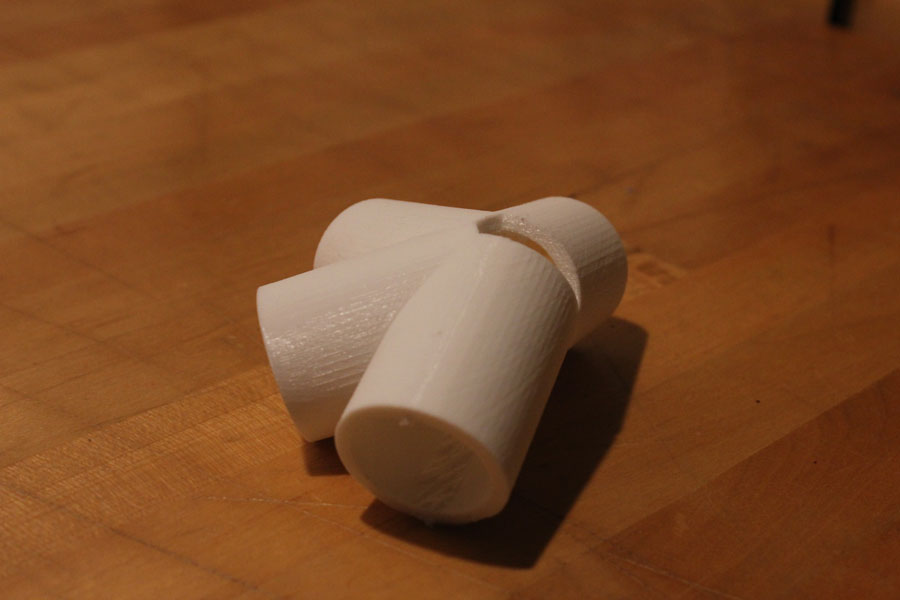
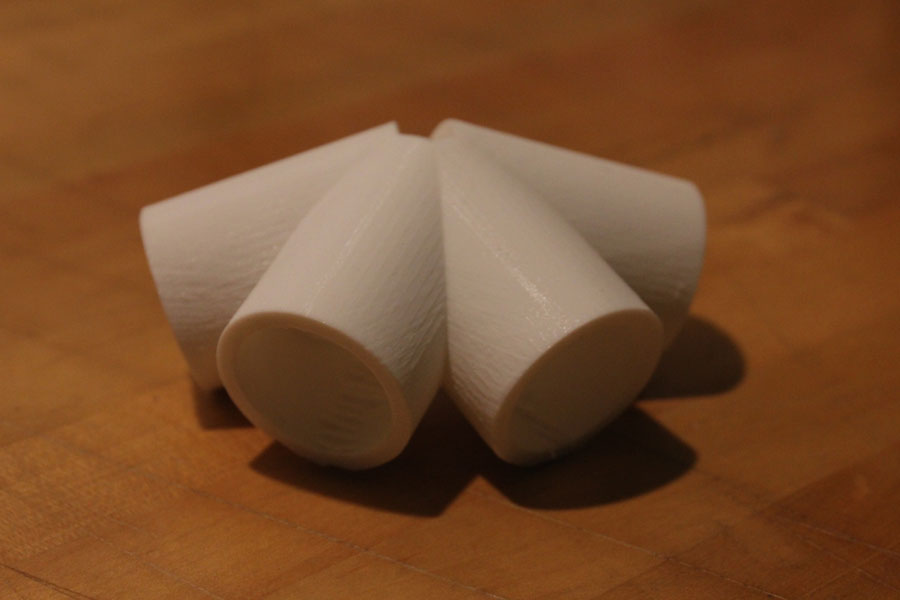
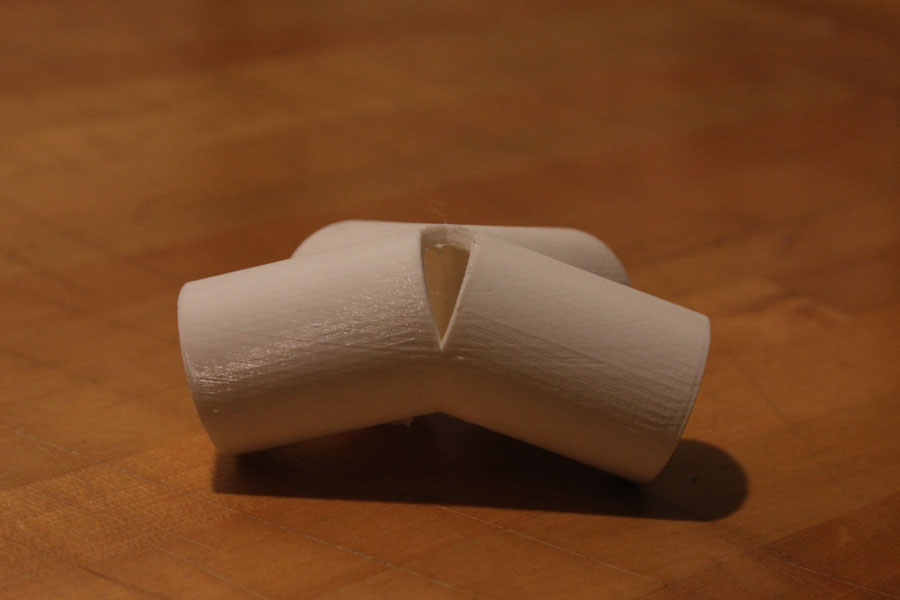
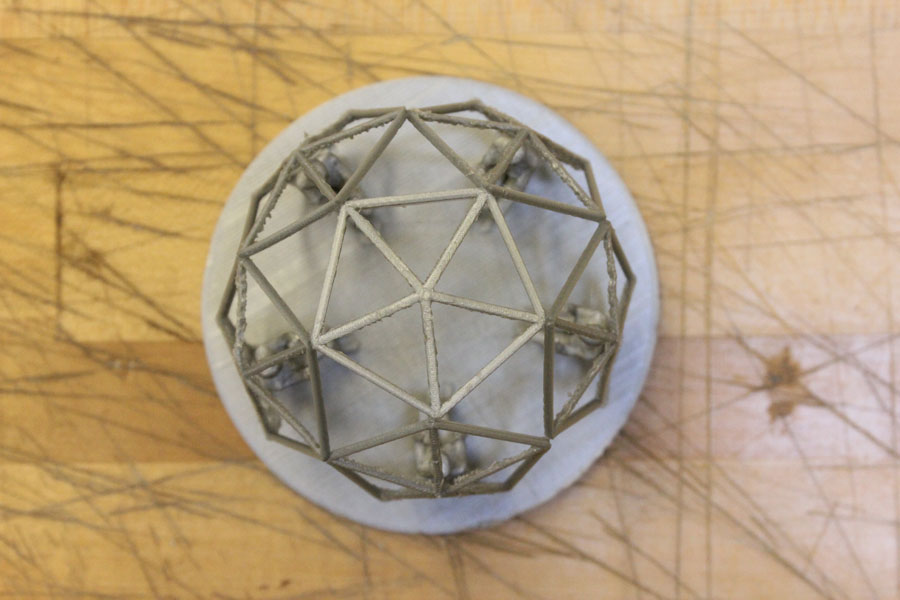
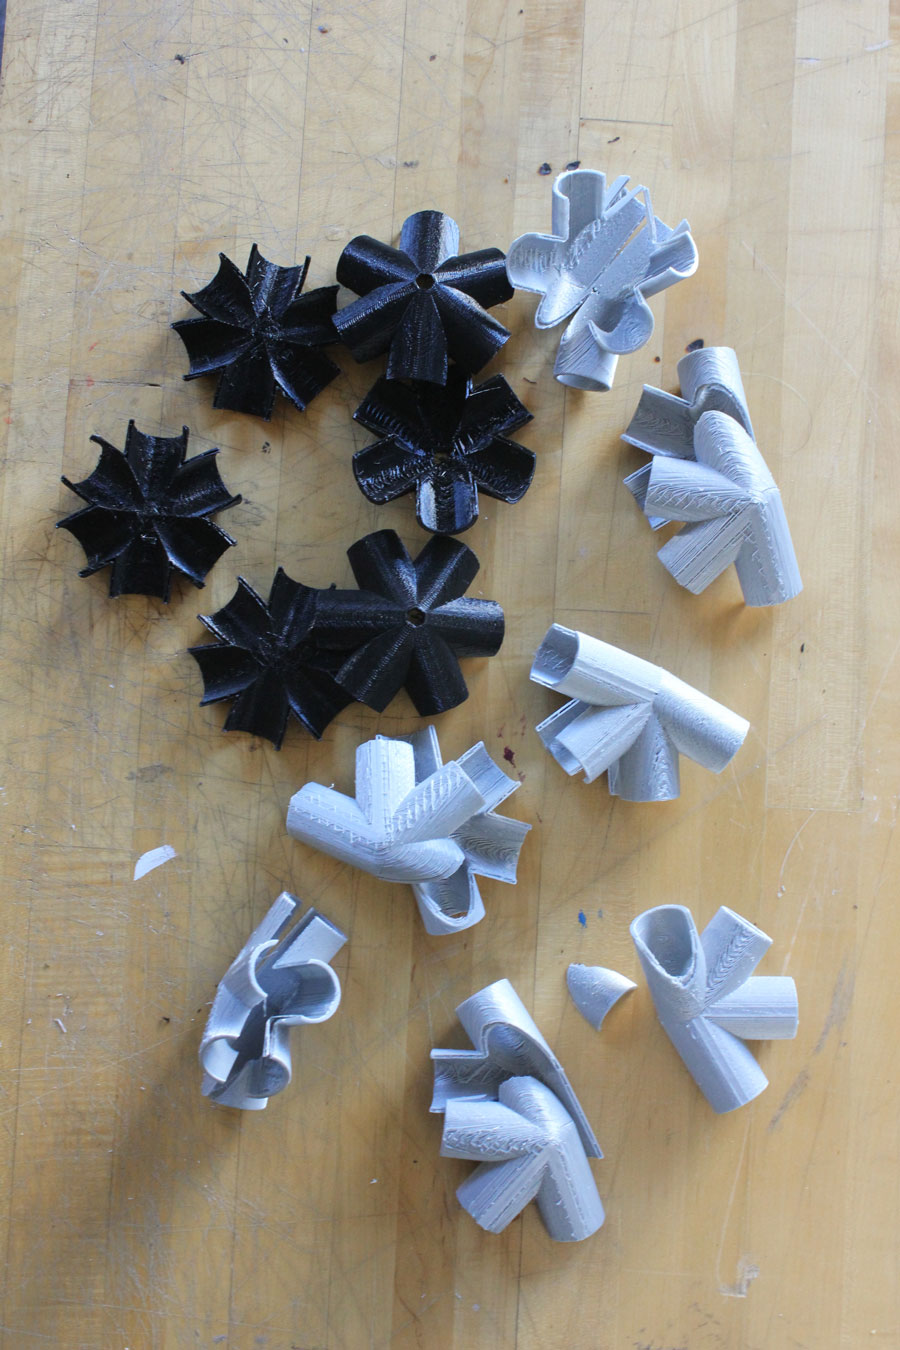
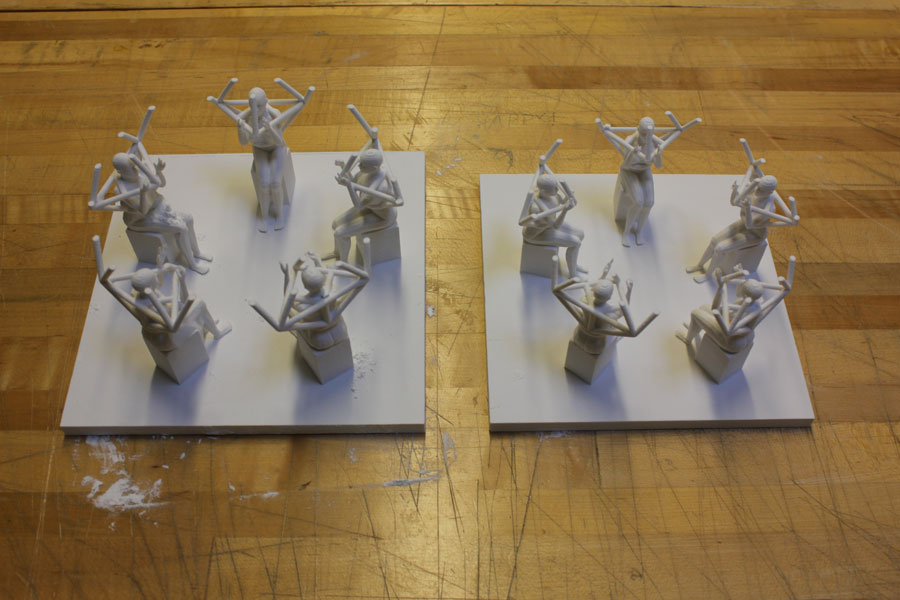
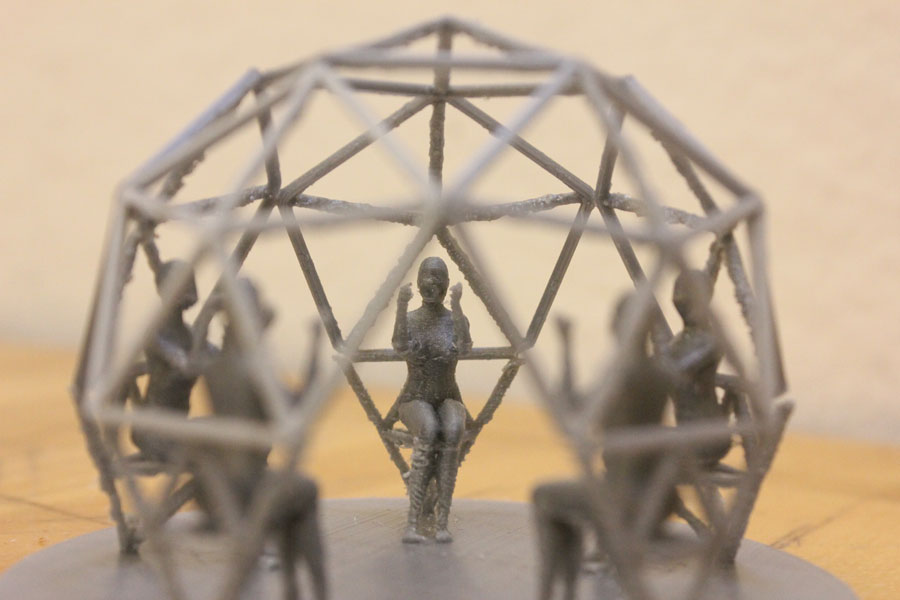
with different settings I have printed bunch of nodes to be able to assemble the dome using press-fit struts I've fabricated during the press fit kit week.

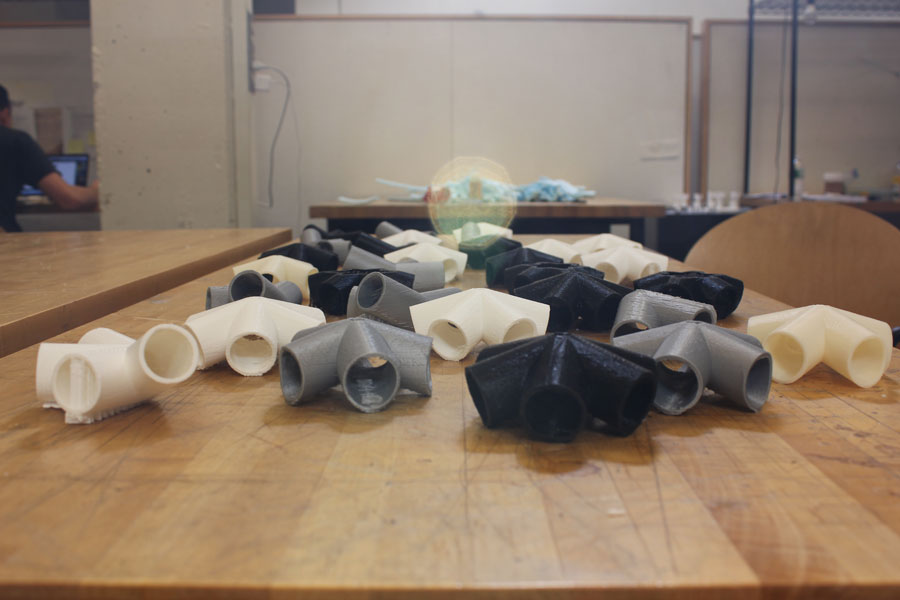
After having 3D printed all my nodes, during the assembly process, I realized that some of them were not strong enough to bear the tension resulted by the force equilibrium of the geodesic dome. Main reason for this was the fact that I had, for the sake of velocity, I had printed some of them in a quite low resolution (=low layer height and infill percentage). When I tried to increase these values, print time would exponentially increase up to 7 hours per node!
Only later, I figured out that increasing the shell number and still keeping the layer height and infill percentage low would help drastically increasing the structural durability! That actually makes a lot of sense considering that the tension and compression forces stresses most the surface of a structural element rather than its interior filling.
Second trial: Printing with Zcorp
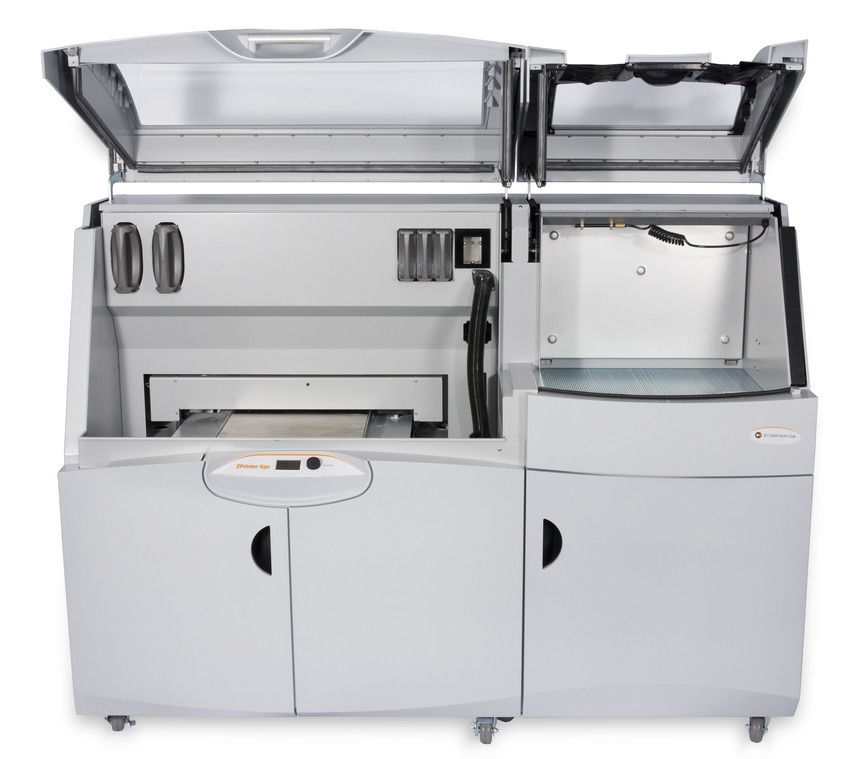
Well, I was still curious about if the other printers we had in the shop would be able to print the whole design intactly. I decided to try the Zcorp 3D printer to see.
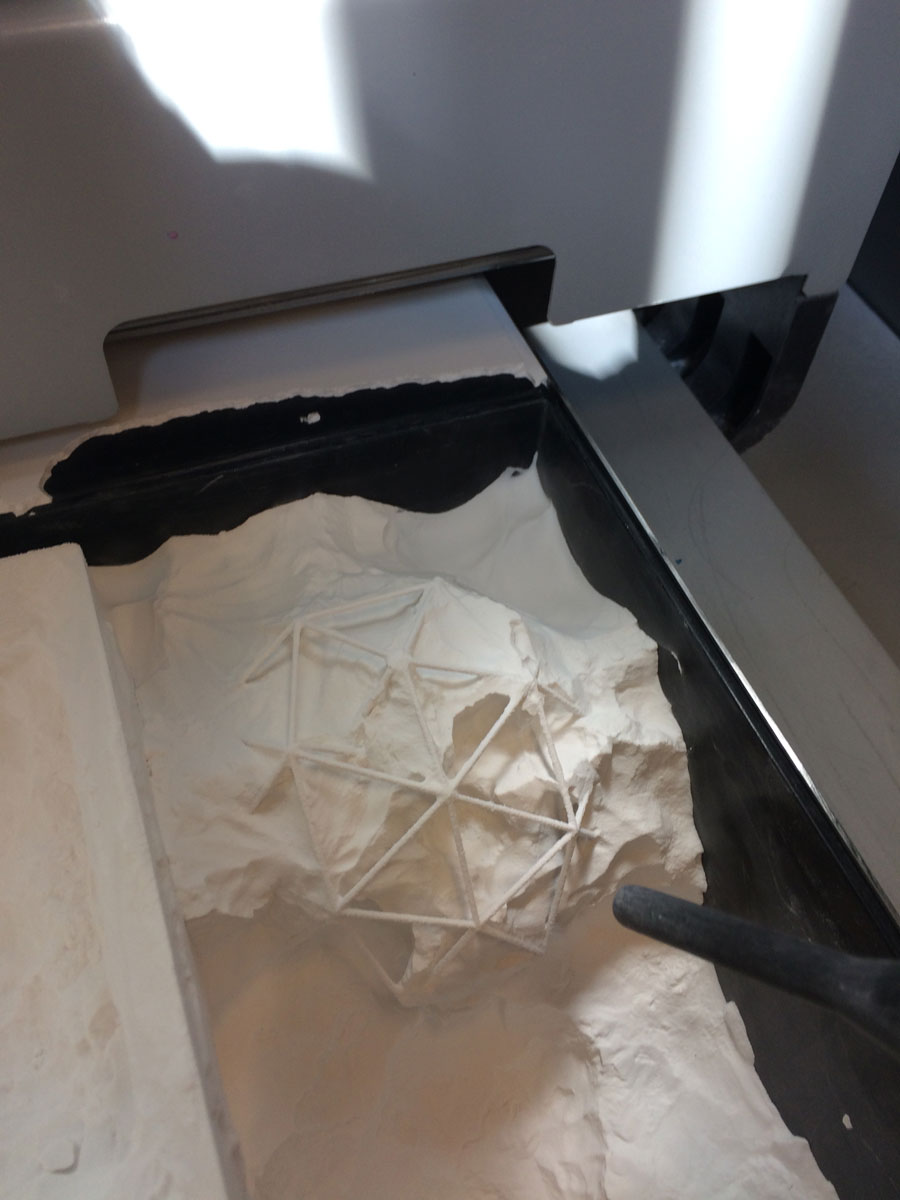
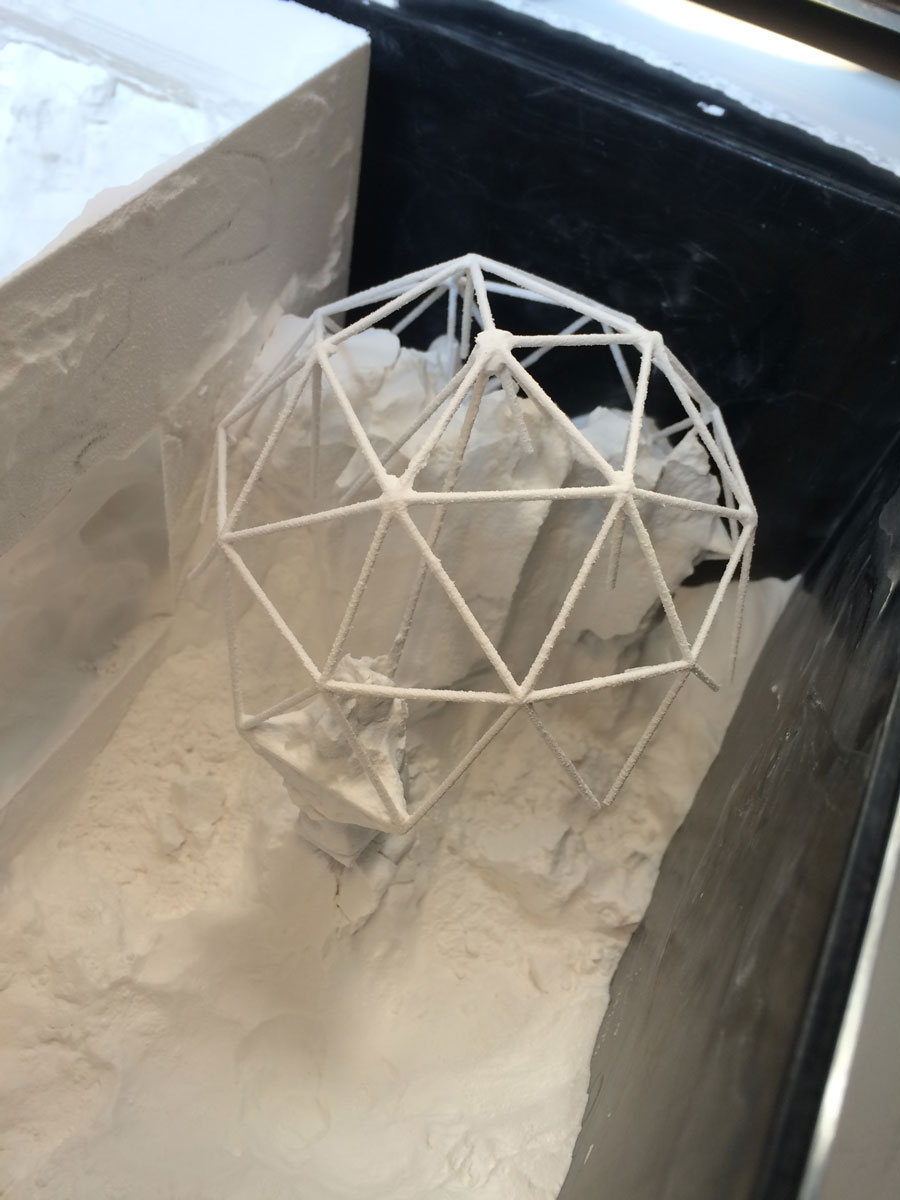
I have started excavating it but I couldn't prevent deformations and damages. 2 main problems were the fact that the struts were quite thin and the stalls of the audience were not attached to the base enough to prevent them floating solo!
On my first print with Zcorp, I have done exactly the same mistake as I did with Ultimaker: did not add a base which would hold up the figurines, and thus the dome, together! To be fair, I did not really know how the Zcorp worked and I asked to the shop manager about whether if I should add a base or not, after being told that I should 'send the model as I want it to be printed', I assumed the base was not a crucial part. Having used excavated a print on Zcorp now, I can see what a mistake that was!
not suprisingly, my figurines eventually fell apart.
However the resolution and print quality was uncomparably better than PLA based desktop printers!
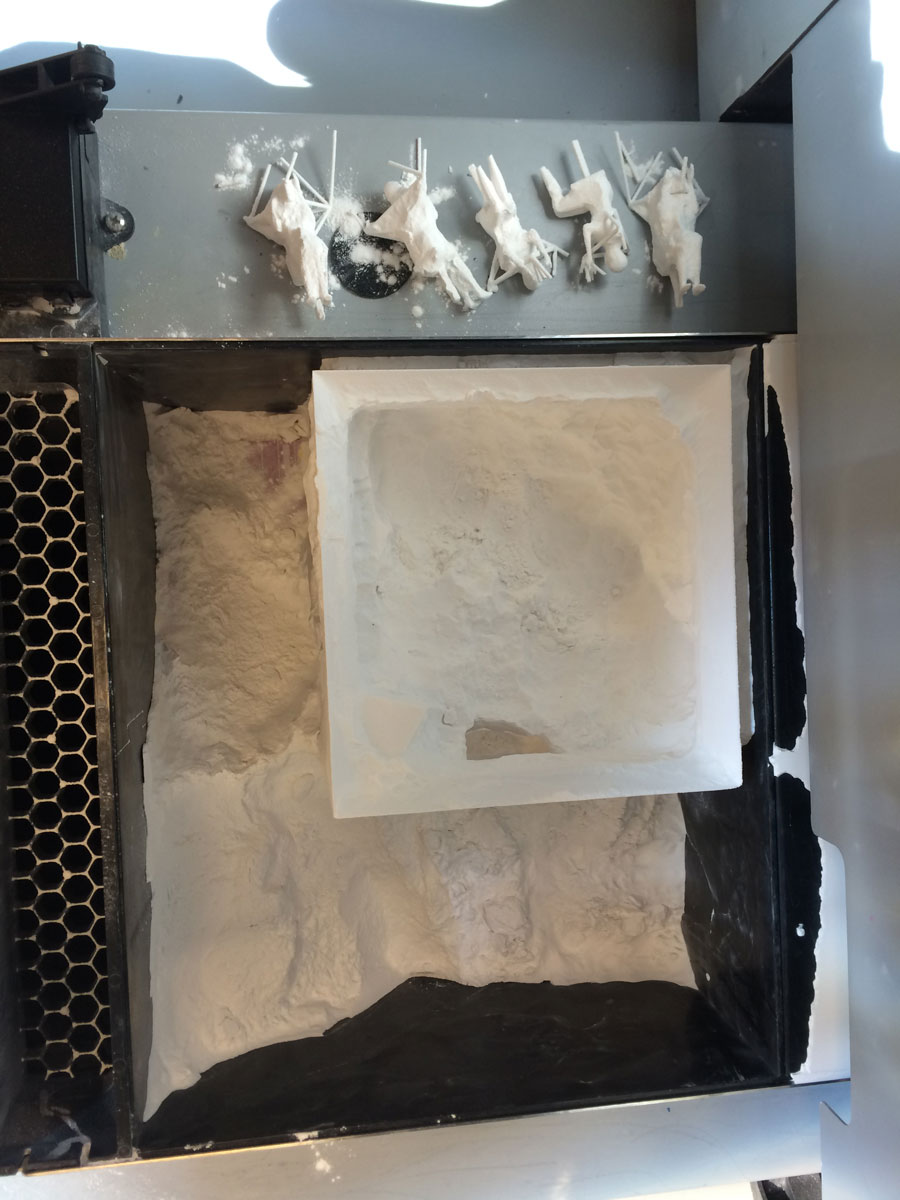
then, I have sent another print WITH A base to the Zcorp. Unfortunately that print got vandalized before I even start being able to excavate it. Somebody else had their print in the same powder tray as me and they apparently decided that its okay to destroy someone else's model to get it out of their way while excavating theirs. Not a big deal, the same file was sent again.
However unfortunately, the second (third) print was not be able to successfully excavated out of the tray. Prints come out ow Zcorp are already quite fragile, having very thing struts definitely didn't help! However at the very least, I learned the workflow and to be honest, excavating is quite fun!
First trial: Printing with Ultimaker
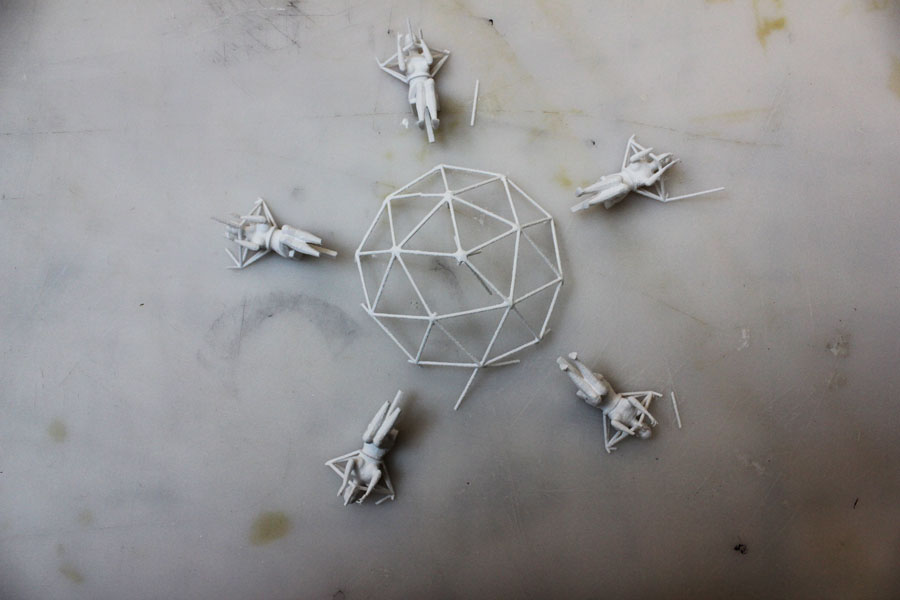
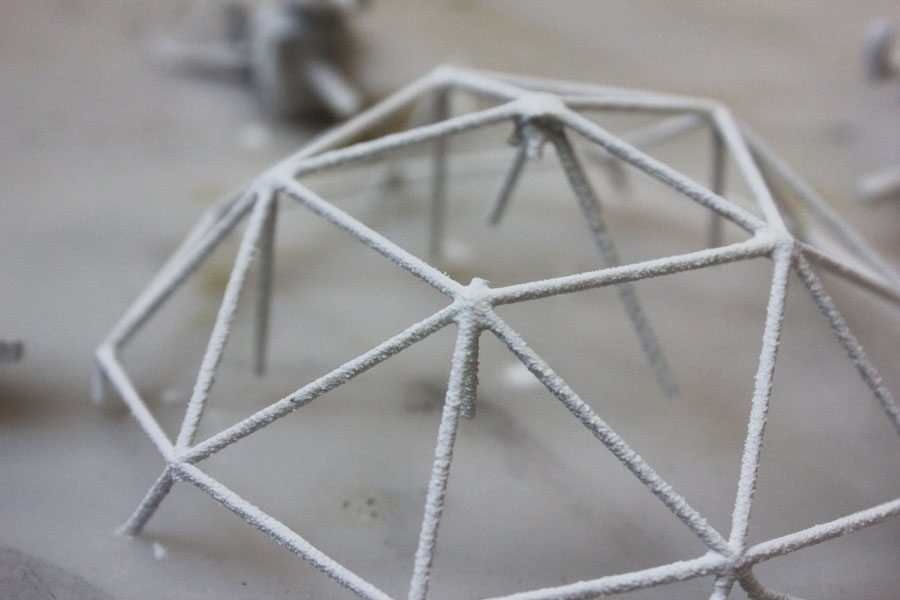
this week for 3D printing, I tried printing a small scale model of my final project which is geometrically a geodesic dome, thus I could tell that it was going to be tricky to print such a structure that spans across without intermediate supports.
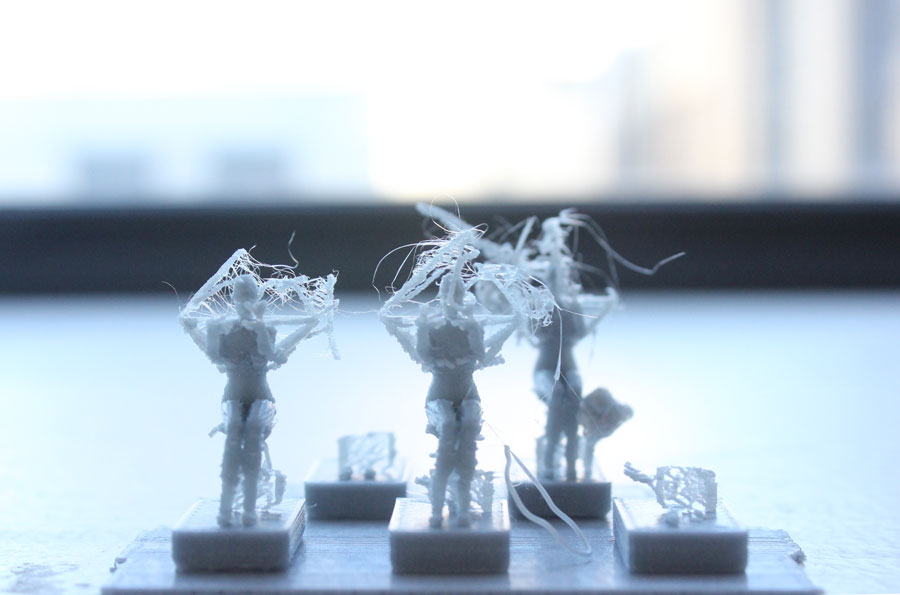
In my first trial, before even reaching to the dome part, the print has failed because I had forgotten to add a base underneath! Such a rooky mistake! Understandably, half way through the print, model got detached from the ultimaker's bed and started being dragged around by the nozzle. Nevertheless, seeing the proportions made me realize that I'd better scale my model down even more since it already seemed a bit too big for dome to span across.

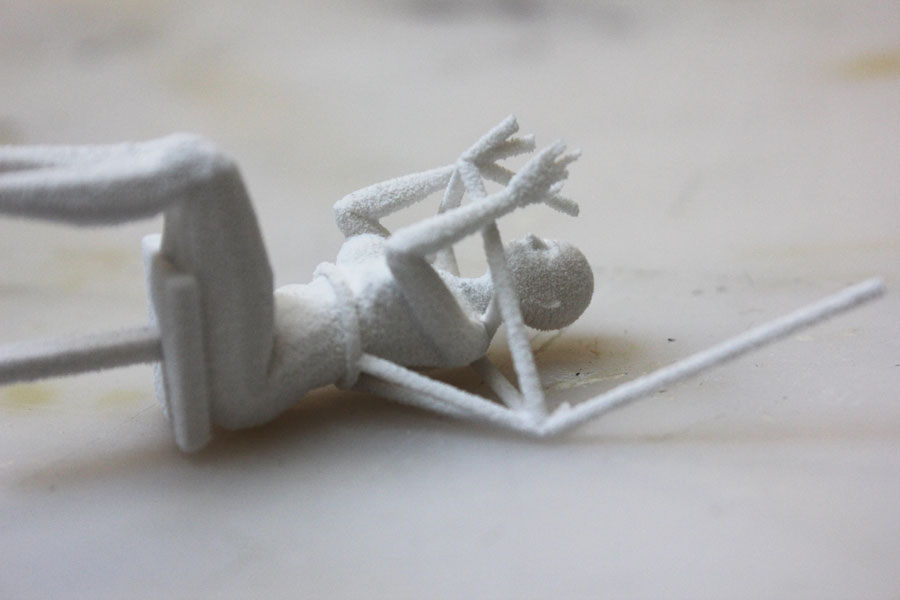
I scaled my model down and added a base. This time the figurines got printed successfully; however, as predicted, the struts were too autonomous to be printed in this fashion.

Apparently, this thing was not going to be as easy as I had expected. I had to try more; in order to save time (and filament!) I decided to make test prints with individual figurines by decreasing the speed of the print.
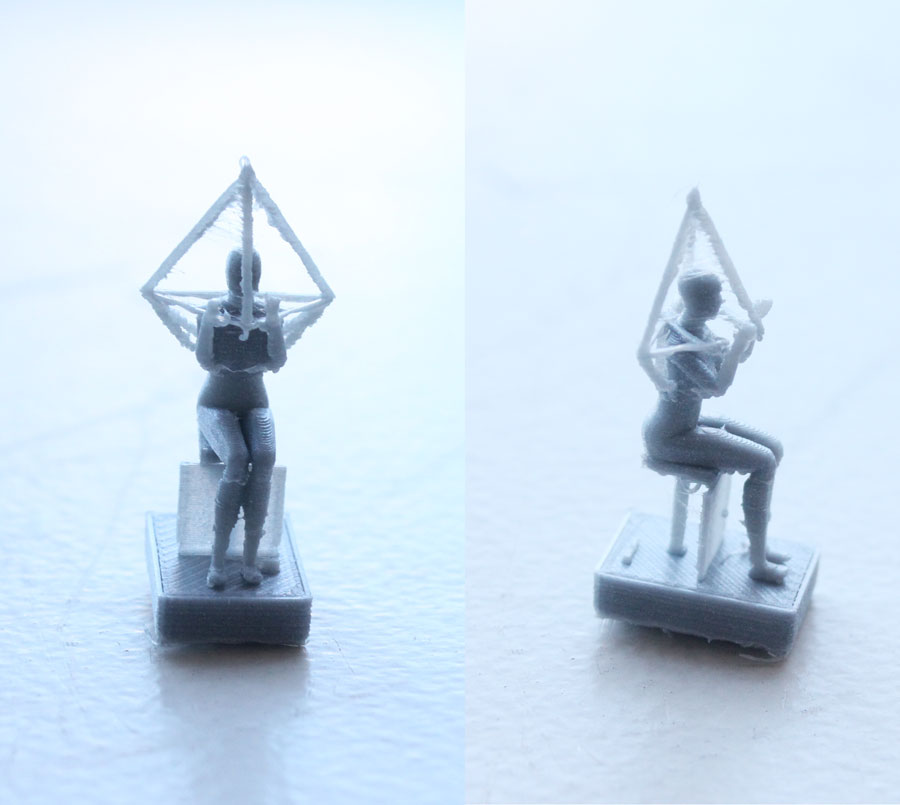
This time it kind of worked. So, apparently printing the whole model on one go was not going to be possible, instead I was supped to print the figurines and the dome individually.
However the print has failed again even though I used the same settings!Meanwhile, I had made some alterations on the design, reconfigured the settings and tried to print the parts indicidually again.
this time it worked!
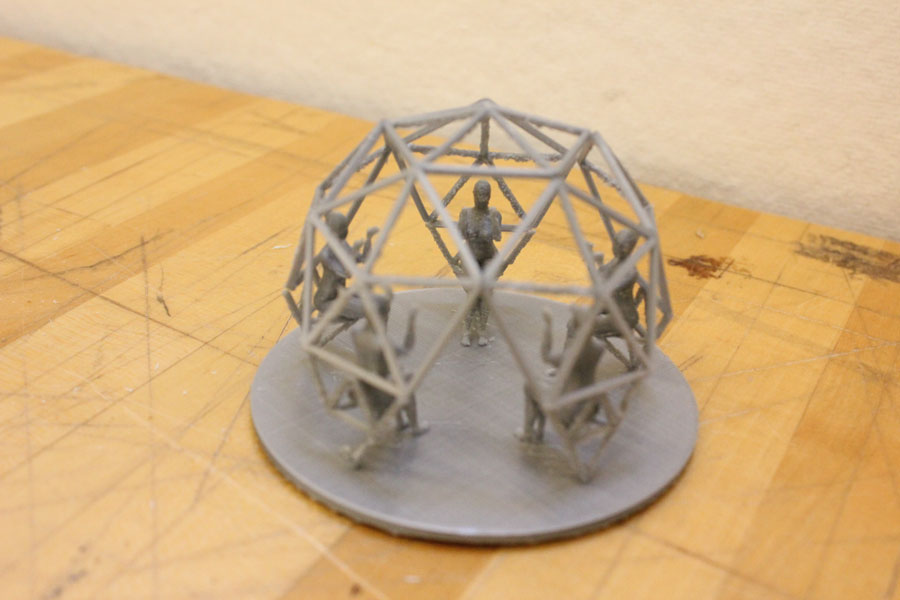
Figurines sitting on the base was printed the first. Then 6 individual pentagons were printed and articulated to the body.