3d Printing and Scanning
This assignment is try to use 3d Scanning devices and apps (like 123d Catch) and also 3d print something that cannot be made subtractively. We are also traveling to Chicago for studio this weekend so I will start with the 3d Scanning and get to the printing when I get back.
I was eager to try out 123d catch as I have used other 123d software (make) and the idea that it can process photos into 3d models seems awesome, although I want to test the quality because I am sure it will be pretty low.
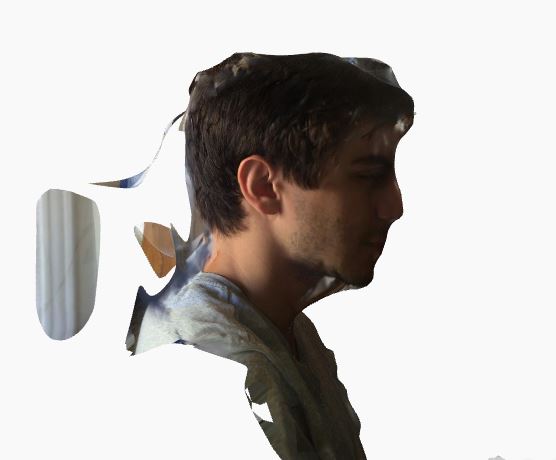
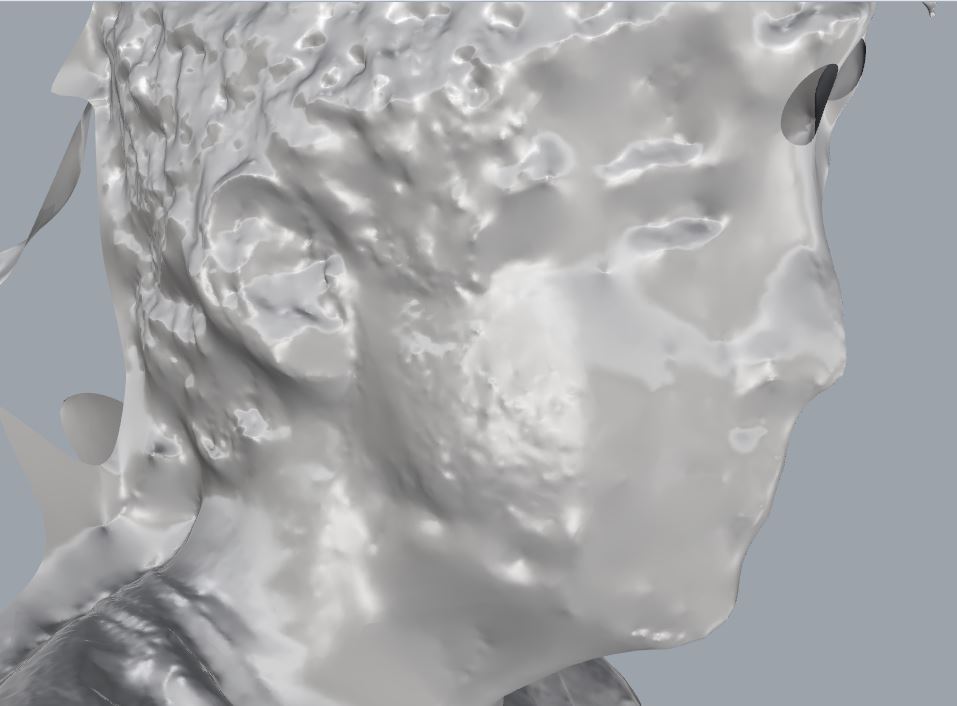
The first scan turned out better than I expected. There are a few errors but since I am a moving object a few of them are because of small eye movements and such. I will now try to scan something with small details to see the resolution it can pick up.
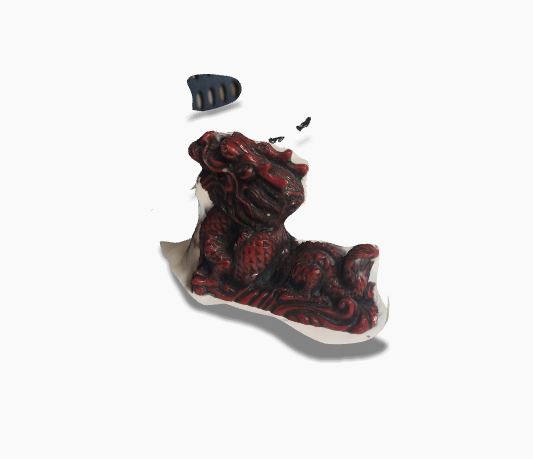
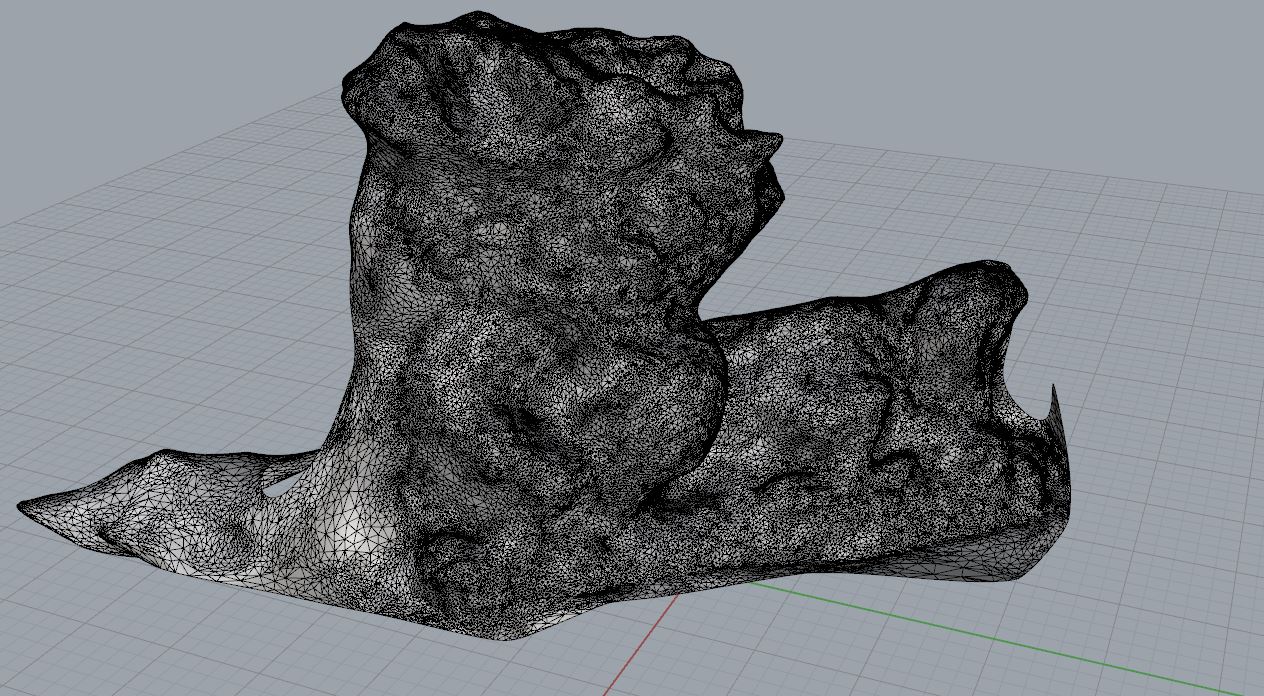
I scanned an old dragon I had laying around from my favorite Chinese Restaurant back home (Pagoda House.) At first the images had me excited, it seemed to have captured the details of the scale which are smaller than a 1/8" of an inch. However when I go the 3d model, the resolution was a lot lower.
Personally I think 3d scanning is interesting but often overrated without professional set ups like the scan of the president that Neil showed in class.
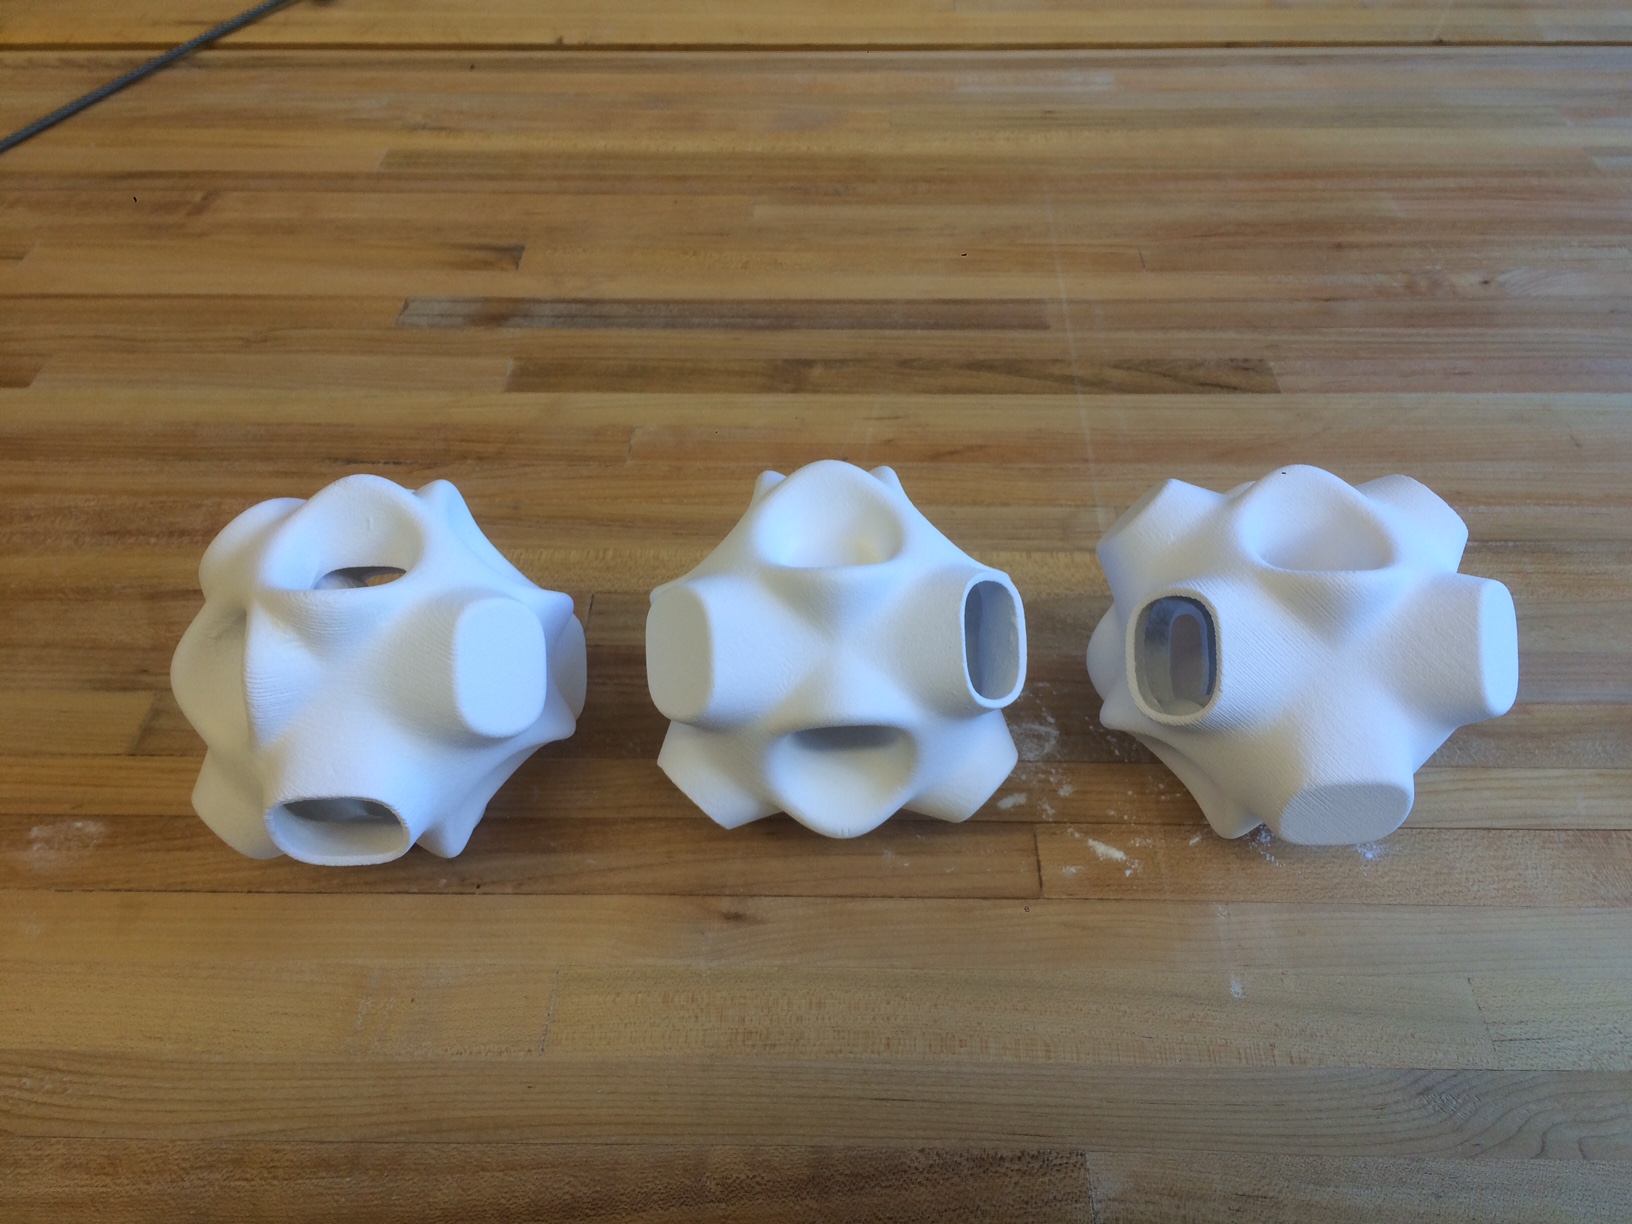
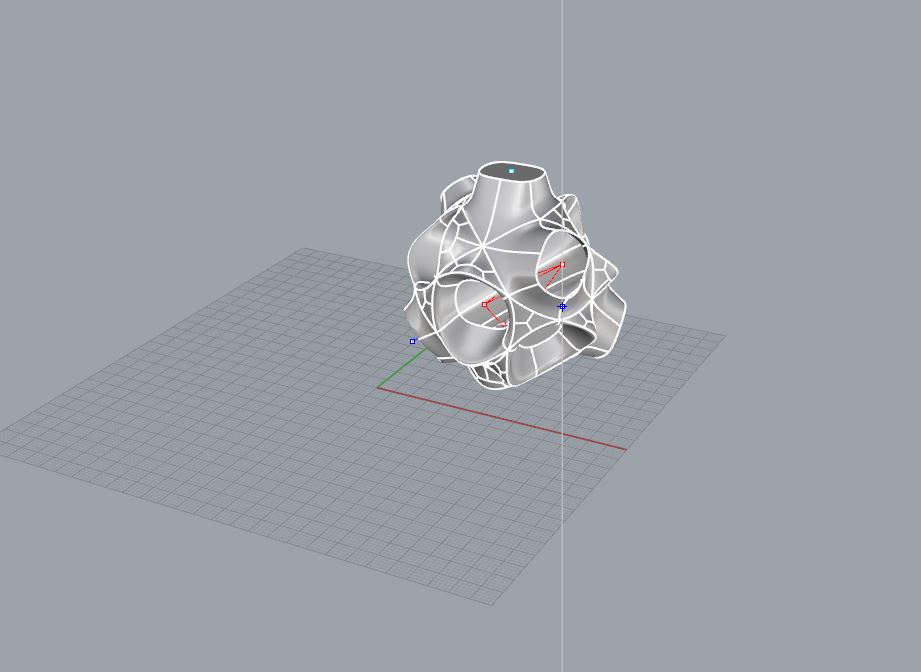
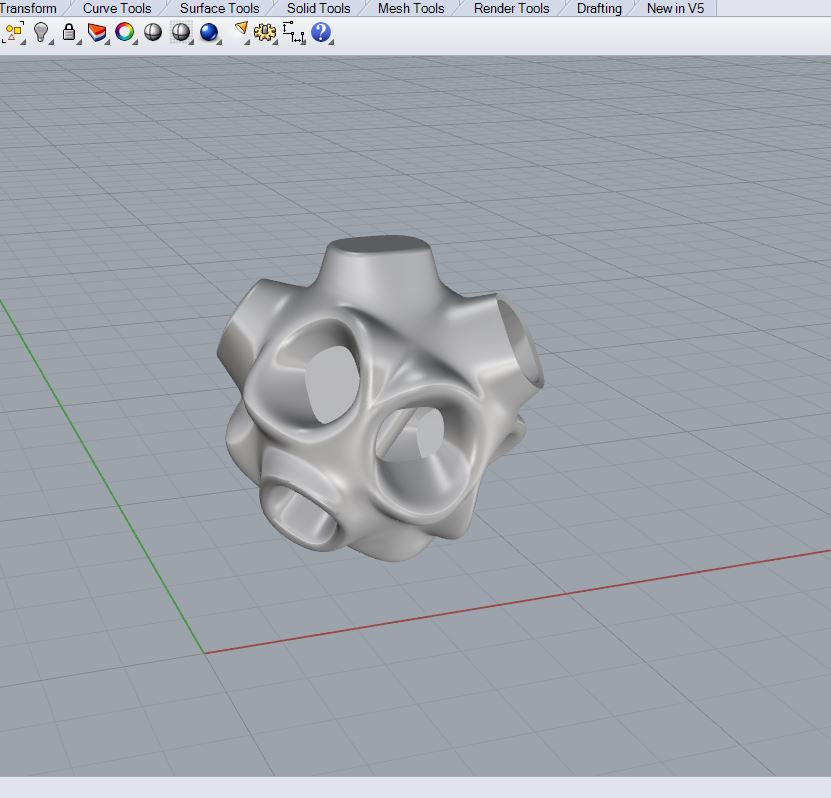
I am back from Chicago and time for some 3d printing. The first geometry I am printing is a blob similar to Greg Lynn's blobwall based of a meta ball geometry. I am interested in these blocks because the geometry can create different issues for fabrication. Depending on positioning of the nodes you can create undercuts that a 3 axis mill cannot cut, but you can also make geometry that it can cut.
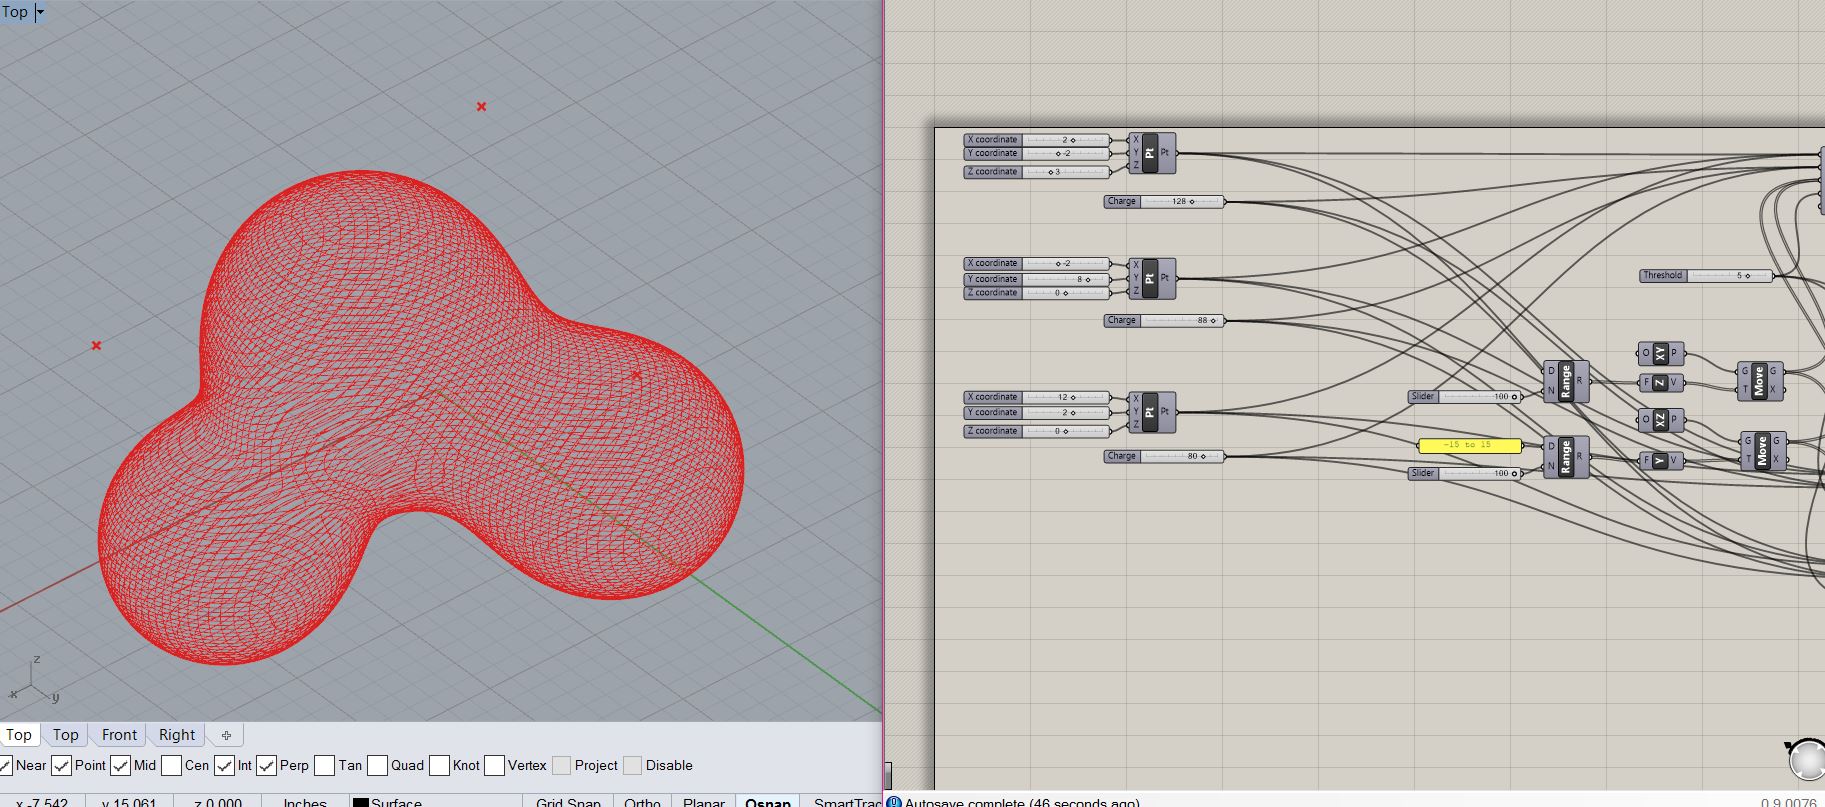
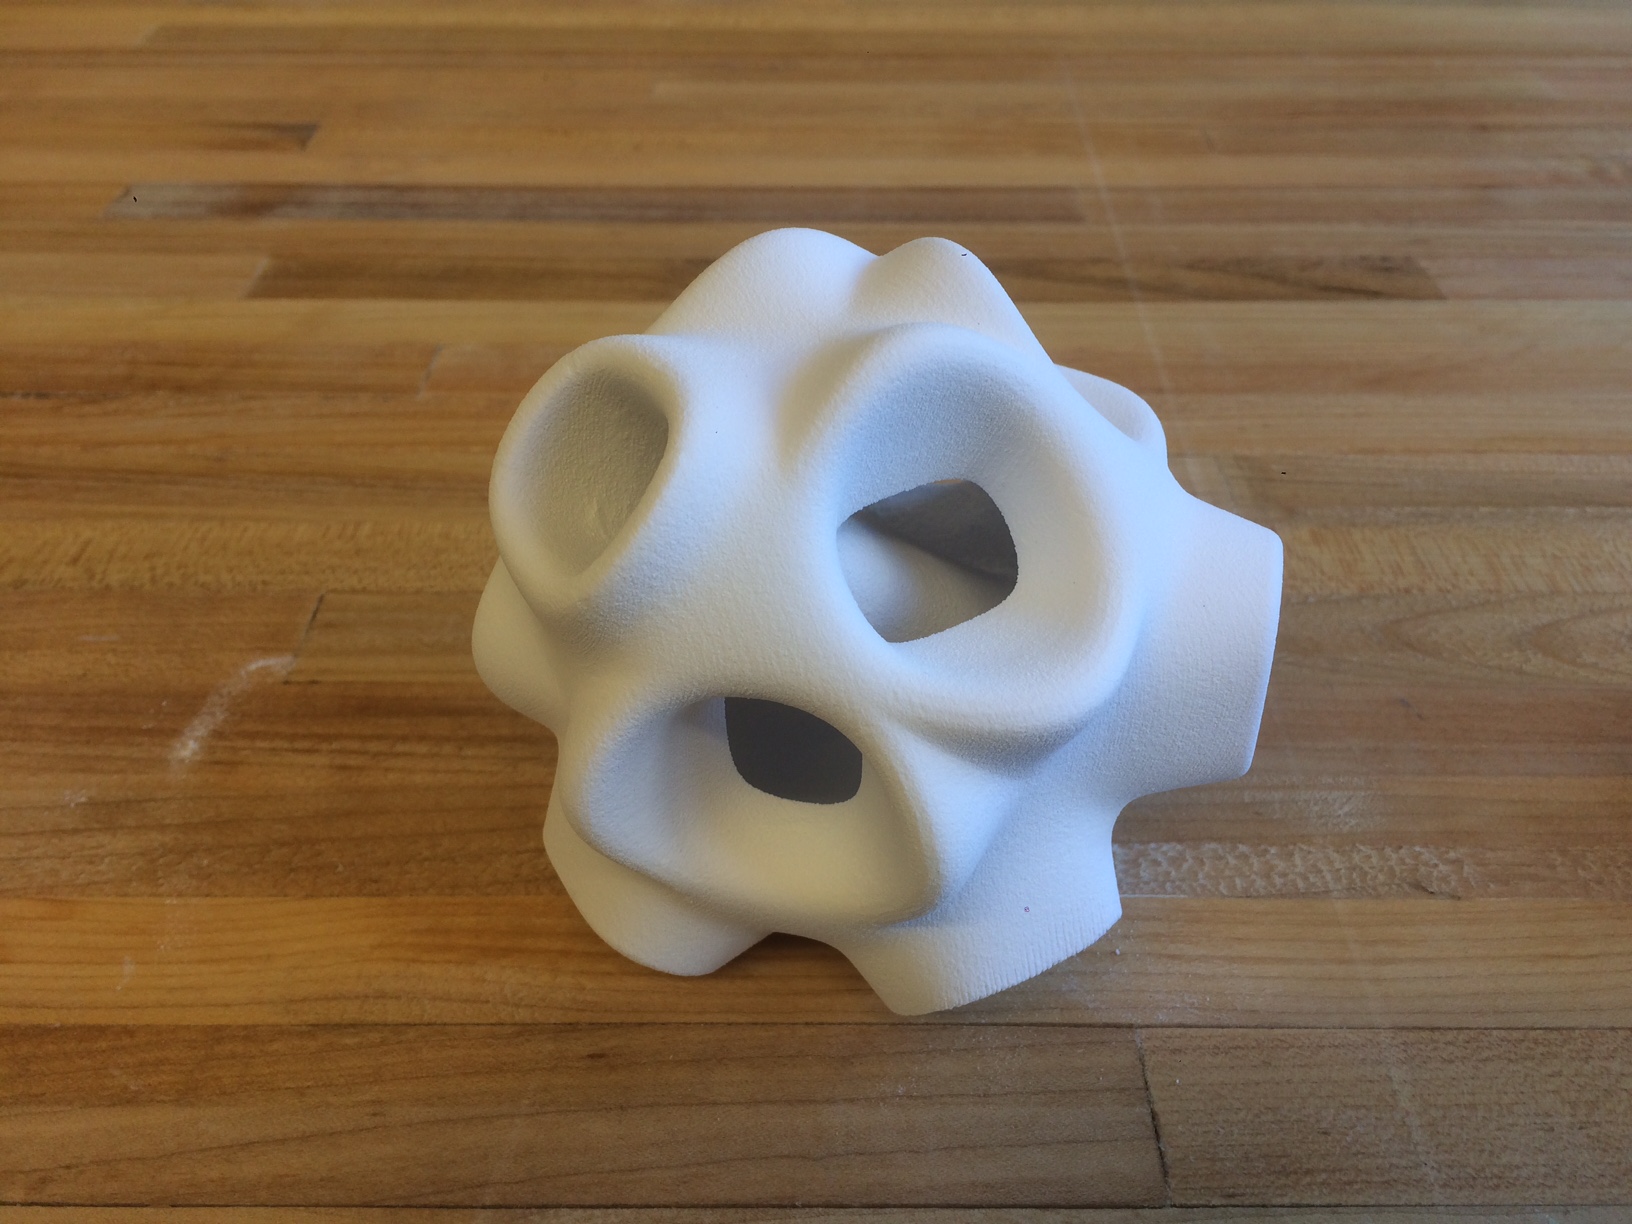
Here is the geometry and a portion of the grasshopper script that I used to create it. I am going to print a few to see how well they actually assemble to each other. In a way this kind of continues the Press Fit logic. All I have to do is export an .stl file and submit to the zCorp Qeue. After completetion because it is a powder machine, you must vacuum the parts pretty heavily to exacavate them.
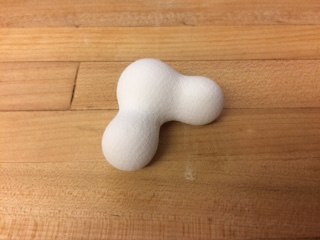
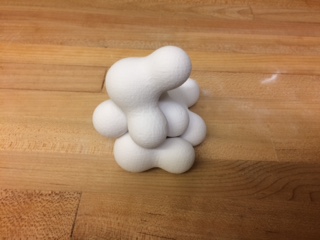
They actually grab each other pretty well to create a tension only wall.
Update:
I am
currently working on another project, for my friend Sixto Cordero's thesis, to develop some interactive lighting and will be prototyping some 3d models to use as scale models this week, so while they aren't for this class I figured other people will still want to see them so here they are! I started with single surface from my friend, which I then offset to a thickness of .125" and then sent it to the printer.
Single Surface Geometry.
Offset Geometry.Time to print! Here they are:
One trick when meshing is to edit the mesh in grasshopper where you can increase the smoothness and resolution of the machine with components like meshmachine. This can give you pretty fine results when 3d printing.