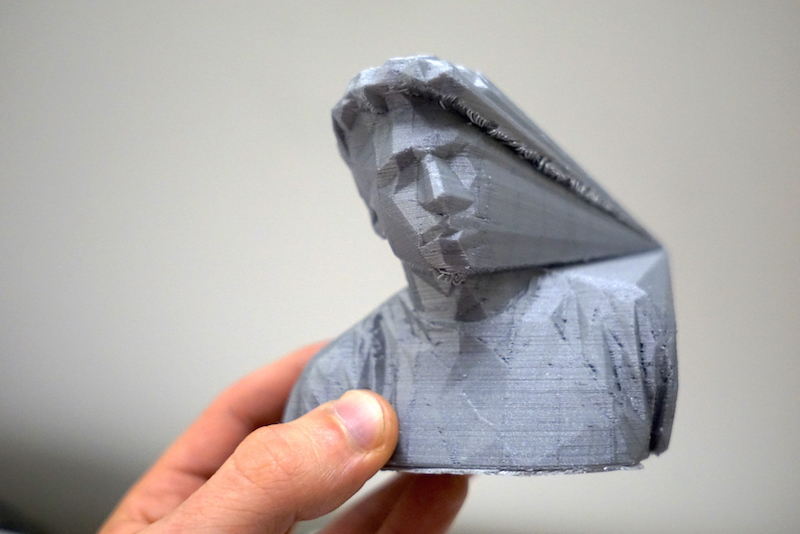
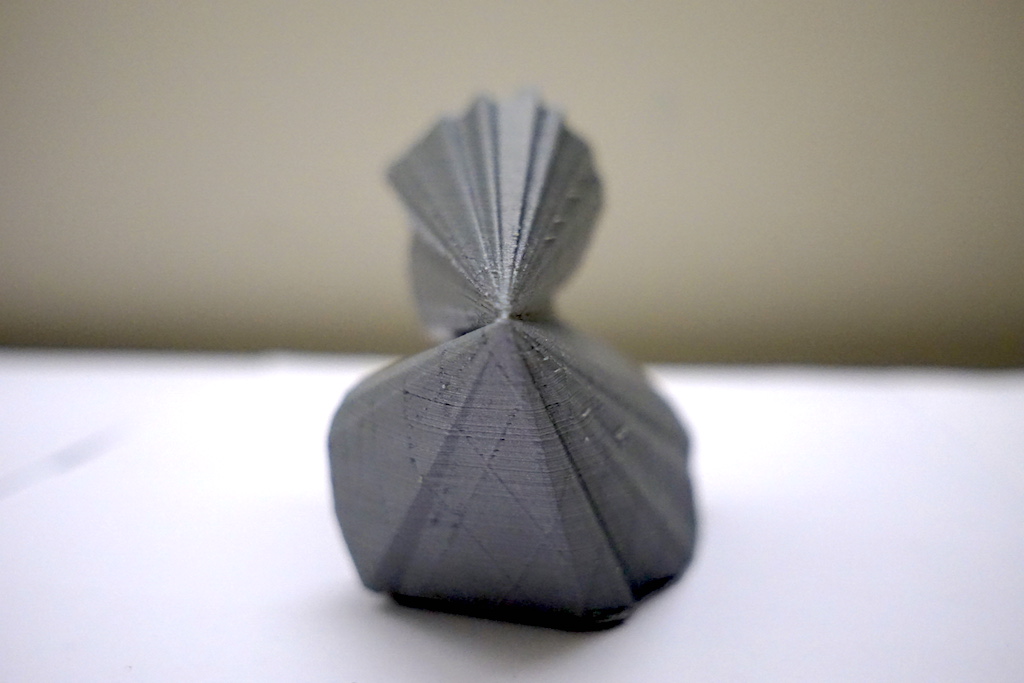
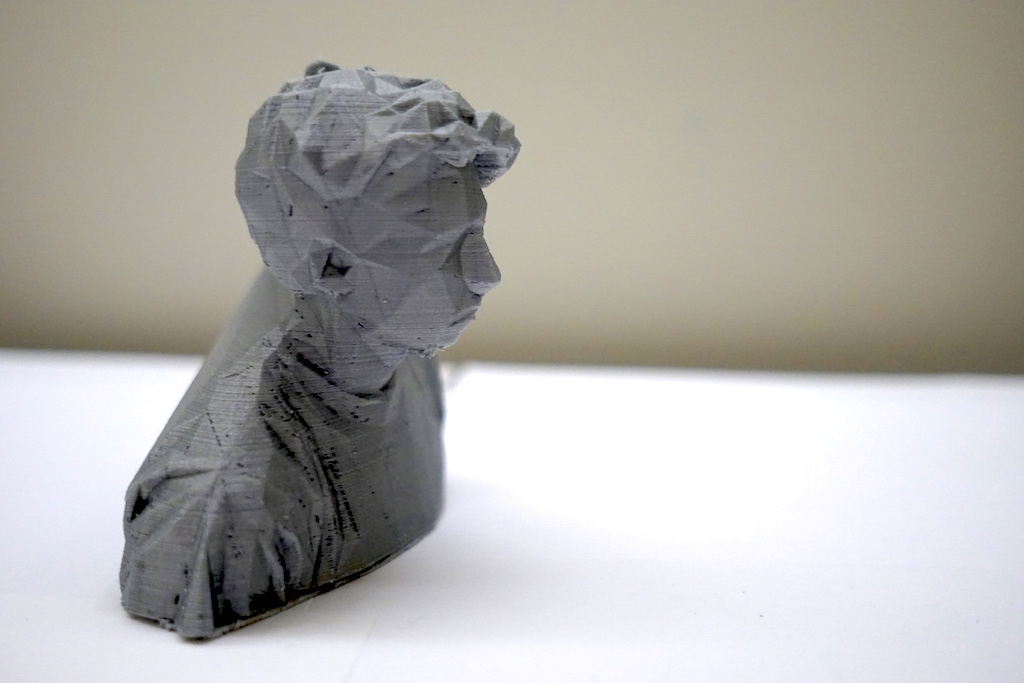
This week we explored the magic of 3D scanning and 3D printing. I decided to make a bit of an abstract piece - a faceted version of myself getting sucked into a black hole! Over the course of the week I got to feel more comfortable with Rhino - and specifically, troubleshooting mesh issues.
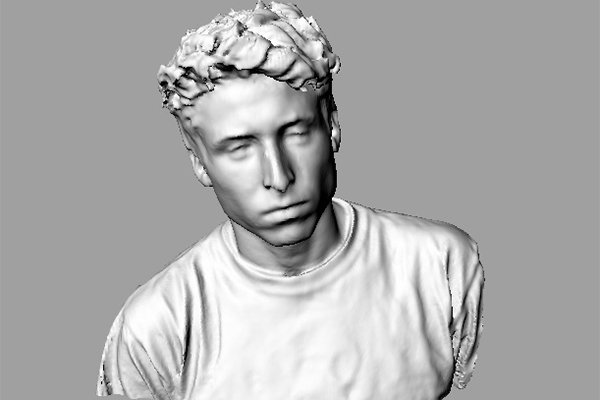
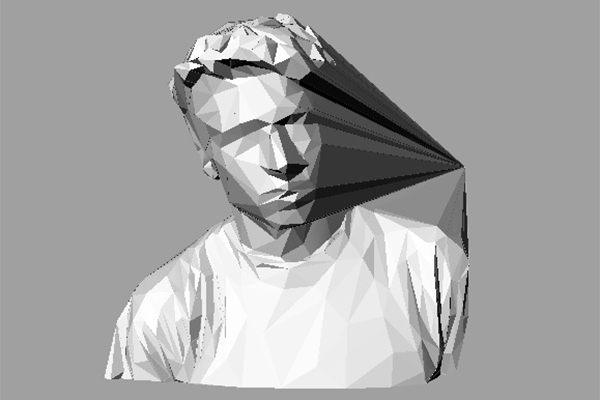

First I 3D Scanned myself sitting on a chair using the Sense 3D scanner and the help of a handy friend. I then imported the scan into Rhino3D and used the ReduceMesh/TriangulateMesh tools to facet myself into intersecting triangular meshes. I then used the ExtrudeSrfToPt tool to extrude myself into a black hole. Putting that into the Ultimaker Software posed problems becuase I had non-manifold edges so I had to go back and tinker with the ExtrudeSrfToPt function to ensure I was closing all my edges and making a solid object.
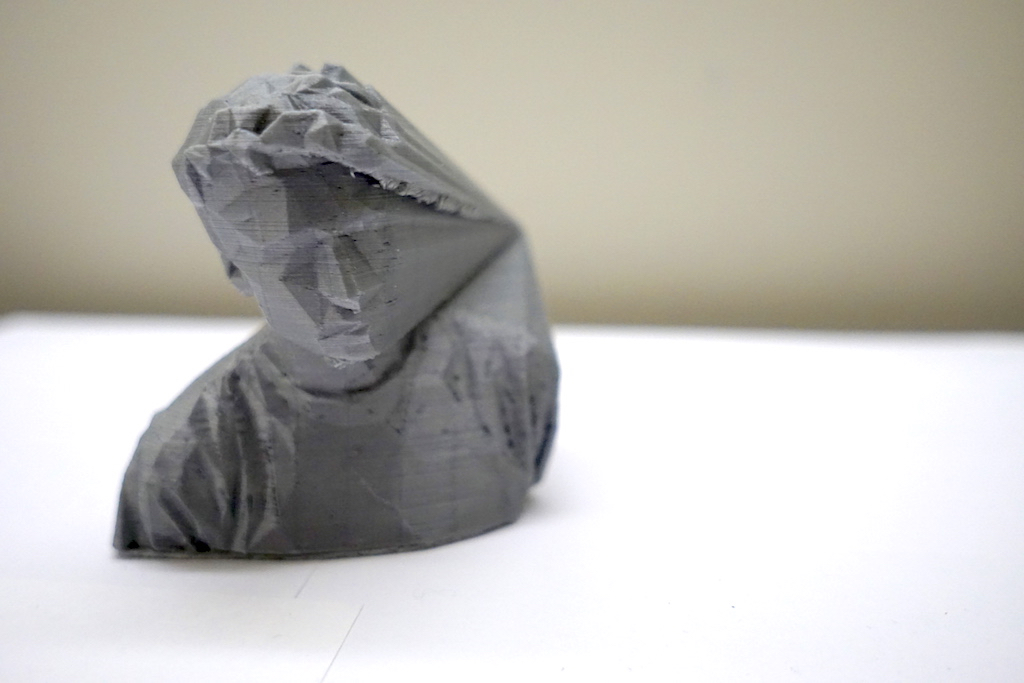
Troubleshooting problems with the non-manifold edges was the most difficult part of this week. I had to continue to go back "ShowEdges", check out non-manifold edges, try BooleanUnions, try joining Polysurfaces...but nothing changed. In the end I noticed I had a problem with my ExtrudeSrfToPt and had to click the "Solid" option to keep everything connected. Once that was done, executing couldn't have been easier. Just click print, sit back and relax! Notably, it was important to check out the first few layers of printing as those were the most important for the success of the print.
I think one thing I realized from this week was that 3D printing is definitely not the end all be all of manufacturing techniques. It has it's place; but the length of time required for a print, combined with the low quality prints you often get from commercial printers makes this more of a niche manufacturing technique. For designs which can be done in a shop, it would be much better to use the lathe, mill, etc to get the desired parts made.