Make Something Big

(I didn't make a boat)

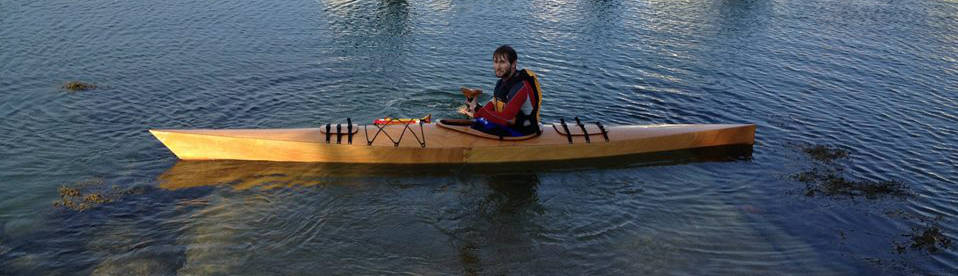
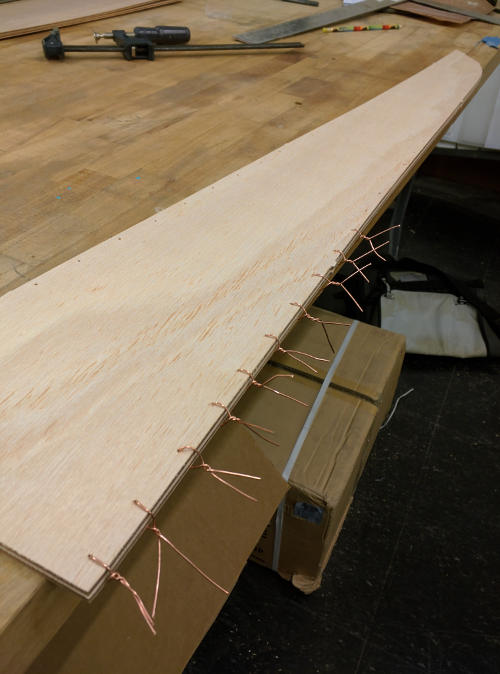
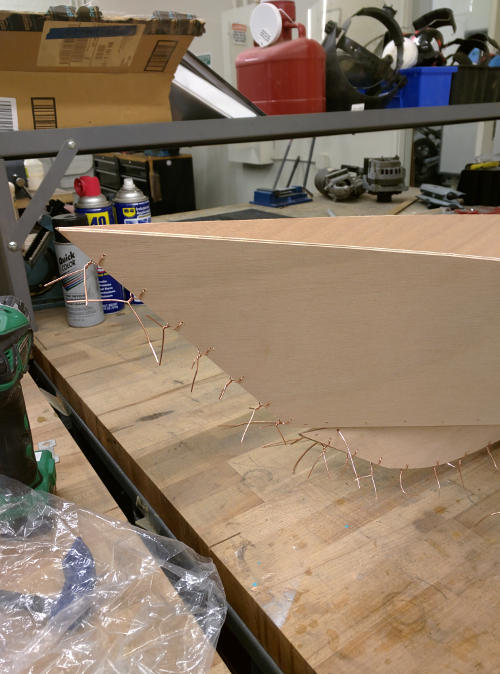
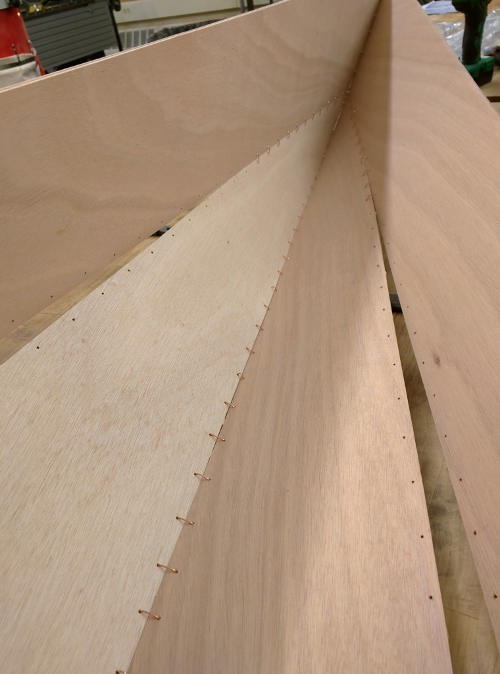
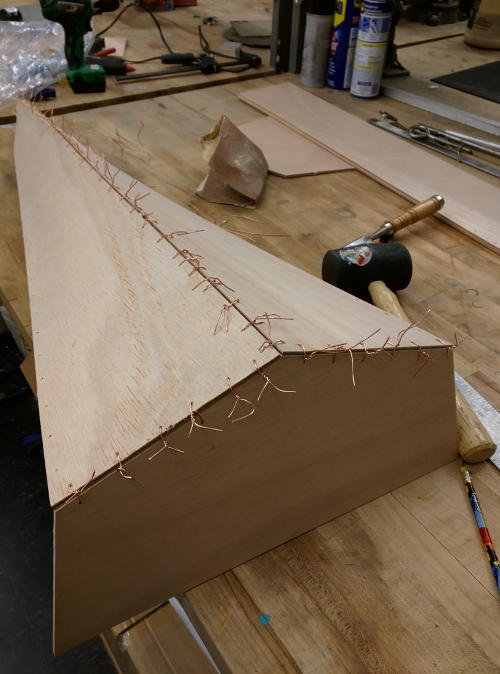
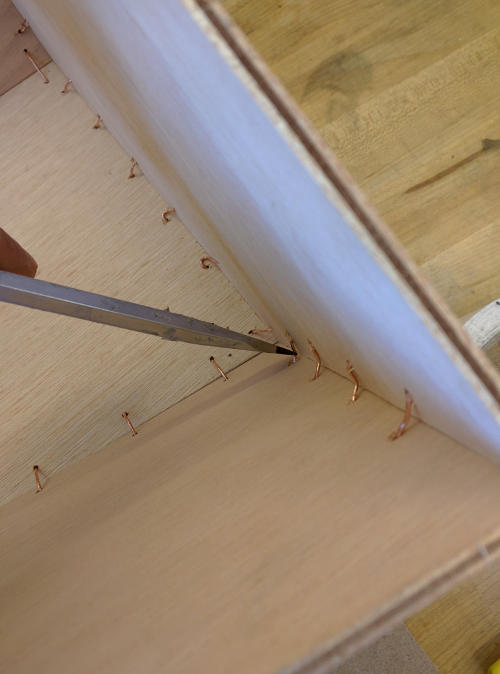
Last summer I made a stitch-and-glue kayak with a kit of pre-cut pieces from chesapeke light craft. This was to prototype the stitch-and-glue construction technique of boat building for a class that my research group teaches during the summer.

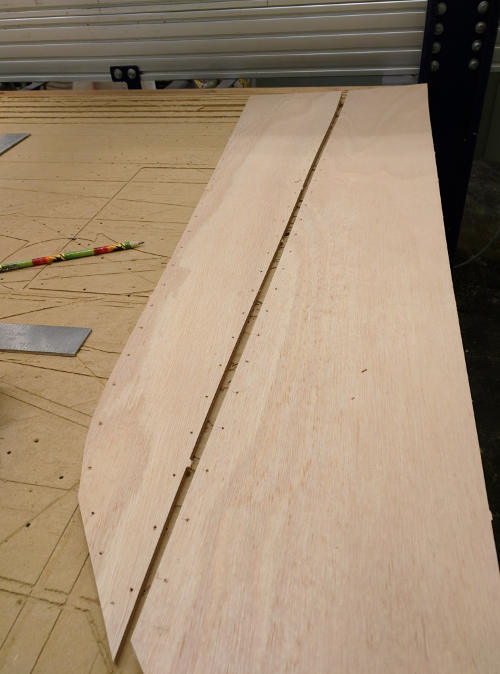
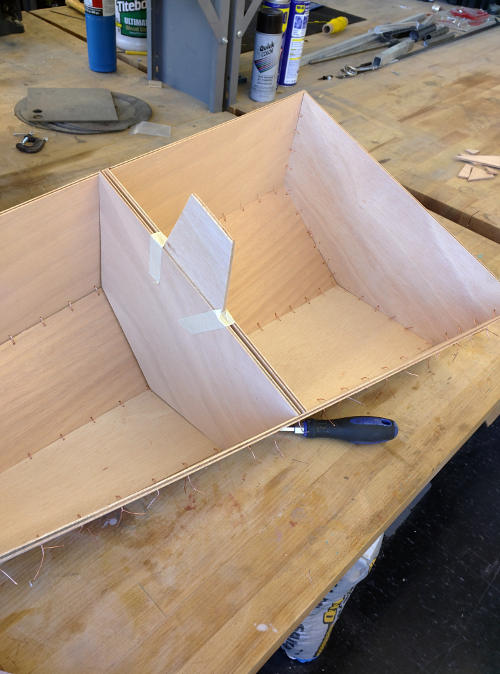
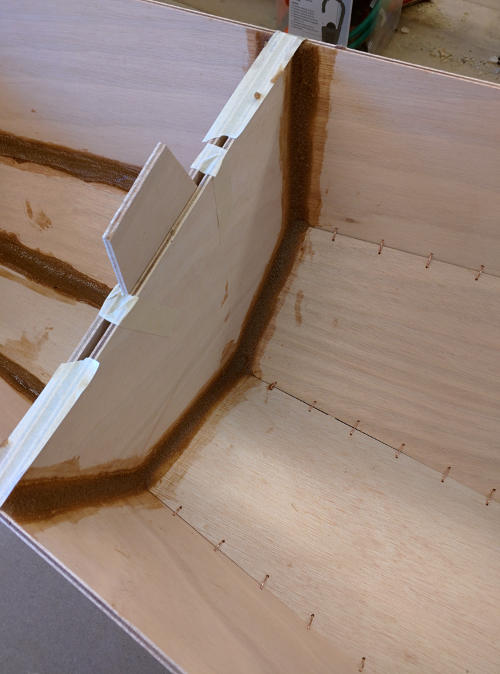
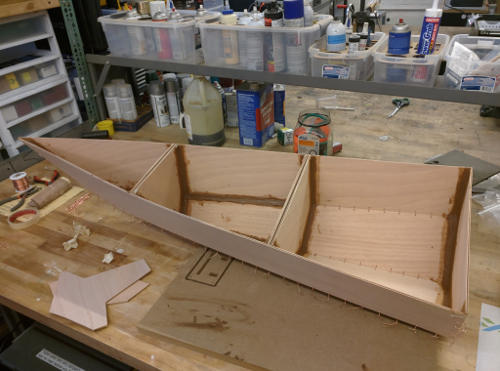
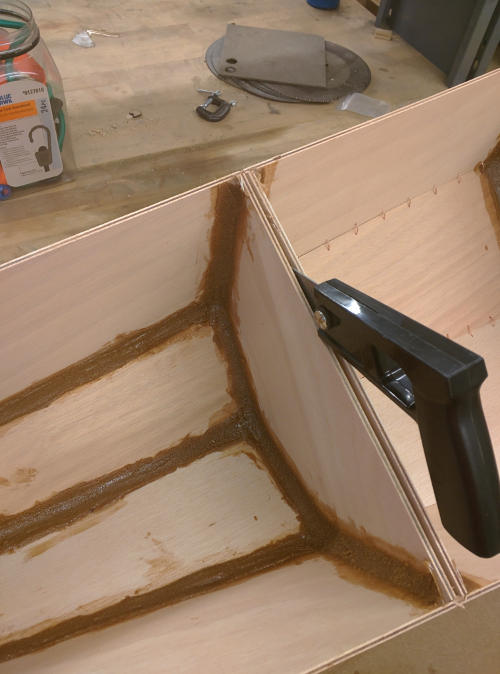
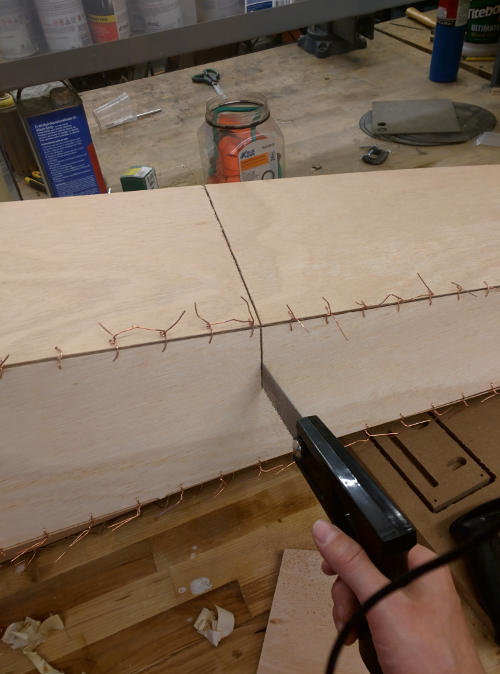
Since I was familar with the construction technique, I wanted to use this week to design my own hull shape, cut it out, and see how well it would fit together. I've never used Rhino before, so this was also an opportunity to spend some time figuring out how it works. A further goal was to experiment with building double bulkheads into a boat and then cutting the boat at those bulkheads. This is a technique that can be used to make nesting boats and boats that can be broken into multiple sections.

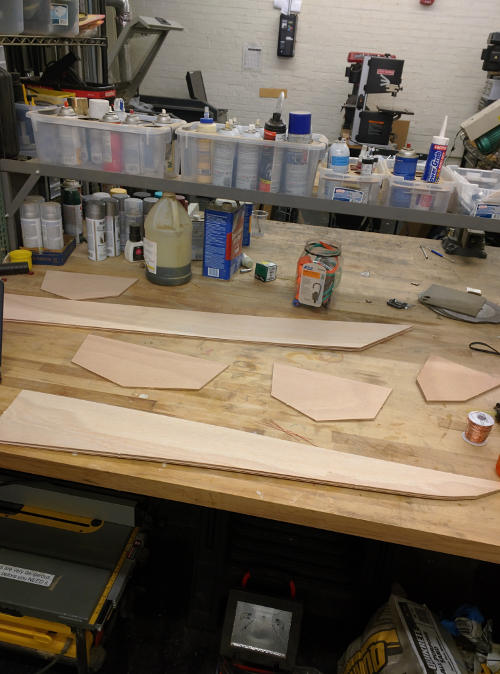
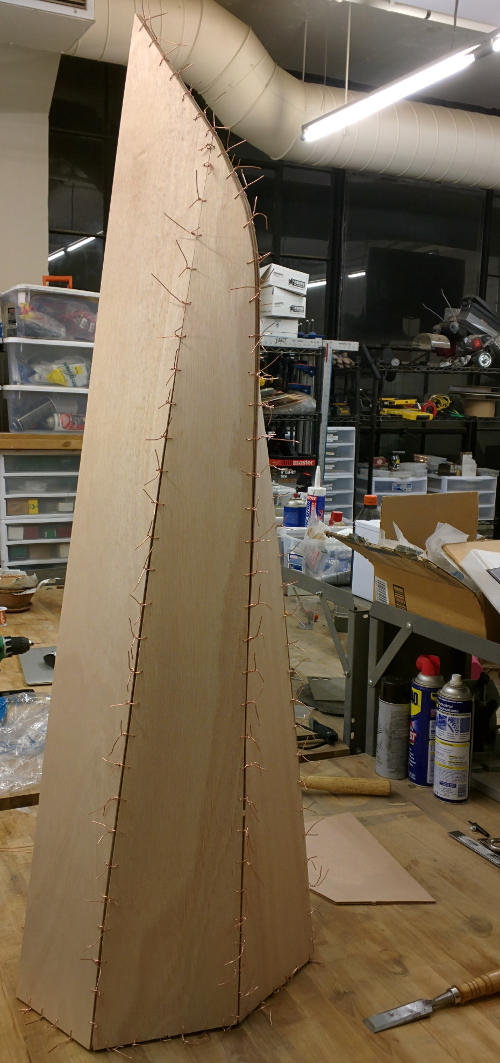
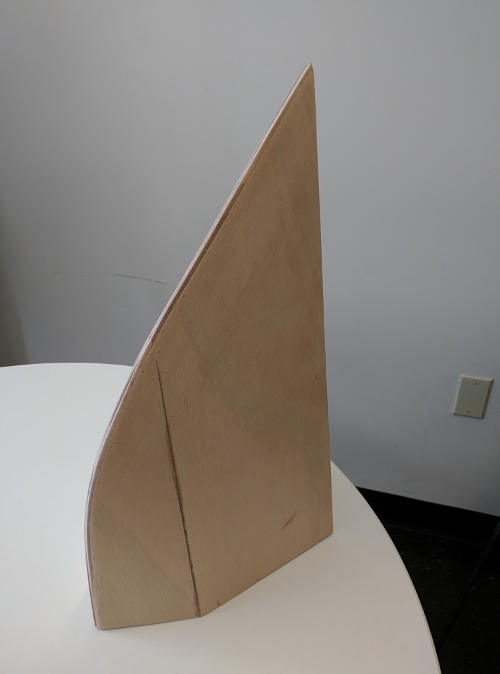
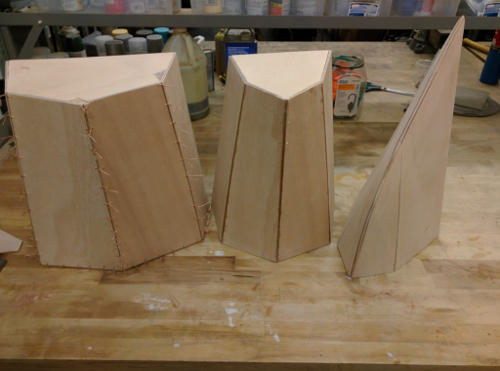
We have a boat storage issue, so rather than making an entire boat, I decided to just make the front section of a hull. I wanted this project to be a teaching tool so that you can see the various stages of building a hull. Finially the form factor is going to be a display case / bookshelf so that I can keep the hull around my office.
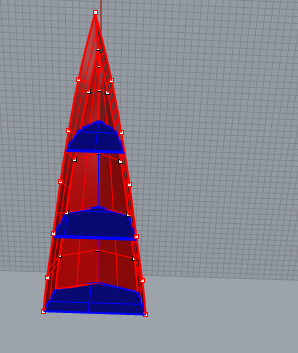
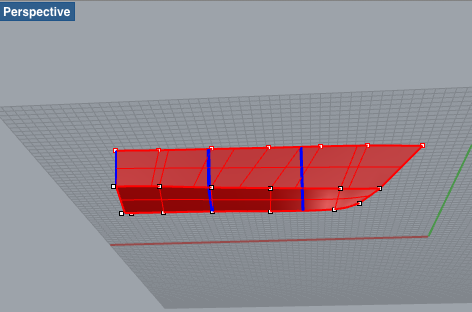
Designing the Hull

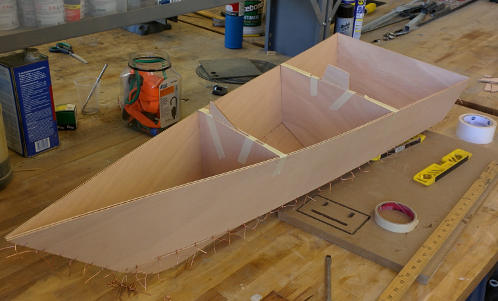
As I'm not too sure of the tolerances of the 4mm okoume plywood that I'll be using I decided to base my Rhino model off of a line drawing of a 14 foot boat. I was able to import the line drawing and use the lines to sketch out curves that I used to loft into surfaces.
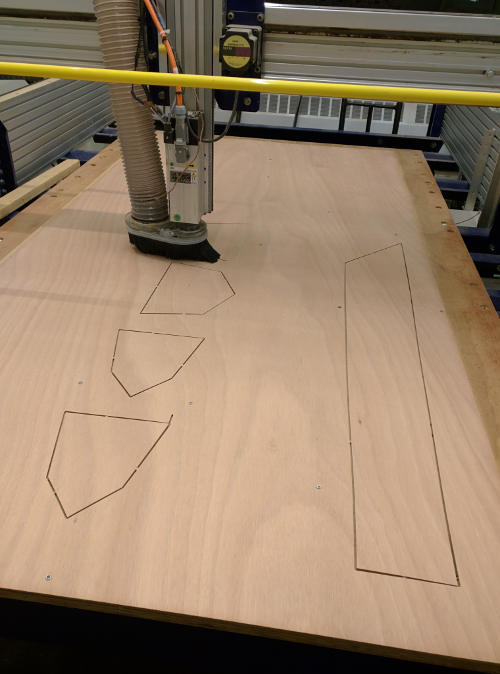
The PictureFrame command in Rhino can be used to import some pictures to be used as a reference for modeling.

Based on the reference photos I created this ~4 foot section of hull. The model is just surfaces that intersect, I wasn't worried about creating a 3D volume as all that matters is the inside dimensions of the boat which will be the plywood dimensions that get cut out.

Here you can see the side view of the hull. It looks much more boatlike from this angle. Each of the bulkheads is two closely spaced bulkheads that will later be seperated.

Once the surfaces were all modeled I was able to use the unrollSrf command to unroll the developable surfaces (those that can be bent from a flat piece) into surfaces that the shopbot could cut.

Milling

The shopbot in the IDC has un-intuitive axis directions! After figuring that out and re-doing the toolpath in VCarve Pro things went well. I was able to use a single flute 1/8 inch downcutting endmill which provided a very nice finish. With this endmill it was important to ramp into the cut.

I used the shopbot to drill the pilot holes to screw the plywood into the sacrificial layer. This way I could ensure that my piece was secured outside the toolpath.

I tabbed the pieces with .2 inch tabs that were the full thickness of the plywood. These were easy to detach with a chisel and then sand away after the job was done.

The pieces all ready for assembly!


stitch and Glue

Here you can see the hull pieces lined up with each other. Holes have been drilled every 1.5 inches around the peremiter so that 18 AWG copper wire can be used to stitch all the pannels together.

First you want to loosly wire the bottom pannels together such that you'll be able to open it like a book after it is completely wired.

Then starting at the bow you want to wire ~5 stitches at a time, alternating back and forth between sides.

It can be a little tricky to fish the wires through. These stitches you can tighten a lot more than the ones on the bottom, as you are using them to make the shape of the boat as you go. You want the inside corners of the plywood to align.

At this point it starts to look like a boat!


The end bulkhead of the boat-section was surprisingly easy to attach. The pieces really aligned well.


The boat hull all stitched together.


Bulkheads

Next it was time to install the double bulkheads. I decided to loosly tape them in place before epoxying them. I cut some pieces of scrap wood to hold the bulkheads at a constant distance from each other.

I made them as level as I could. It was difficult to fit so many bulkheads into such a narrow section of hull without distorting the hull shape too much, while also not displacing the other bulkheads.

Both bulkheads installed ready to be epoxyed into place.


Epoxying the Hull

The second stage of stitch-and-glue boatbuilding is to epoxy the pannels into place so that you can remove the stitches. The first step is to press the wire into corners using a screwdriver, as you will be epoxying over these loops on the inside of the hull.

The epoxy needs to be mixed well, and wood flour is added to help it bond with the wood, stay in place while drying, and blend in with the wood.

Wood flour is basicially just really fine sawdust, repackaged and sold for $$$. You want the expoy to be peanut-butter consistancy.

You fillet the joints with the thickened epoxy. I like to use a plastic spoon to push the epoxy into the corners and create a nice curve as you drag it along.

The finished inside fillets. The bottom section was left un-epoxyed as I want that section to demonstrate the stitching stage of stitch-and-glue.

'

Cutting the Bulkheads

Next was the rather exciting step of cutting the hull at the double bulkheads. The spacing was narrow, which made for a lot of accidental gouging on the sides of the bulkheads.

I switched to a larger saw after this picture, which I think made for a better cut as the blade was less likely to bend out of the straight path I wanted.

Outside Joints

Now that the fillets on the inside are dry, the shape of the hull has been locked in. You can remove the copper wire on the outside with some wirecutters.

After removing the copper wire from the outside of the hull you want to fill in any remaining gaps with thickened epoxy from the outside. Before filling in the gaps you should use masking tape to protect the outside surface of the hull around the gaps.

Sanding

The only step remaining is to do a lot of sanding to turn the rough corners into a nice smooth boat hull. For this piece, I only sanded the bow into a nice boat shape. Sanding is a one way operation, so you want to be careful not to remove too much material. It can help to start with a plane to remove the initial sharp edgges, then move to a palm sander and then hand sanding with progressivly finer grains.

Final Result

The bow is shaped into a hull. The middle section remains simply epoxyed, while the bottom section is still held together with just stitches (except for the bulkheads). In this way you can see the development of a stitch and glue project from rough geometery to work of art.