Casting and Molding

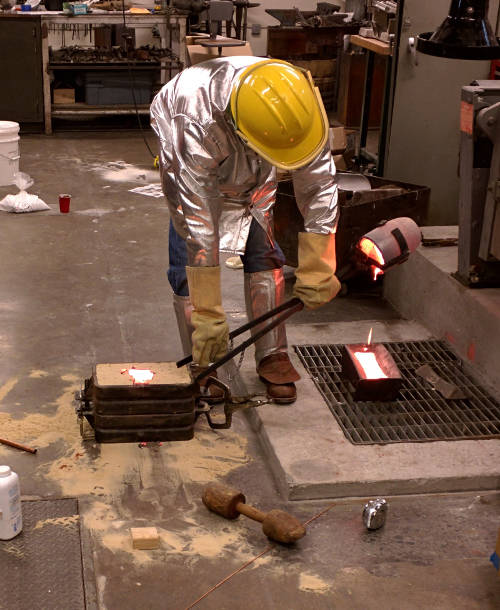
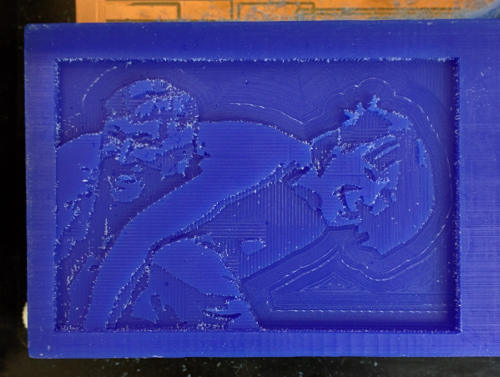
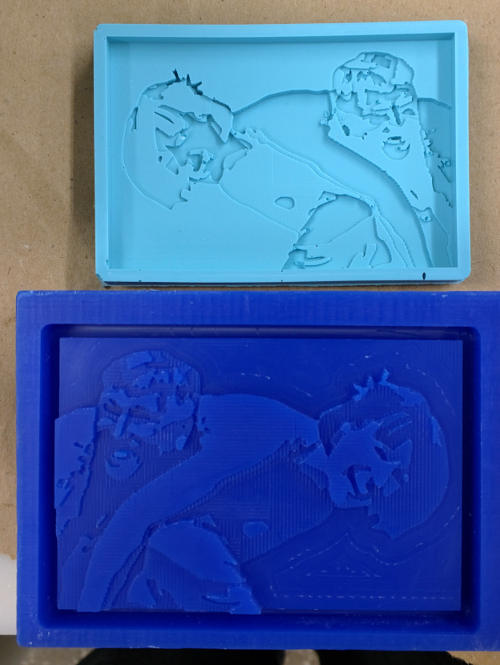
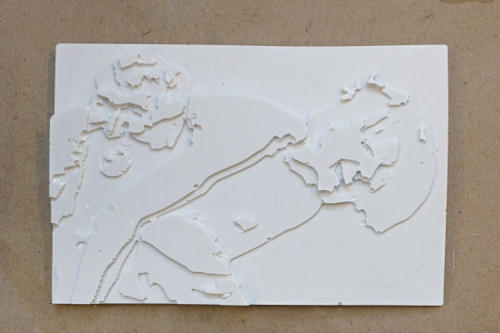
Casting and Molding is a lot of fun. This week I got lucky and got to help cast a bronze part, along with designing a 4 part mold for a piece of my final project and then making a chocolate mold of my dad and step-mom.

Sand Casting Bronze with Sodium Silicate Sand

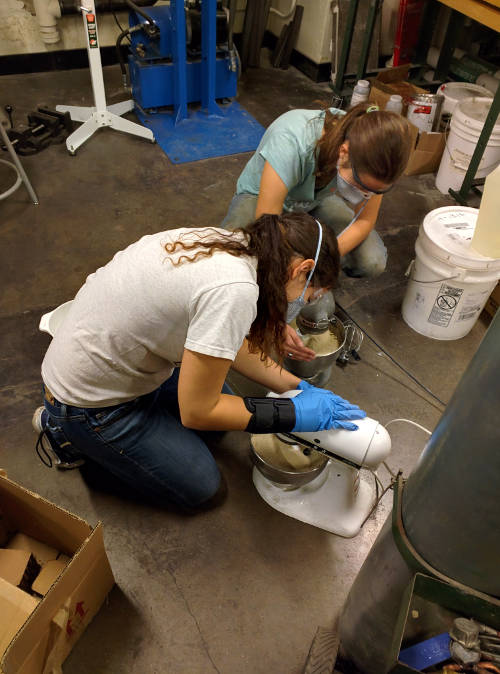
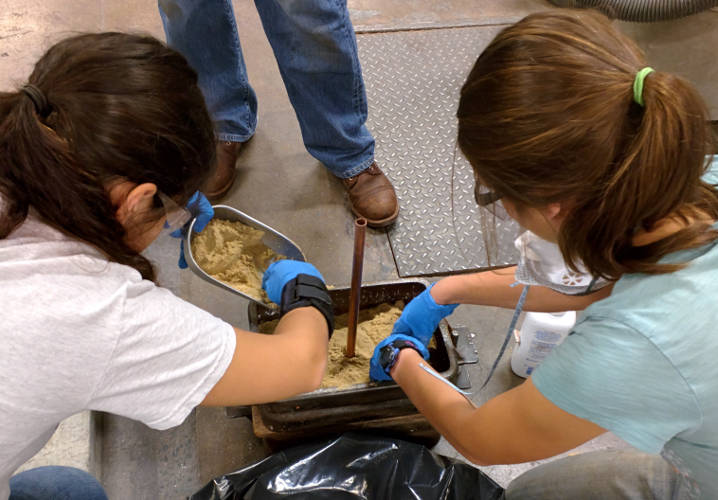
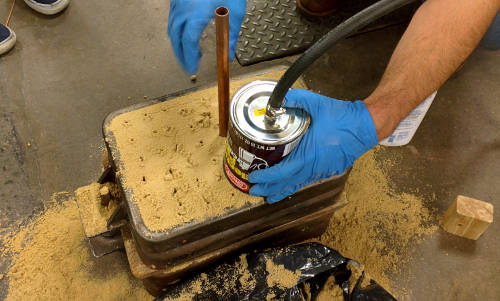
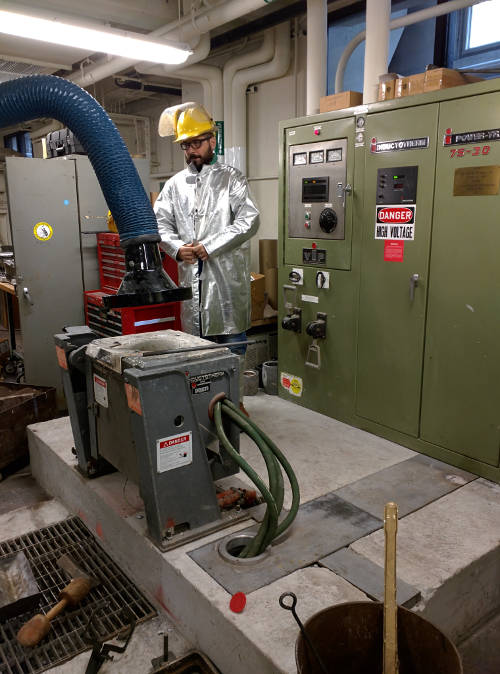
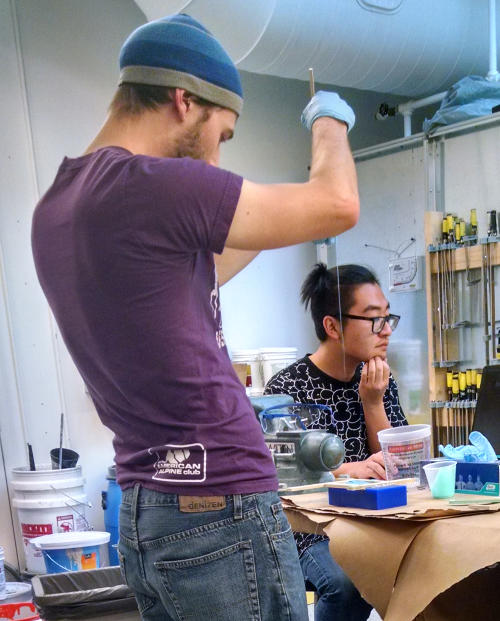
My girlfriend is working on building a 1 cylnder marine engine based on plans from 1901, and will be needing to cast many of the parts. She just happend to be getting to cast a test-part in the MIT Foundry this week, and I got to go along and help!

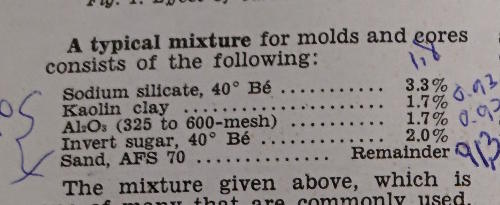
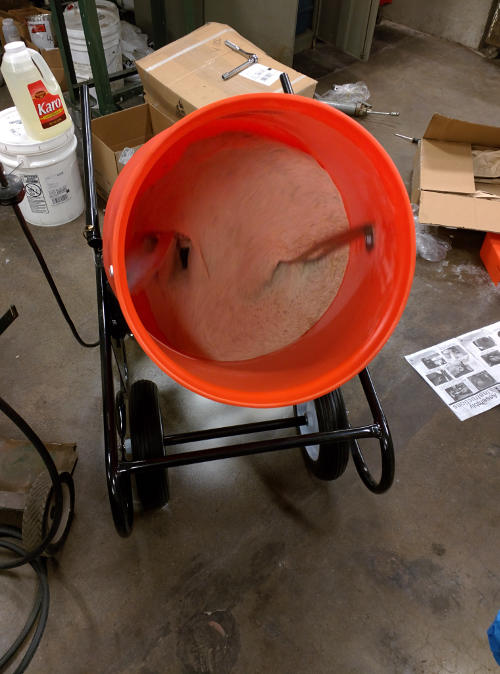
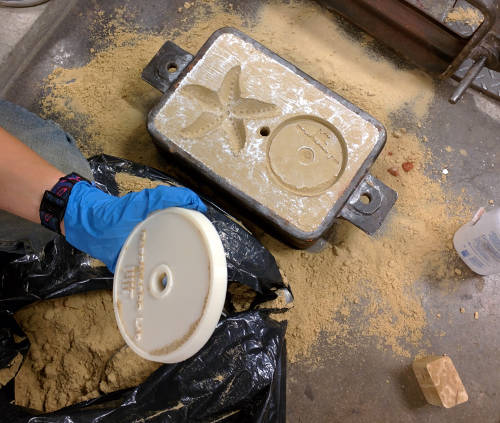
Since we were just doing a test/learning cast, the foundry tech, Mike, wanted to try a new (to him, our instructions were from a 50's era text) technique, using a sand mixture that hardens when exposed to C02. This technique allows for better resolution of detail than regular sand-casting, which might come in handy for some of the parts.

Since we were trying a new recipie for the casting sand (that can't be reused), we had to mix up a fresh batch ourselves. We added clay, aluminum, and sugar (we used molassas which made the process smell delicious), and then sodium silicate which was the agent that hardened when exposed to carbon dioxide.

Mike bought a mixer to make the process easier, as we were mixing 50 lbs of sand for this cast.

Unfortuniately the mixer didn't work too well, so we had to resort to doing small batches in the kitchenaid mixers he had.

After the sand was mixed the 3D printed test parts were placed in the bottom of a mold and it was packed with the sand, the copper pipe is holding a channel open that will be the sprue.

After the mold was full a bunch of smaller holes were pressed into the sand using a wire to aid in diffusion, and low pressure C02 was pumped into the system.

The sand really hardened up. This is the mold after the 3D printed positives had been removed. The sand continued to harden in the atmosphere as we worked on the other side of the mold.

Once we got our mold prepared Mike got to put on his fancy jacket and melt some bronze in the induction furnance. It was able to melt the bronze for our cast in about 10 minutes. When the furnance was on you could see that the metal buldged up because of the strong magnetic fields. It was really cool.

Their furnace has a 100 lb capacity. The pour itself was relatively straight forward.

There is a lot of post processing to do on the part once in comes out of the mold, but the resolution was really good! You could see the individual fimilent lines from the 3D printer on the cast part.

Designing a 4 Part Mold

For my final project I'm working on a trekking pole and initially wanted to make the molds for the upper handle as my assignment for this week.

The part is not symmetrical and I need to to be hollow to run components though, so I initially planned on building it as a 4-part mold.

I modeled my mold by bring the solidworks part into rhino as an IGES and building the molds around the shape. This picture is the negative mold to cast the oomoo molds into.

I modeled the positive versions of the top and bottom as due to the shape it would make more sense to 3D print them then mill them, and then hopefully I would just directly use the 3D prints in the final cast depending on how the materials played with each other.

The spheres served as registering marks and captured the half spheres that were embedded in each of the side molds. The top and bottom molds were designed to have draft and meet in the middle so that the cast would be entirely hollow.

Unfortuniately while my part was only 5.1 inches high, by the time all the extra structure was added to generate the cast for the mold it was 7 inches tall. Given that we were dealing with stock that was 6 x 3 x 1.5 this wasn't very helpful. With further reflection I also decided that this wasn't the optimal way to cast this part. Given the constraints of a 4 part mold it's impossible to cast a perfect shell using this technique, and there was a lot of extra material / wasted space. Instead, I decided it would be better to mold the handle as two seperate pieces that I would later attach, so that I could maximize the ammount of empty space in the handles for electronics, while minimizing weight.

Playing with Chocolate Molds

Since I deicded to abort my plans to cast my final project part this week so I could be more intentional about it and I decided to play around with making chocolate molds. Rather than molding a 3D shape, I was interested in playing around with the height map functionality of the fab modules and seeing if I could end up with something that was recognizable based off a reference image. To trace the photograph as a vector image I followed this tutorial.

This was the reference image I wanted to use of my dad and step mom. While it's not the best reference image for this technique, I wanted to do something nice for them and this is one of their favorite pictures.

It looked pretty good as a 3-layer image.


Just like with the circuit boards, I planned on using a finer endmill to mill the outline of the image, and then use the 1/8th inch endmill to mill a boarder around the entire image that would serve as the part that would hold the chocolate into the mold.

I also played around with the idea of having more layers and acheiving more of a 3 dimensional effect, but I couldn't get a toolpath that I was happy with and it seemed that fewer layers might be a better choice for this. If I had a true 3D model of them that would be another thing.

You could really tell what the pattern was from the toolpath!


The milled version does not look as good (even after I deburred it with some water and a brush). The picture actuially looks much better than it does in real life. Perhaps with thinner layers our eyes would be happier to do the interpolation, but it looks a little weird. Going from different colors to different heights results in a difference in perception that does not seem to work out in our favor.

I built a little jig with the glue gun and some stirring sticks so that there would be a higher back on the rubber mold. I could have just milled the mold deeper, but I wanted to preserve most of the thickness for when I mill my actuial parts for my project.

I made sure to pour from really really high to try and remove any air bubbles that I had trapped in during mixing.

The oomoo negative looks even more strange but turned out pretty well. Here you can see the cleaned up version of the milled mold. While it looks pretty good in the picture, that's because it is a picture. Our brain seems to like flatening it more there.'


Don't eat this one.

I decided that a single layer would probably look better as a finished product, so lets give that a try.

Of course I'll again need an appropriately sized outside border to mill with the 1/8th inch endmill.'

I did the rough cut with a 1/32 endmill and the finishing cut with a 1/64 endmill with only a yz pass. Since it was just a single layer it only took about 1.5 hours for both. The 1/64 endmill really let me get some of the finer details.

I found some (fairly old) food safe silicon and decided to see if it would still work. It was a little more viscous than it originially was, so it did a good job of trapping air bubbles, but I did my best to try and remove as many as possible. It's also clear so you can really see them. Hopefully with the slow curing time the air bubbles won't still be on the bottom surface of the mold. It won't be done curing until after class!