Press-fit Construction Kit

or how I learned to stop worrying and love the cardboard

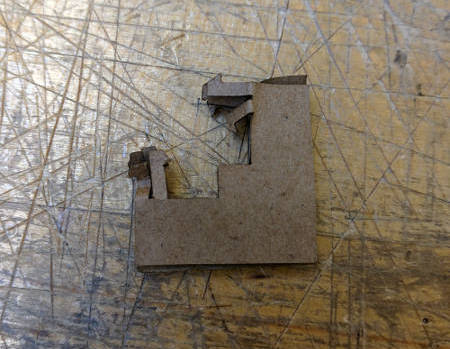
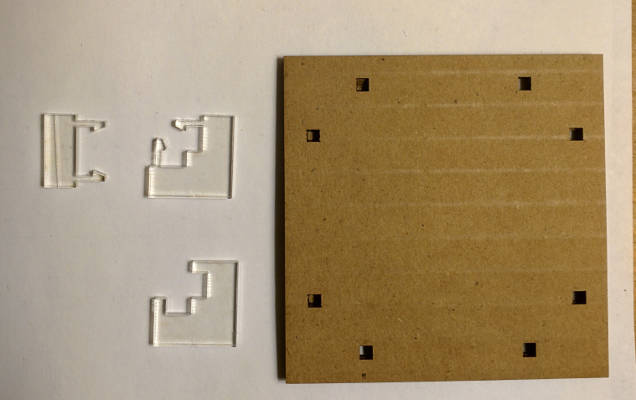
To explore laser cutting I wanted to play with the idea of puzzle boxes. While puzzle boxes are really cool, they are typically constructed once and then always have the same solution. I wanted to explore the notion of being able to change the form and function of a puzzle box - in essence making a puzzle box kit.


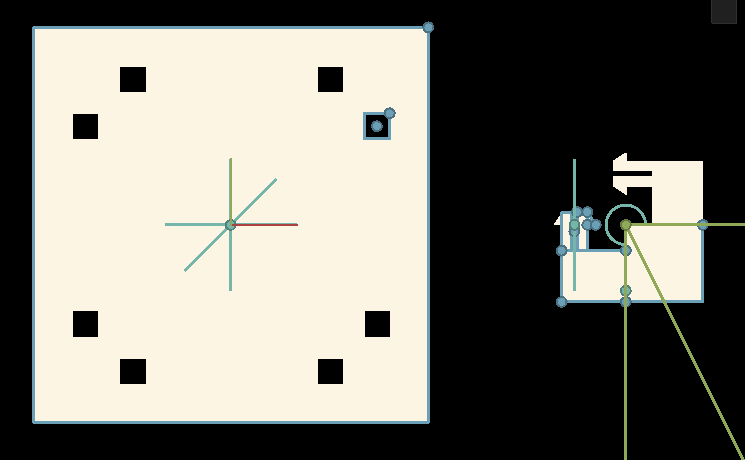
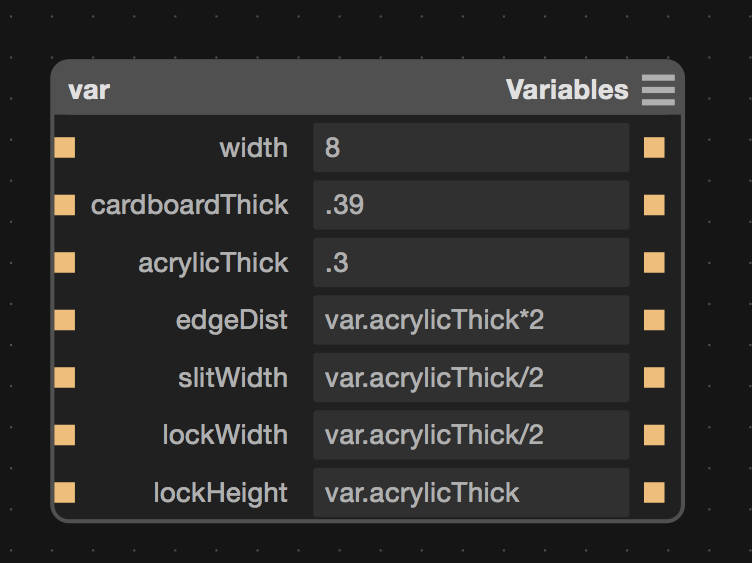
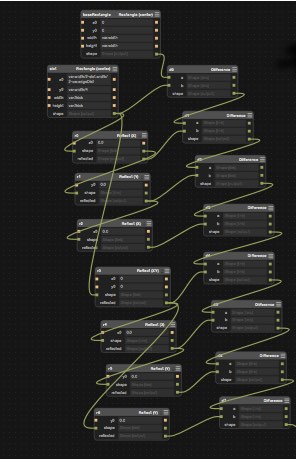
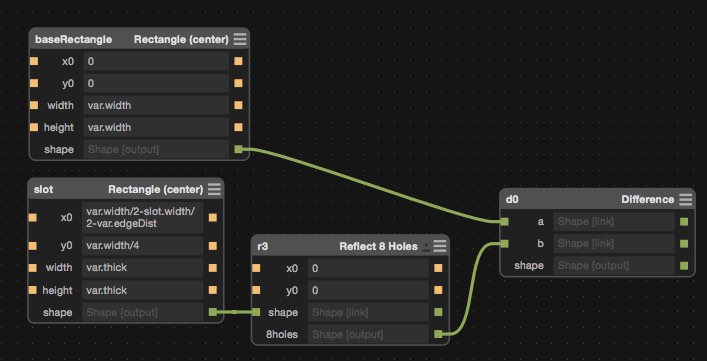
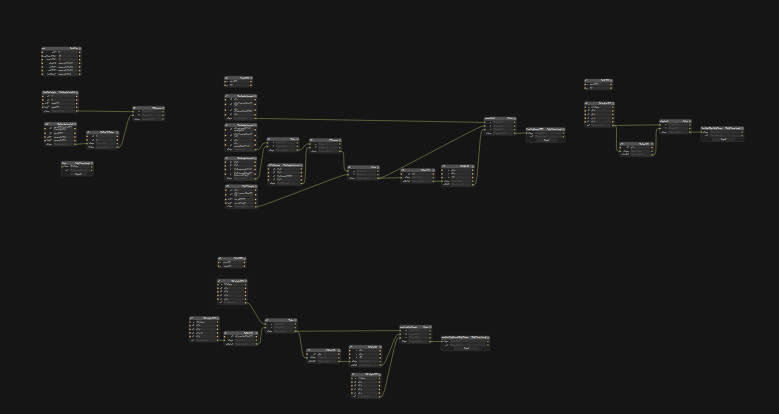
I decided to use Antimony this week as I wanted my design to be very parametric. This would end up being particularly helpful as I was able to change parameters as I made design decisions throughout the process.


Little did I know what I was getting myself into. I was initially inspired by the example joints shown in class and also this article on CNC panel joinery.
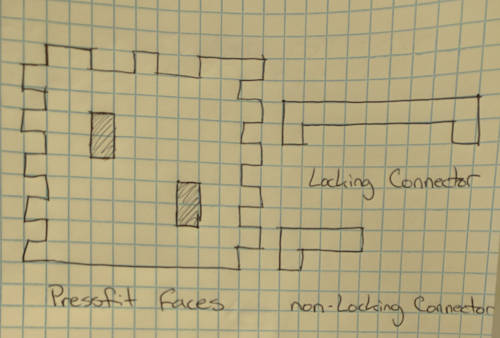
Initial Design Idea

My initial idea was to construct a press-fit box with slots in the faces that could accept pieces that could be used to 'lock' the faces together.

The puzzle element of the box would be reconfigurable, and increasingly complex connectors could be created with different trick mechanisms for attachment and releasing.

Back to the Drawing Board

This design idea did not meet the desired criteria of being able to change the size of the box using kit components. Instead of having joints in the panel faces themselves, I decided to focus on creating a face with flat sides that could be connected side by side or at a 90 degree angle to itself. The challenge was then to connect cardboard panels to form 90-degree corners and also parallel sides. To meet the 'puzzle' aspect of the desired design, these connectors could also be designed such that some are reversible and some are irreversible connectors. By using these connectors in different arrangements, boxes of various sizes and puzzle mechanisms will be able to be constructed.

Snap Fit Design

To create the locking 90 degree joint I designed a part that took into account the thickness of the cardboard and had little tabs that should be able to pass through the holes on the face and grab the back surface.

I also designed rounded locking mechanisms that I hoped would function as a reversible process.

While the pieces did fit together as intended - they were very fragile. One trick I picked up is that you could cut the pieces rotated 45 degrees to the orientation of the corrugation so that it would be supportive for both axis of attachment.

Most often the pieces would end up mangled as the layers of cardboard would catch on each other and on the corrugation. I wasn't terribly surprised as cardboard is not the ideal material for this design.

Designing for Cardboard

Instead of continuing to fight the cardboard as a material I decided to see if I could modify my design to better account for the properties of the cardboard. I switched to a single-sided locking mechanism and made it a little thicker.

Having the grabbing edges facing away from the corner was a bad idea. It allowed the face to slide back and forth in the empty space where the mirrored locking mechanism used to be. Grabbing inwards fixed this problem.

Scrap to the Rescue

There was acrylic in the scrap bin, so I decided to try it as a material. Trying to insert an acrylic edge into an acrylic face would snap the connector pieces as the material would just sheer instead of deforming. However either cardboard faces with acrylic connectors or acrylic faces with cardboard connectors worked well.

Benefits of Antimony

I was really glad that I had done my design in Antimony. While I had a parametric design, I did not think that I would be working with two materials with different thicknesses. I was able to easily go back and add a second thickness variable and slightly edit the graph to correct the geometry.

Antimony Scripting

There were other benefits to using Antimony as well. To make the box sides with 8 symmetrical holes I initially did a very inefficient series of reflections and differences that resulted in a messy and needlessly overcomplicated graph.

By taking advantage of the ability to script within a node in antimony I was able to greatly simplify the graph nodes by writing my own node, while also reducing the number of operations that needed to be performed. With this simple code:

import fab title('Reflect 8 Holes') input('x0',float) input('y0',float) input('_z', float) input('shape', fab.types.Shape) shape |= fab.shapes.reflect_xy(shape, x0, y0) shape |= fab.shapes.reflect_x(shape, x0) shape |= fab.shapes.reflect_y(shape, y0) output('8holes', shape)

I was able to go from this:

to this:

The final graph ended up being fairly straightforward.

The final design of the face, locking corner, locking edge, and press-fit (non-locking) corner. I used a press fit as the reversible joint as the 1/8th inch acrylic is a very stiff material.

Final Assembly

Once assembled most of the joints are permanently fixed and the box looks solid.


However one of the sides has been attached with press-fit connectors, allowing it to be easily removed revealing whatever is inside!

The .sb file for the puzzle box kit can be found here.