HTMAA - Week 12: Final Project - Aware Desk
what does it do?
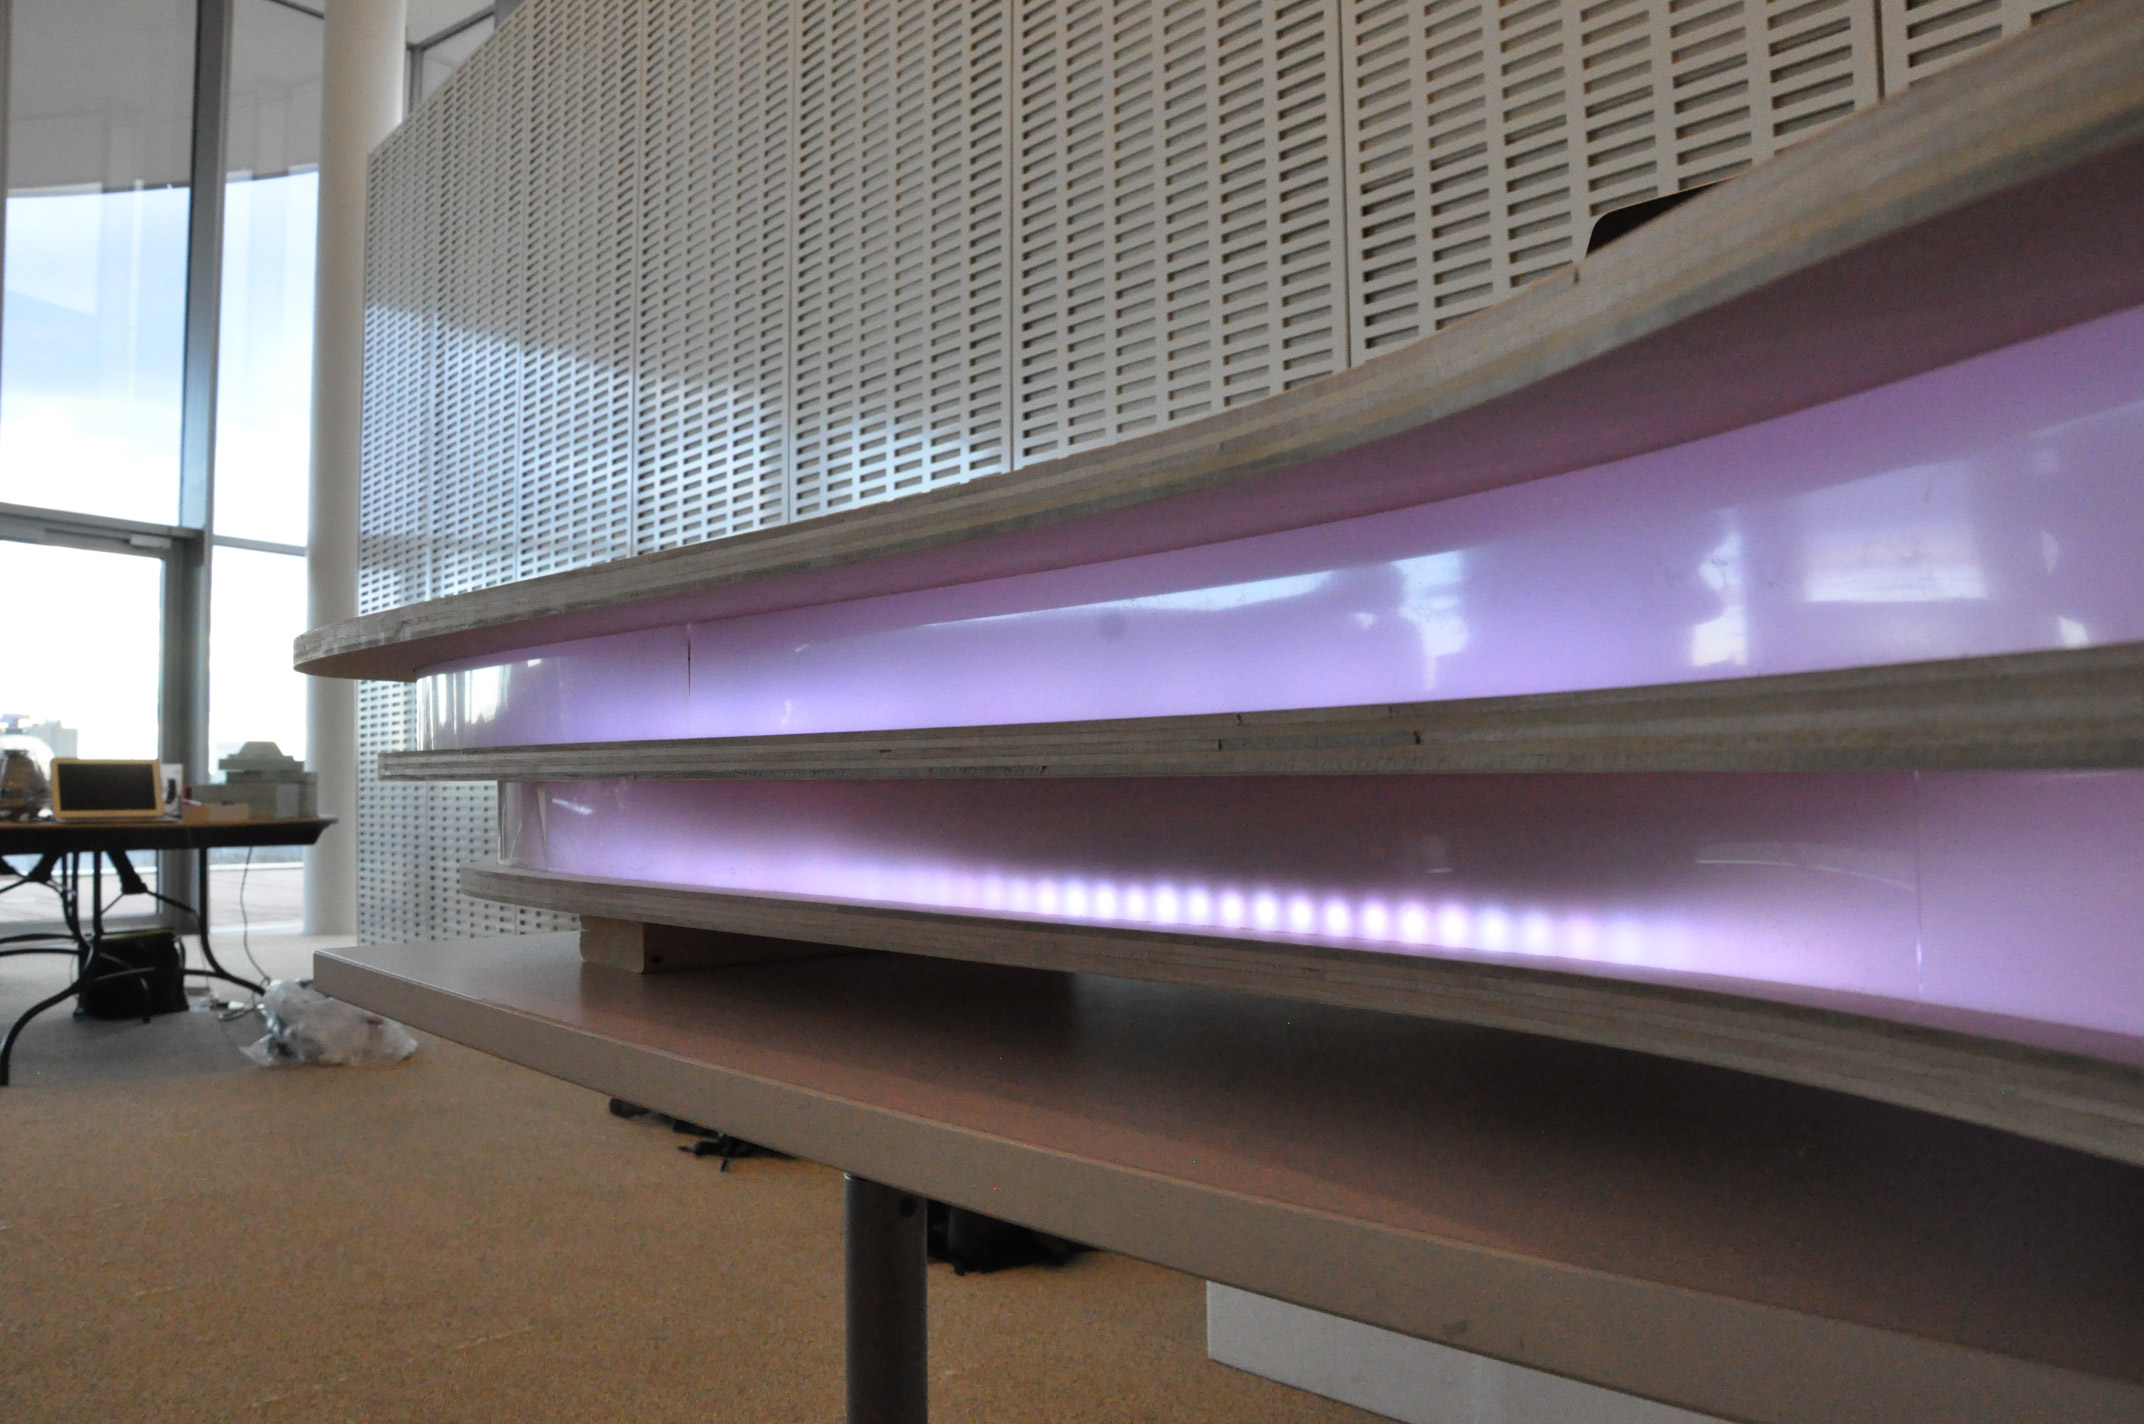
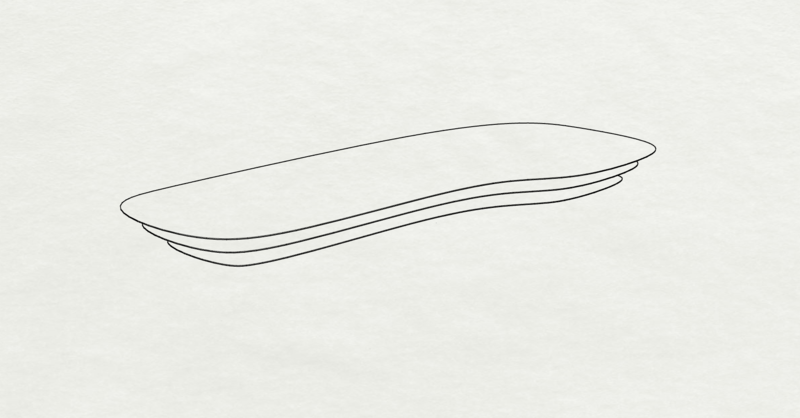
The desk at present glows as you approach it, and fades as you walk away, giving you a sense of an object imbued with awareness. The functional ambitions for it go much further however. The circuit I designed for it has the capability to be paired with a WiFi chip, enabling recording of activity at the desk, and the alert of events (e.g. when someone triggers FoodCam).
who's done what beforehand?
The only prior art I could find was a small side-table that glowed brighter as the light in the environment got darker, but none with a sense of motion nearby.
what did you design?
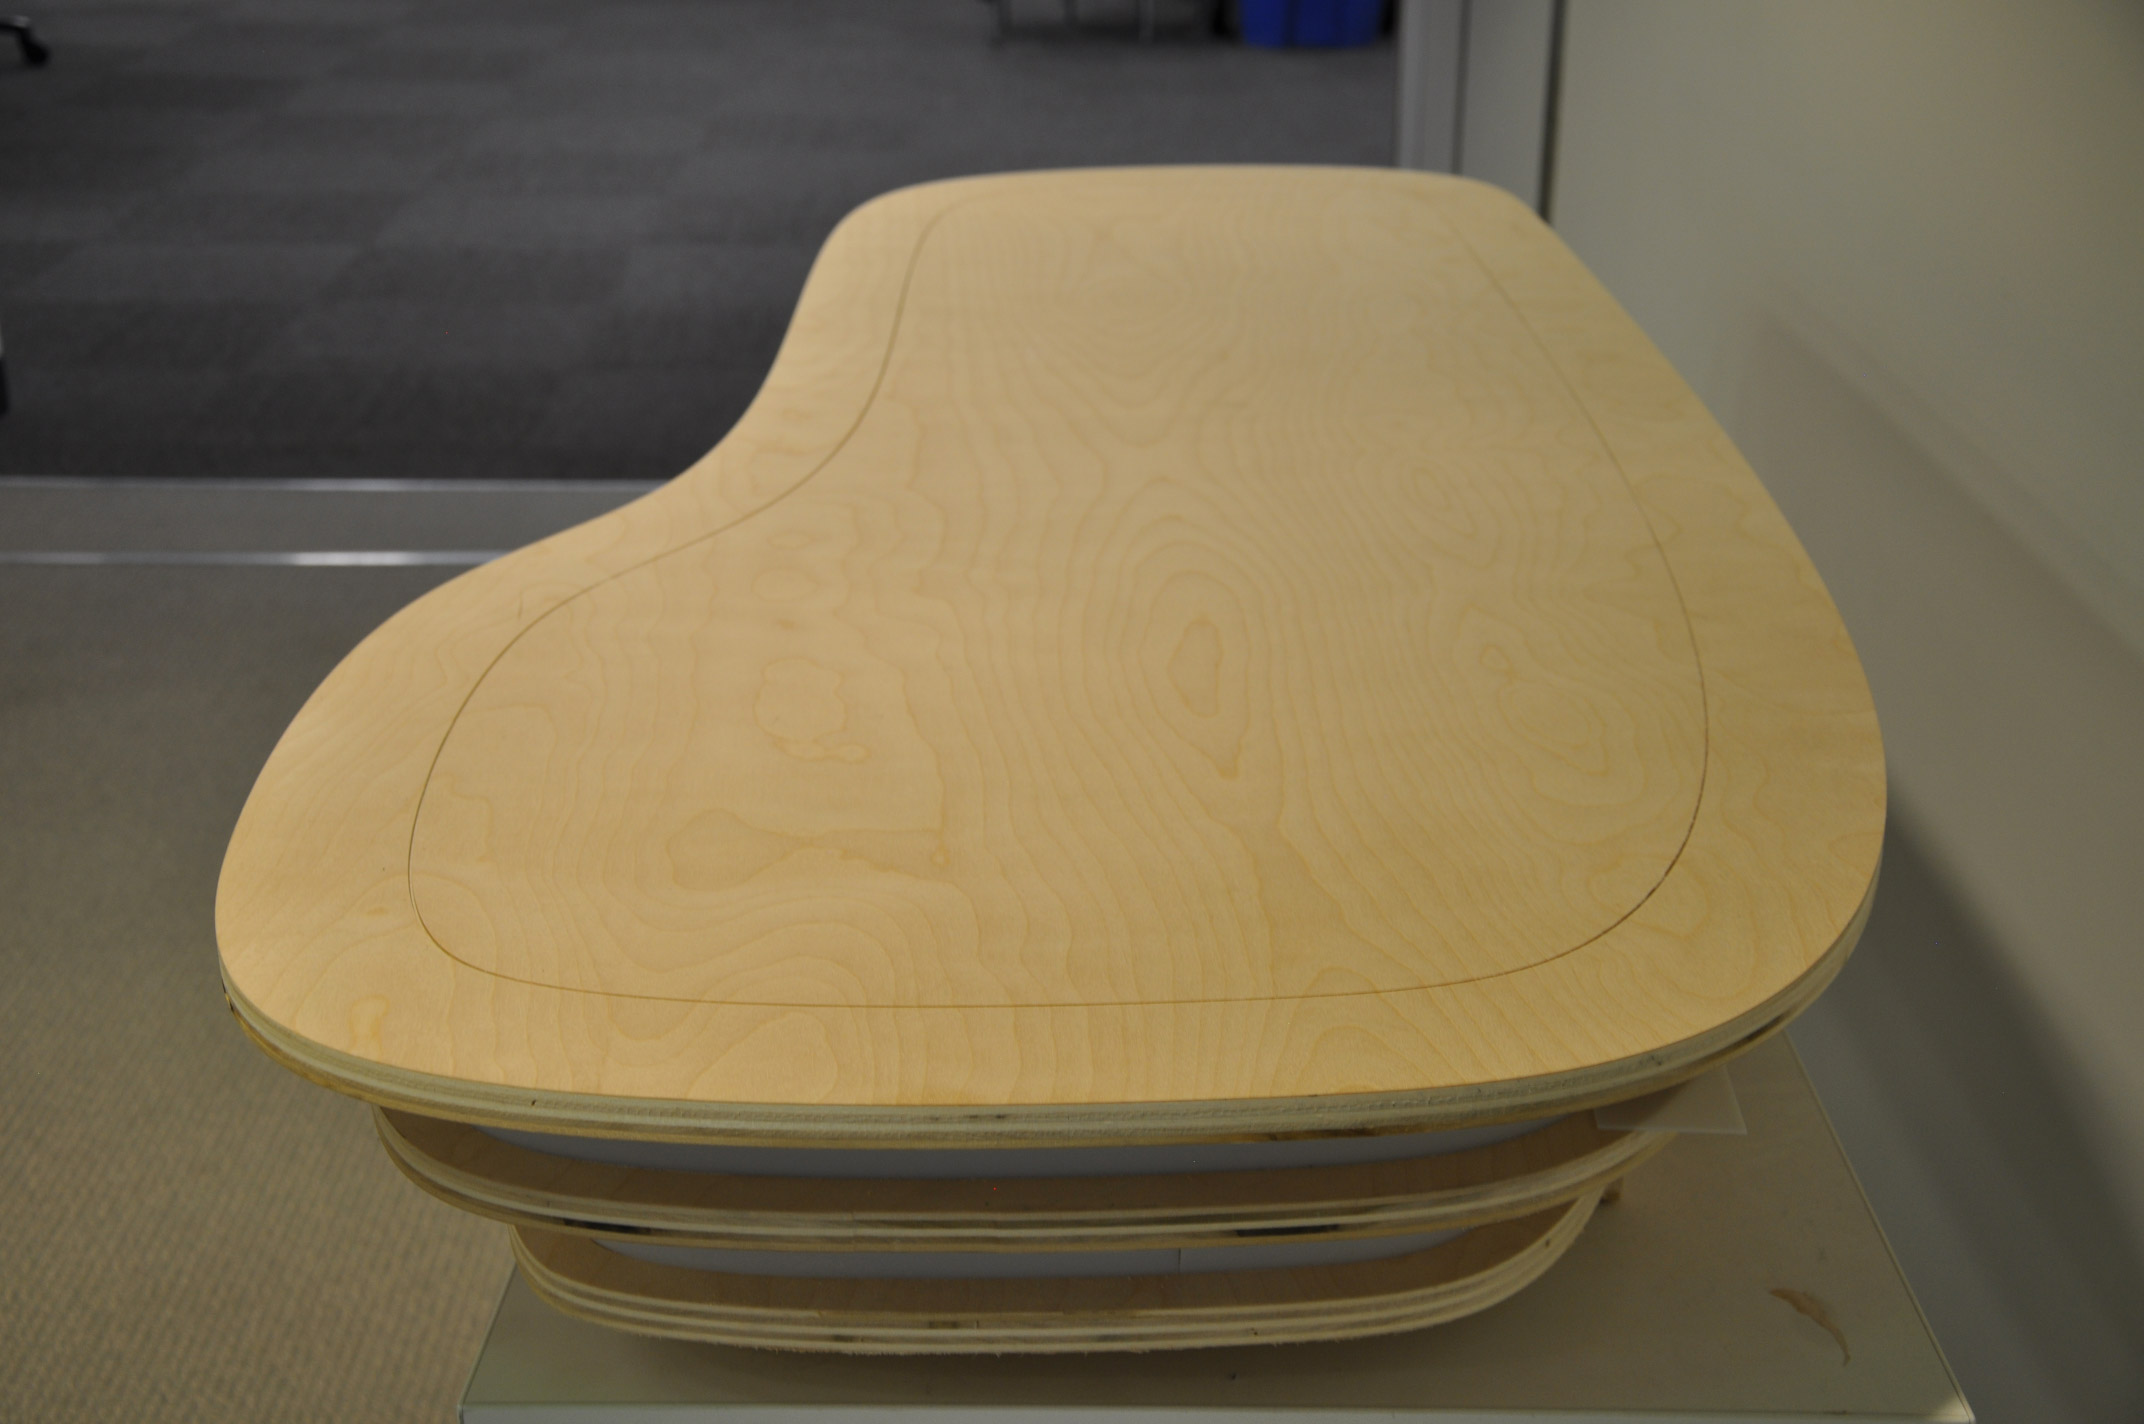
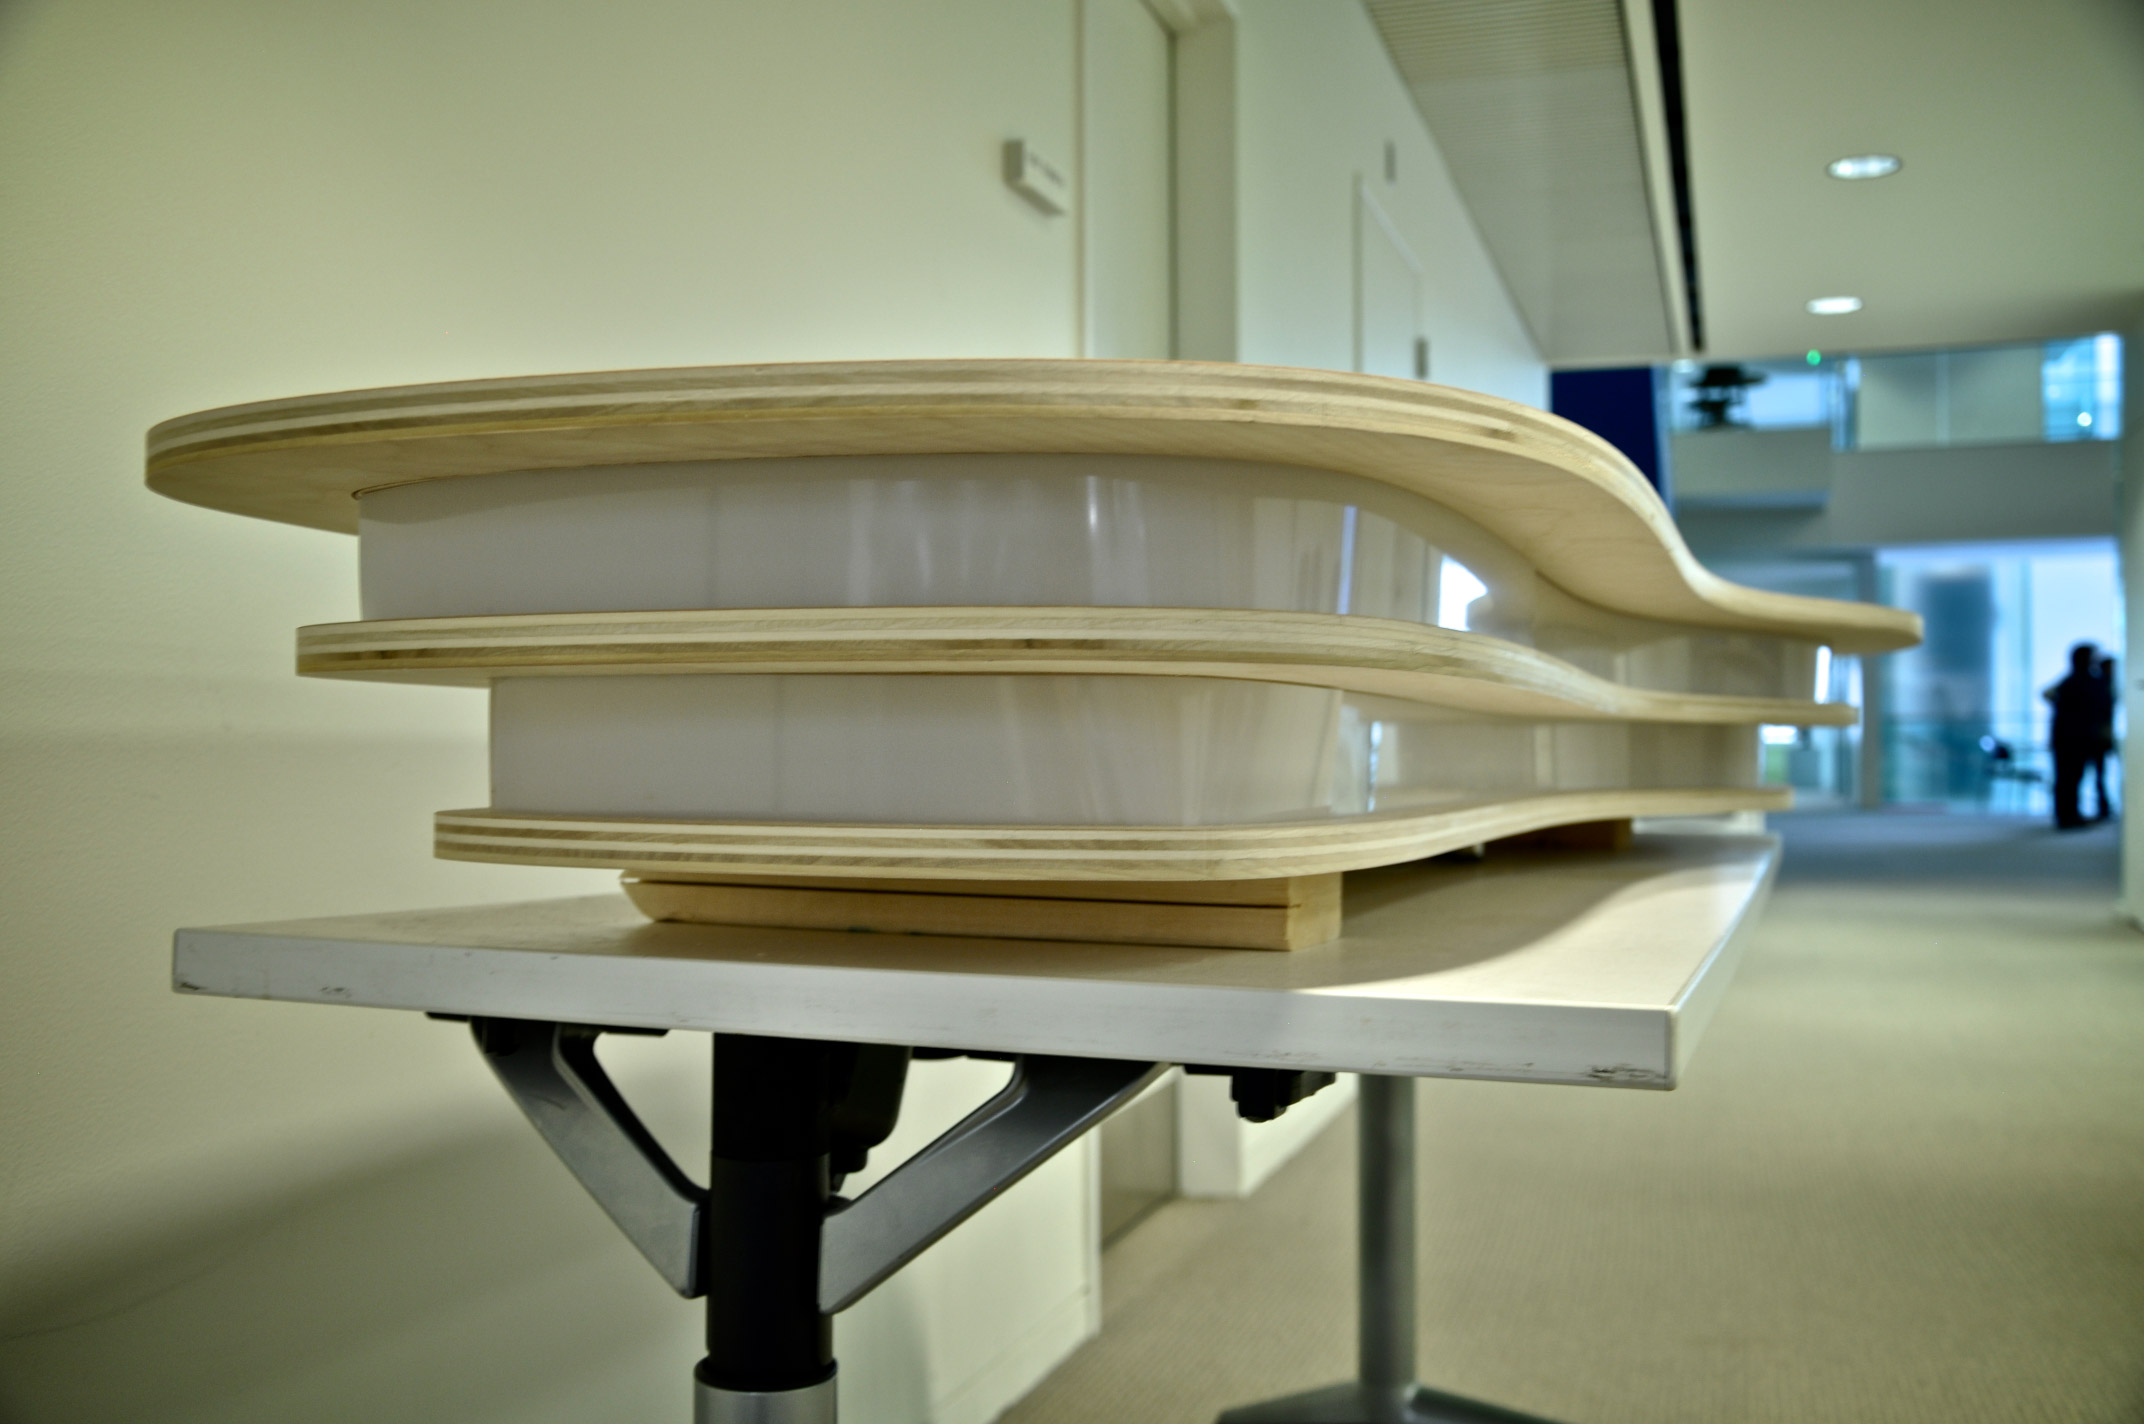
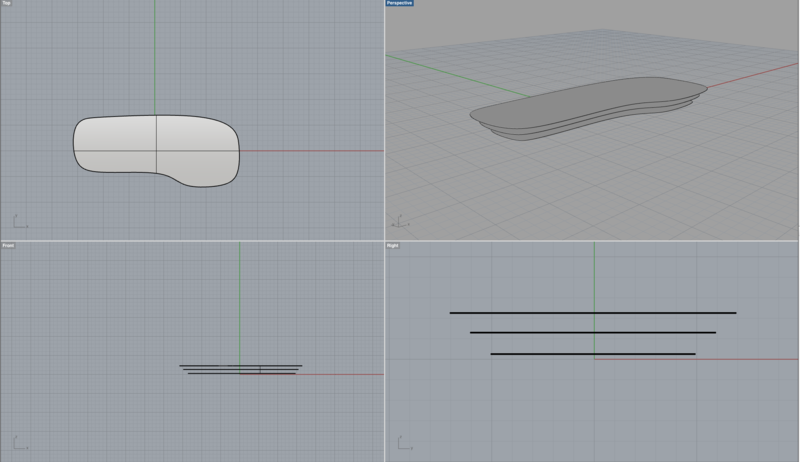
I designed the shape and architecture of the desk, including the shape, layers, channels for the laser-cut acrylic that formed the sides, and the electronics that run the sensing and reacting.
what materials and components were used?
where did they come from?
how much did they cost?
- The birch plywood cost $50/sheet at Home Depot. The desk took two sheets to make.
- The LEDs (totaling 240) from AdaFruit cost $100.
- The acrylic, from Altec Plastics in Boston, cost $20/sheet. The desk took 2 sheets
what parts and systems were made?
what processes were used?
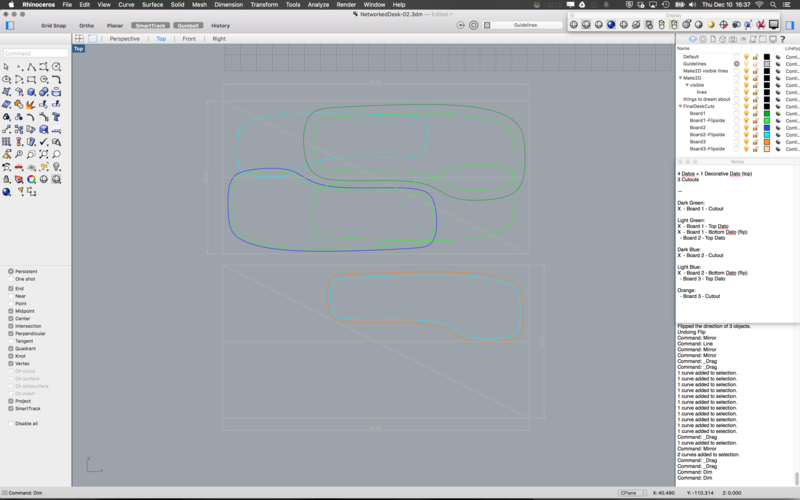
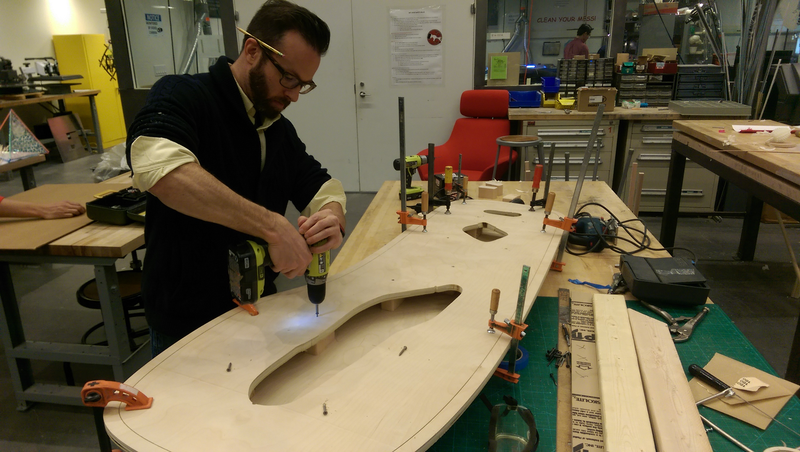
The layers and datos in the layers were made using the ShopBot and some tricks for registration of the pieces, since they had to be cut perfectly on both sides for the pieces to fit together. The design was completed in Rhino. The datos (channels) were cut using a 1/16" end-mill with a faster spindle speed and slower feed and plunge rate so that the endmill wouldn't break.
The strips of acrylic were laser-cut, using a very simple design in Rhino. This was the first time I laser-cut straight from Rhino and it was actually much more pleasant than using CorelDraw.
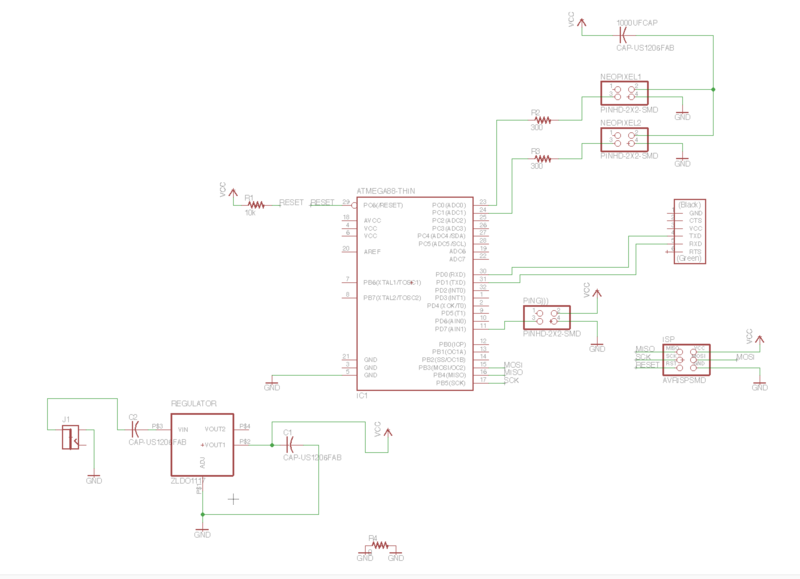
The circuitry was designed to take in AC power and regulate it to 5V/1A to drive the NeoPixel LEDs, to take in the sensor readings from the Parallax Ping))) proximity sensor.
what questions were answered?
Many design questions were answered, including how people would interact with a desk of this kind, what types of information it could represent, and who that information would ideally be for. Procedurally, questions of how to properly and precisely cut matching patterns on both sides of parallel boards was answered and how the construction would take place, which was one of the biggest challenges.
how was it evaluated?
The evaluation was primarily done once the desk was in physical form. Ideally, I would have created more prototypes, perhaps in cardboard beforehand to get a sense for the shape in space, and some of the construction.
The physical interaction with the sensing aspect of the desk was evaluated once the sensor was part of the desk. The way people tried to walk up to it to trigger it and what their assumptions were about it were very informative.
what are the implications?
The implications are that many previously inert objects can now be enabled with awareness and network connectivity. This project allowed thought for how that might happen, what types of awareness make sense, and how one would need to physically build an object to accommodate these properties.
A lot of the challenge of this project was aspects of assembly that seemed simple from the 3D modeling phase, but turned out to be difficult in the physical assembly phase. For instance, I did not model supports between layers of the desk, but these were critical in the end.
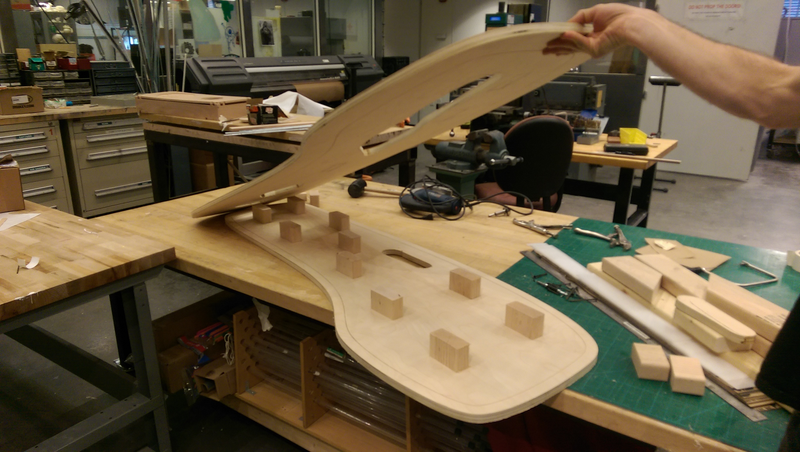
Holes that could have been done with the ShopBot (necessary to reach inside the layers and nudge the laser-cut acrylic sides into their slots) had to be done by hand after the fact by drilling holes and using a jigsaw.
The same as above, if I had decided where the supports were, I could have pre-drilled the holes by computer design.
Getting the height of the supports accurate was tricky, as slight variations in the Z axis during ShobBotting meant that the 1/8" groove was inconsistent and clearance for the top channel varied too much.
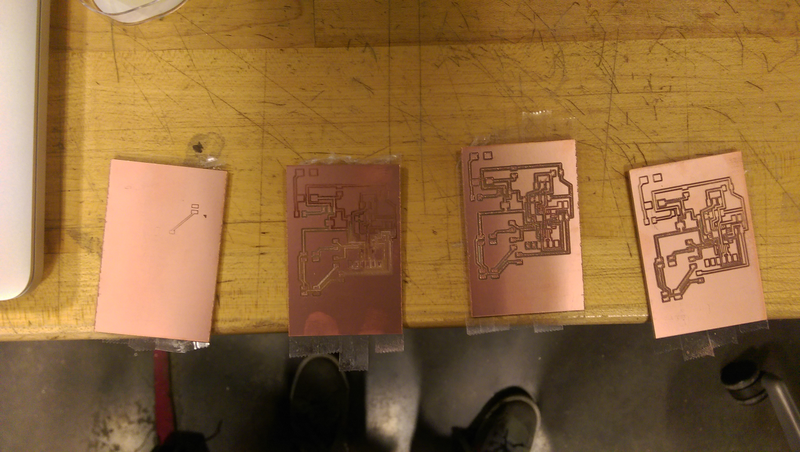
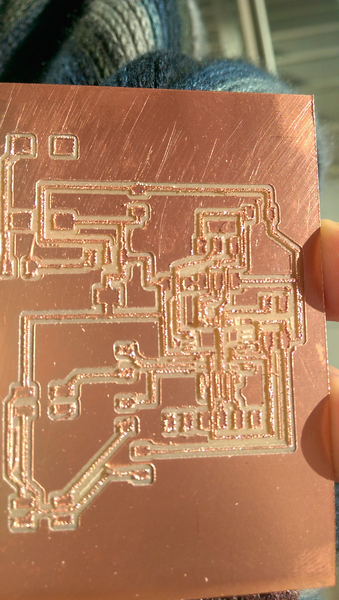
Sadly, 5-6 attempots to make the custom PCB to drive the lights failed, even on different machines, and with new endmills. Even in the hands of a TA. Eventually, the board will have an ATMega168, a 5V 1A voltage regulator (as higher current is necessary for powering the LEDs). The 240 LEDs on the NeoPixel strips are driven by AC from the board and activated by a Parallax "Ping)))" proximity sensor with one data pin read by the ATMega168.
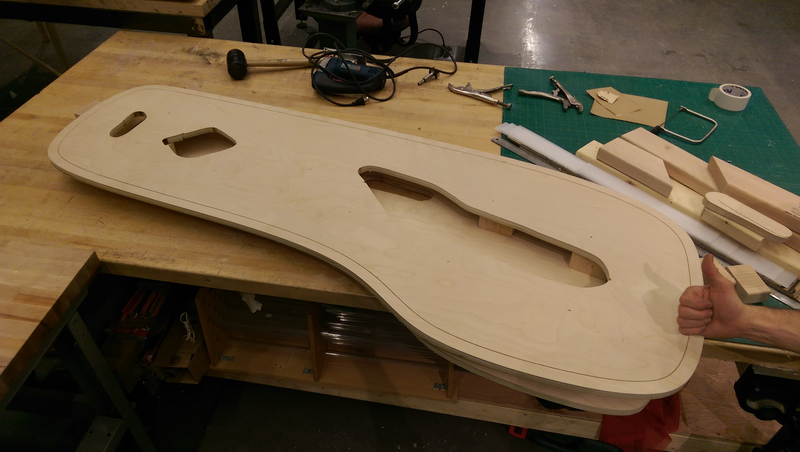
The Final Desk