Electronics Production
Milling the FabISP
Milling the FabISP
This was a non-creative, fixed project assignment. We were supposed to mill the predesigned FabISP PC from a copper board and solder components on it. This was tested using the pre written program from a linux computer.
The PCB milling contained two parts - 1. milling the trace and, 2. milling the interior.
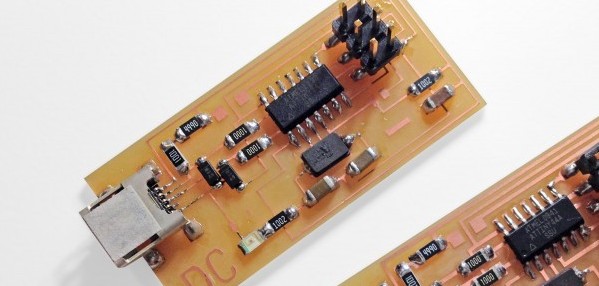
I started milling the board using the machine and messed up one thing. I didn't use the correct drill bit for the first time. We were supposed to use 1/64" for the trace and 1/32" for cutting out the board, but I used the reverse. I misheard the instructions from the TA and it resulted in traces almost gone (Figure 1).
That was the only mistake I made. Everything else went smoothly on the machine. Having some previous soldering experience, I soldered the board easily, and it worked on the first time using the linux PC located in the PCB soldering lab.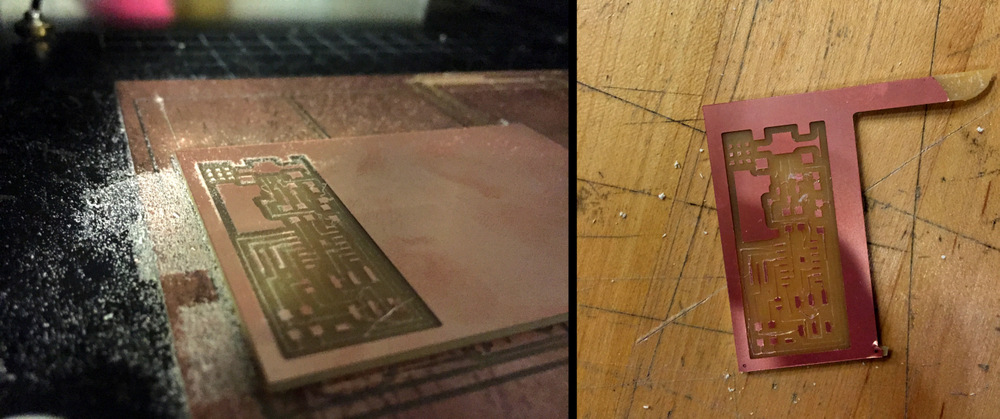
Figure 1: Bad PCB since the drill bit diameter was too big (1/32")
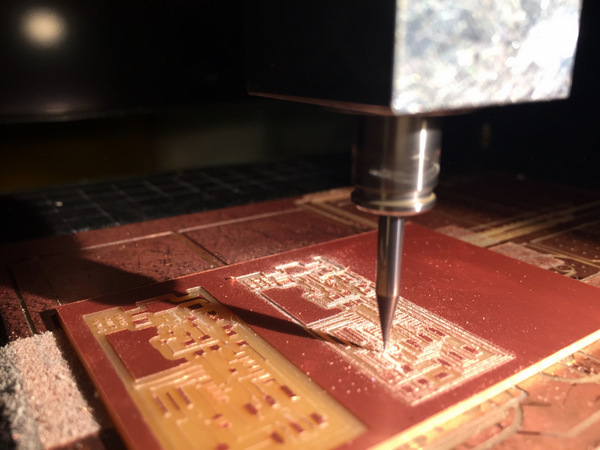
Figure 2: Printing the good PCB
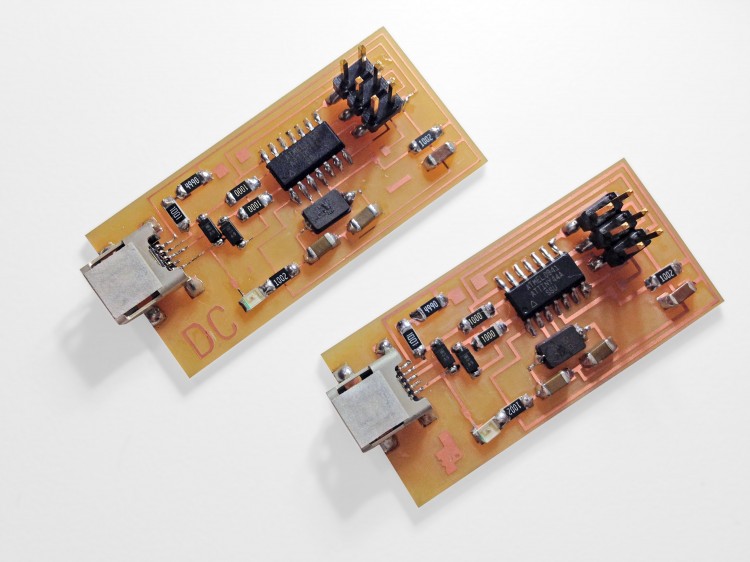
Figure 2: Final PCBs after soldering