Electronics Fabrication
For the electronics fabrication week, we were tasked with fabricating, assembling, and programming a custom made ISP (in-system programmer) called FabISP.
Tools+Skills
- Roland Modela Desktop Mill
- Surface Mount Soldering
The first step in the process is to mill the circuit board traces into the 1/0 copper faced FR1 boards. To generate the tool paths for the mill, I used the FabISP trace and outline .png files with the fabmodules application.
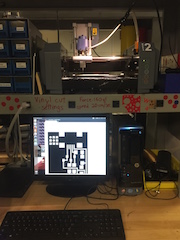

After setting up my tool paths for a 1/64in end-mill and securing my board stock to the work plate, I ran the milling process. The mill removes the copper material layer from the board where it is not desired, leaving the traces untouched.
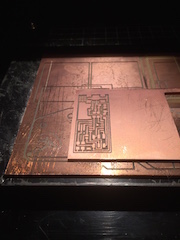
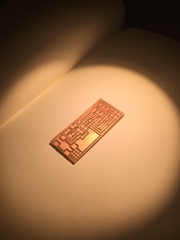
With the traces milled out, I switched over to a 1/32in end-mill and proceeded to cut around the exterior of the board. After I removed the board from the mill, I scrapped it with a razor edge and then I scrubbed it with a brillo pad with soap and water. This removed all frayed edges and burrs that could cause a short circuit. Finally, I inspected all of the traces under a magnifiying glass to check the traces.
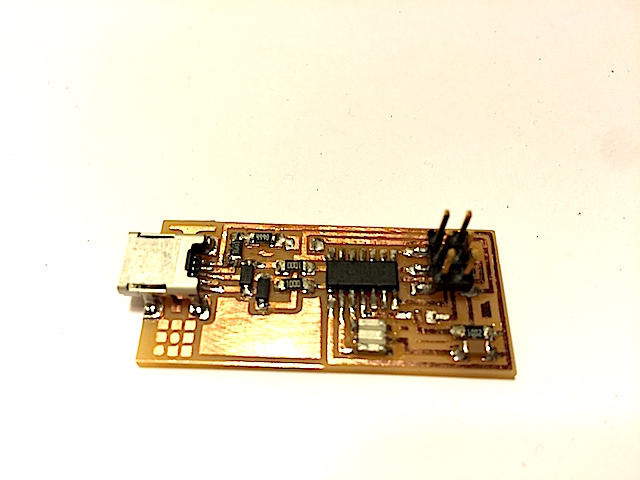
After cleaning the board, it was time to stuff the board with all of the components. Although, I had experience with soldering, I had never experienced surface mount soldering. It took a couple practice spots before I got the hang of the workflow. After that I made pretty quick work of the soldering. I used a multimeter to check connections and verifyi that components were making good contact.
With the board assembled, all that was left to do was to program it. Using the lab computer running Ubuntu, I attached my board with the AVR programmer and loaded the FabISP firmware onto my board. Surprisingly, everything worked perfectly the first time through.
The FabISP board had been designed with two jumpers on the board that allowed it to be programmed initially. When these jumpers are removed the board then is configured to program other boards. Unsoldering the two 0ohm resistors that I had used as jumpers, I was left with the final product.