3D Printing and Scanning
For 3D Printing and Scanning week, we were tasked with designing and 3D printing an object that could not be made from a subtractive process. In addition, we were tasked with 3D scanning an object.
Tools+Skills
- Solidworks
- Rhino + Grasshopper
- Form1+ 3D Printer
- Objet 3D Printer
- Sense 3D Scanner
- NextEngine 3D Scanner
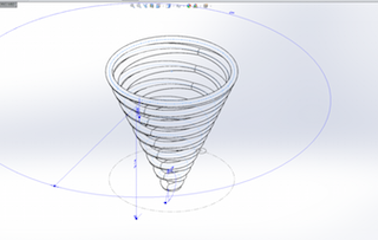
First Design: Tilted Rings in Solidworks
I knew ahead of time, that Solidworks is better set up to design objects that are feasible to make through subtractive processes, because that is what it was created to do. On the other hand, Rhino with the Grasshopper plug-in allows for some very creative shapes and surfaces. To start, I wanted to quickly see if I could create a unique form in Solidworks, using some features that I do not typically use often.
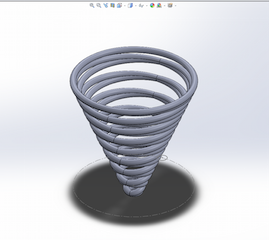
I started playing around with loft features and settled on lofting a circular face around a conical helix 3D path. This was cool, but when I mirrored the feature to create a closed loop, it created what looks like a stack of tilted rings.
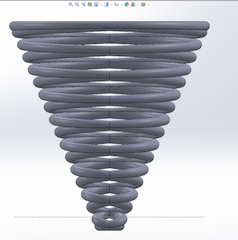
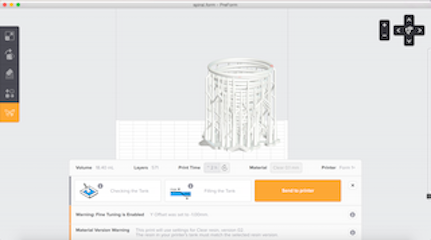
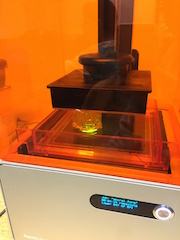
Conveniently, I sit right next to a Form1+ Desktop 3D printer, so I quickly brought the model into PreForm and sent it to the printer. After a few hours and a little bit of post-processing work, I was left with a nice print of my spiral/ring shape.

Second Design: Nested Voronoi Spheres in Rhino+Grasshopper
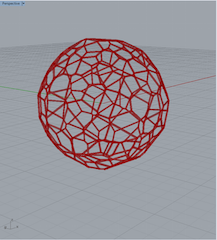
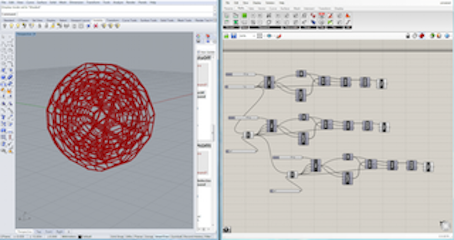
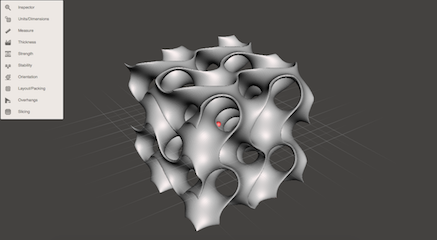
One of my goals for this class, was to learn to use Rhino and Grasshopper, so I decided to do another design to see what I could design with this new tool. Unlike Solidworks, Rhino and Grasshopper make it much easier to define abstract shapes and surfaces. After watching a few tutorials, I decided to try my hand at designing a hollow, spherical object with a surface made up of a web of voronoi cells. To do this, I used some handy Grasshopper features to define a random set of points in a cubical volume and then cast these points onto the surface of a spherical boundary. Grasshopper then allows you to generate a voronoi cells for each point and combine the cells into a mesh approximating the spherical surface. I then traced the edges of the cells and piped a circular face around the edges. Arriving at a spherical web shape that I found intriguing.
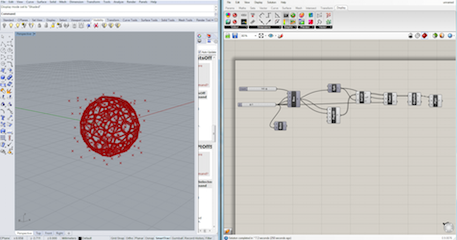
To turn it up a notch, I decided to nest smaller versions of the big sphere inside, so that they would be printed trapped inside. Magic!
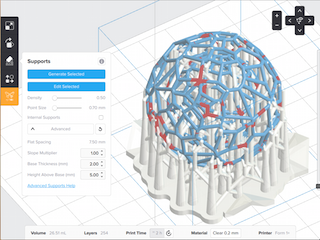
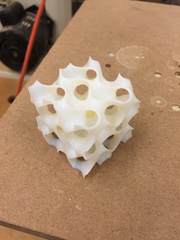
This turned out to be a little to complex for the support systems on the the Form1+, so I had to print it on an Objet printer which has a different support material than build material that can be easily removed.
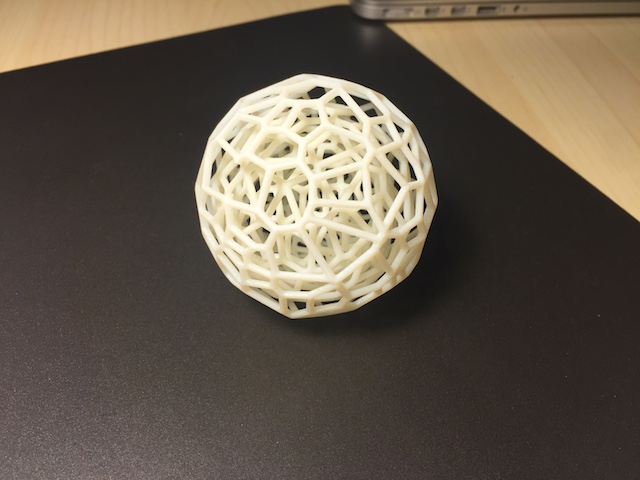
The print came out really nicely and is fun to inspect, even though the smallest sphere on the far inside is really hard to see!
3D Print Bonus
I discovered that I really like designing and 3D printing artful objects, below I will add photos of things as I make them.
Below is a gyroid surface bound by a cube defined by where the following function is equal to 0: cos(x)*sin(y)+cos(y)*sin(z)+cos(z)*sin(x)
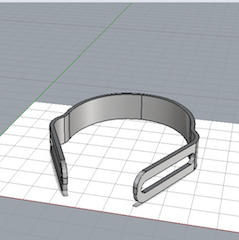
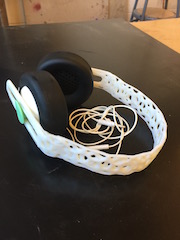
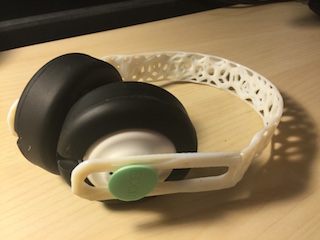
I then wanted to figure out how to apply a cool artful surface to a useful object. It just so happened that I broke my headphones headband. So I took to Rhino to model the headband and then apply a loy-polygon mesh to the surface, which I then took the edges of and make the edges into a webbed surface which maintaining the surface boundaries.

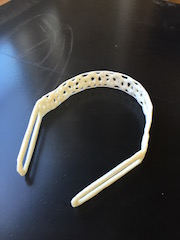

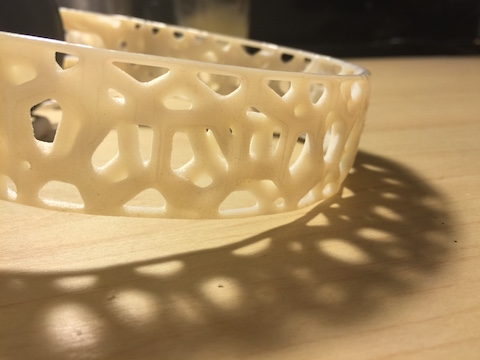
Here is an up close view of the headband pattern and its beautiful shadow.
3D Scanning
Our second assignment was to 3D scan an object. I wanted to use both 3D scanners that we had and wanted to scan two different objects.
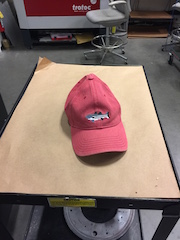
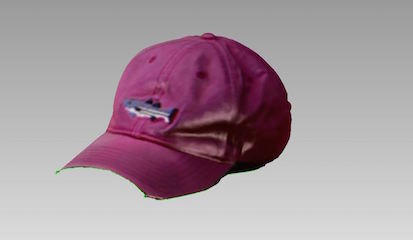
For the first object, that I was going to scan on the Sense Scanner, I chose a colorful baseball cap that I thought would show up well (the 3D scanning demonstrations I've seen have never gone that well). Placing the hat on a cart with a solid background and setting up some good lighting, I used the handheld Sense Scanner to slowly move around the object and grab footage from all angles. Several attempts yieled terrible results, but finally with enough patience I was able to grab a good scan of the hat.

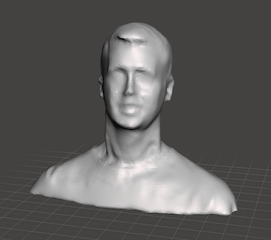
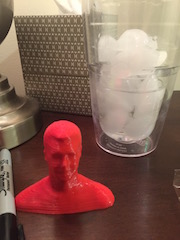
I also took a shot at 3D Scanning and 3D Printing myself, take a look: