Electronics Design
This week's assignment was to design and make a PCB with a ATTiny44 Micro-Controller.
Tools+Skills
- Eagle
- Modela Mill
- FabModules
- Soldering
Hello Board
Given the design of a PCB, the "Hello Board", the first step was to re-draw the board using Eagle and the fab.lbr library. In order to do this, I first placed all of the componenents required into an Eagle Schematic and connected the appropriate pins to each other.
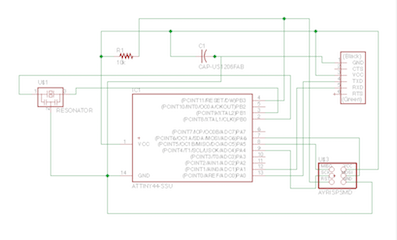
My first attempt at this ended up being rather messy, but I was able to clean it up by linking to Nodes. In order to make sure I was getting it right, I converted the schematic over to a board model and practiced routing the pins.
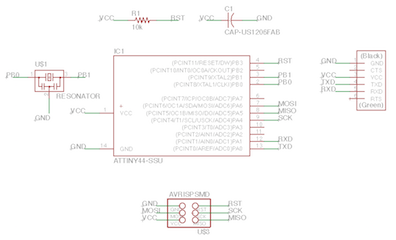
With that figured out, I took on the task of adding in a button and LED. I added the button from the fab.lbr and an 1206 LED package along with resistors to protect the LED and drop down the button.
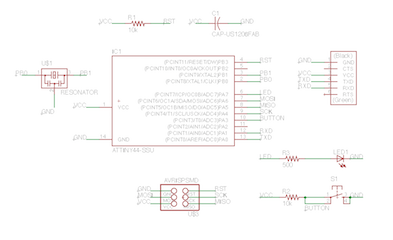
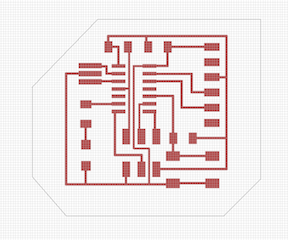
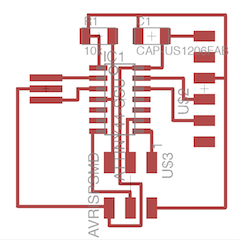
After adding and linking the new components, I routed the new components in the board layout and ran a design rule check to make sure it would be compatible with a 1/64" end mill.
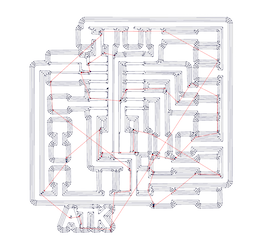
The with the board laid out, I added some fun personalization and exported the files as .png files so they would be compatible with FabModules. Editing the files to be black and white in the correct locations took a bit of work, but I finally was able to do it in Photoshop.


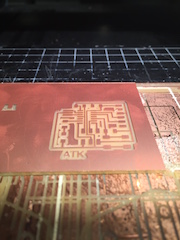
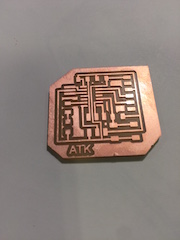
I set myself on the Modela Mill and loaded my traces into FabModules. Using FabModules, I was able to calculate the tool paths and mill my board.
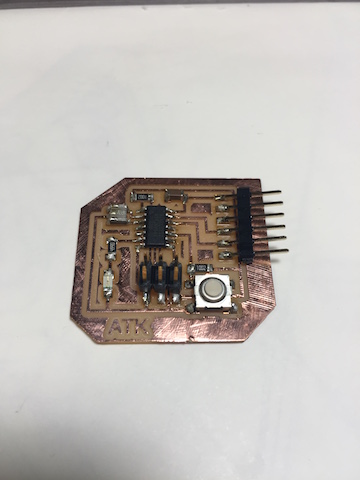
The board came out of machining looking great and needing minimal clean up. I scrubbed and checked the traces and ended up with a pretty nice looking board.
With the board ready to go, I set myself up with a soldering iron, a good pair of tweezers, and a multimeter and proceeded to stuff the board. Surprisingly, everything went smoothly and I had the board done in no time.