cast acrylic | Omax waterjet | Rhino/Grasshopper | pressfit antfarm
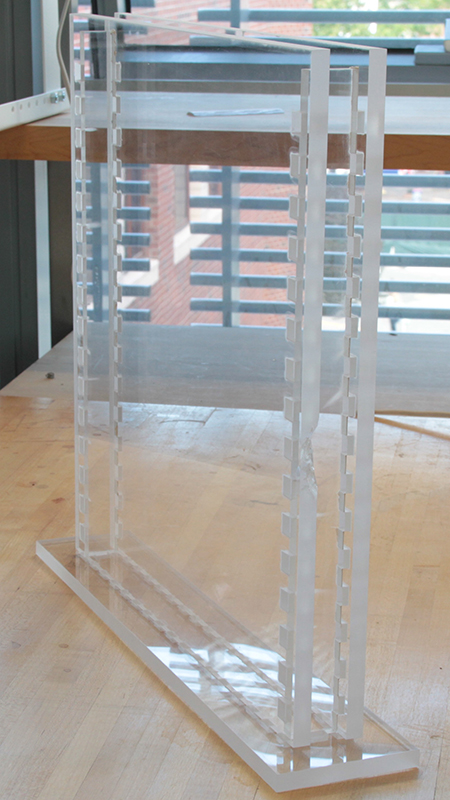
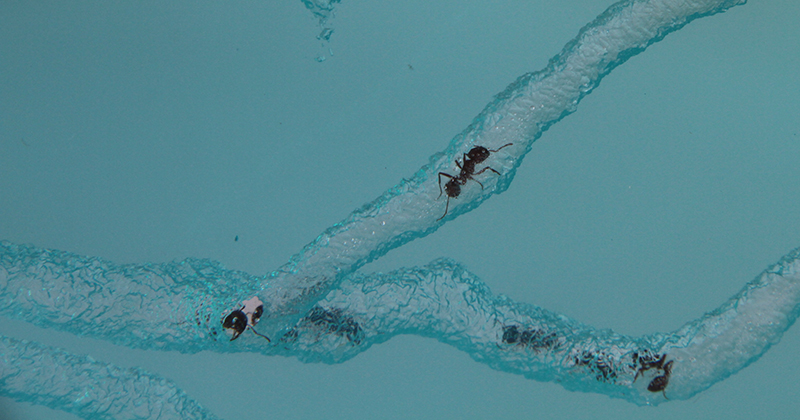
My initial impulse for this assignment was to learn a new kind of pressfit construction. I decided to use a material I had never used for this purpose and a tool I had never used to generate pressfitting teeth. I had, as leftovers from a previous group project, a large 2 x 4 foot panel of clear 0.5 inch cast acrylic, and was interested in learning more about the precision of the Omax waterjet I have aaccess to in the shop. To be blunt, I really love the aesthetic of the overly thick clear plastic. It's shear mass gives it quite a bit of presence, but kept free of dirt and scratches, it also has extremely hight light transmittance with little refraction and appears almost not there at all. It's somewhat inconsequential that several of my labmates were in need of a larger antfarm and so this is the form the pressfit construction took.
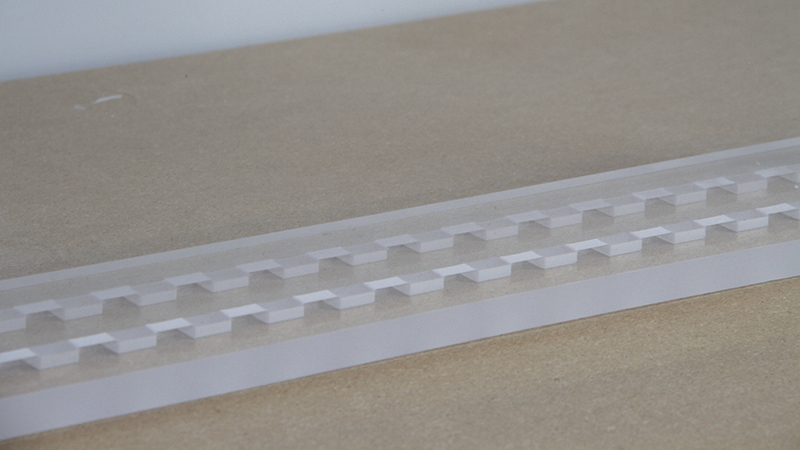
Task one was to determine the effectiveness of pressfit constructions with my material. Several online resources and forums have users quoting a .002 inch overlap between peg and hole. Acrylic polymers are extremely stiff, and so are comparable to glasses in many ways, but they do still have an elastic strain region, meaning the pressure fit should be, and clearly is, a possibility. Given that I was working with such thick, and expensive to replace, material, and an unknown quantity from my perspective in the form of waterjet acrylic surface finish, testing the tolerances in small amounts was a must. I started by making a five toothed part, and used the Omax Layout CAM environment to program a gradient of cut qualities to find what worked and what didn't. I made 3 of these parts for .002, .001, and 0 inch overlaps. .002 inches I had a feeling would be extreme given the surface area under friction with such thick stock, so to cover my bases, I tried two which were smaller.
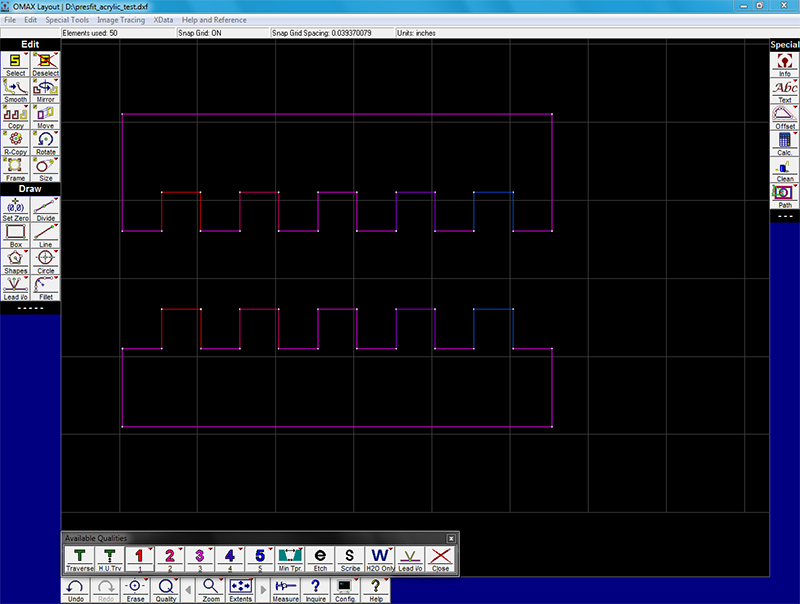


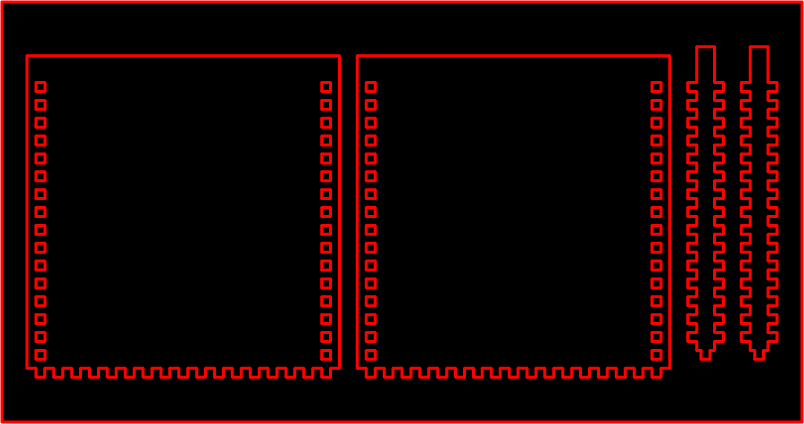
I found that if the overlap was too tight, the lower quality cuts were the only ones which fit. They tend to taper from one side to the other, while the more precise, but time and abrasive garnet consuming, cuts only fit if the overlap was perfect. I chose the higher quality cuts and the most consistent overlap, which actually turned out to be 0. The Omax Make CAM system actually does account for its own kerf, so assumging enough of the peg/hole pairs are just not completely perfect, the friction fit is sufficient enough not to need to noticeably compress material in every pair. I then designed the largest box that would fit in my material frame by creating a parametric model which would take only the inputs material thickness, overlap, and canvas size. Below is my final toolpath for all but the base, for which I used a second smaller piece of acrylic.
Finally, after a 2 hour cutting process, the the final box was assembled with minimal issue. I really love with this construction how the two aspects of the material are expressed. The actual things is excessively heavy, but it's almost not there for how transparent it is. Of course, though, at every structural joint, the thickness of the material is revealed.