Back to the workshop machines, eh! The assignment this week was to get acquinted with Computer-Aided Design softwares and Computer-Controlled Cutting mechanisms, primarily laser and vinyl cutting. I intended to make a lot of things - from signages, utilitarian artifacts to pop-up structure mechanisms. A day later after having sketched, I settled on a resounding art concept of abstract creatures that co-exist in familiar surroundings, overlooking us, getting assimilated in our environments and in turn shaping the environments as well.
My medium for this artwork was going to be corrgugated pads and I set out to design organic shapes that would come together for the final forms. I learnt Rhino this week and feel quite comfortable using the tool now, albeit I could not get my hands on the grasshopper extension since I happen to be using Mac. I was initially thinking of designing the shapes in 3D to visualize the final output and later flatten them for laser printing. While Rhino seemed to be working perfectly fine for this, there was a bit of hitch initally to use the curve booleans for union and differencing to get required shapes.
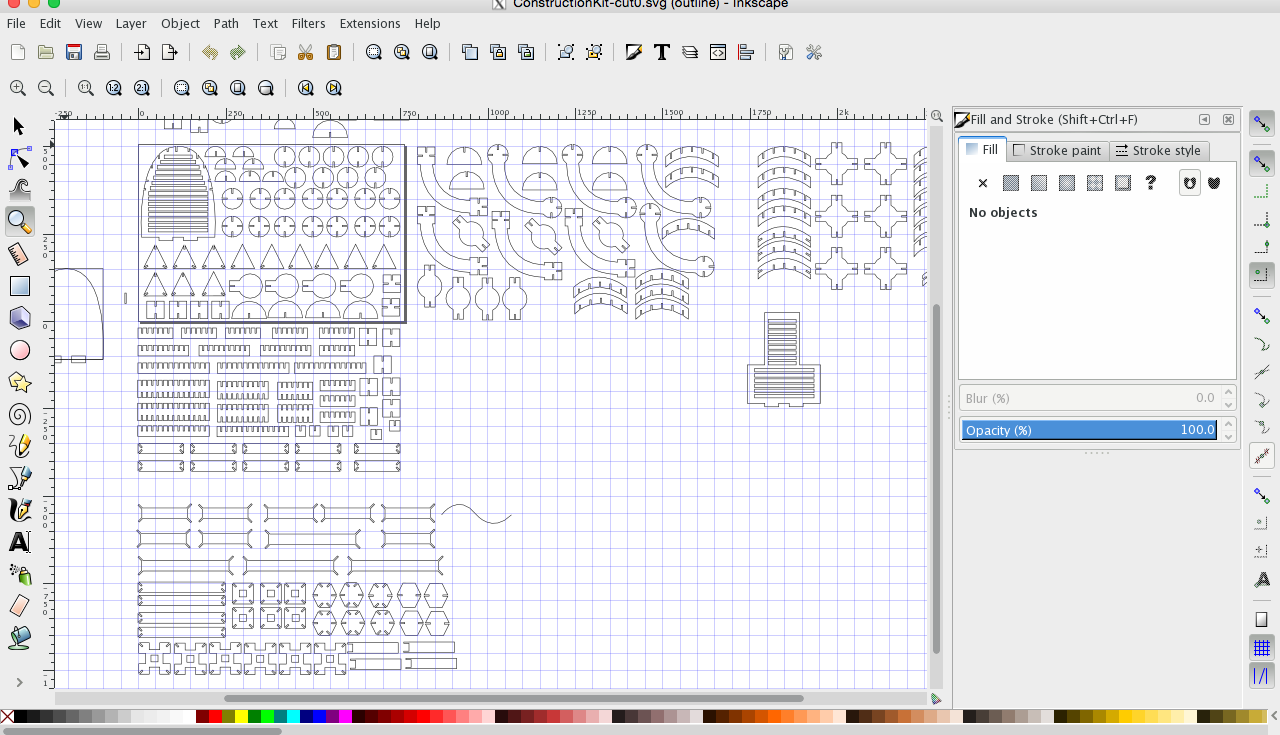 I also looked at other alternatives, specifically InkScape and found that it had almost all of the boolean capabilites that I was looking for and was a bit faster to work with after having familiarized the environment. The canvas started to look something like this after a while.
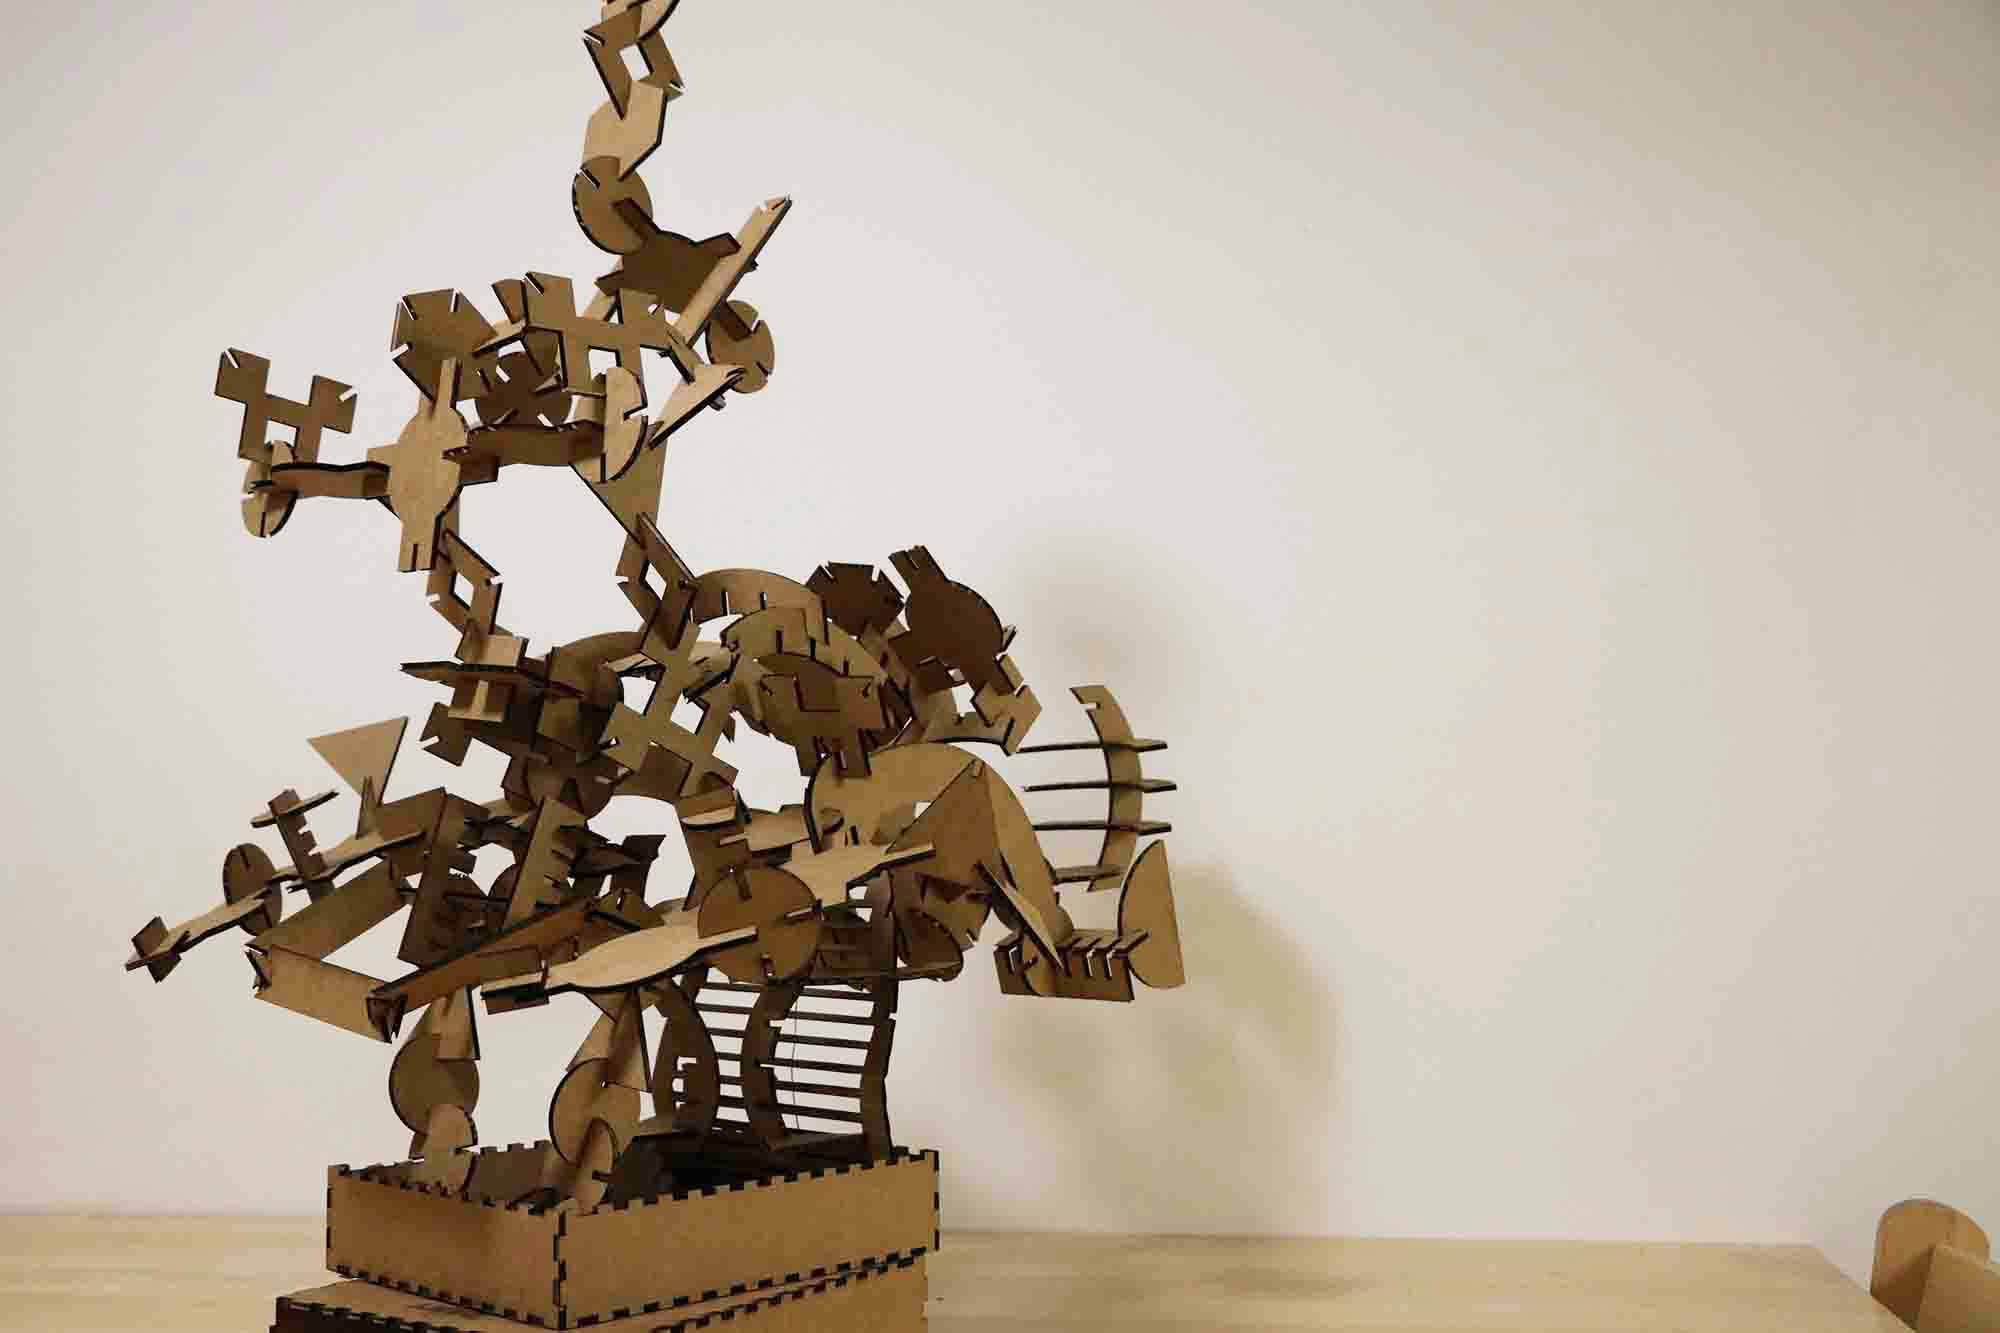
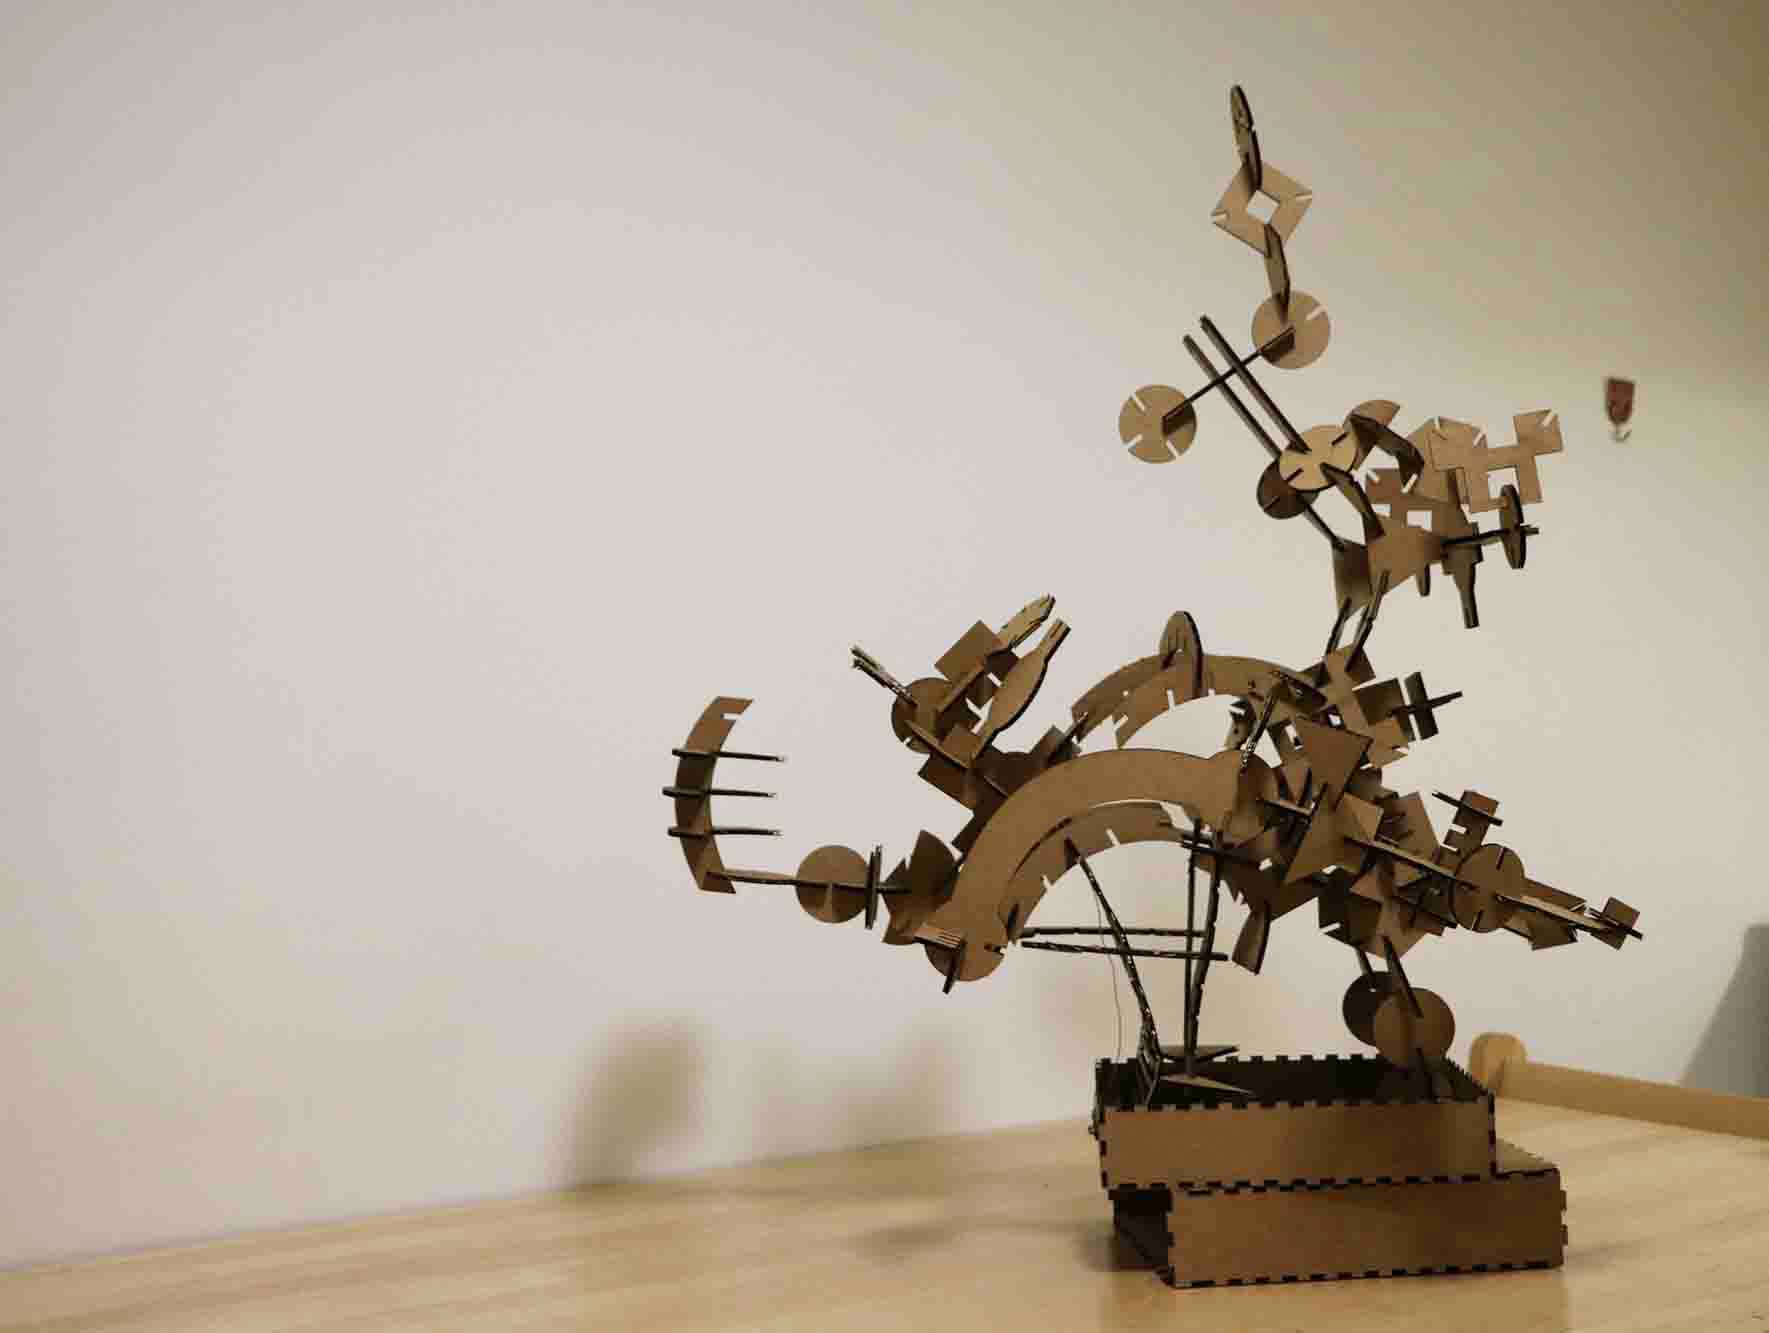
I intended to make this construction kit where one could slide open the box and the main support structure pops out, over which one could start building. At one point, I was trying to find out if I could incorporate a mechanism where the horizontal movement of the slide-out box could be translate to the angular movement of the inner structure that would pop
out. However, that would have been a long-ish exercise to accomplish, so as a hack, I used the binding wire that holds the
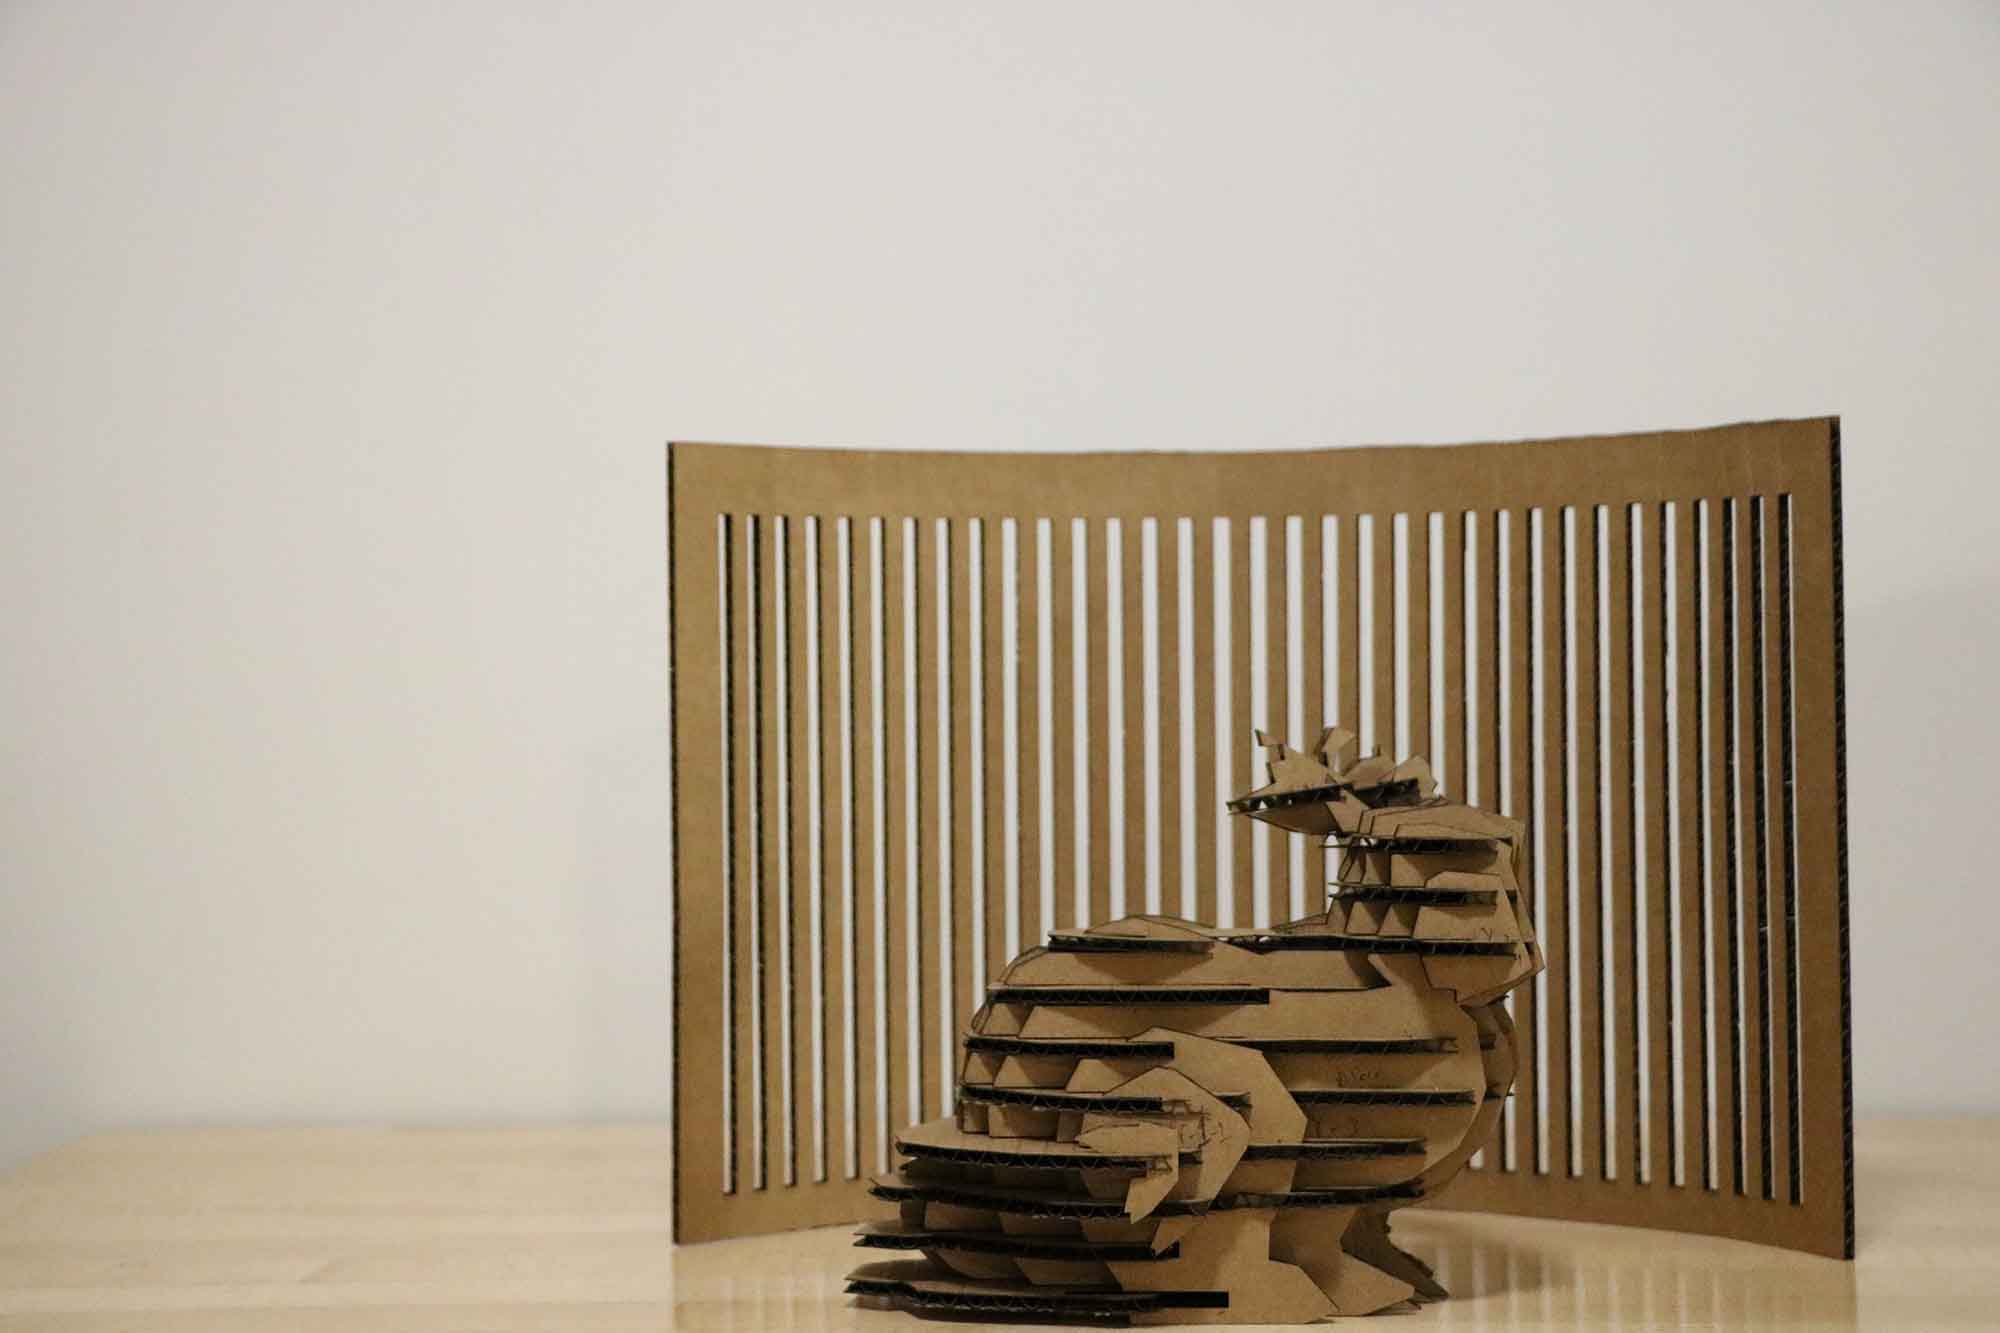
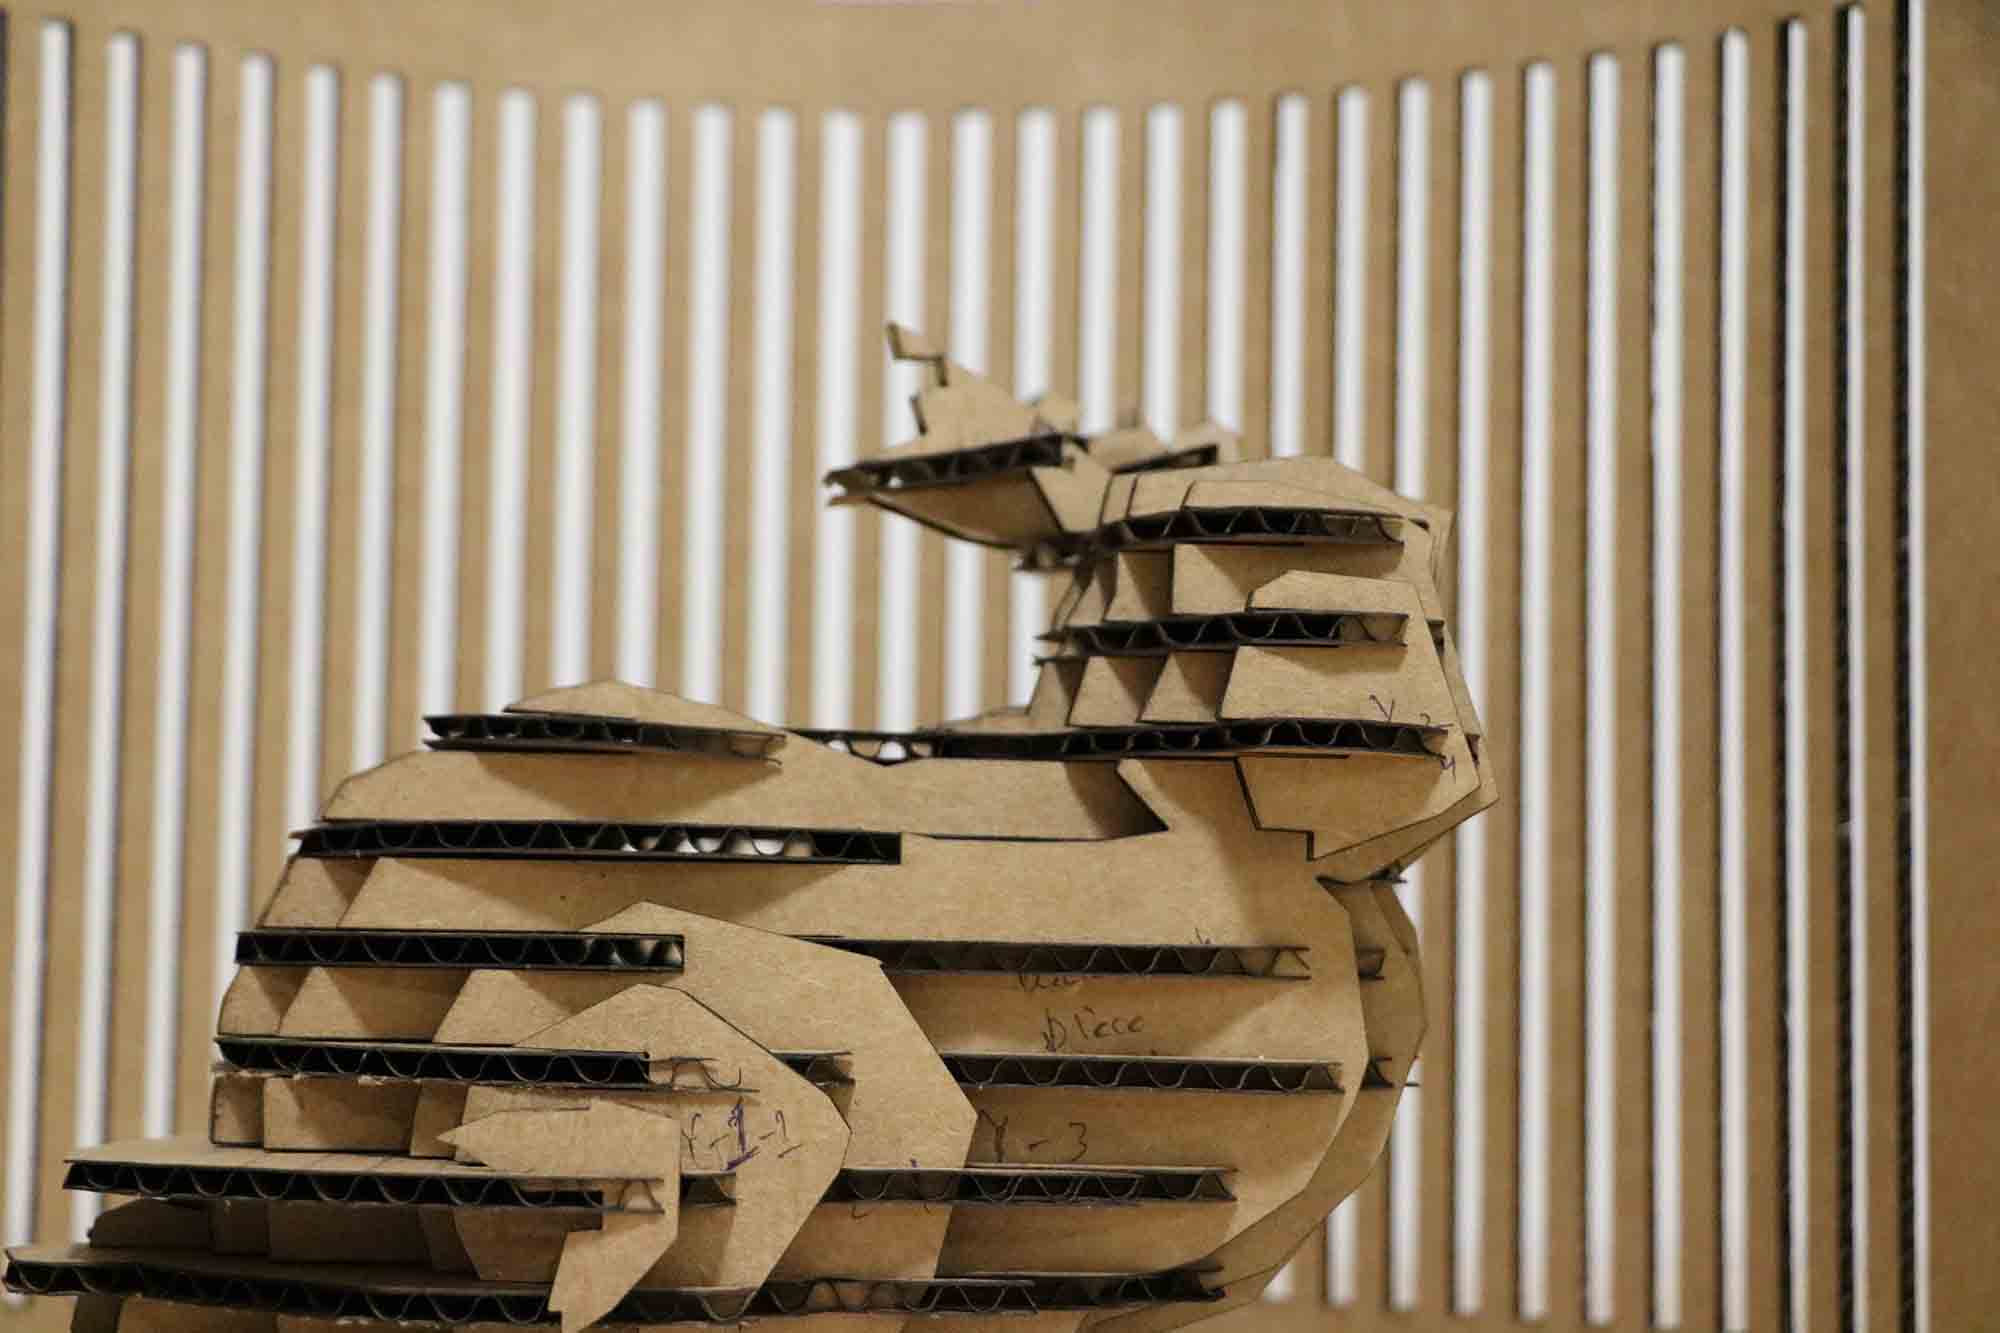
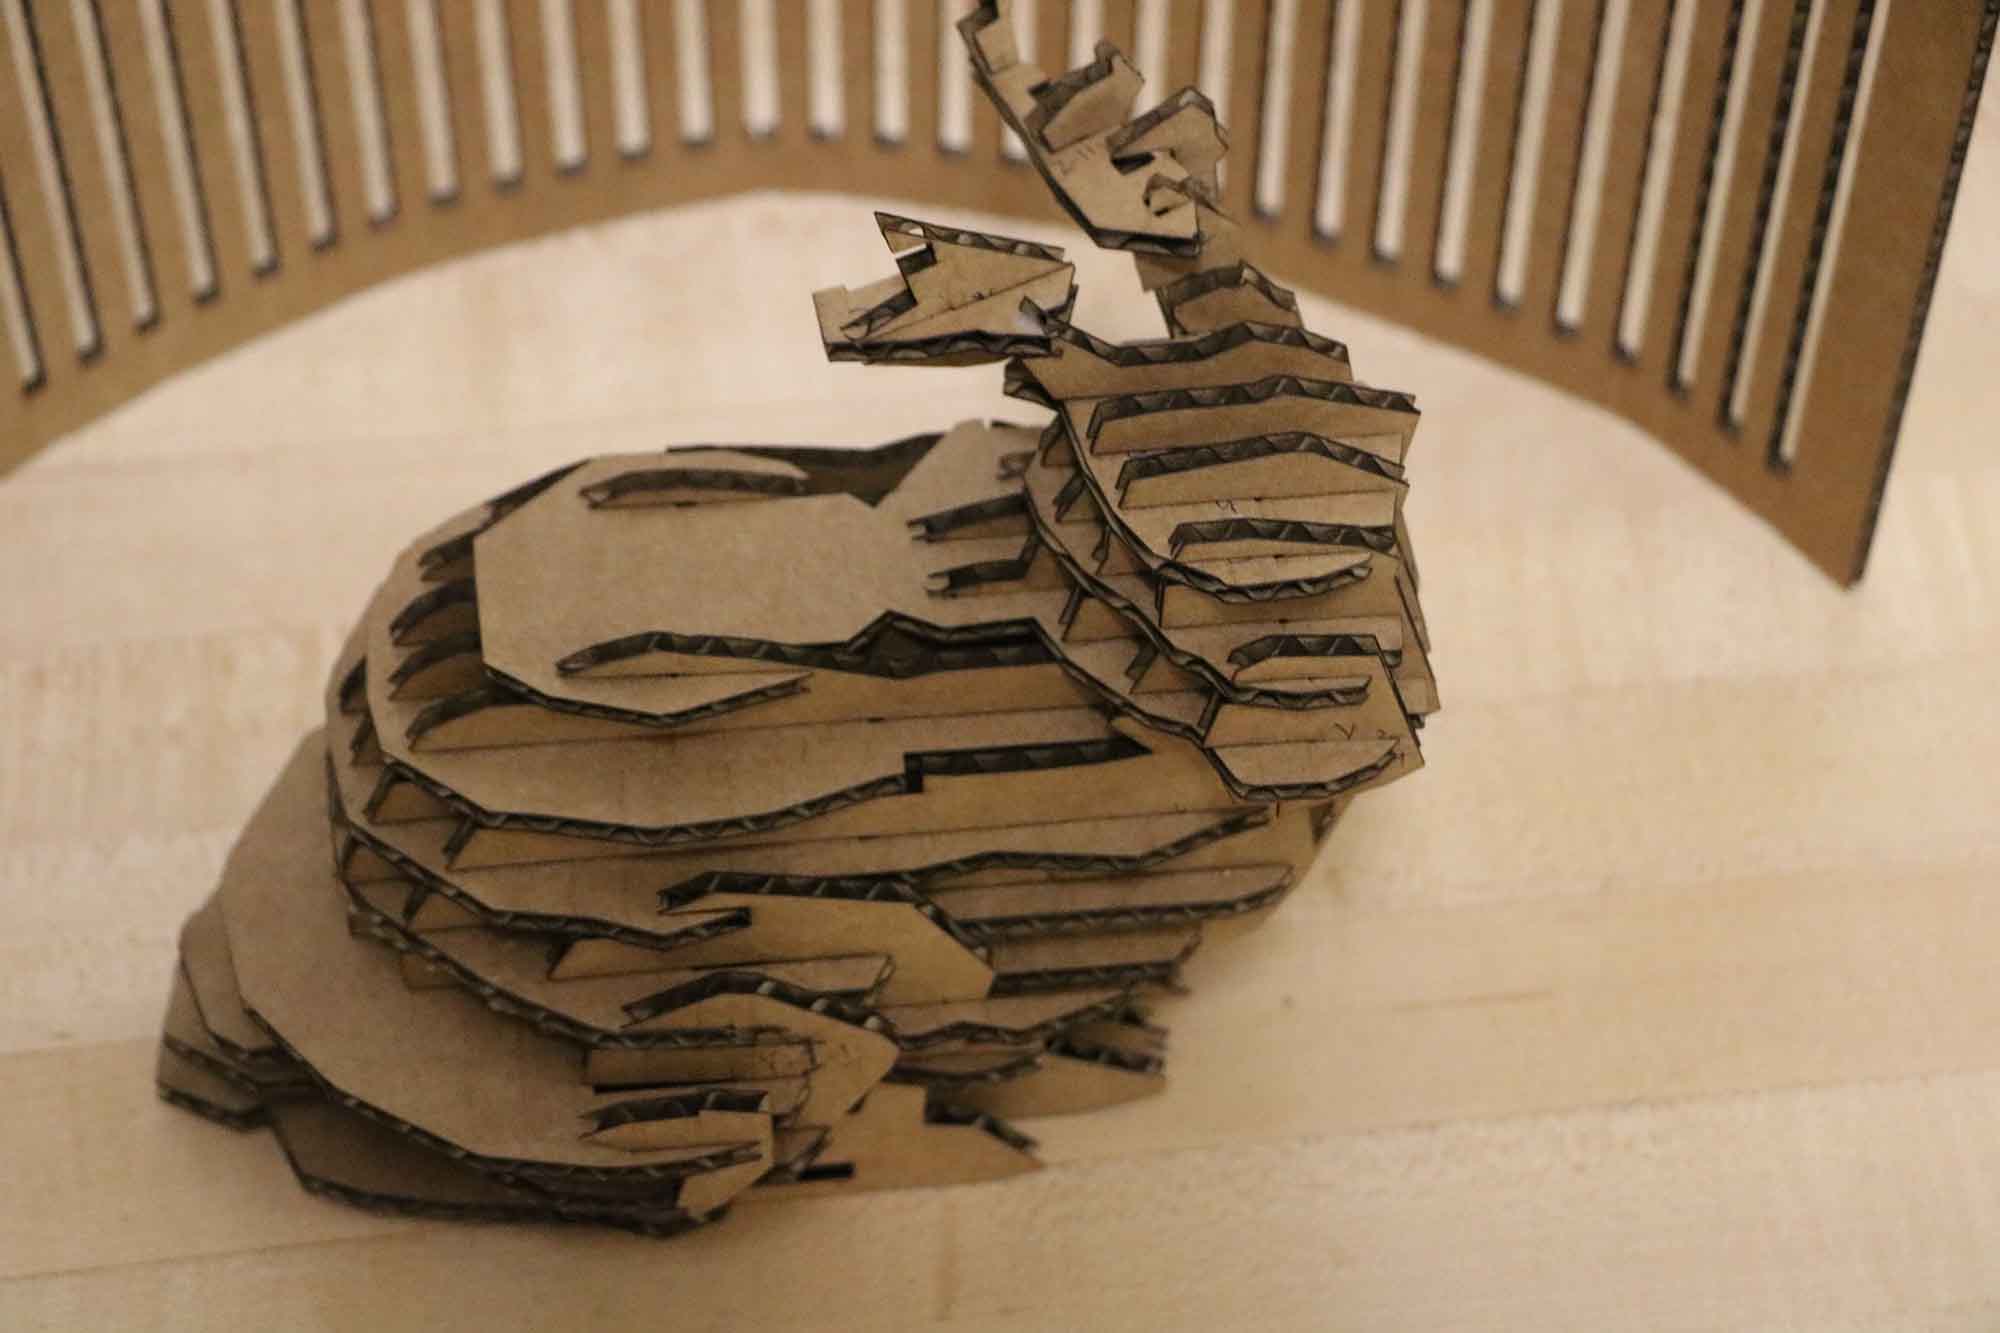
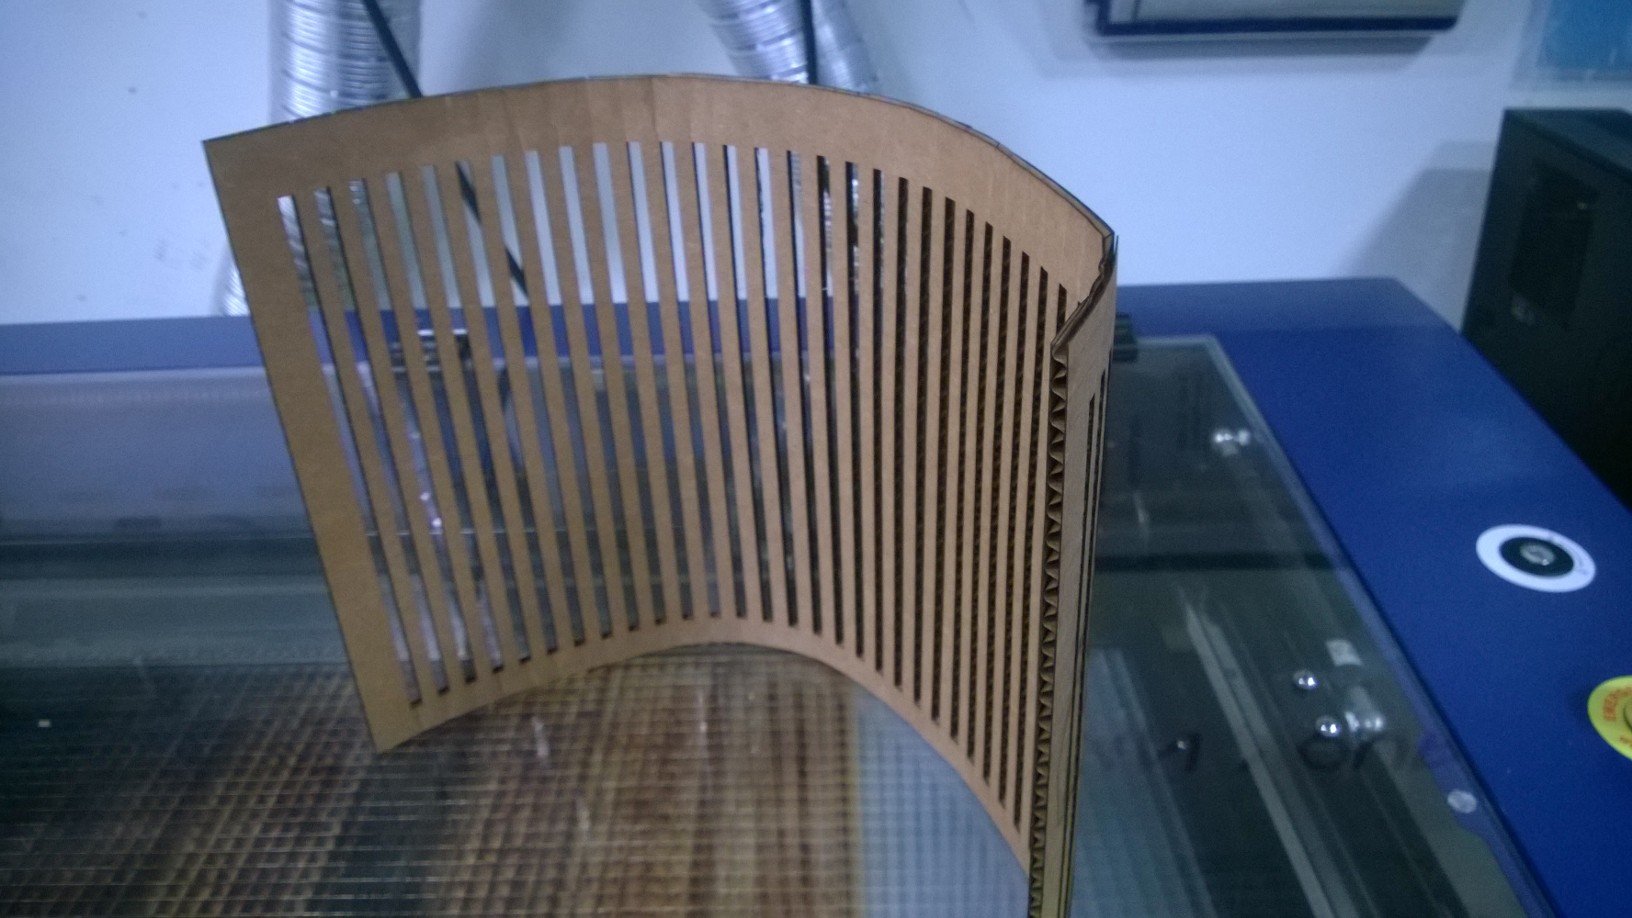 shape as a backbone of the inner structure and pops it out when you slide open. I also needed to test if these corrugated pads would bend and they did so after slicing out 10mm strips from the structure. Here's what the bent structure looked like:
I inteded to make life-sized creatures, so I had to cut a lot of parts which was quite a fun exercise and also equipped me
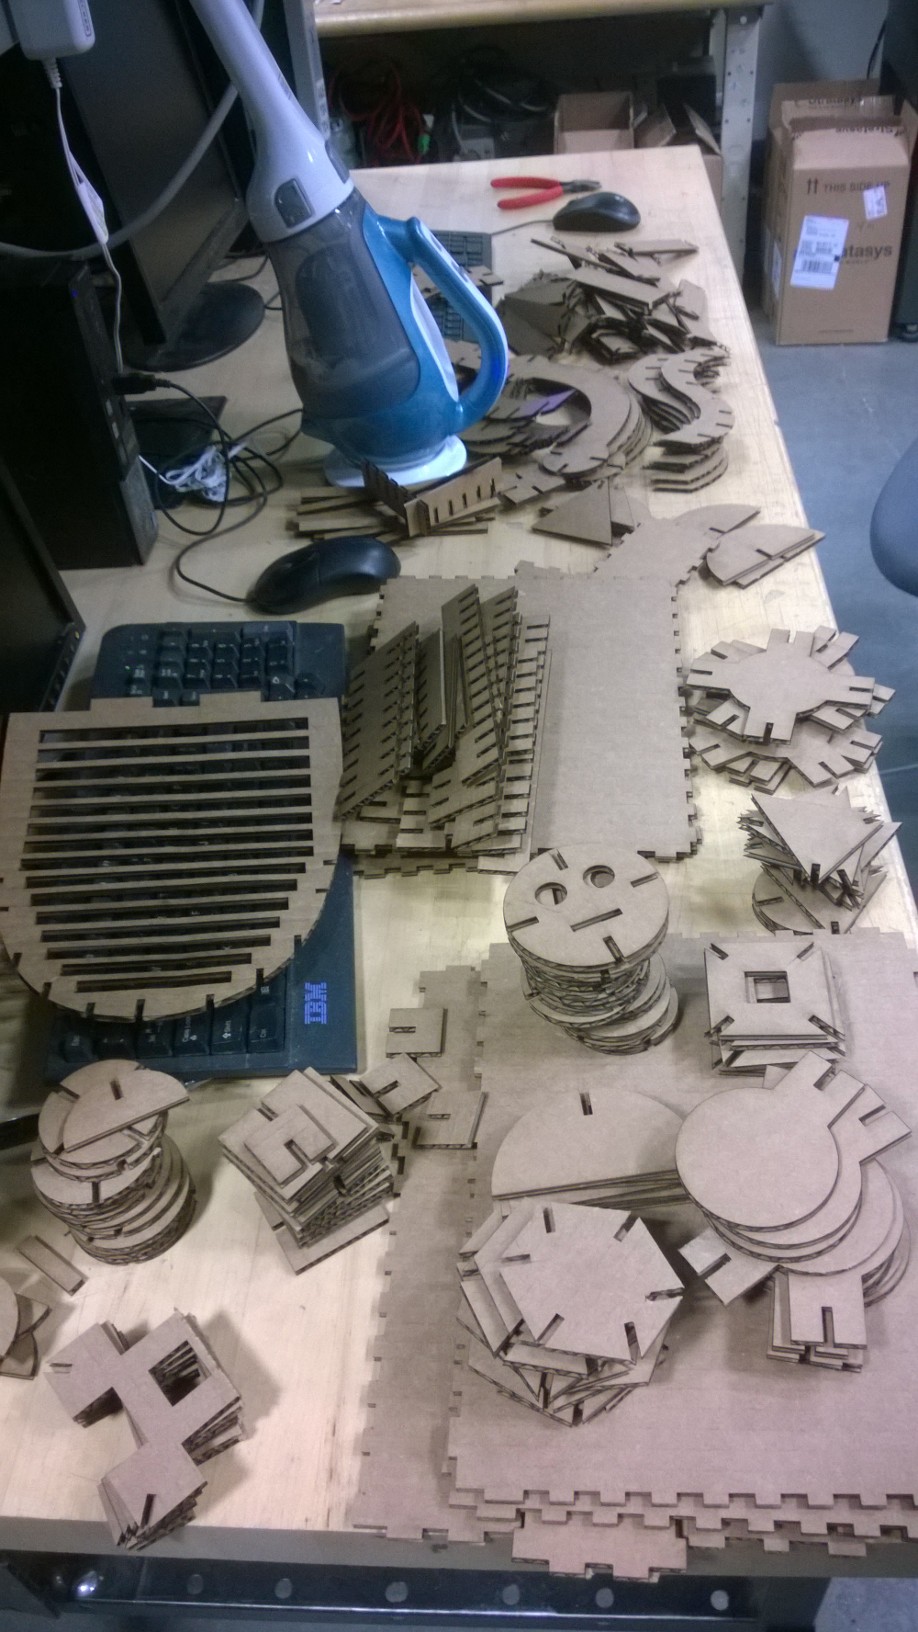 with precious laser work-hours. For this assignment, I used the epilog legend 36EXT which was working at 60% of its power
efficiency and used power/speed setting of 75/25 and even 80/20 when the cardboard was not getting cut due to smiley/frowny
bends. For designing, I also gave a shot to Antimony to parametrize the final shapes, however I wasn't confident about the
with precious laser work-hours. For this assignment, I used the epilog legend 36EXT which was working at 60% of its power
efficiency and used power/speed setting of 75/25 and even 80/20 when the cardboard was not getting cut due to smiley/frowny
bends. For designing, I also gave a shot to Antimony to parametrize the final shapes, however I wasn't confident about the
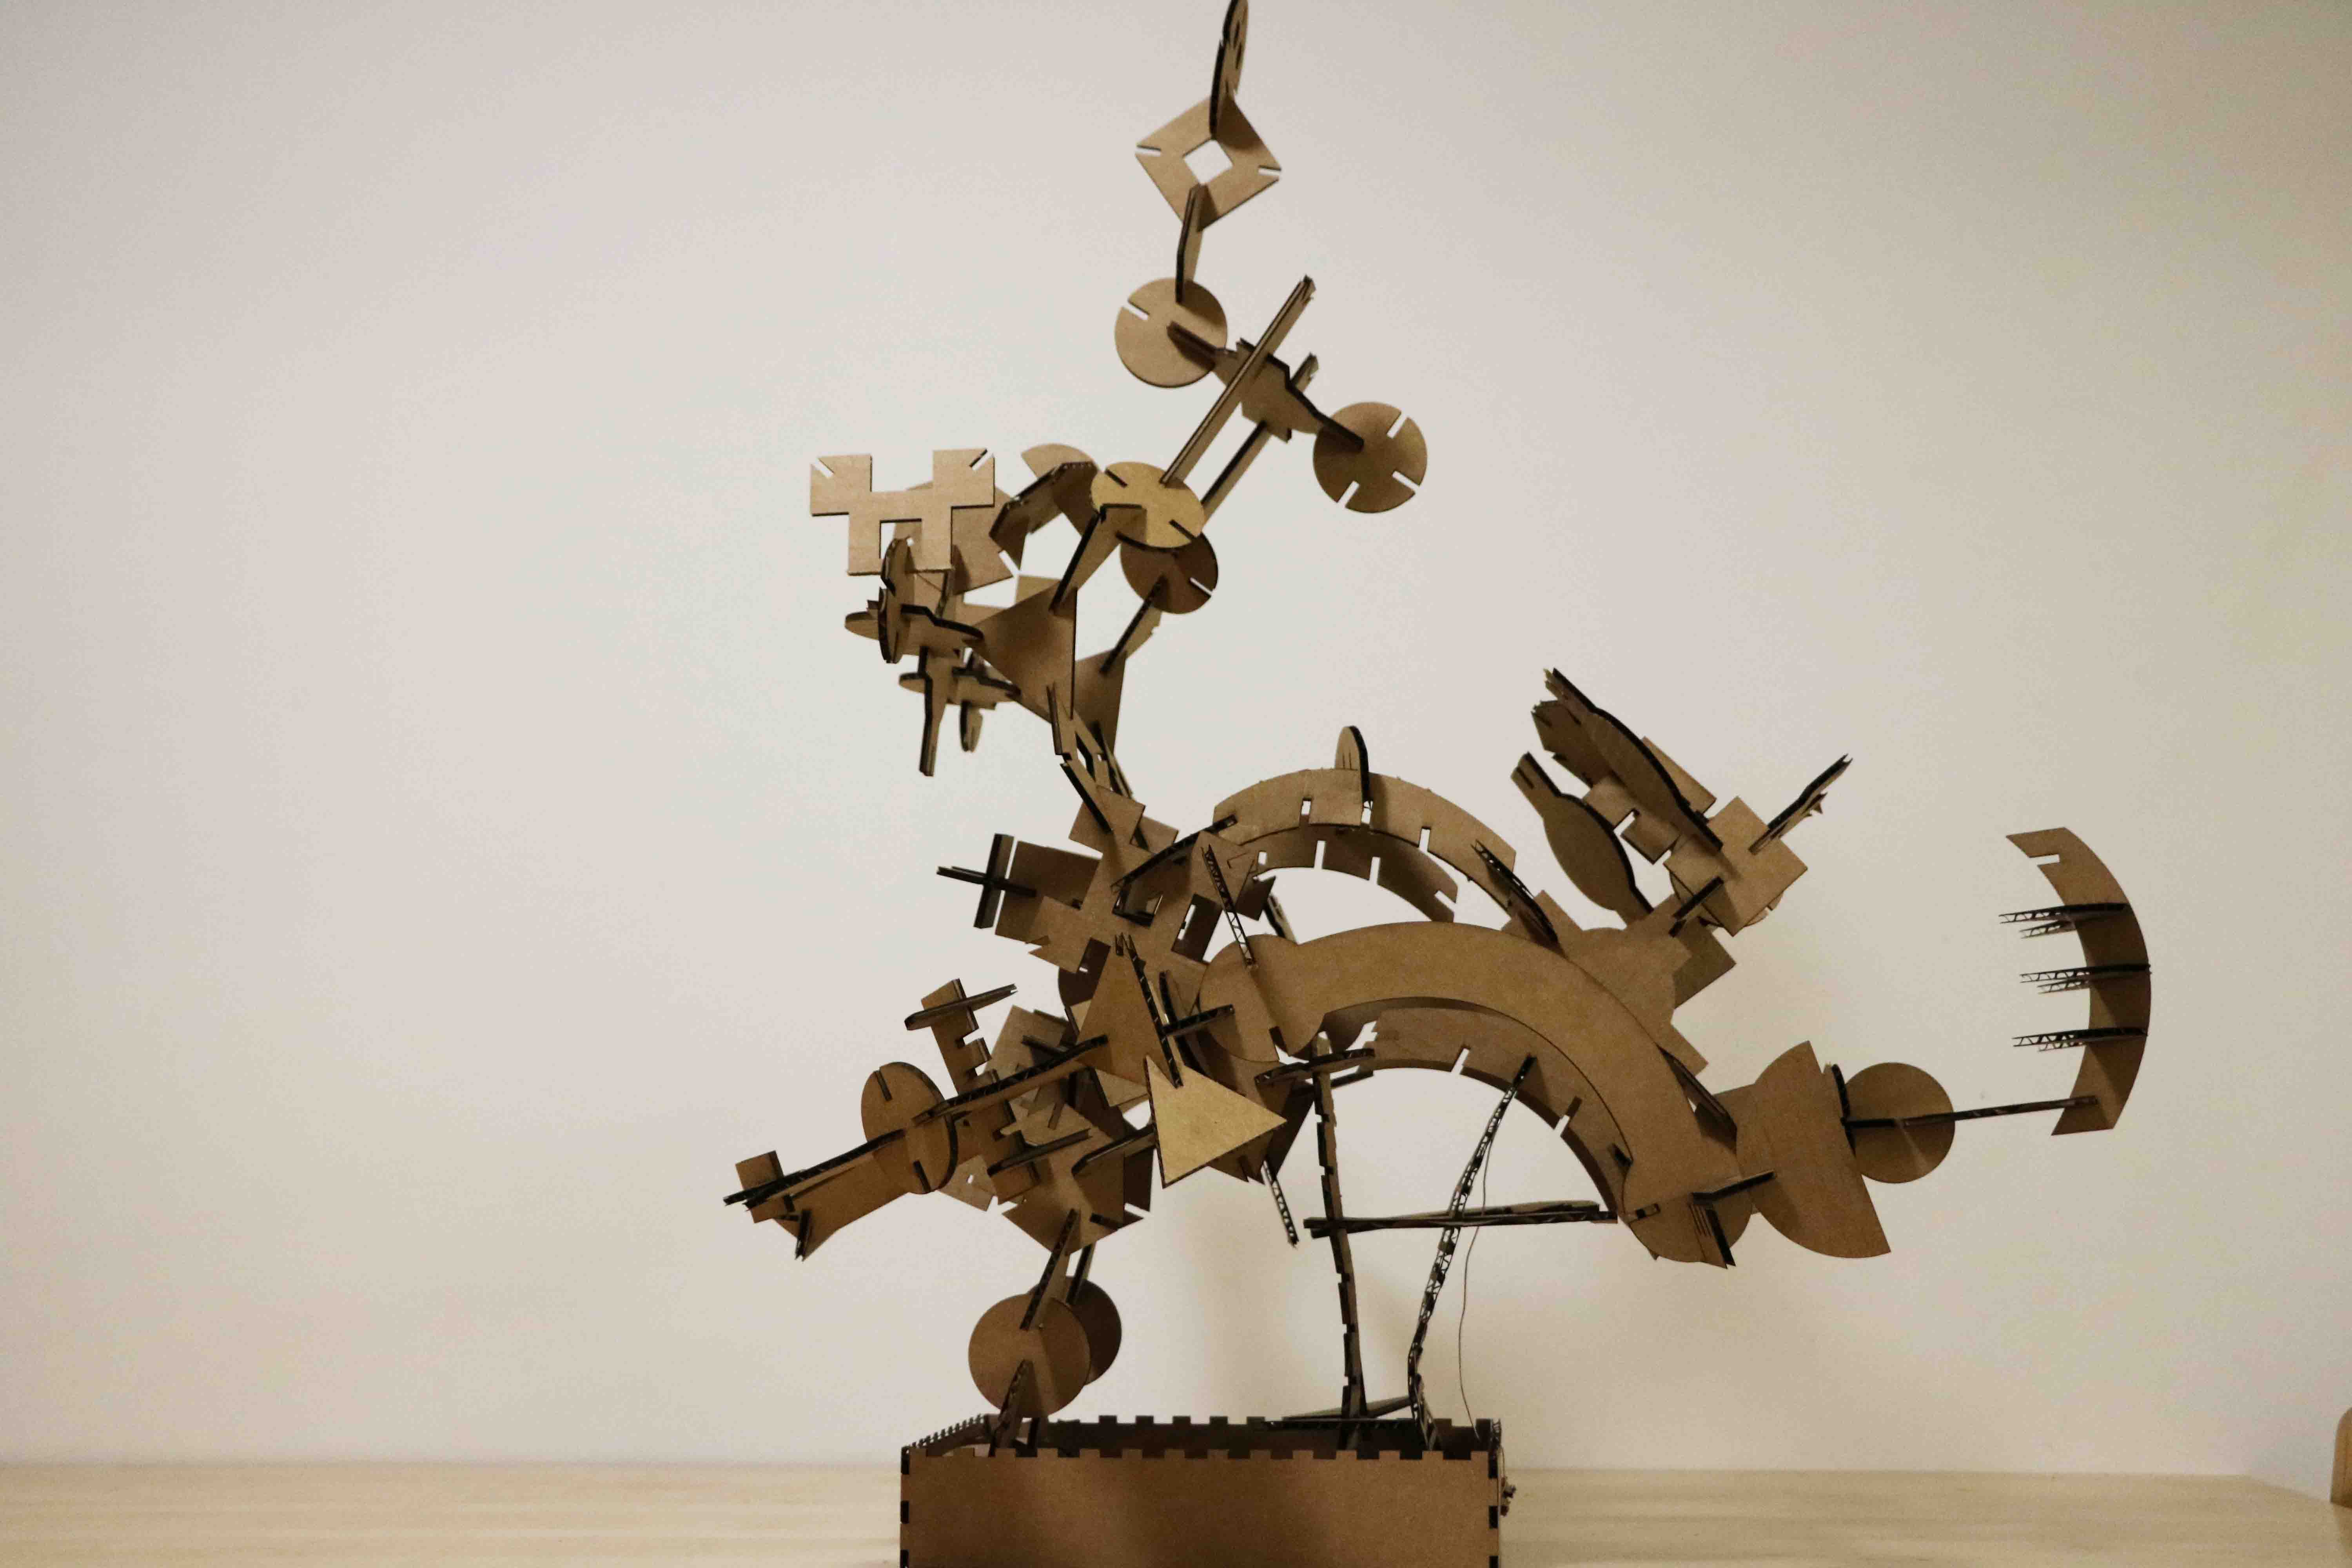
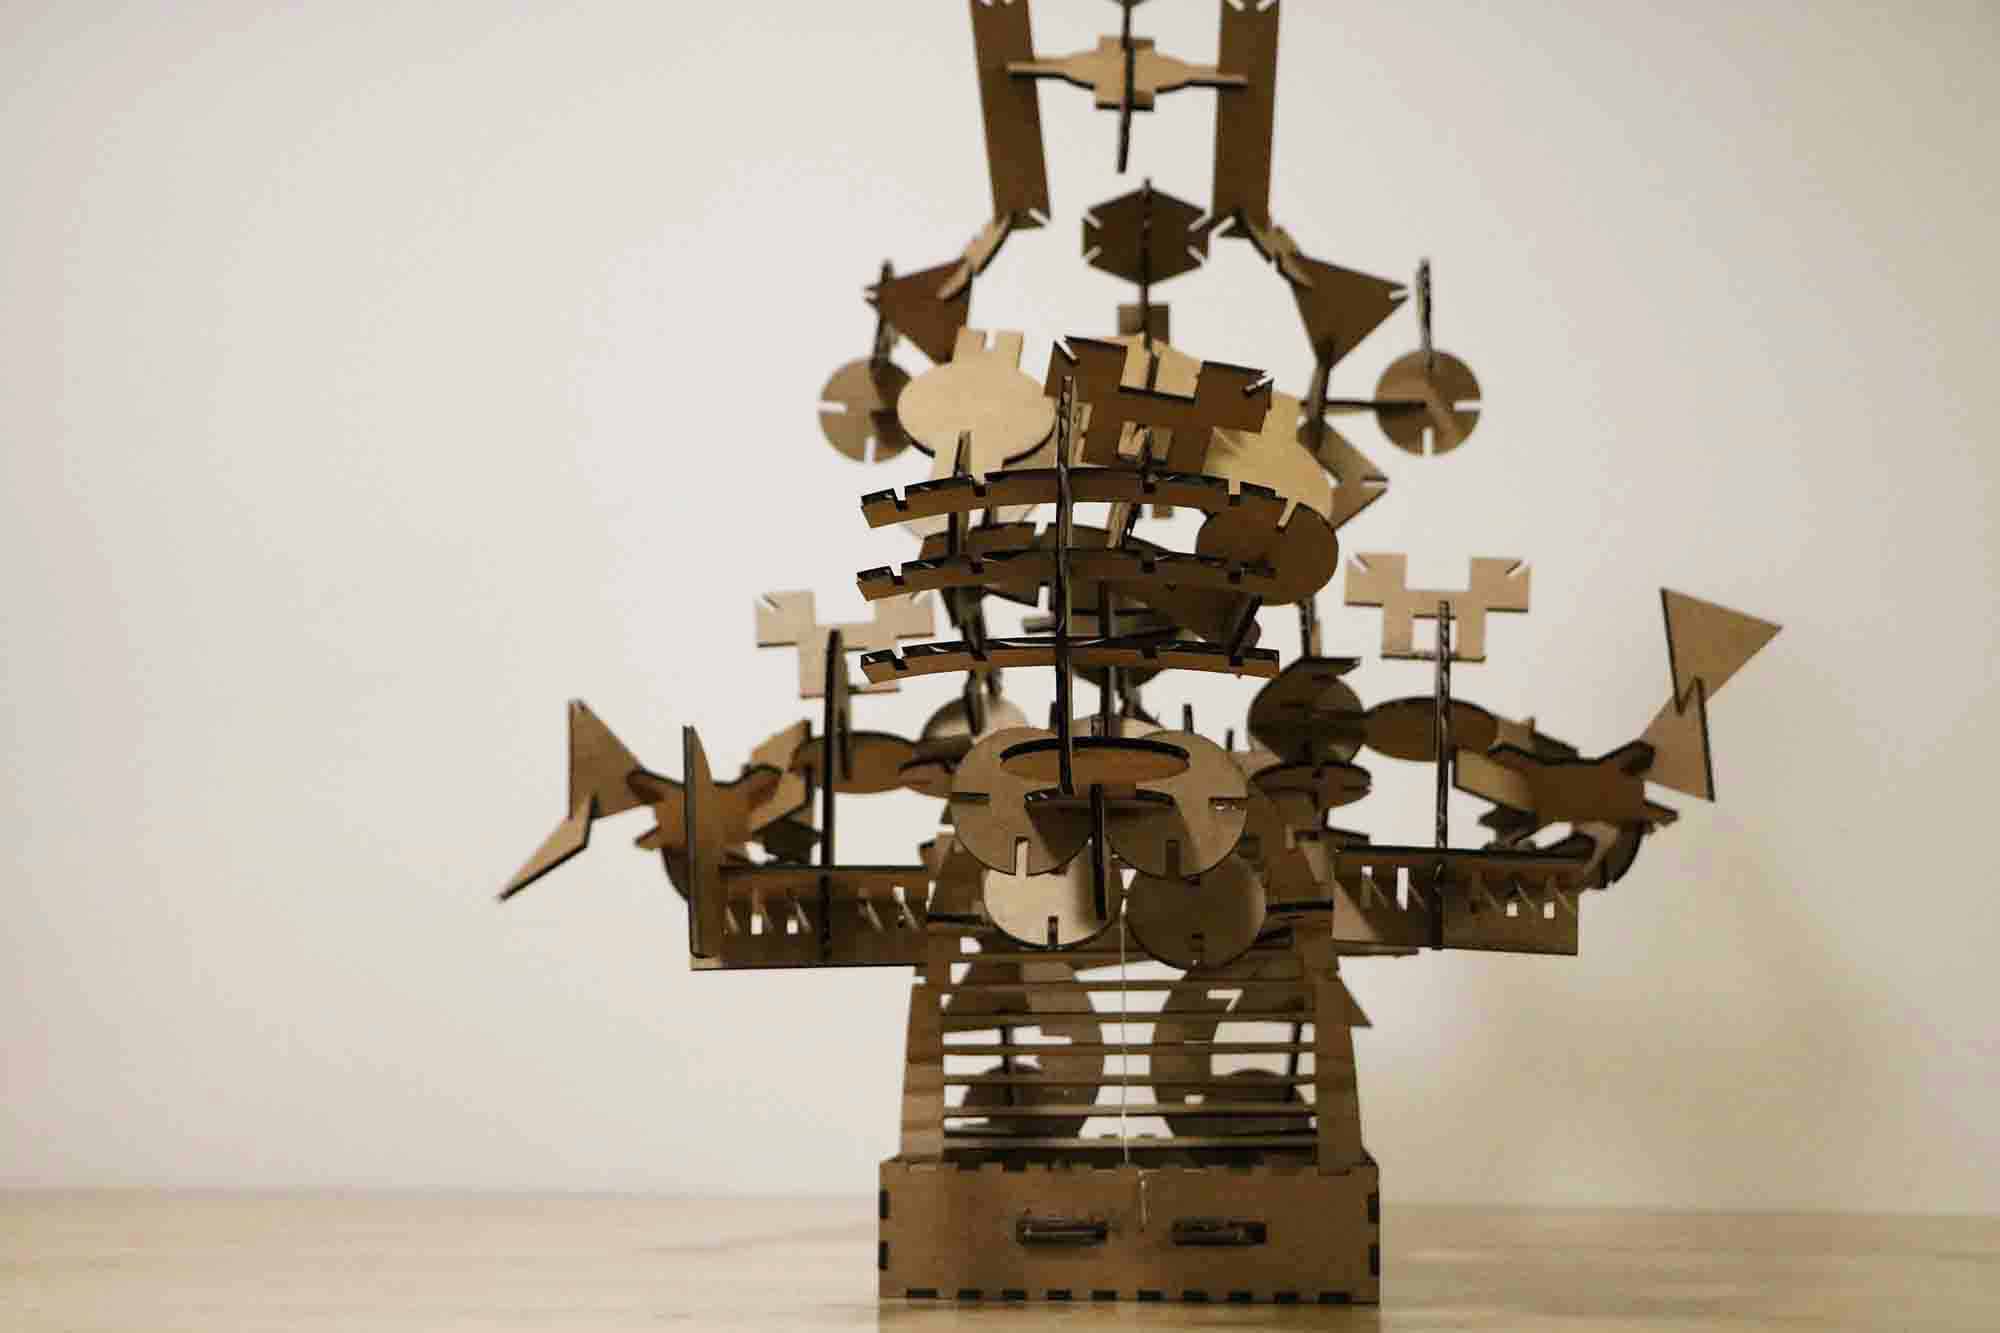
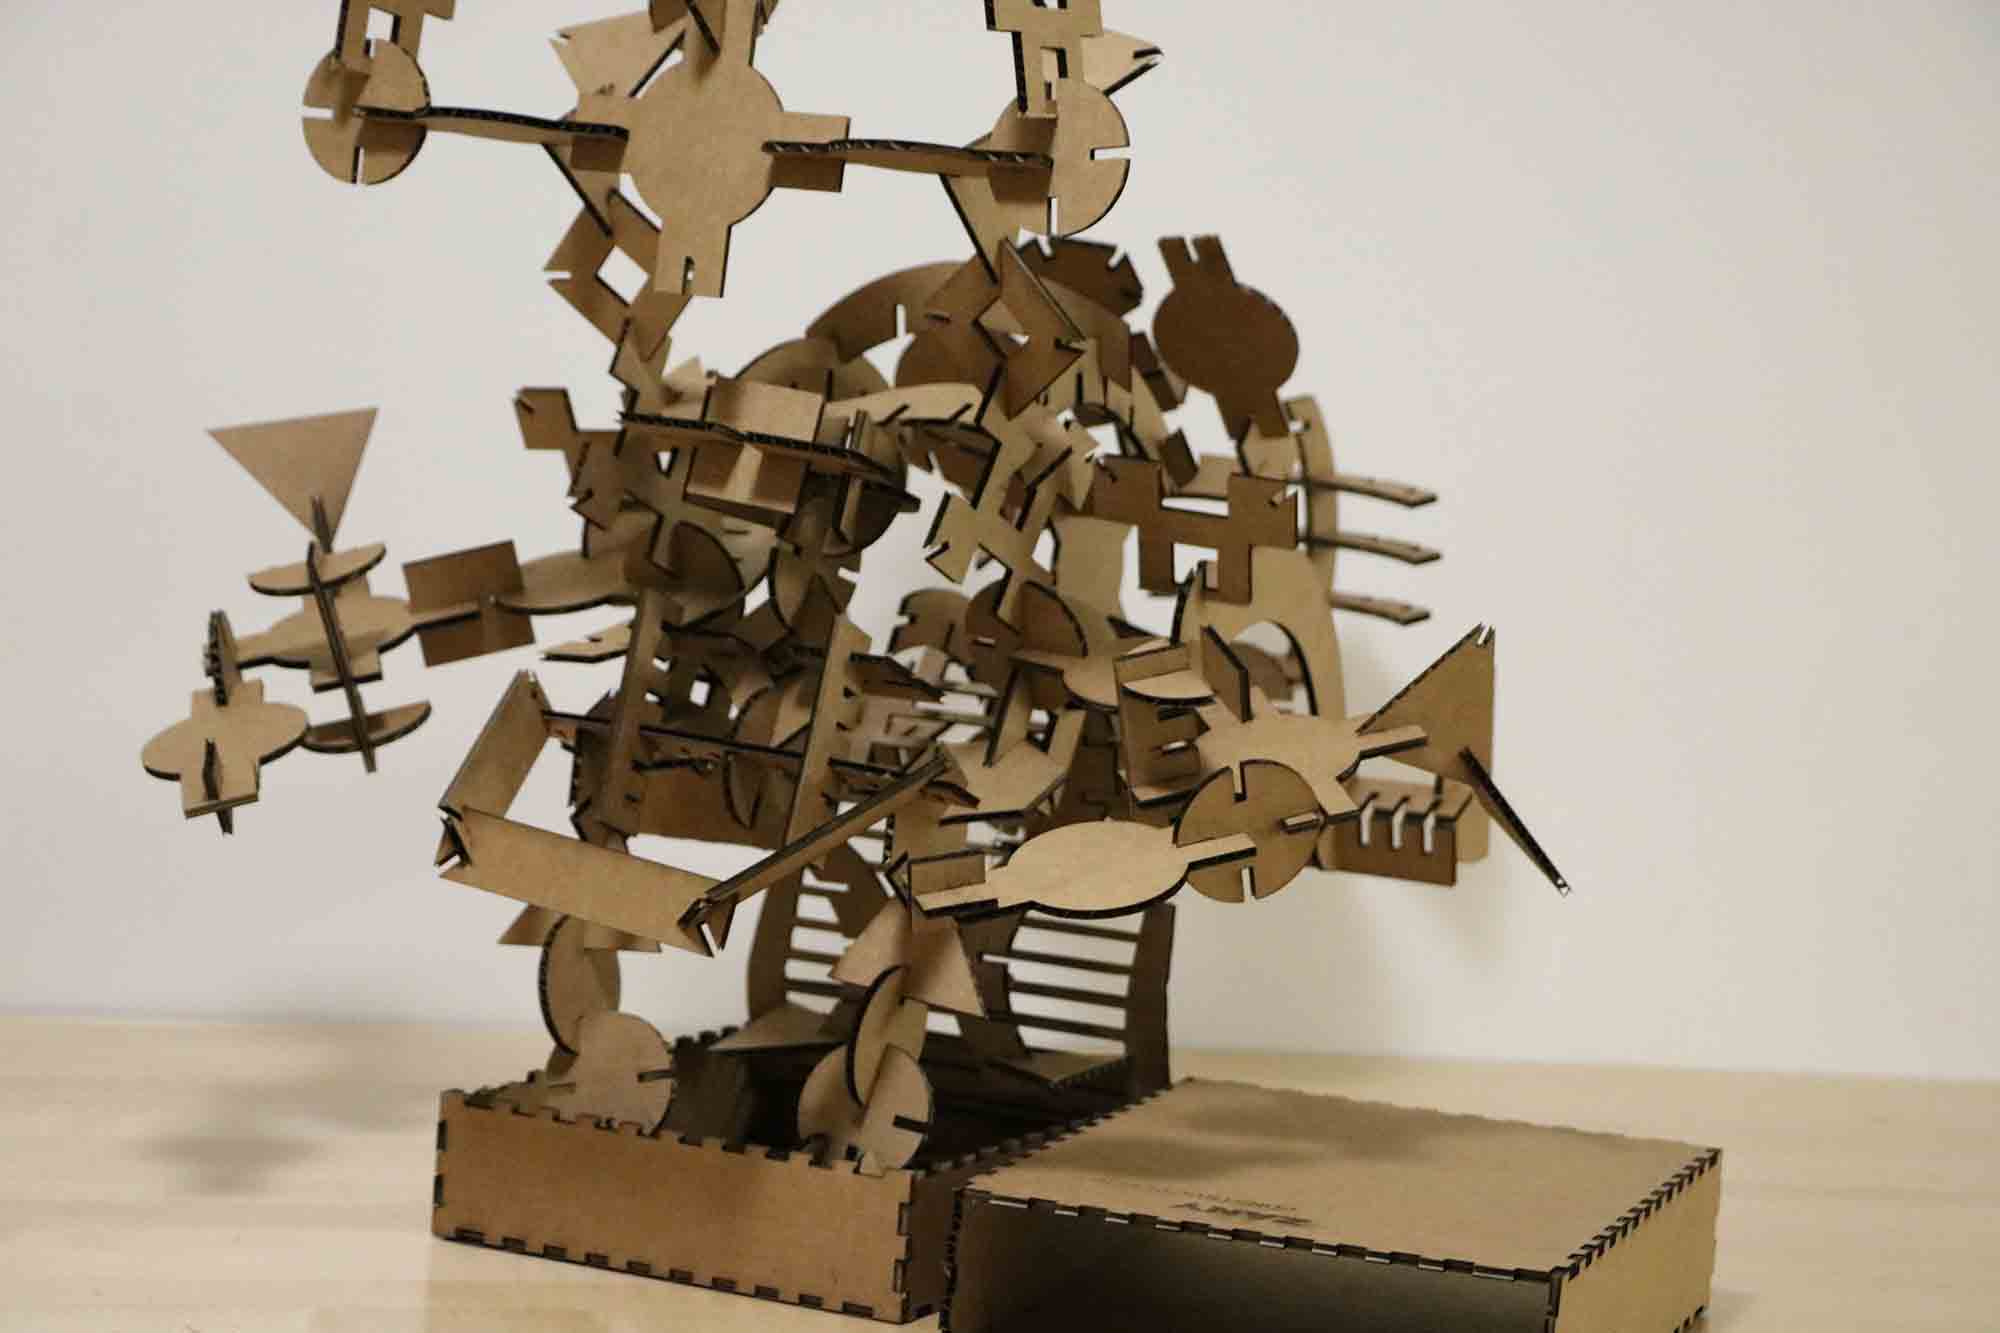
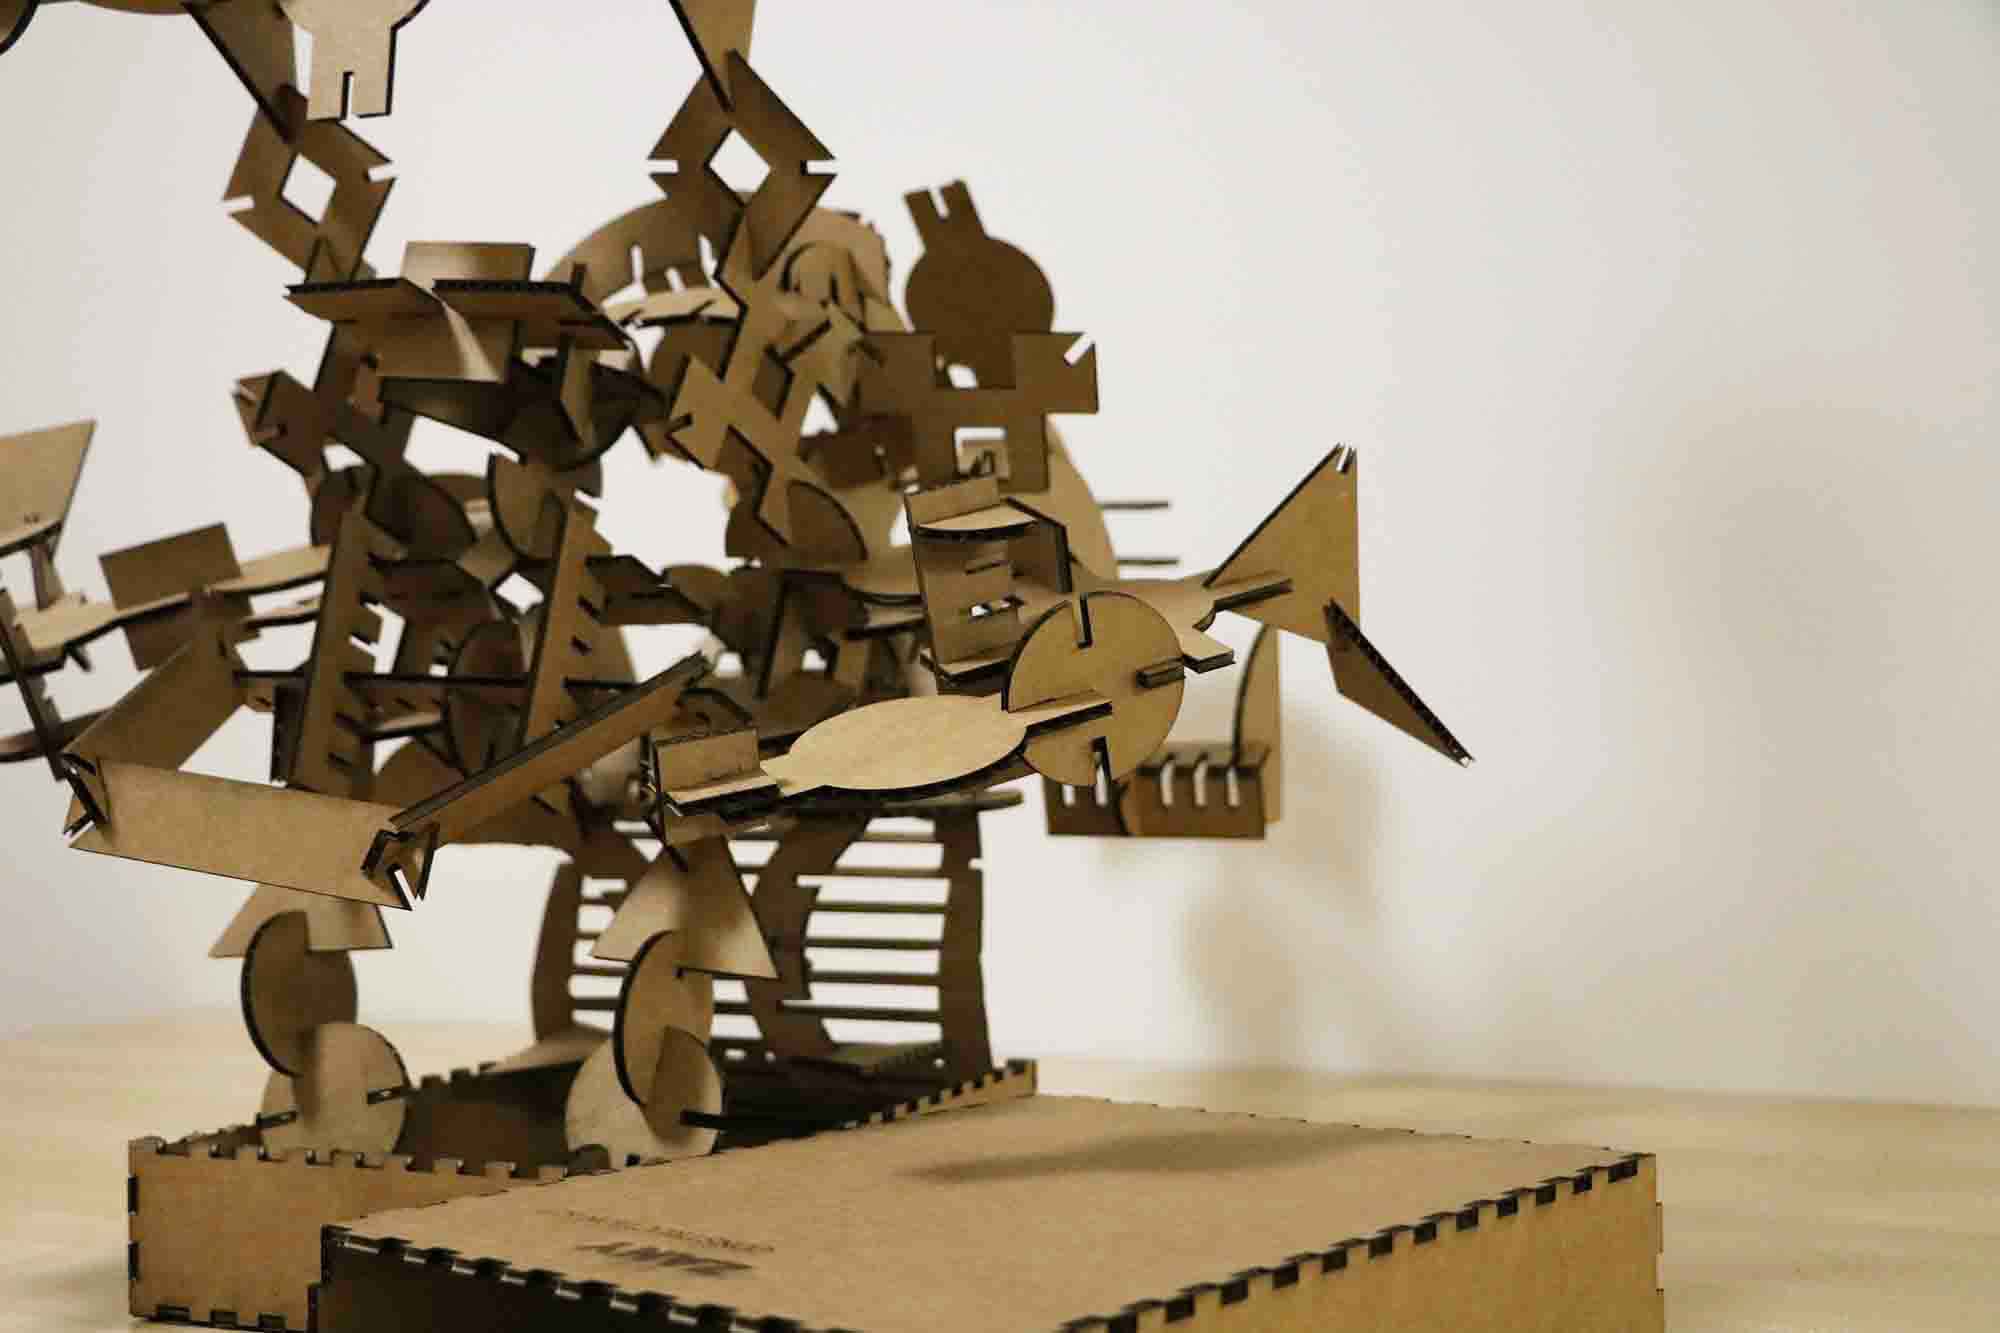
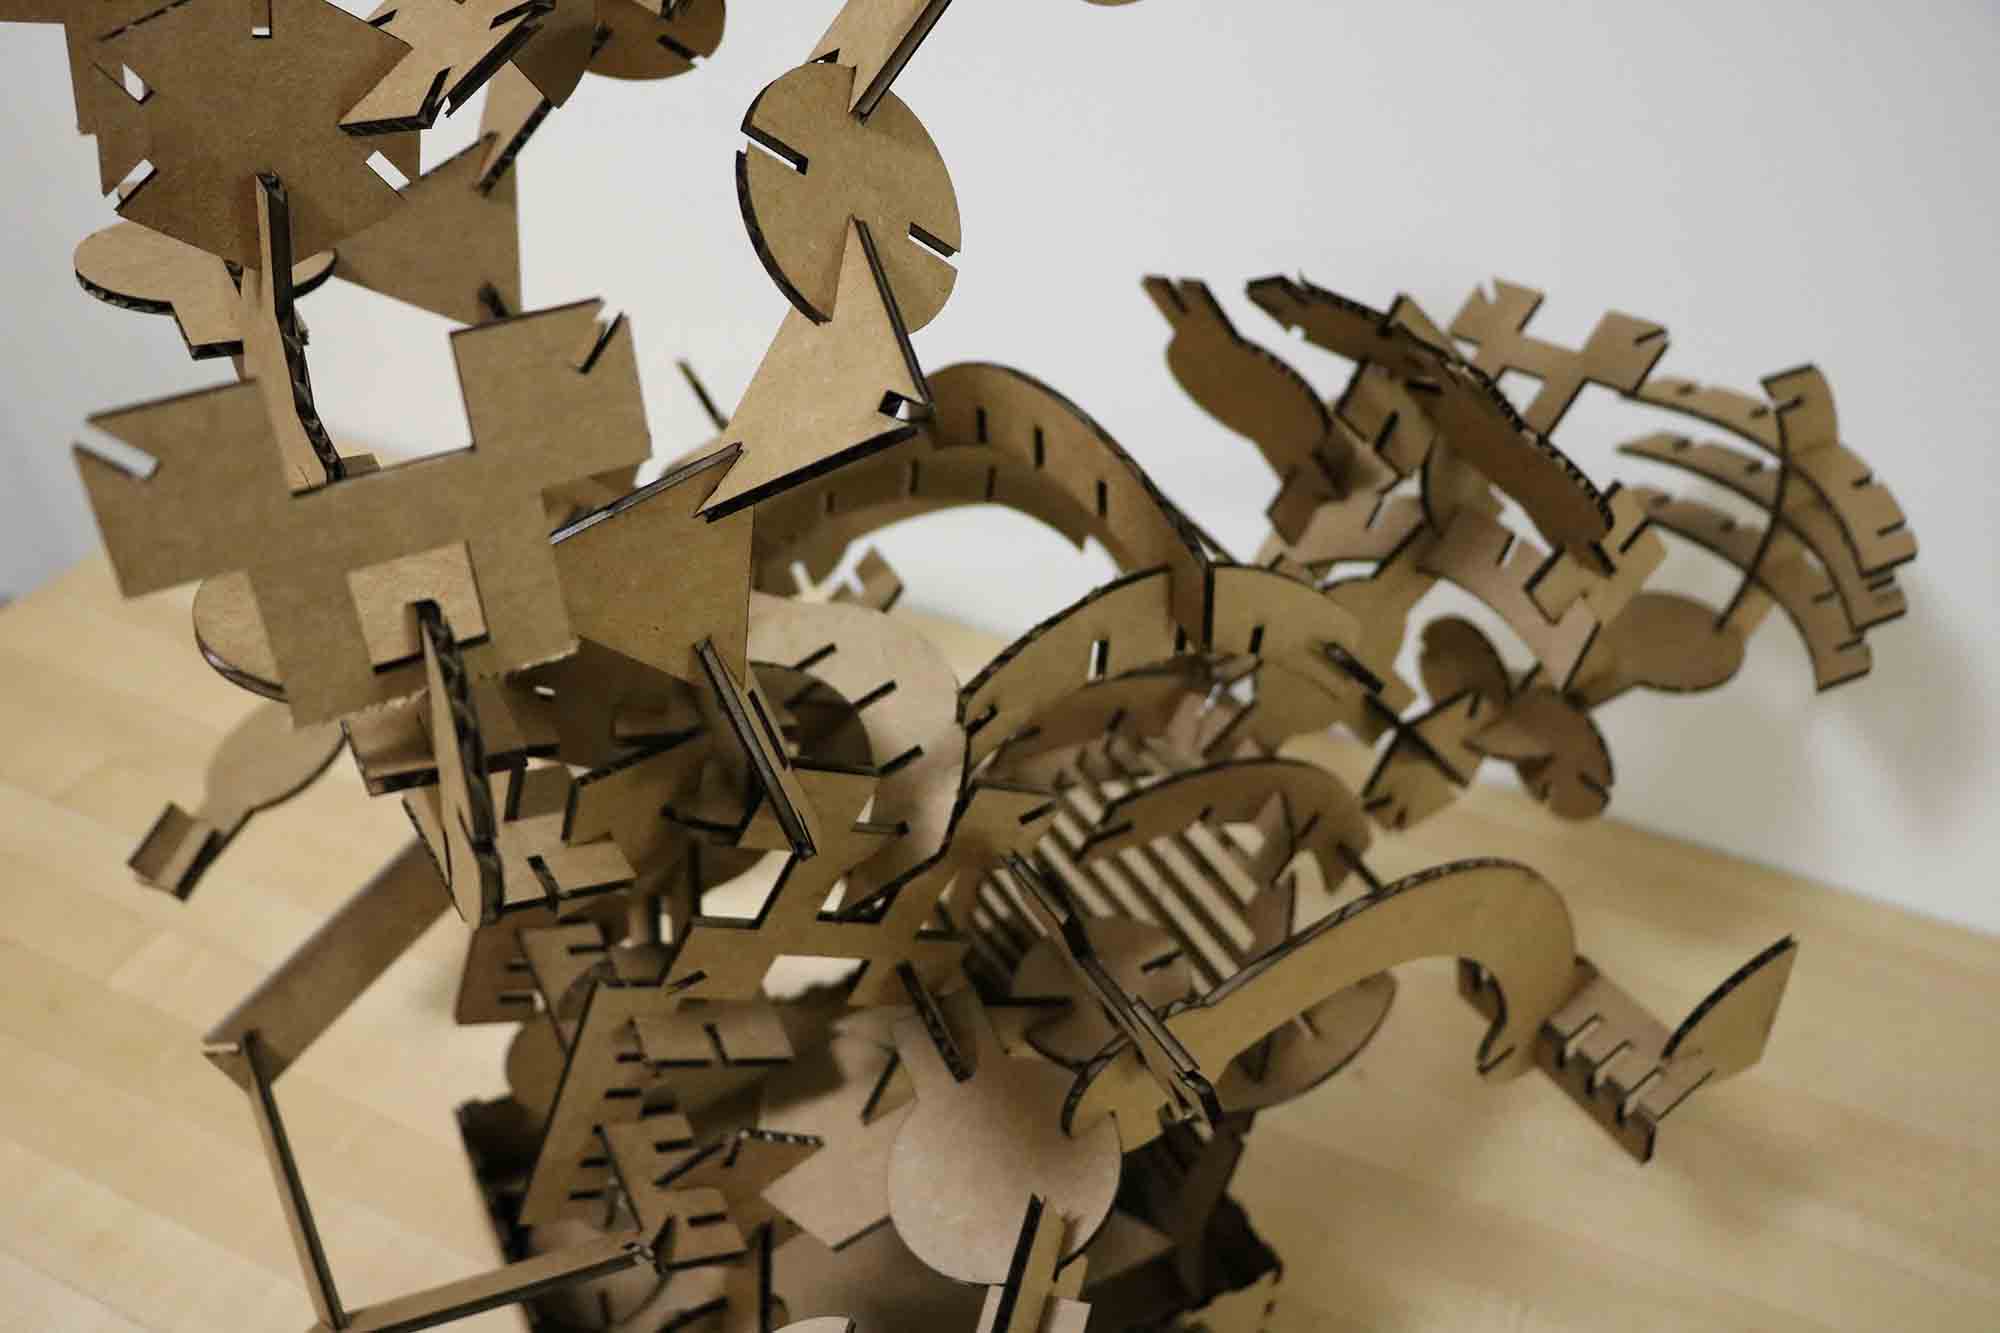
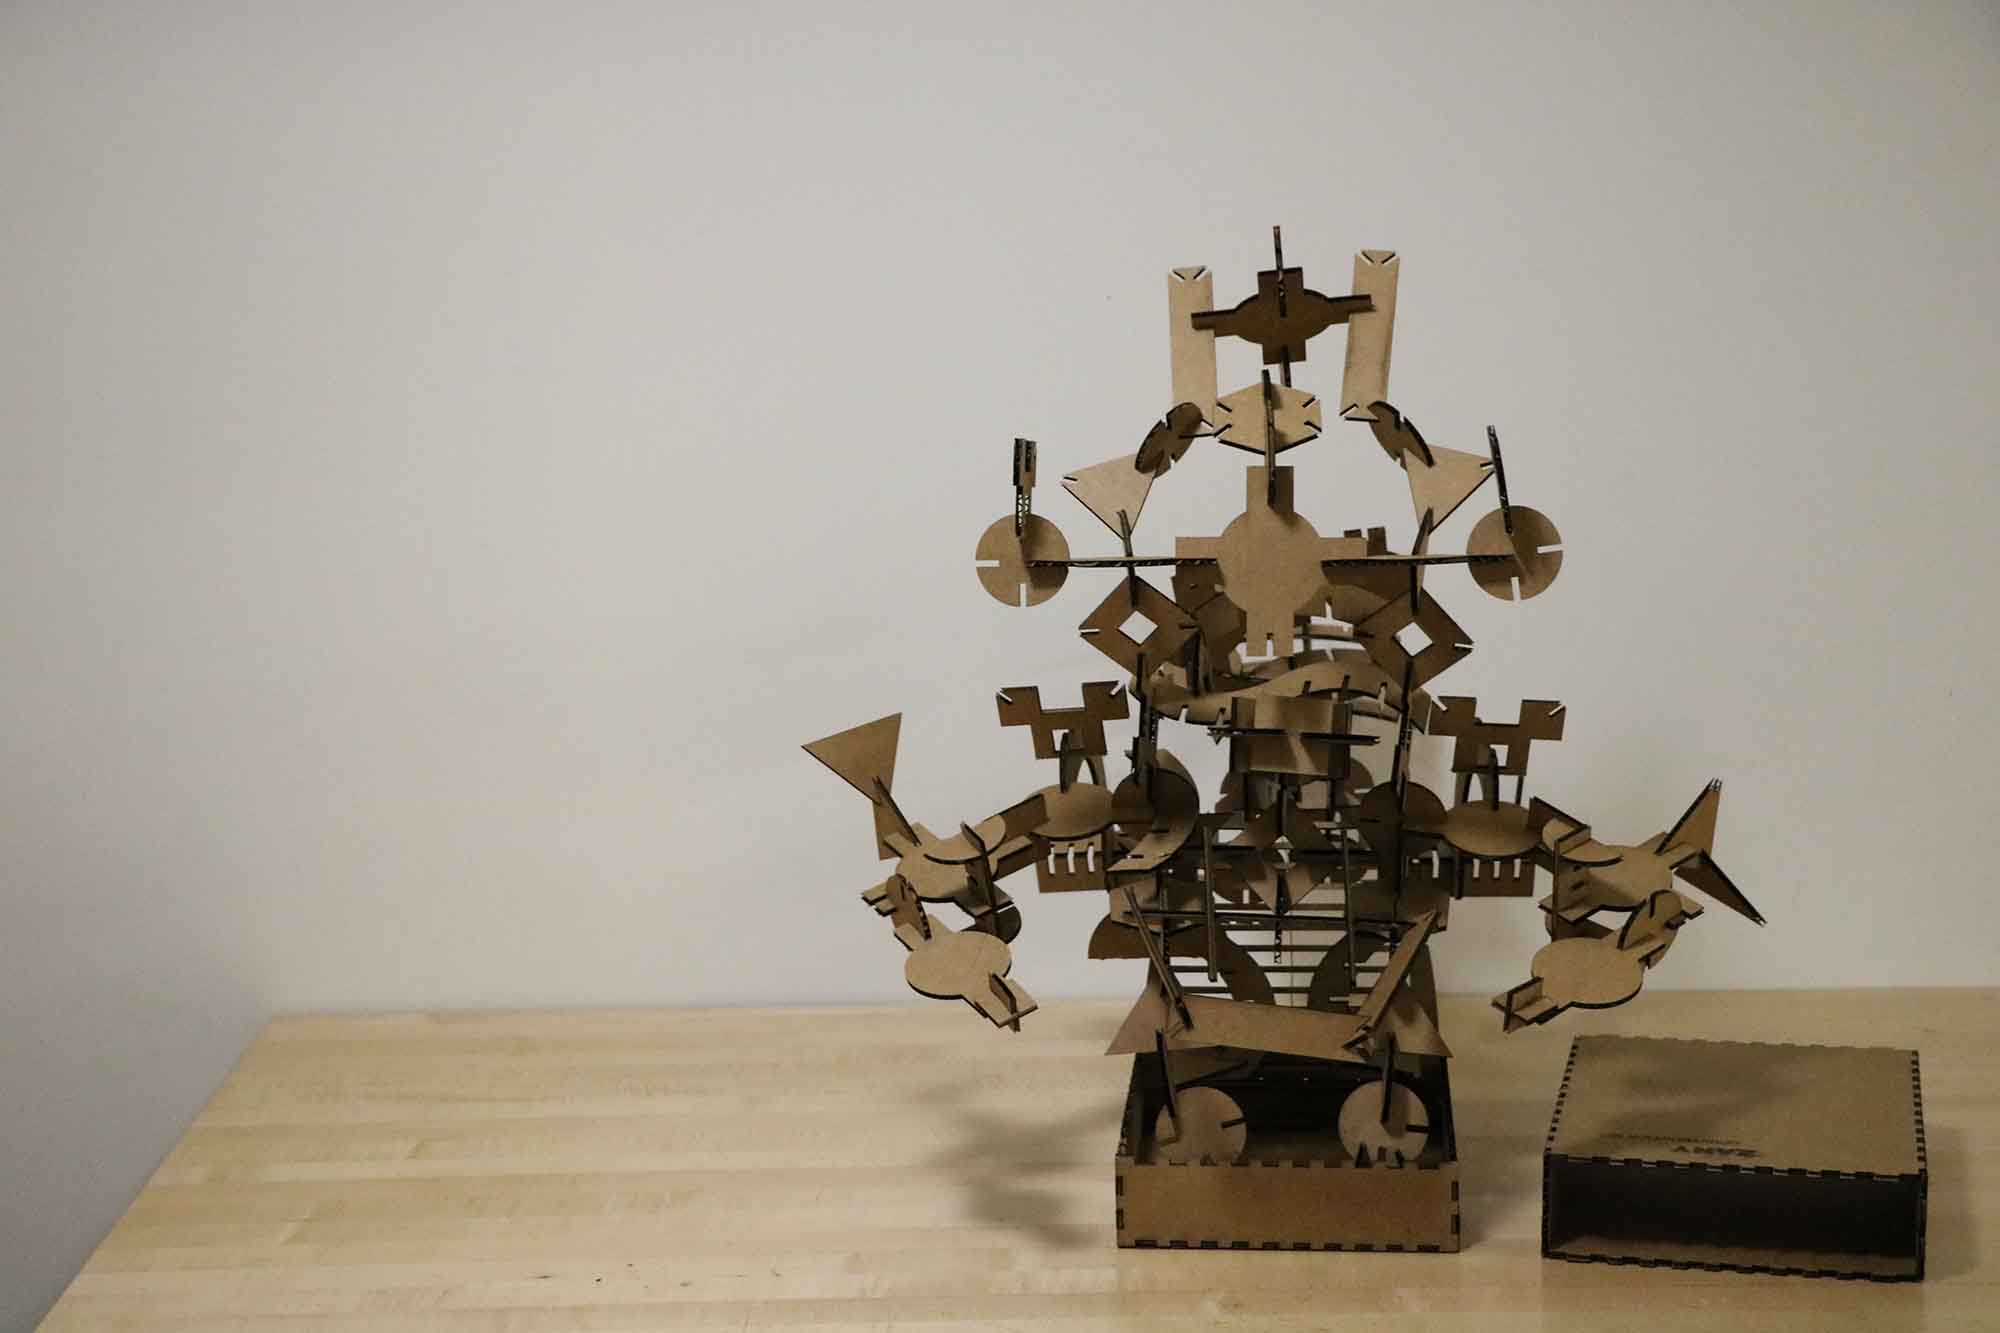 organic beziers that I could draw by hand in InkScape. I'll be trying Anitmony again to print out more parts later that can extend my sculptures. I intend to build big ones in my apartment that could live there for a long time, of which one of them is alread there and looks like the follwing:
Bonus!: I realized I would have to test out the joints and fittings before I could start designing the above parts. And testing two primitive shapes with two joints would have been boring, so I tried out 123DMake and quite liked the simplicity of the tool for what it's supposed to do. I intended to make a 3D structure out of laser cut parts and 123DMake set me right to get the slices, change the interlocking style and experiment with notch factor that could work for this cardboard material. I got the notch factors right on the first try (though I had to fiddle with laer power, air assist, hairline for the first time) and voila, here's what the output looks like. Good exercise to ramp up if you've been away from lasers cutting for a while and want to just know the machine you're working with.