A very fulfilling experience to say the least! The key takeaway: If one is meticulous in the process of designing the molds and mixing the casting material, the process might turn out better and faster than 3D printing. The downside is that overhangs and a lot of complexity might not be possible with the molds. The process begins with deciding if the molds are going to be 1 part, 2 part or n part, depending on what you're going to make.
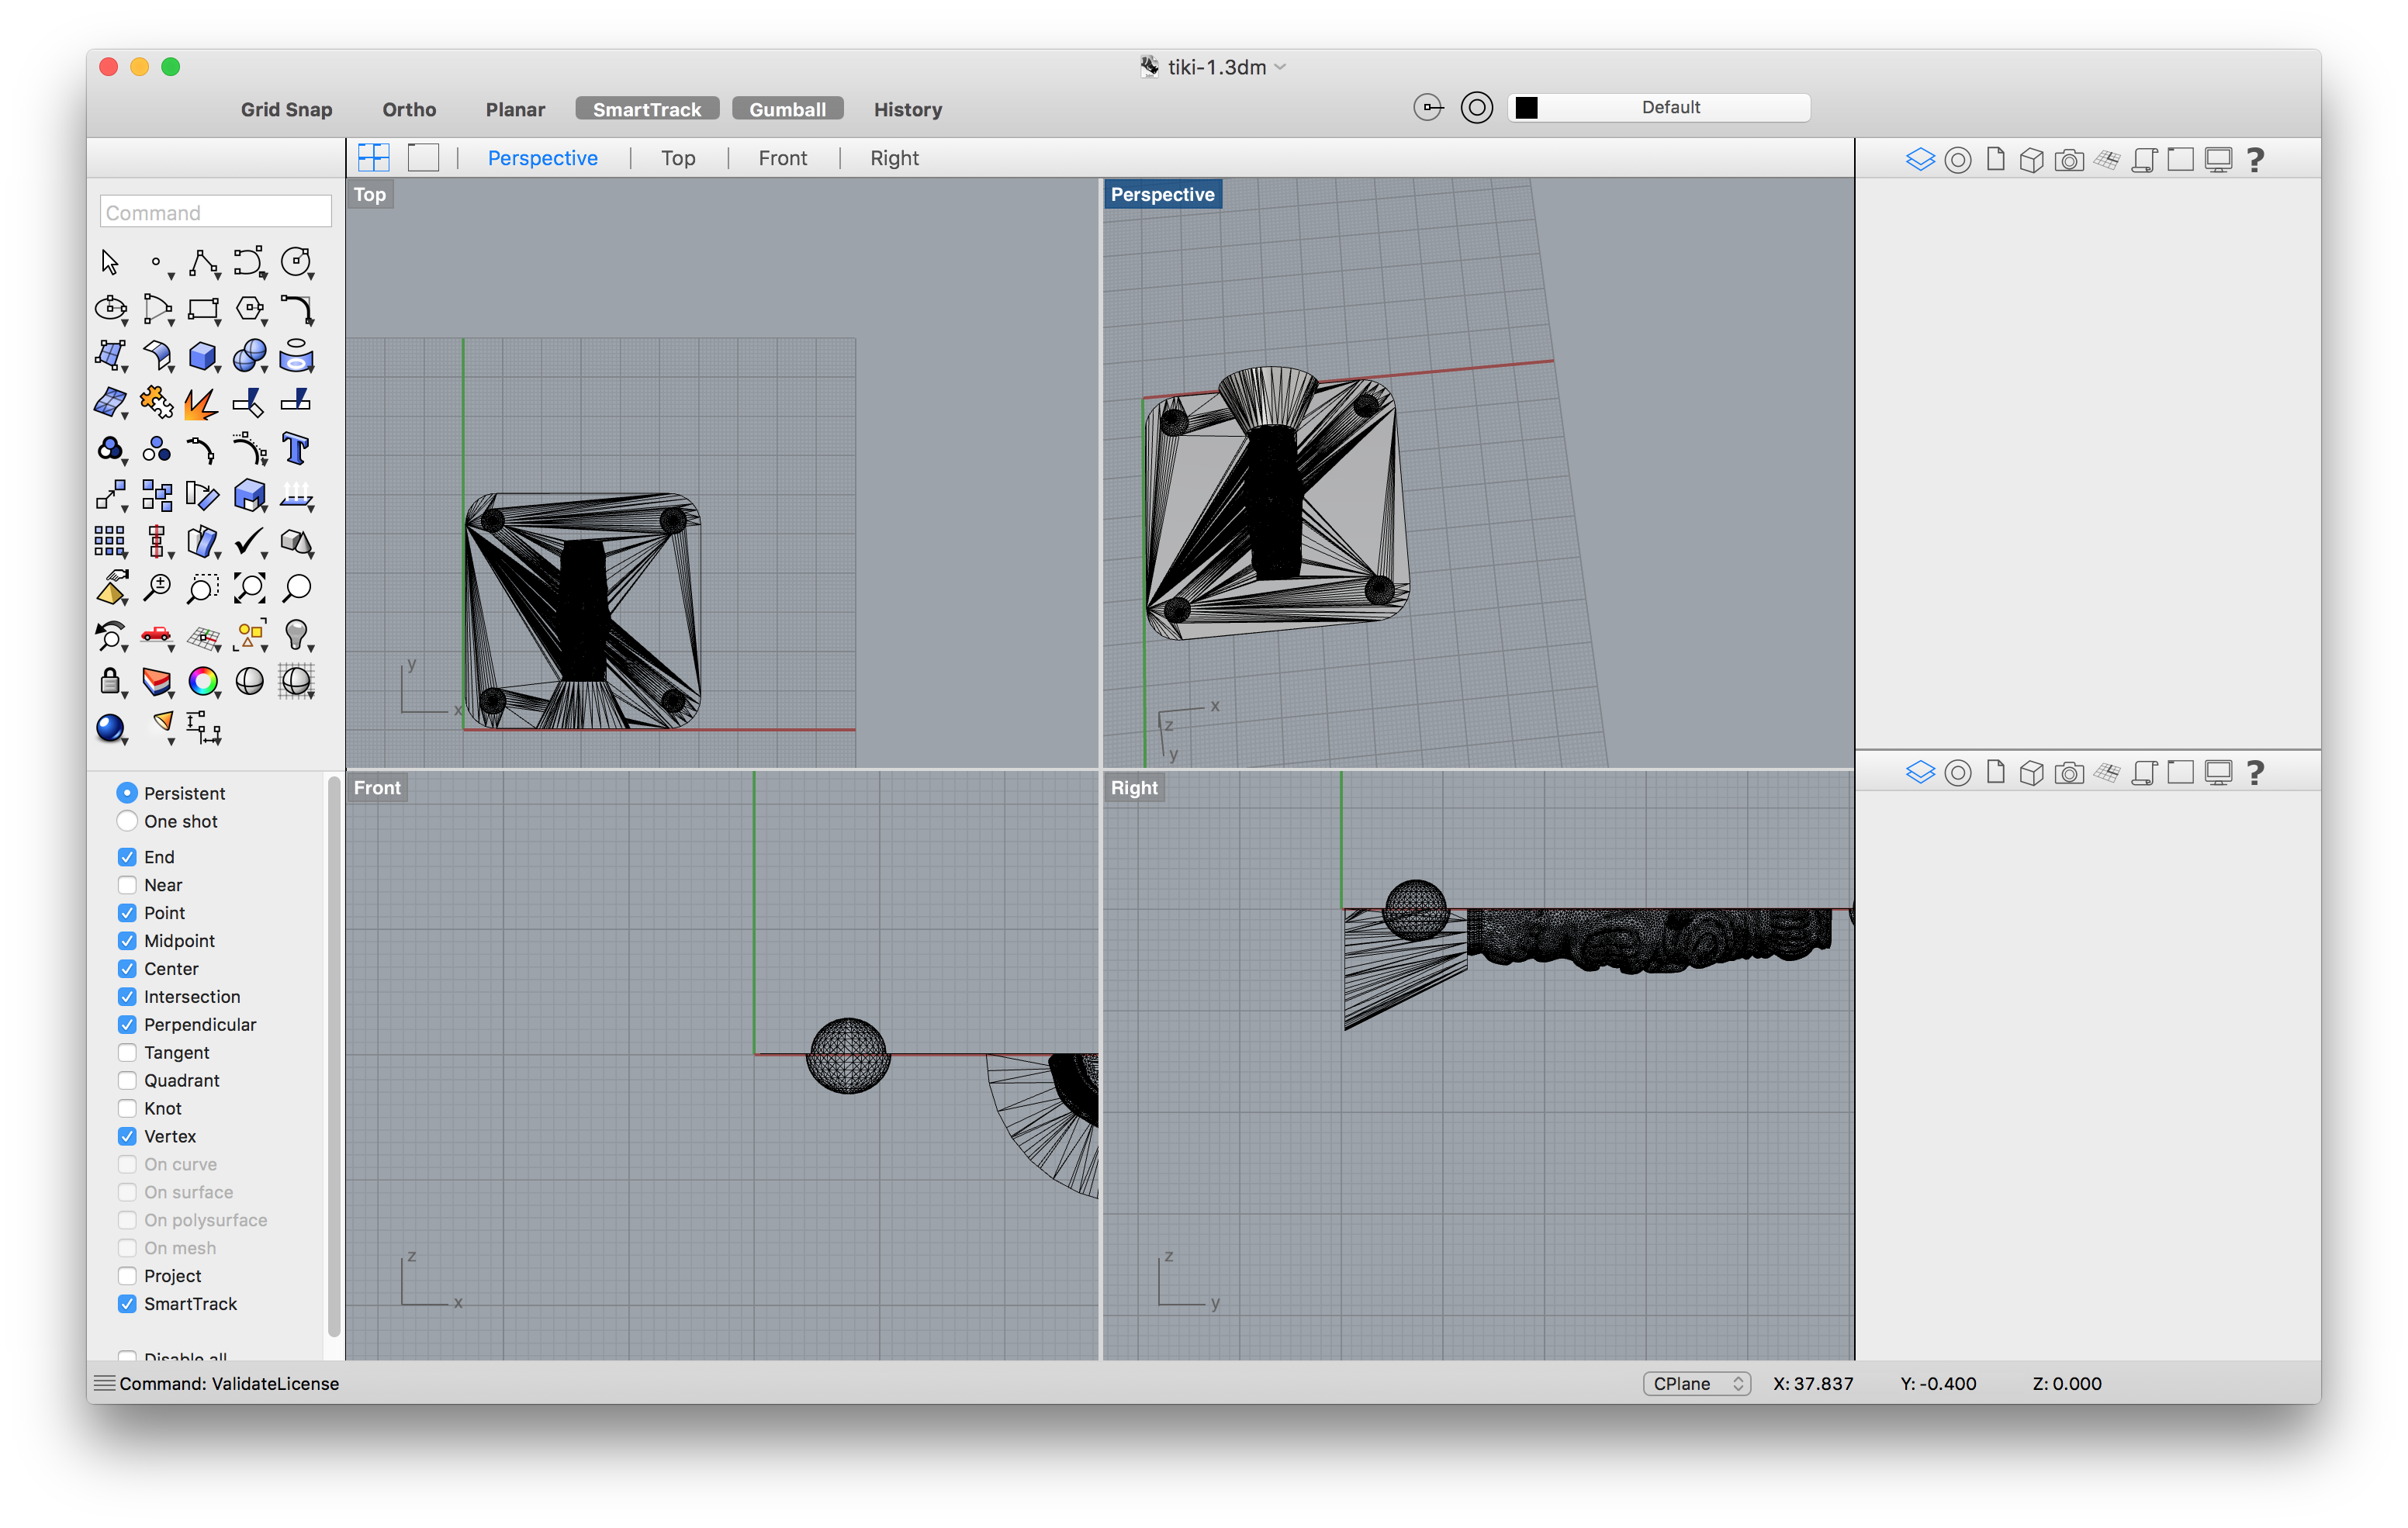
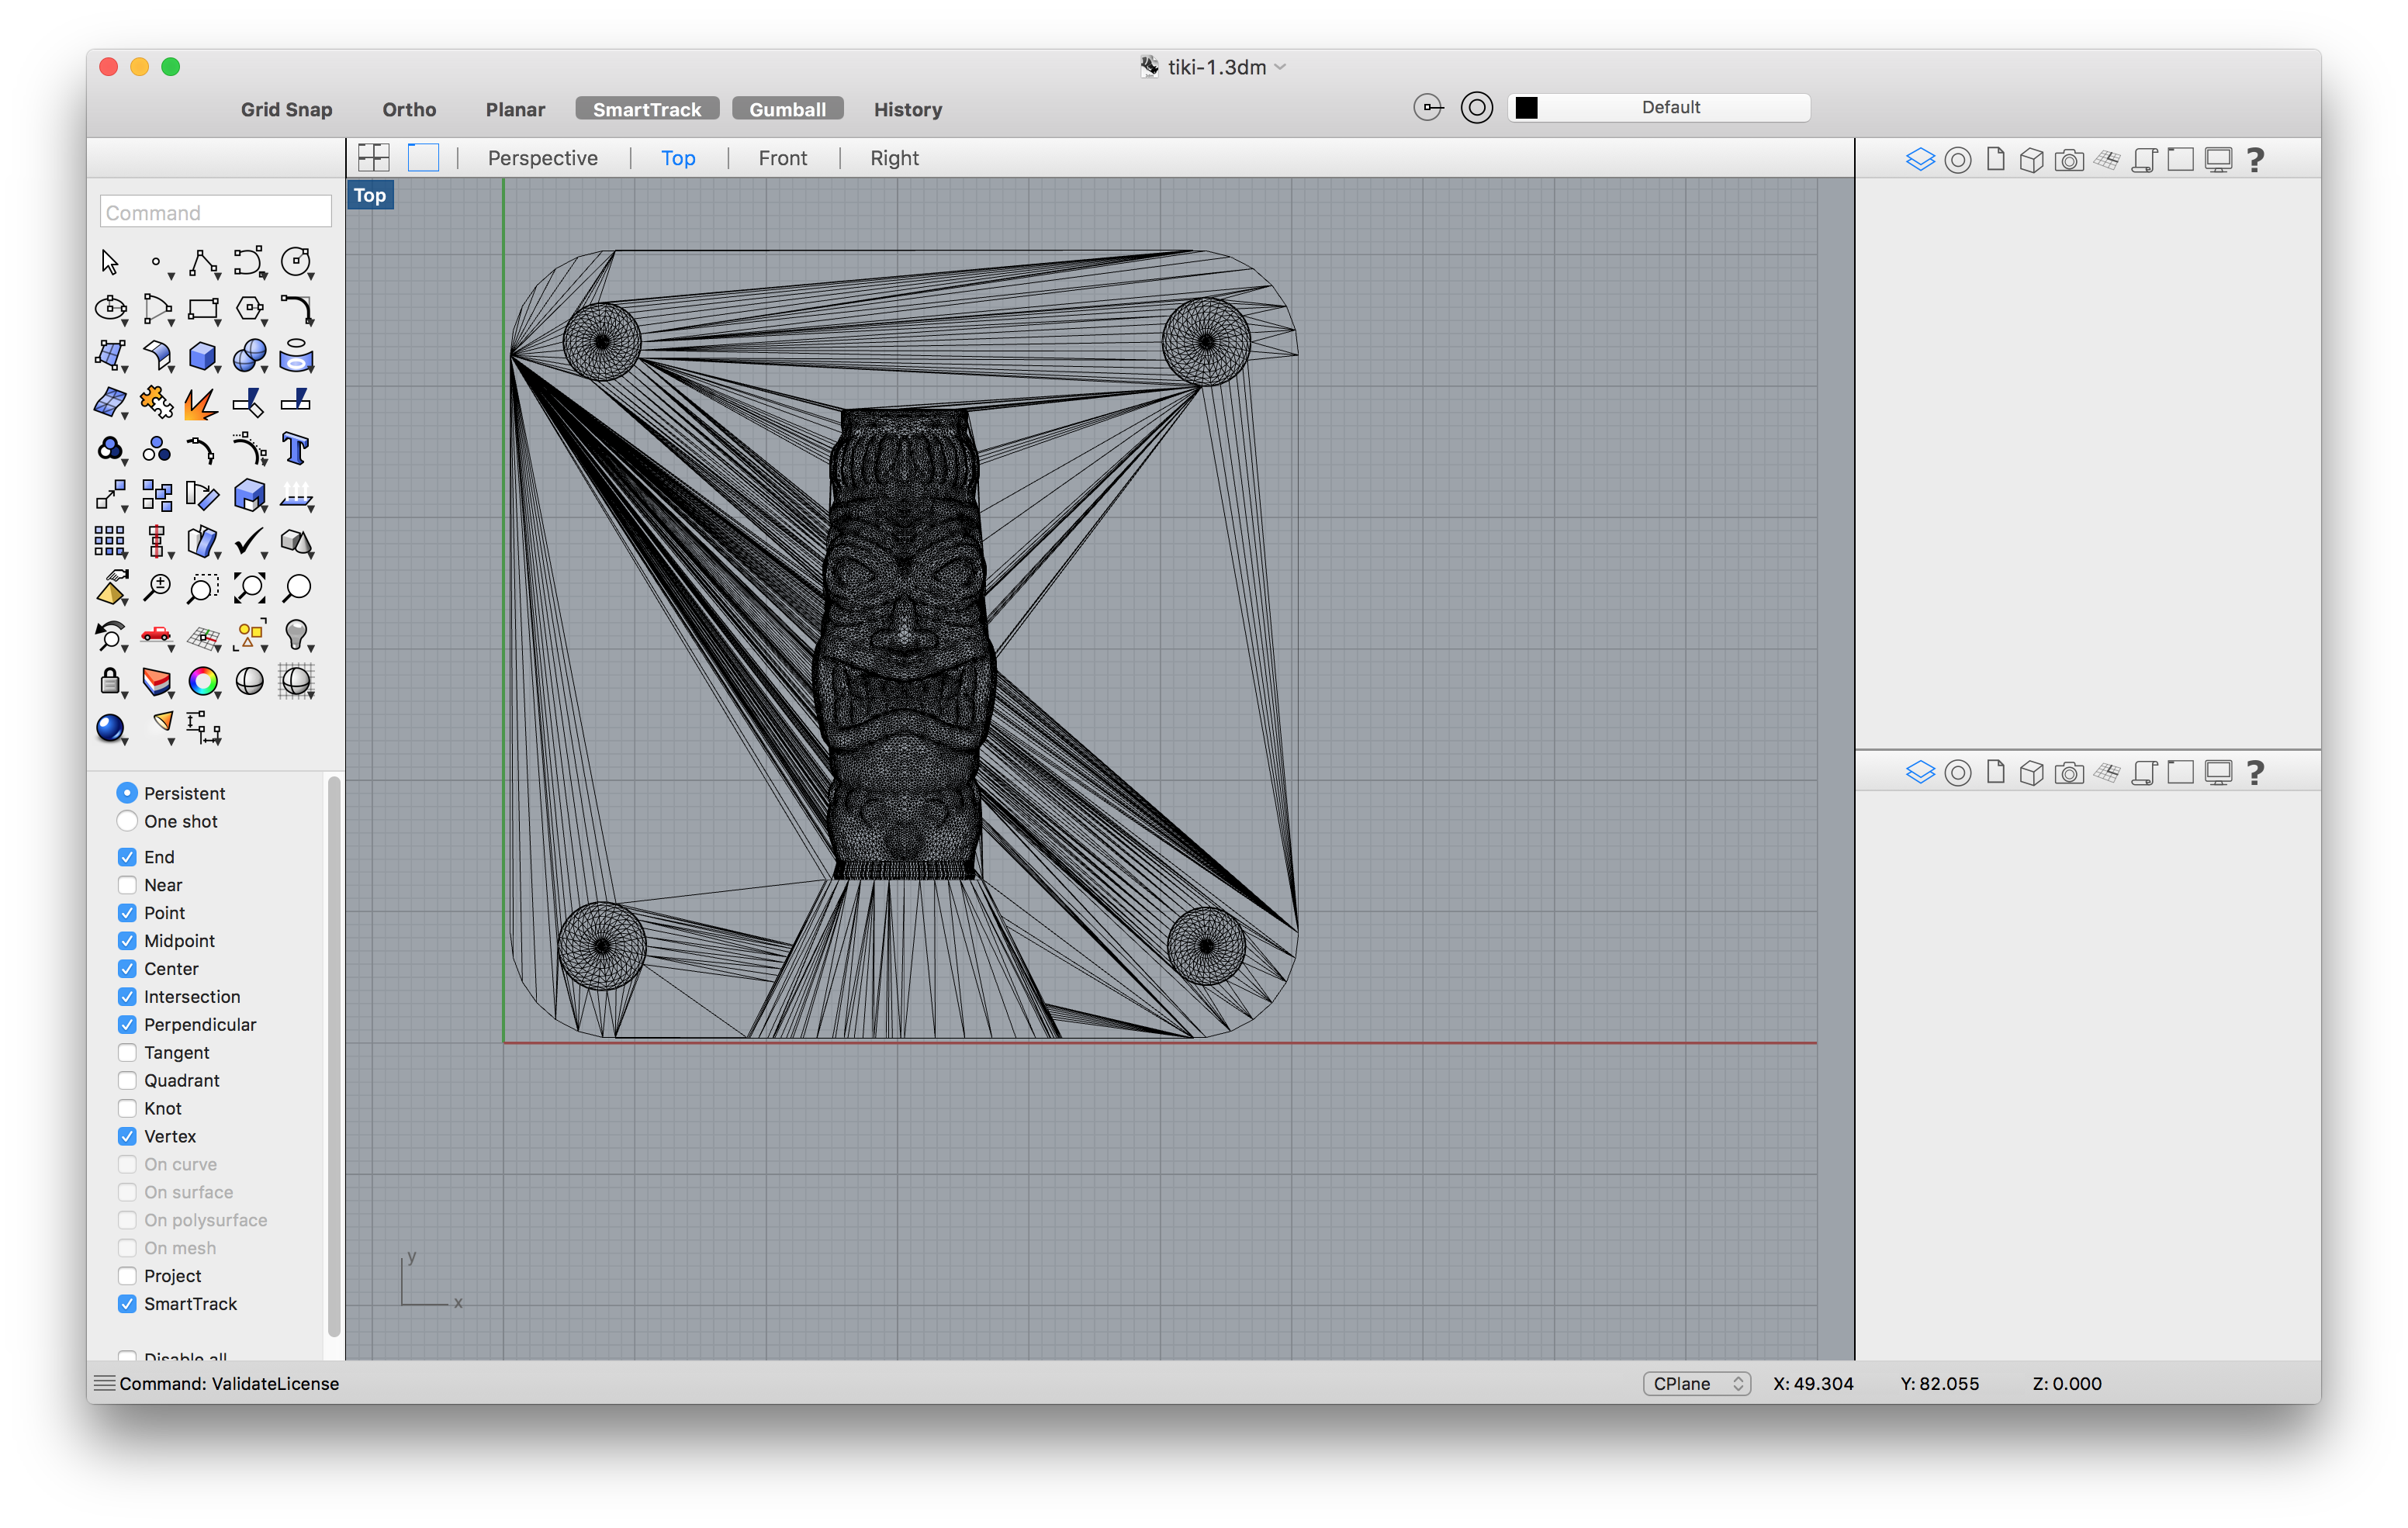
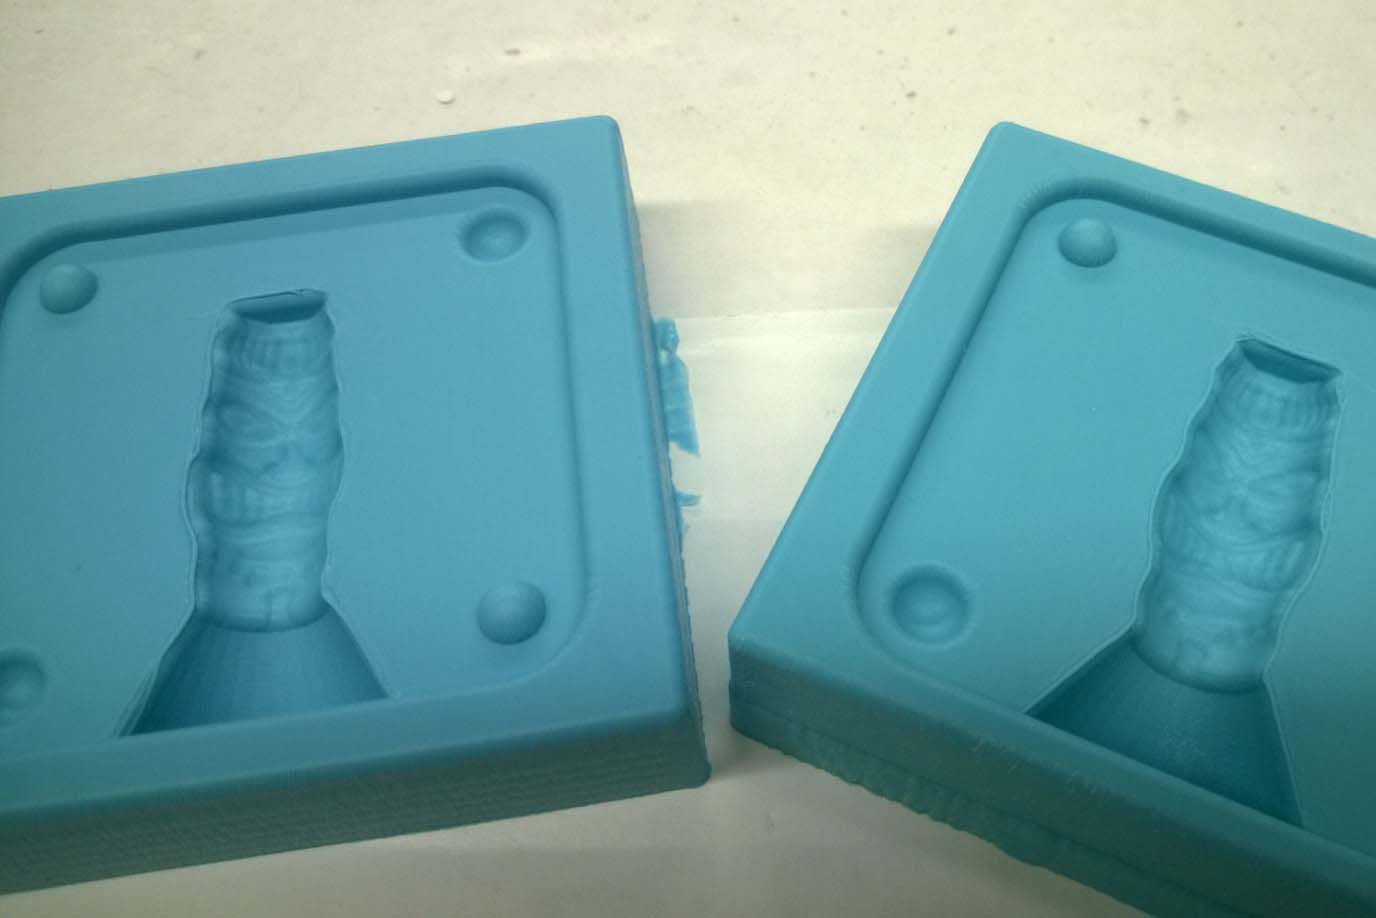
We had access to the machinable wax for the molds and I decided to do 2 part molding. I was thinking of making a copy of an Indian terracota magic lamp that I had from earlier - it takes in oil from the botton, locks it in without spilling when you invert it. I also thought of making a copy of room key and then my limited Rhino skills led me to get an Indonesian Tiki Mask, modify it a bit and use the stl for molding. It is important to have registration points on this stl model so that machinable wax and then your silicone rubber molds ahve it, failing which your 2 parts of the molds won't align perfectly.
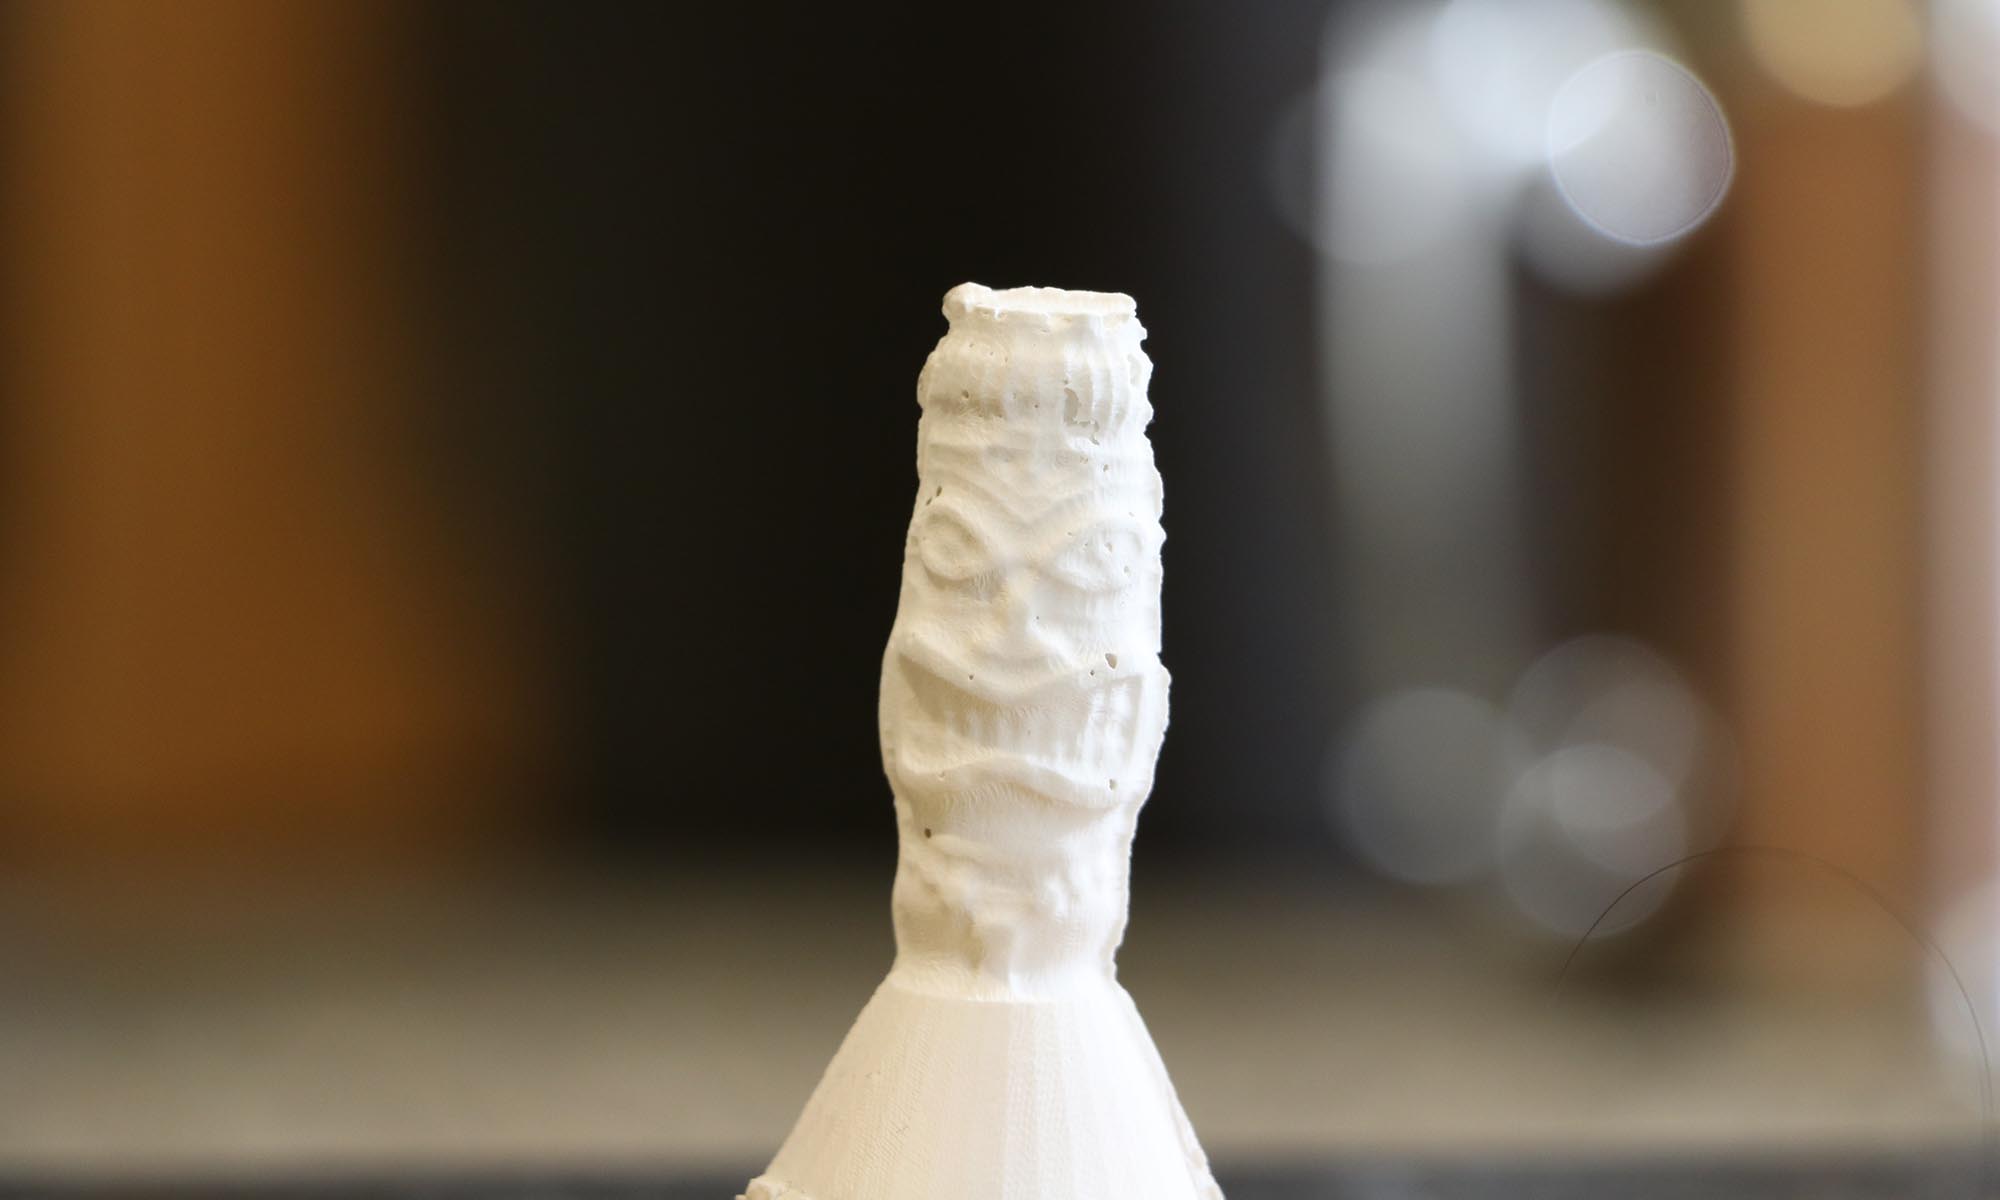
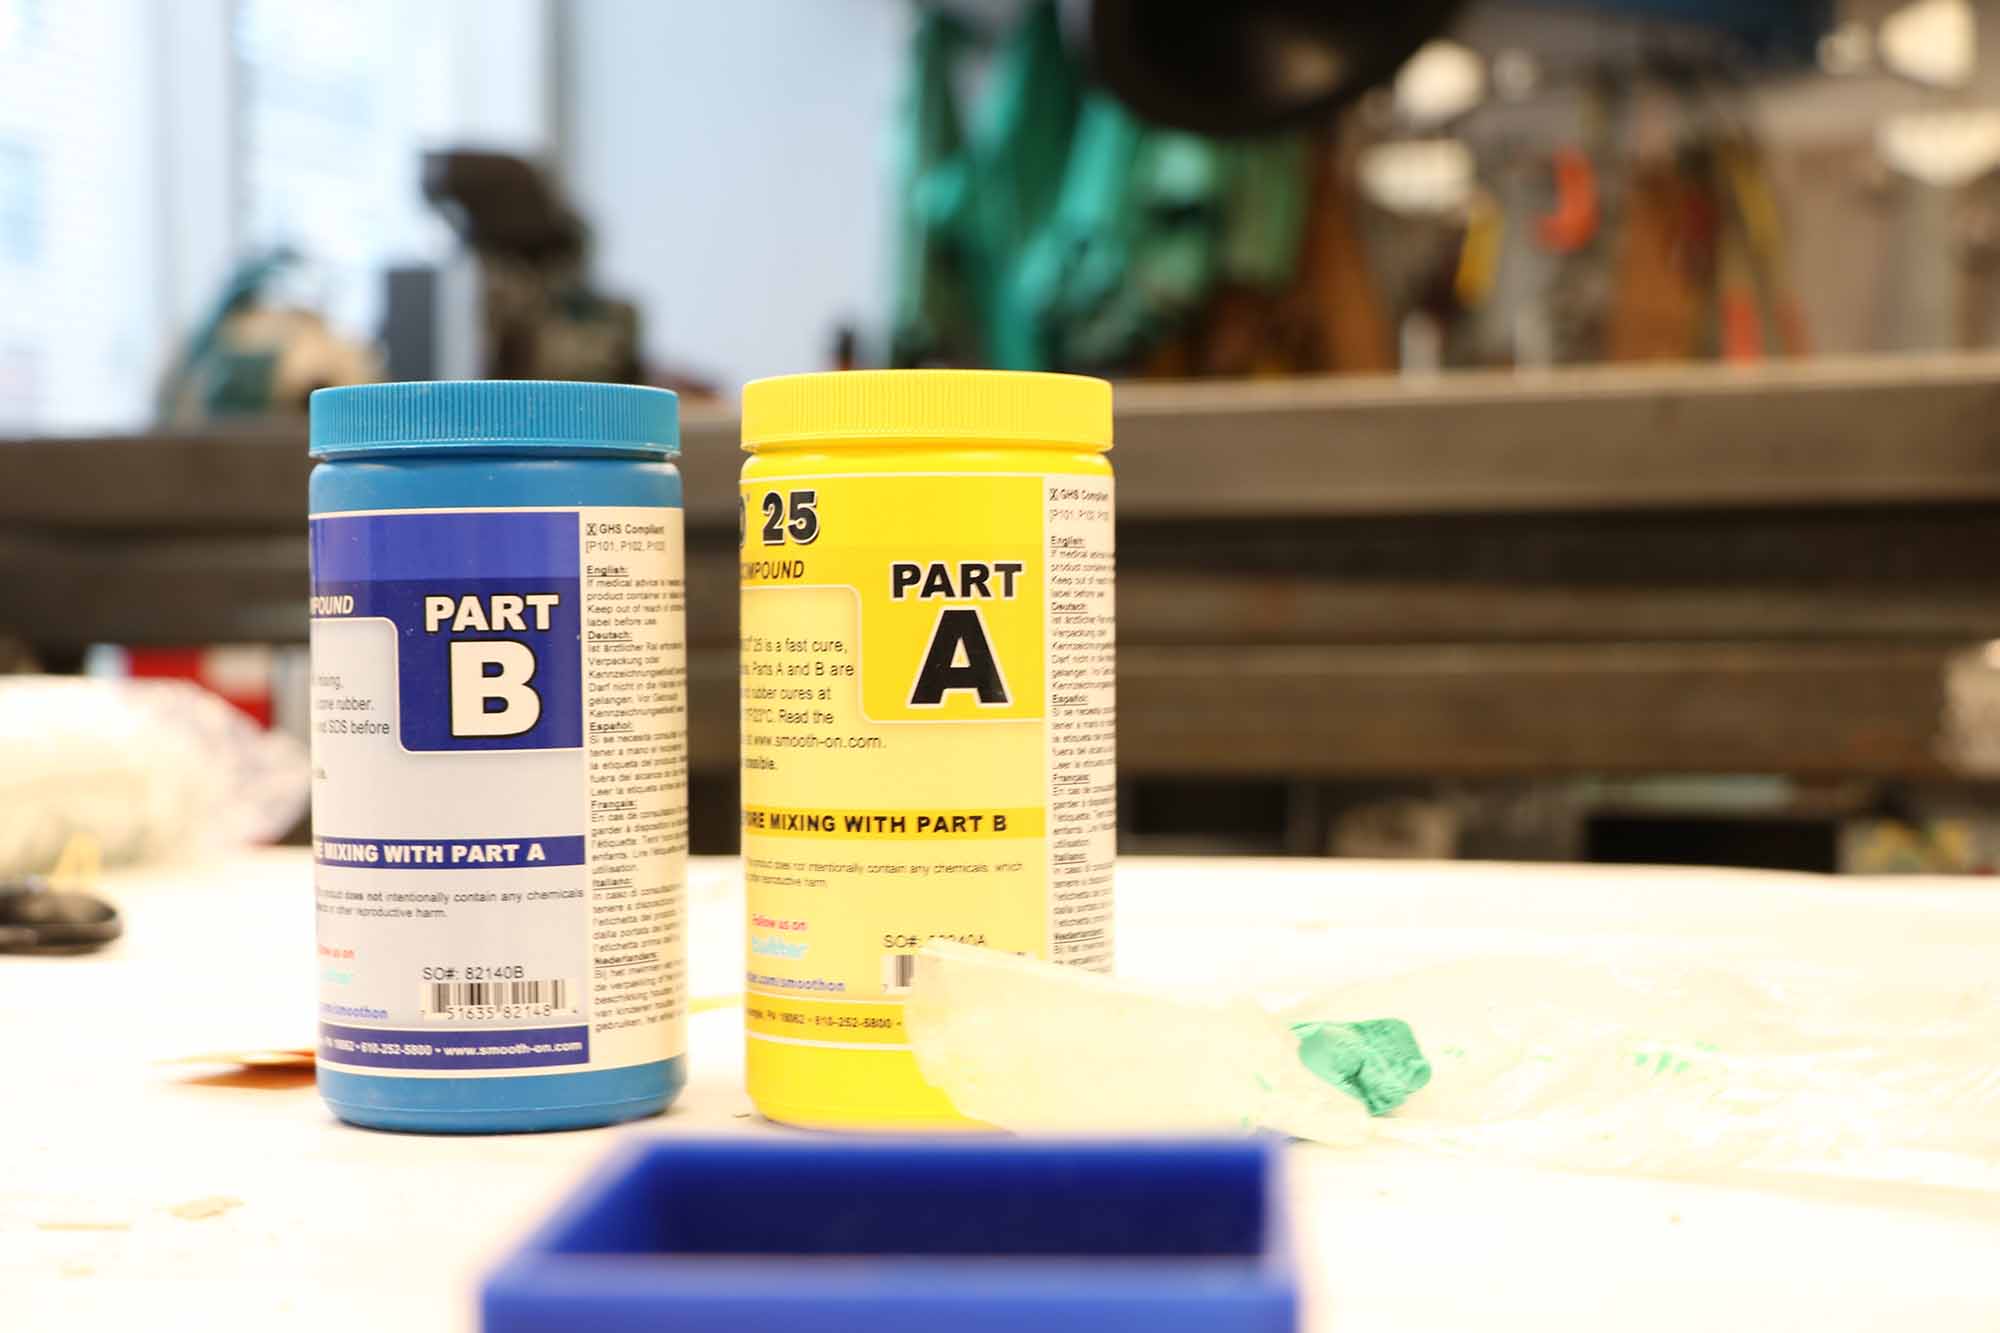
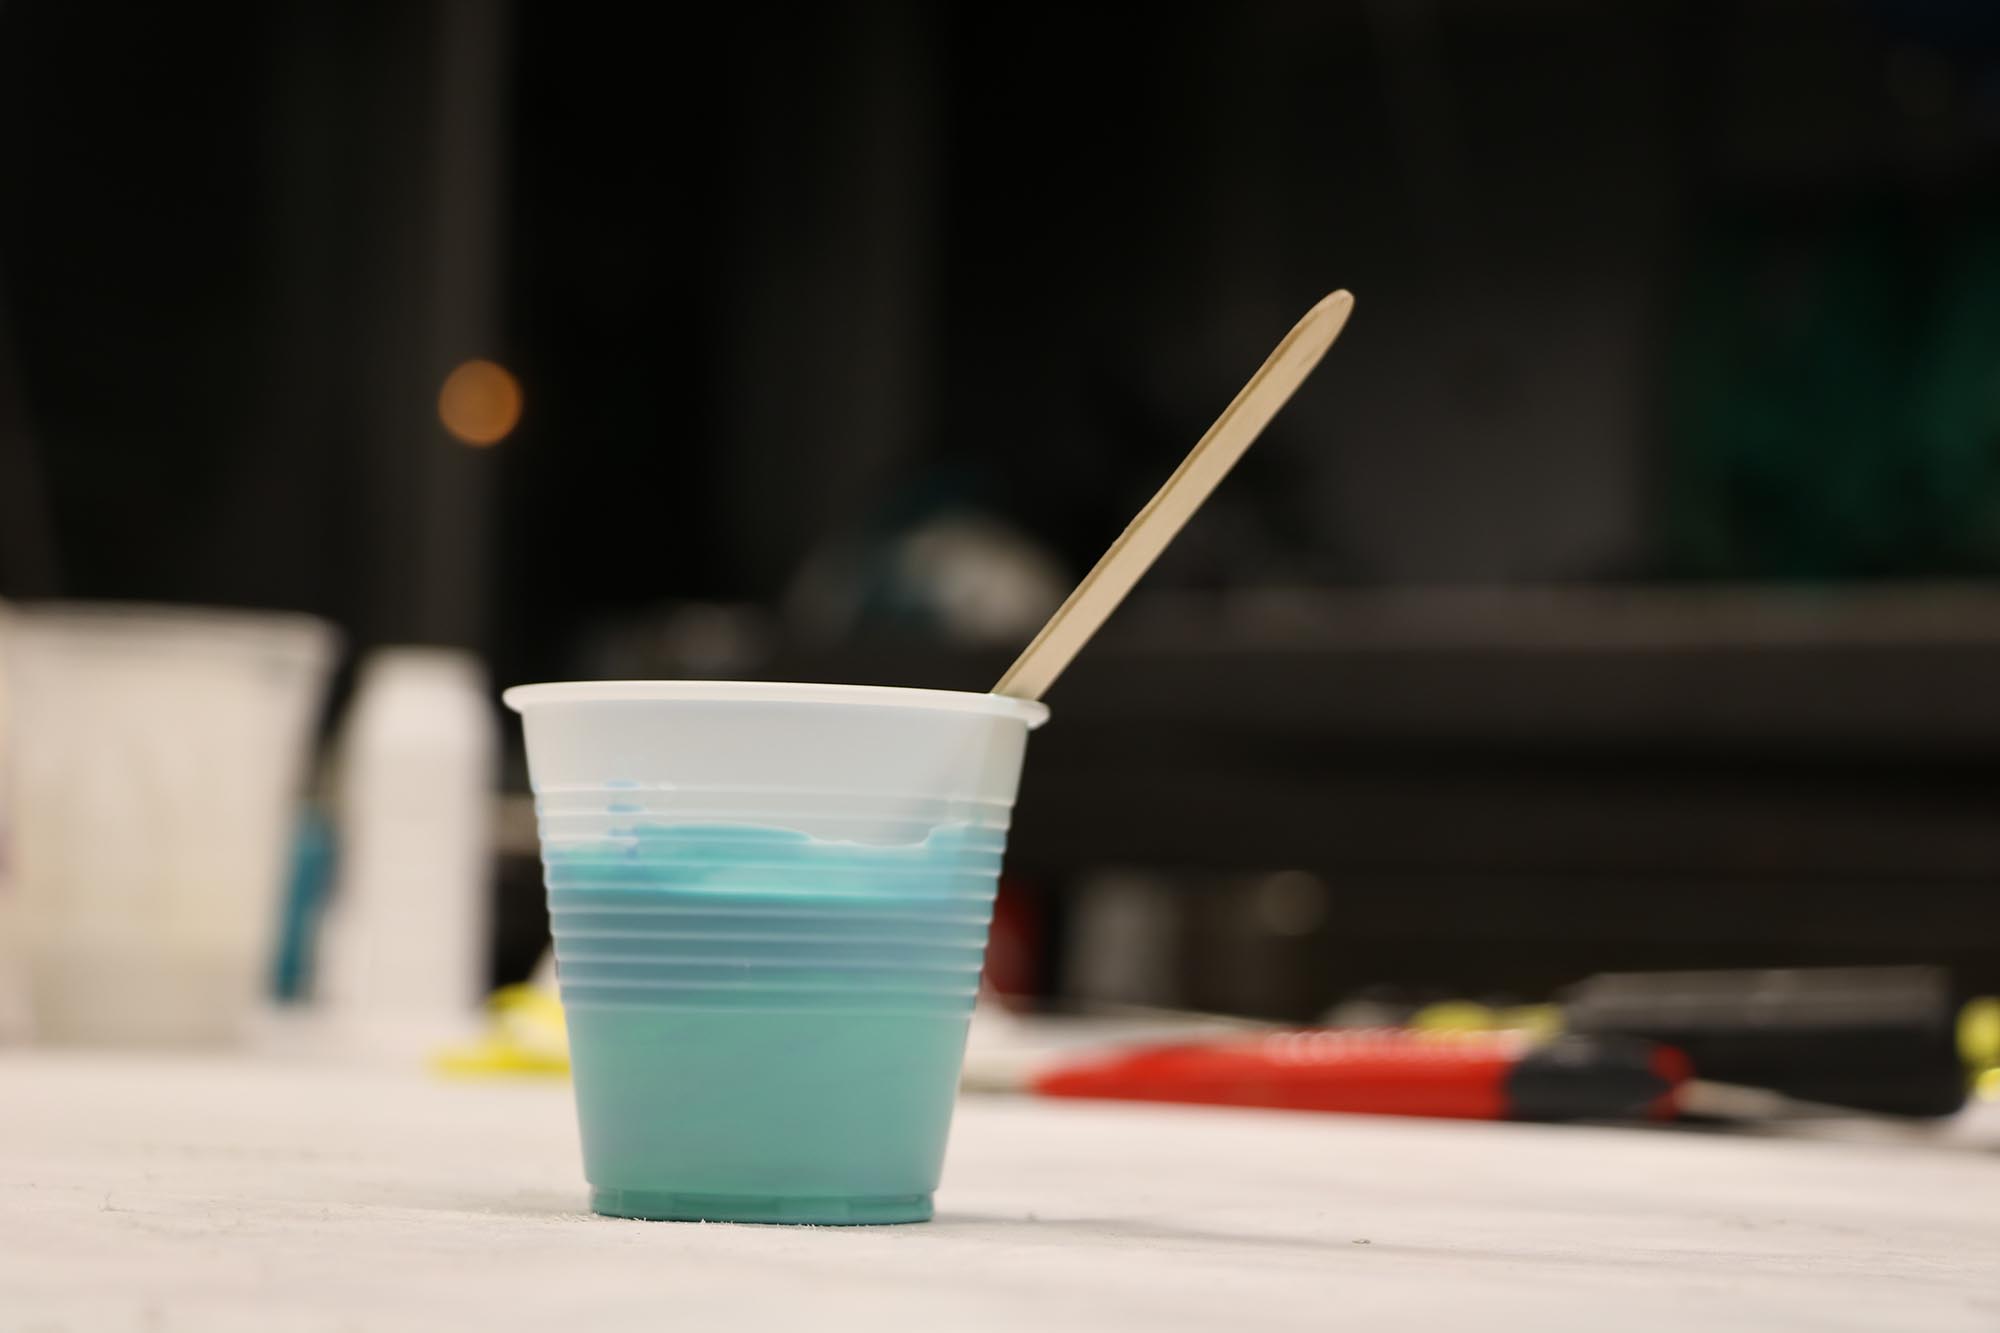
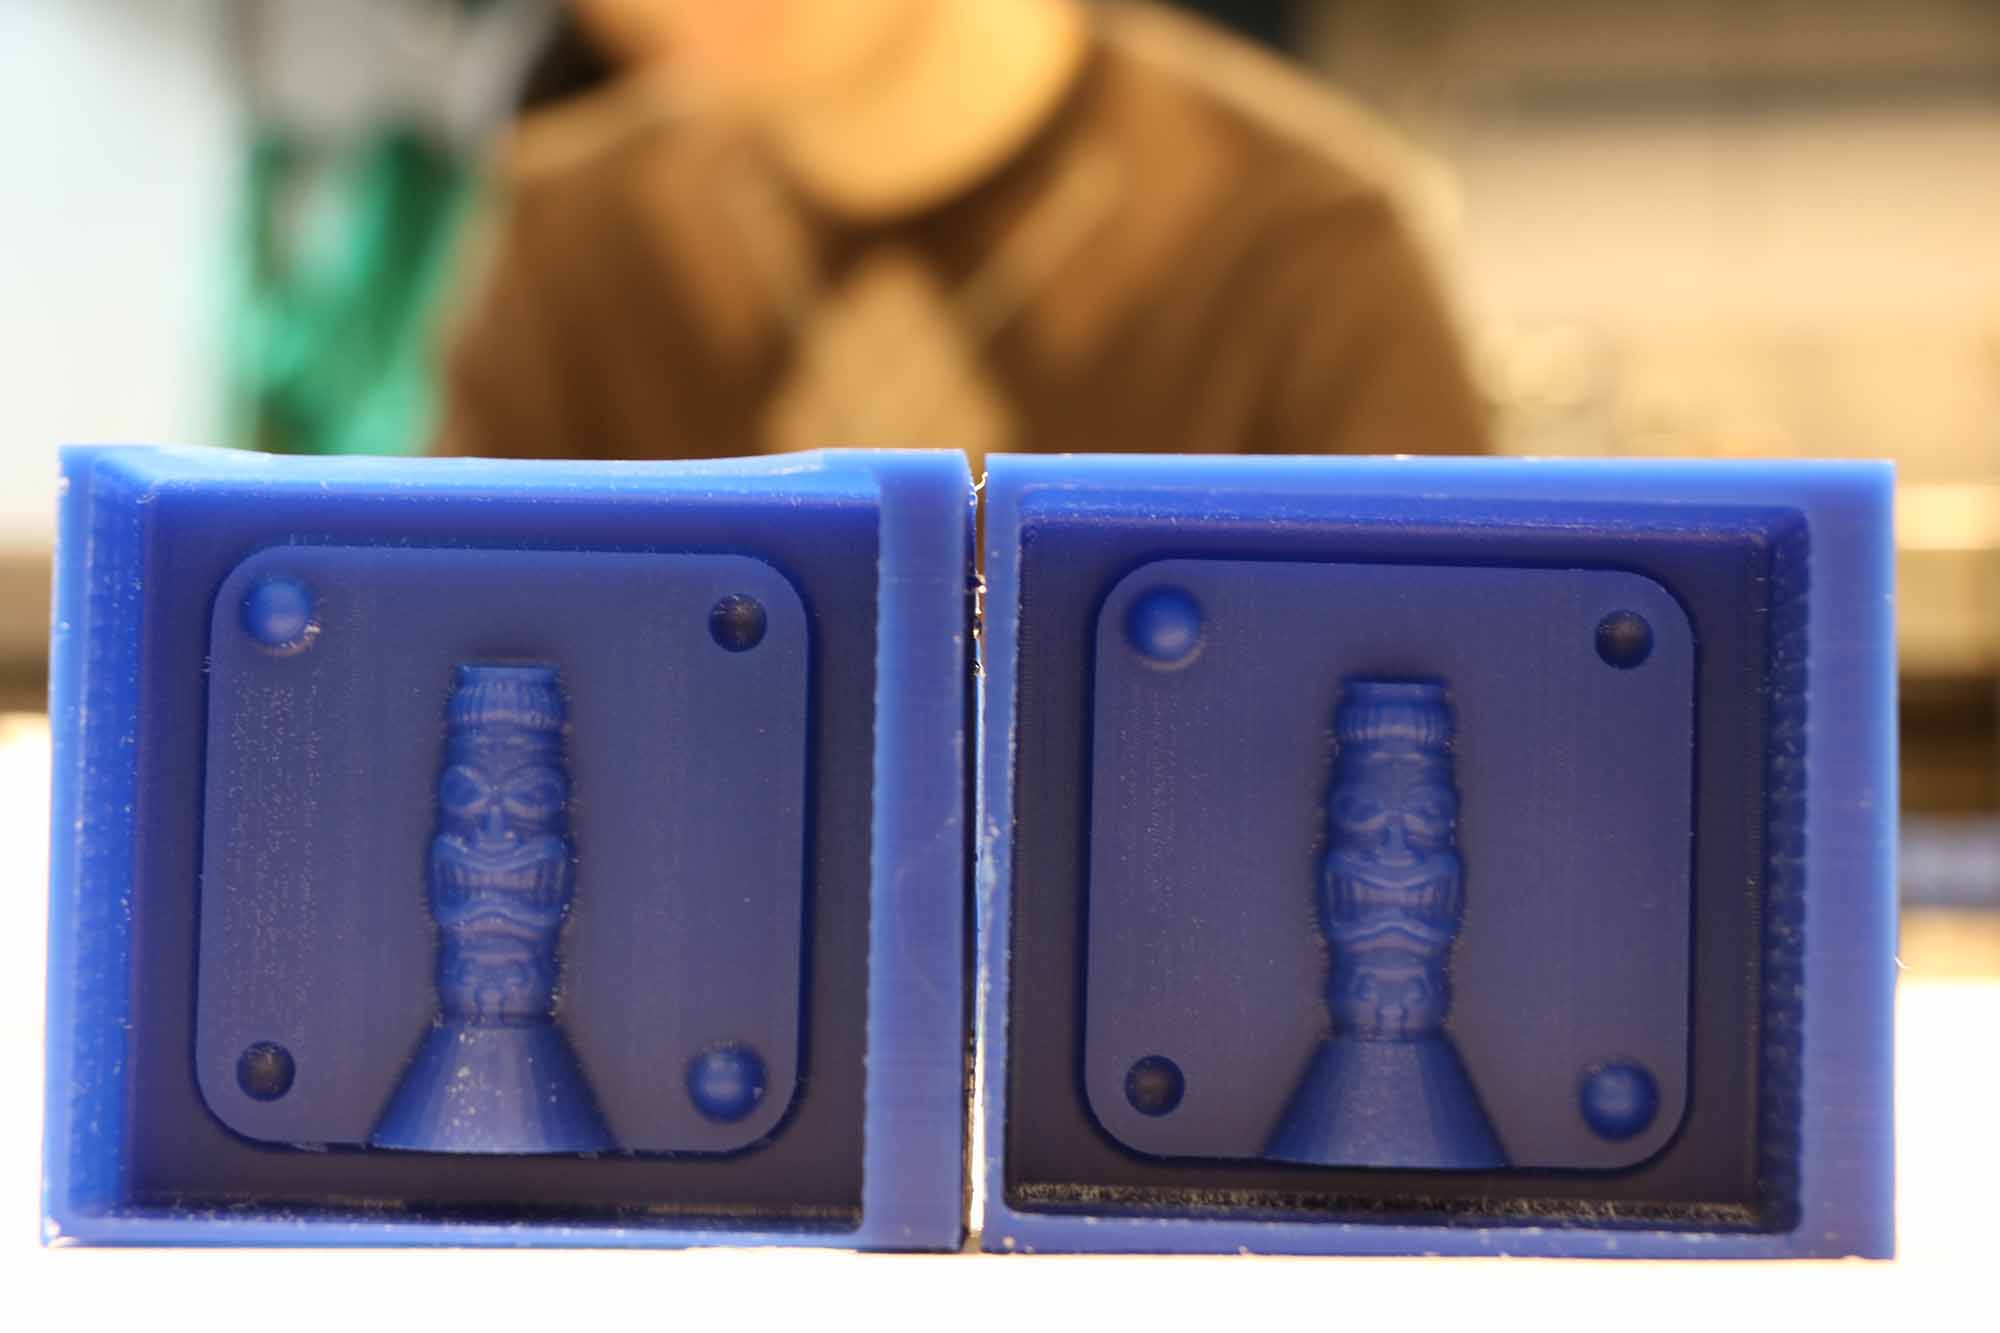 The proces boild down to : i) Making the positive mold from the wax, ii) Using oomoo to design the negative mould, iii) Using DryStone to cast the parts with oomoo moulds.
Step 1: I used the Desktop Shopbot for wax cutting with 1/8 endmill (important to note this for the detail that you're expecting to get in the molds). If you want to go lower than this and design even more detailed parts, consider doing it on Modela 2 with fabmodules. For Desktop Shopbot however, the process begins with import the stl file in PartWorks 3D and going on to set the params/options/tool profiles for model origin, cutting plane, rough cut, finish cut etc. to export a rough cut and finish cut toolpath.
Mount the model
Zero the axes
Open ShopBot application and load aprt files (rough cut first)
Witht axes zeroed, start cutting
I intended to make this construction kit where one could slide open the box and the main support structure pops out, over which one could start building. At one point, I was trying to find out if I could incorporate a mechanism where the horizontal movement of the slide-out box could be translate to the angular movement of the inner structure that would pop
out. However, that would have been a long-ish exercise to accomplish, so as a hack, I used the binding wire that holds the
 shape as a backbone of the inner structure and pops it out when you slide open. I also needed to test if these corrugated pads would bend and they did so after slicing out 10mm strips from the structure. Here's what the bent structure looked like:
I inteded to make life-sized creatures, so I had to cut a lot of parts which was quite a fun exercise and also equipped me
 with precious laser work-hours. For this assignment, I used the epilog legend 36EXT which was working at 60% of its power
efficiency and used power/speed setting of 75/25 and even 80/20 when the cardboard was not getting cut due to smiley/frowny
bends. For designing, I also gave a shot to Antimony to parametrize the final shapes, however I wasn't confident about the
with precious laser work-hours. For this assignment, I used the epilog legend 36EXT which was working at 60% of its power
efficiency and used power/speed setting of 75/25 and even 80/20 when the cardboard was not getting cut due to smiley/frowny
bends. For designing, I also gave a shot to Antimony to parametrize the final shapes, however I wasn't confident about the
 organic beziers that I could draw by hand in InkScape. I'll be trying Anitmony again to print out more parts later that can extend my sculptures. I intend to build big ones in my apartment that could live there for a long time, of which one of them is alread there and looks like the follwing: