Objective
Mold and cast something!
Design
I thought about making a mold for casting pieces for a board game. First design in blender, then put together in Rhino.
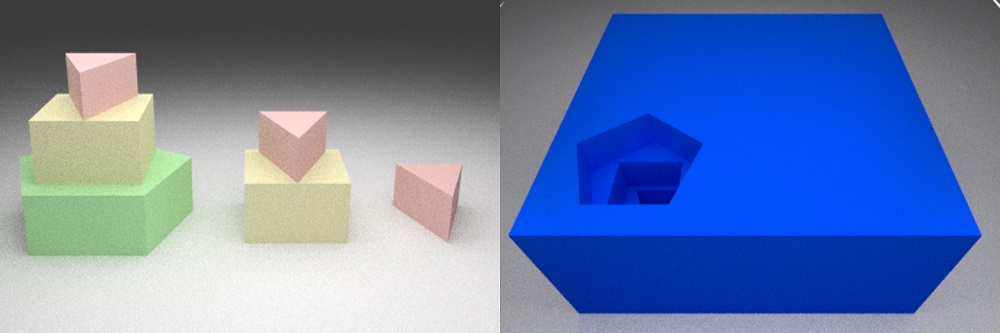
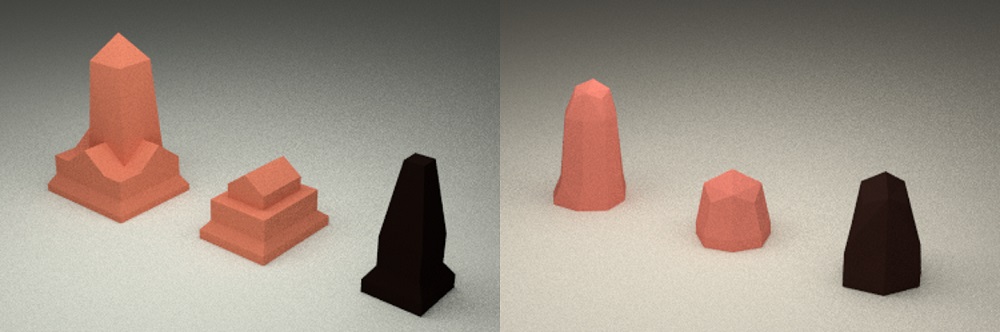
Risk: By filling the mold to different levels you can cast all three pieces for risk:
The Settlers of Catan: I wanted to make game board pieces for Settlers of Catan based on the video game The Settlers II:
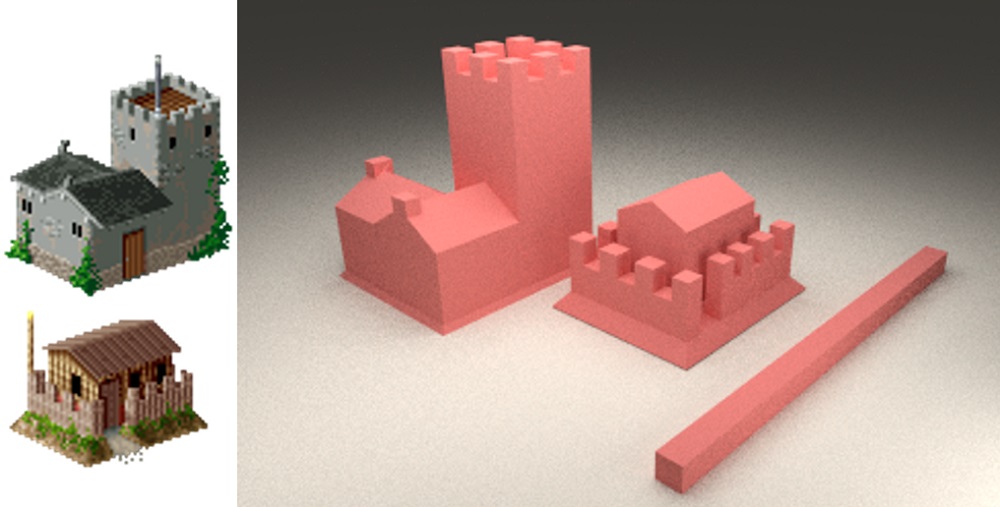
To mill out the gap between the outer wall and the house and the crenelations with our 1/8in endmill, I would have to scale up the model to almost 1x1.2in. This would be way to big for a game piece. Instead I simplified the model a bit and also made a polyhedron set:
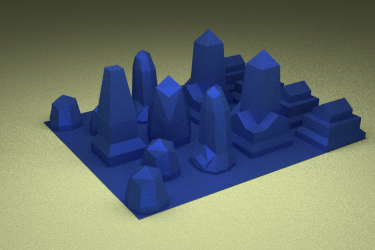
I then exported the shapes as .stl files from blender (scaling to real-world units in blender doesn't always work great) and imported them in rhino. In Rhino, I created a cube with dimensions of my block of wax (3x3.5x1.5in3) and arranged/scaled the models so that they would fit inside of it. I left 0.25in of clearing around the model:
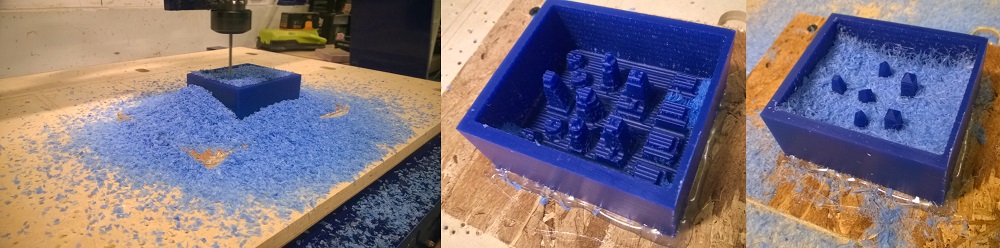
Milling
Hotglue the block of wax to a piece of OBS and secure the OBS on the sacrificial layer of the desktop (or the big one) shopbot with screws. I exported the file as a .stl file and opened it in partworks3D ont he shopbot PC.
Workflow for creating toolpaths:
(after opening your .stl file in partworks3D)
- Orienting and Size model: select the top surface of your model, in my case -top-. Orient your model until it aligns with the block of wax that you are milling. Then check the size of your model, it should at least be 0.5in smaller thatn your block of wax. I only machined the top side.
- Materisal size: put in the dimensions of your block of wax, and select the corner you will be zeroing on. Then set the margin to 0.125" on all sides (if you click symmetrical, make sure to unchek the model silhouette option). Set the depth of the model so that your whole model will be milled.
- Roughing toolpath: select the 1/8" ball nose set the parameters to: 6000rpm spindel speed, 50%step over, 120in/min feed rate and 60in/min plunge rate. Set Startegy to Z level raster and make sure tht profile is set to none! Then calculate.
- Finishing Toolpath: Change the step-over to 8% and the plunge rate to 120 in/min. Calculate.
- I did not cut out my mold.
- Preview the toolpath and check whether everything looks good, you want to have a wall around your model!
- Save the roughing and the finishing toolpath in two separeate files.
There is no difference in changing the endmill and zeroing the desktop shopbot compared to the big one. Set the spindle speed of the shopbot on the side of the shopbot by turing the knob (this is in frequency units, you need to divide the rpm by 60). Then run the rough cut (~10min) and the fine cut (~18min):
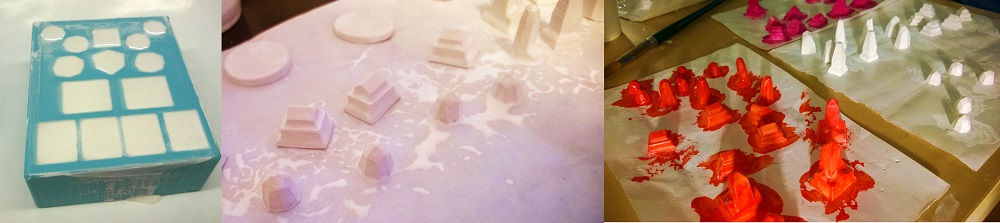
Molding
I made molds of the wax positive using OOMOO. OOMOOO silicone rubber 25 consists of two viscous liquids that are mixed in 1:1 ratio. The pot life is 15min and the curing time is 75min. After mixing (don't lift the stirrer to minimize formation of bubbles), I put the liquid OOMOO in the vacuum chamber for 5min and the poured it over the wax positive in a thin stream (to pop leftover bubbles), then tap the wax against the desk to let bubbles rise to the top.
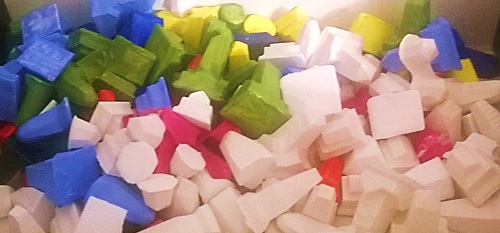
Casting and finishing
I used drystone, mix drystone into water(5:1) and pour into mold. The casting can be demolded after ~60min. After demolding, I sanded the edges of the board game pieces, primed them with Blick Artists' Acrylic Gesso and painted them with Blick Studio Acrylics: