Objective
This week we are programming our board to do something.
Programming board 1
Before I got started with my own board I downloaded arduino 1.6 and added ATtiny support follwing instructions on High-Low-Tech.
- In short:
- Download and install the arduino software.
- In the preference tab of arduino, find the Additional Boards Manager URLs field and paste "https://raw.githubusercontent.com/damellis/attiny/ide-1.6.x-boards-manager/package_damellis_attiny_index.json" into it
- Now you are able to add Attiny processors in arduino
Because I have no experience in programming I started with the (very helpful) arduino tutorial on the arduino website. They walk you through the built-in blinking example and explain what every line of code means. I also worked through the button example. By combining what I learned from both examples, I wrote my very first c-code in arduino:
//                        attiny85
//                   reset -+---+- power
// (on while touching) pb3 -+*  +- pb2 (toggled by touch)
//       (touch input) pb4 -+   +- pb1 (fading while touching)
//                  ground -+---+- pb0 (fading always)


//                        attiny44
//                      power -+---+- GND
//                  10 -  pb0 -+*  +- pa0 -0
//                     9 -pb1 -+   +- pa1 - 1
//                 reset -pb3 -+---+- pa2 -2
//                     8 -pb2 -+*  +- pa3 -3
//                     7 -pa7 -+   +- pa4 -4
//                     6 -pa6 -+---+- pa5 -5


//Define constants:
const int button = 8; //pin with the button, duh
const int LED = 2; //pin with the LED

int val = 0; //define button state

void setup() {
  // put your setup code here, to run once:
pinMode(button, INPUT_PULLUP); //use the internal pullup of the microprocessor
pinMode(LED, OUTPUT); //LED pin will be our output pin
}

void loop() {
  // put your main code here, to run repeatedly:
val = digitalRead(button);
   if (val == LOW) {
     digitalWrite(LED, LOW);
     delay (100) ; // 100 microsecond delay
     digitalWrite(LED, HIGH); // puts 5V on the LED pin
     delay (100);
          digitalWrite(LED, LOW);
     delay (100) ;
     digitalWrite(LED, HIGH);
     delay (100);
   }
   else {

     digitalWrite(LED, HIGH);
   }


}
The LED is on when I don't press the button and blinks twice when I press it.
I then went back and dug out my board from week 5 and tried to program it. I was able to upload my program using my FabISP (settings in arduino: attiny44, 20MHz external, /dev/ttyUSB0, USBtinyISP) but the blinking did not work. I tried trouble shooting with Sam:
- Trouble shooting process:
- Use multimeter to see whether there is power on the board when it's connected to the FTDI cable by touching VCC and ground on the board. If it's working correclty ->5V.
- add software serial to the program and a few lines of codes (that talk back to the computer) in different points of the program to see where the code fails.
- Desolder the FTDI header and place it further away from the VCC trace running behind it.
Unfortunatley all efforts were in vain and I could'nt get the board to blink. I then decided to change the design slightly: I wanted to move the traces running under the FTDI header further appart and include a GND trace that was easy to access with a multimeter.

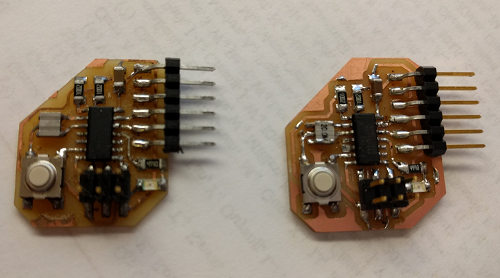
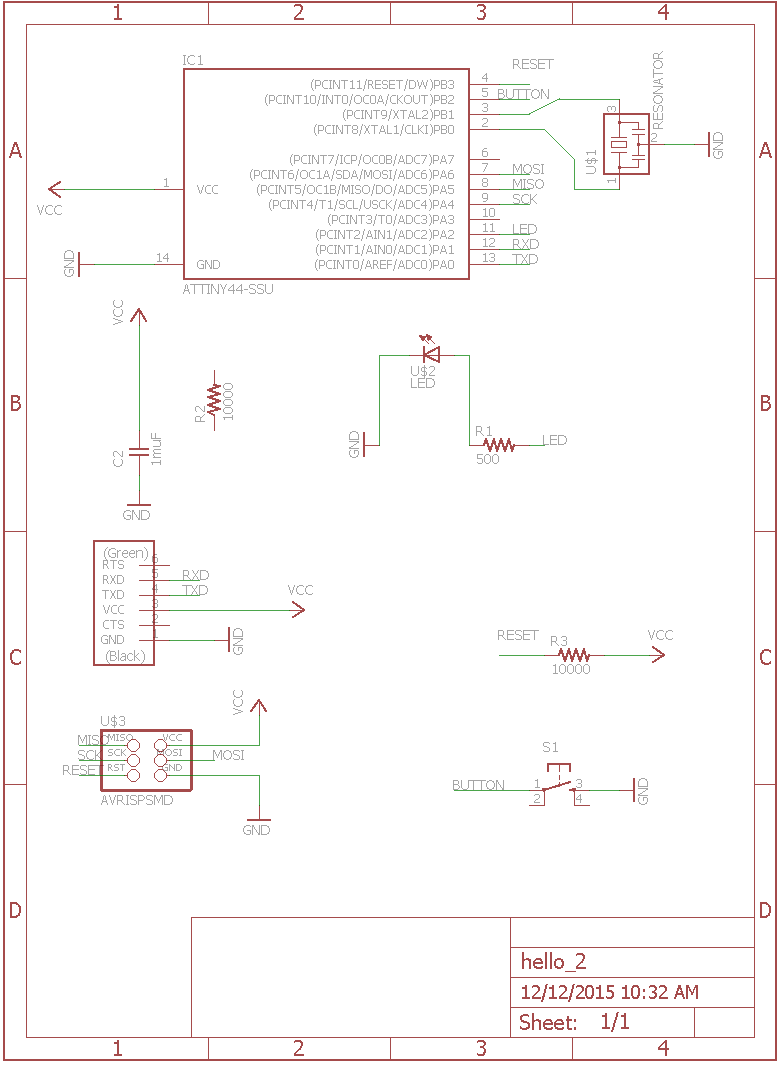
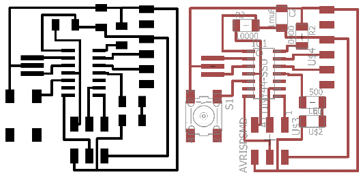
This board also didn't work. I then decided to start over from scratch in Eagle and design a new board with the same functionality:
Programming this board worked and I got it to blink using the code I posted above:
Yay! I'm going home now, see you next week.