Technologies Used
Embedded C programming was used to program the board.
Networking may eventually be incorporated to do something fancy with it.
Personal Project Goals
NOTE: THERE IS STILL A VIDEO TO BE ADDED. I WILL ADD IT ONCE I HAVE ACCESS TO THE FILE ON MY DOWNED COMPUTER.
This week we focused on programming our boards from week 6. As I am a computer scientist, one would expect that I might have a lot of experience in a lot of areas of programming, but one would be wrong! Programming close to hardware scares me. As such, this week was a good chance to conquer one of my biggest engineering fears.
Methodology
I initially attempted to just progam Neil's Echo Hello World program to get started. Unfortunately, it wouldn't program, I kept getting an "avrdude initialization failed rc=-1 error." That's a sign that the board can't be programmed, typically due to hardware issues. I decided that the best thing to do would be to remake the board from scratch, as I'm pretty sure I acccidentally burnt out the chip on my first board. I have to say, this was a good experience, as I am getting way better at fabbing and stuffing boards now. It's amazing how much better one gets after just three boards.
Read More / Hide
After creating a new board, the Echo program worked virtually immediately. I was able to upload it both using the makefile and through Arduino's IDE.
Remaking the board sapped more time than I had planend for this week. Therefore, I decided to only build a new script in the Arduino IDE. Doing it through traditional C would be similar, but I would have to change the API calls that I used.
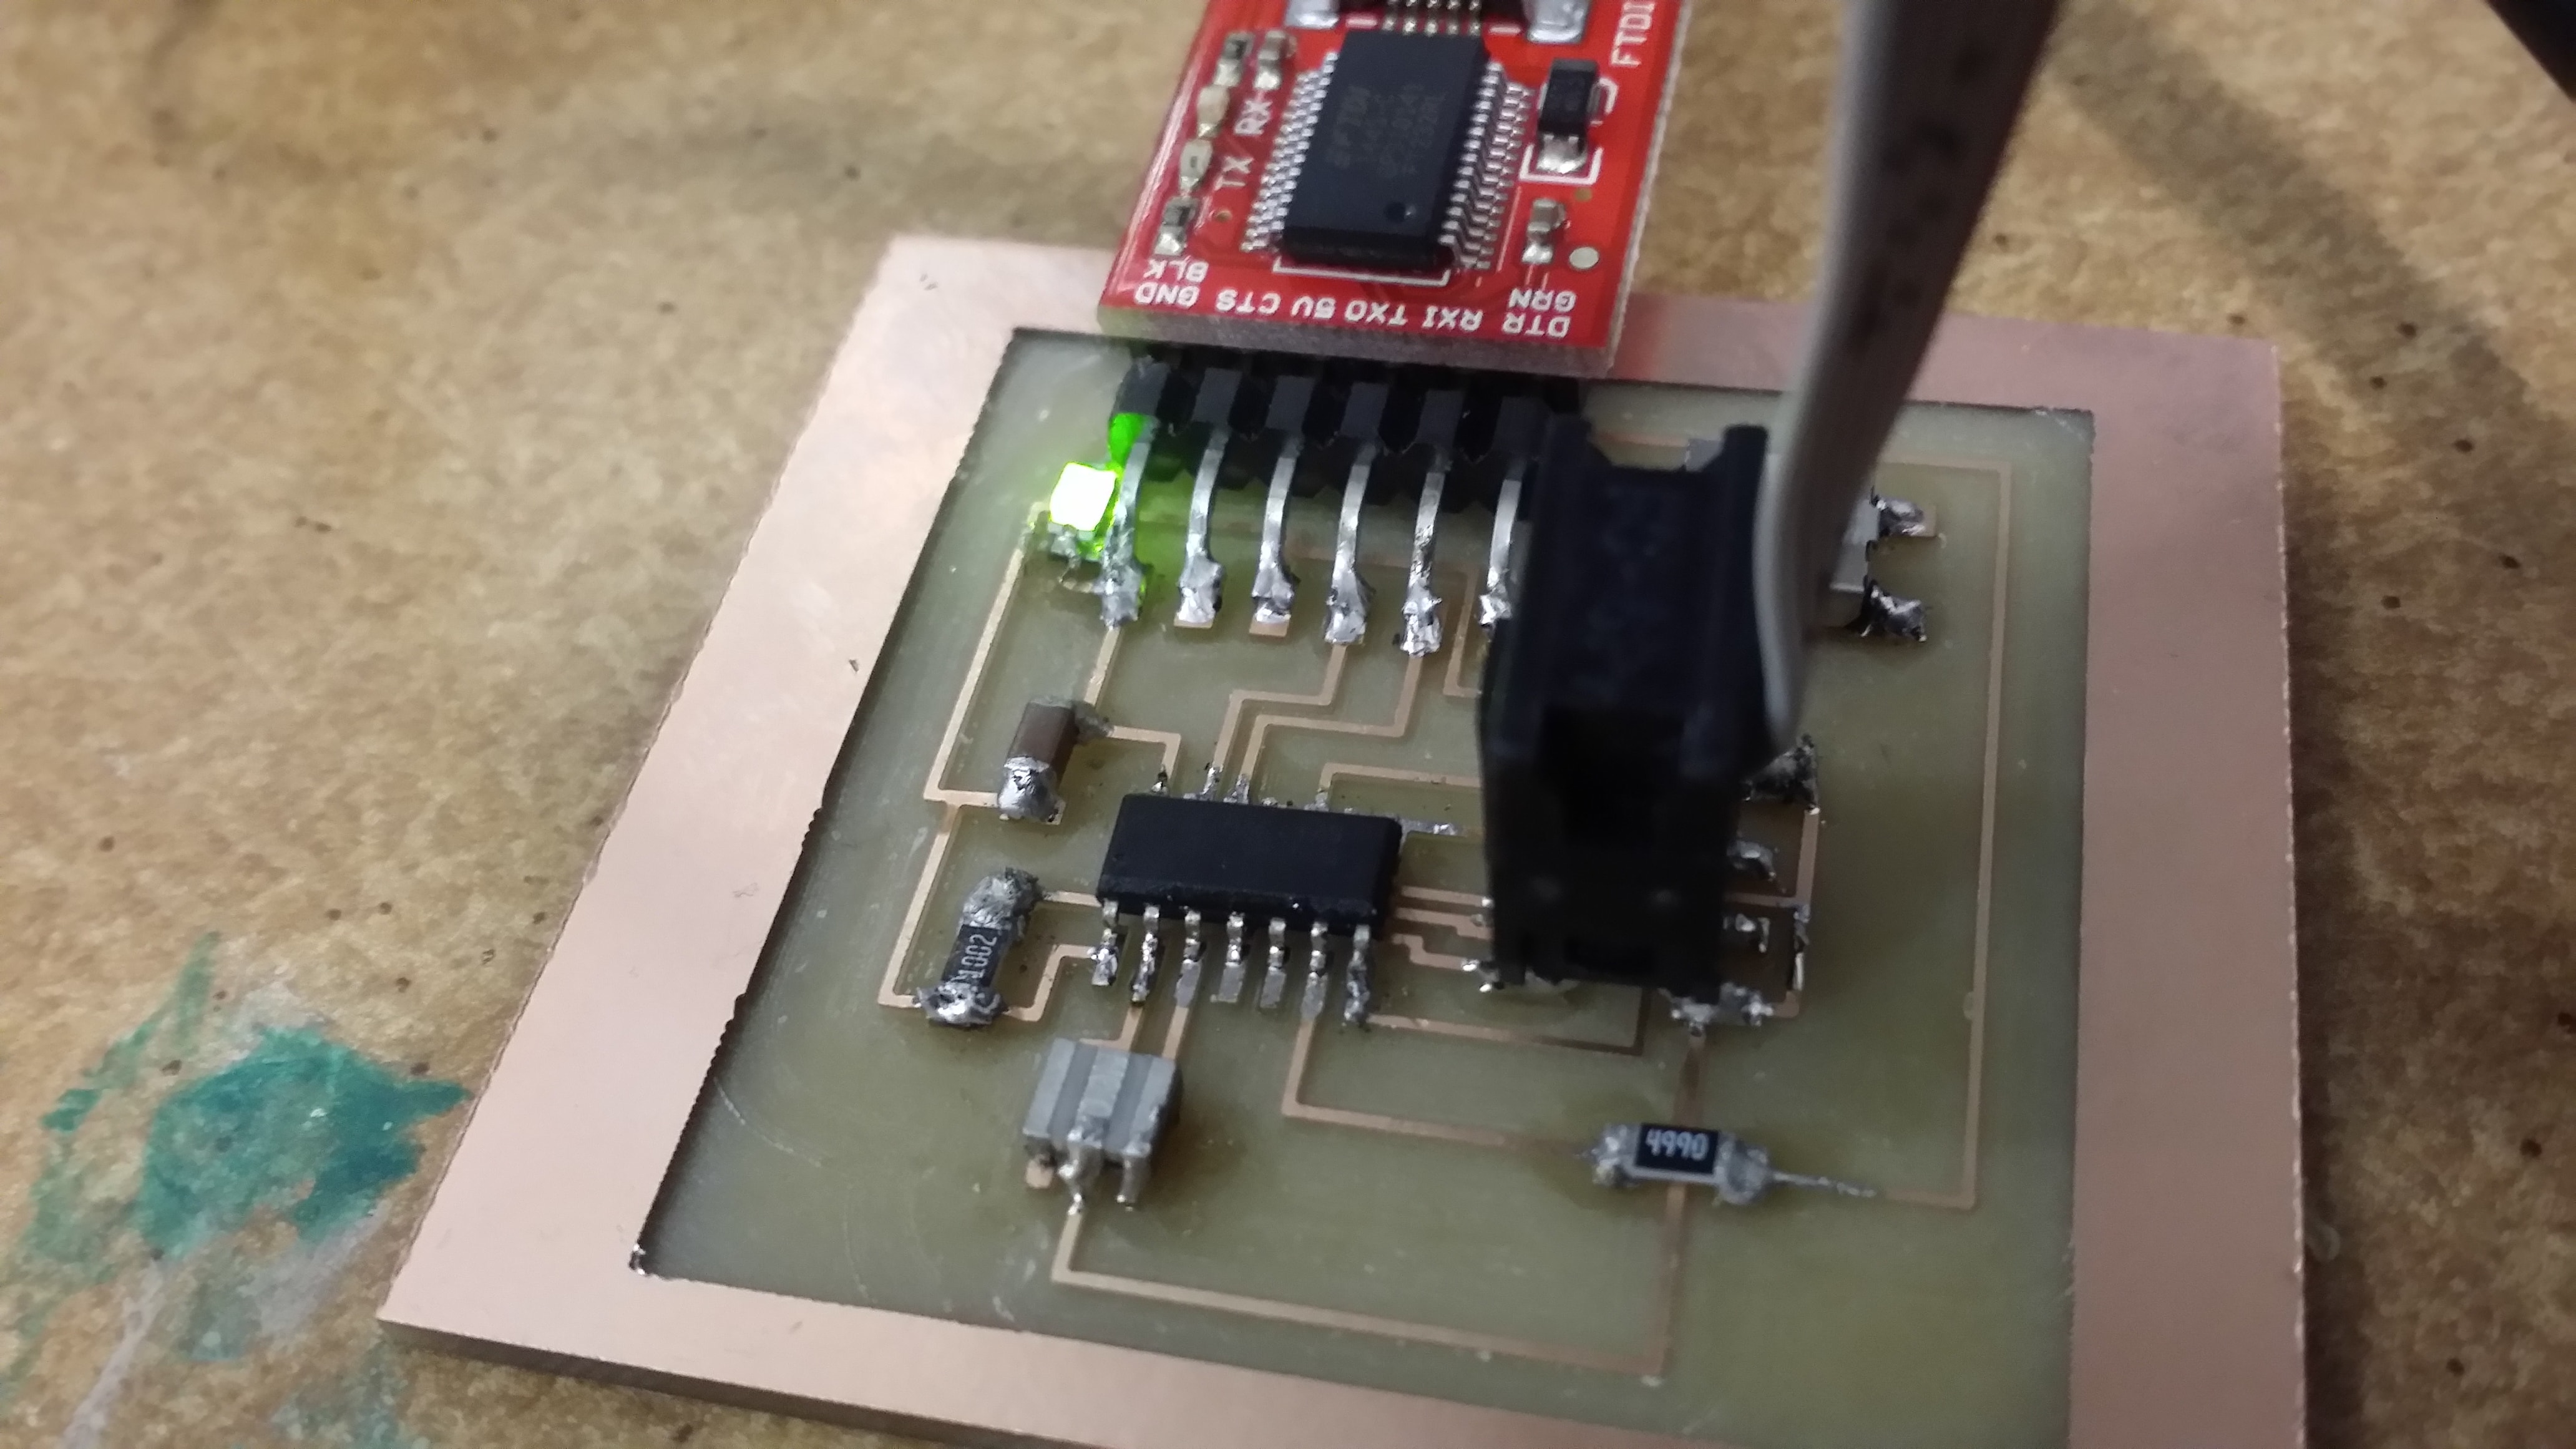
My program is pretty simple - there is a light that toggles at regular intervals (e.g. 1 second on, 1 second off). In order to make it more interesting, I made it such that puching the button changes how long each light duration lasts for. At first, it stays on for 1 second. Then, 1 second again. Then, 2 seconds. Then, 3 seconds. Then 5...you can see where this is going; the sequence of times between toggles is the fibonacci sequence. There's no way to make it go backwards, but maybe the next iteration will include a second button (if there is one). The final board can be seen below. The code can be downloaded here
Current Issues
No issues right now! I should eventually convert my code to work through the other APIs though, and I should add some networking at some point.