Technologies Used
Knowledge of how DC motors work was required to design the circuitboard.
Electronics fabrication, design, and embedded programming was used to "make" the board.
Personal Project Goals
NOTE: THERE ARE STILL NEW EAGLE FILES TO BE ADDED, AS WELL AS MY C CODE. I WILL ADD THEM ONCE I HAVE ACCESS TO THE FILE ON MY DOWNED COMPUTER.
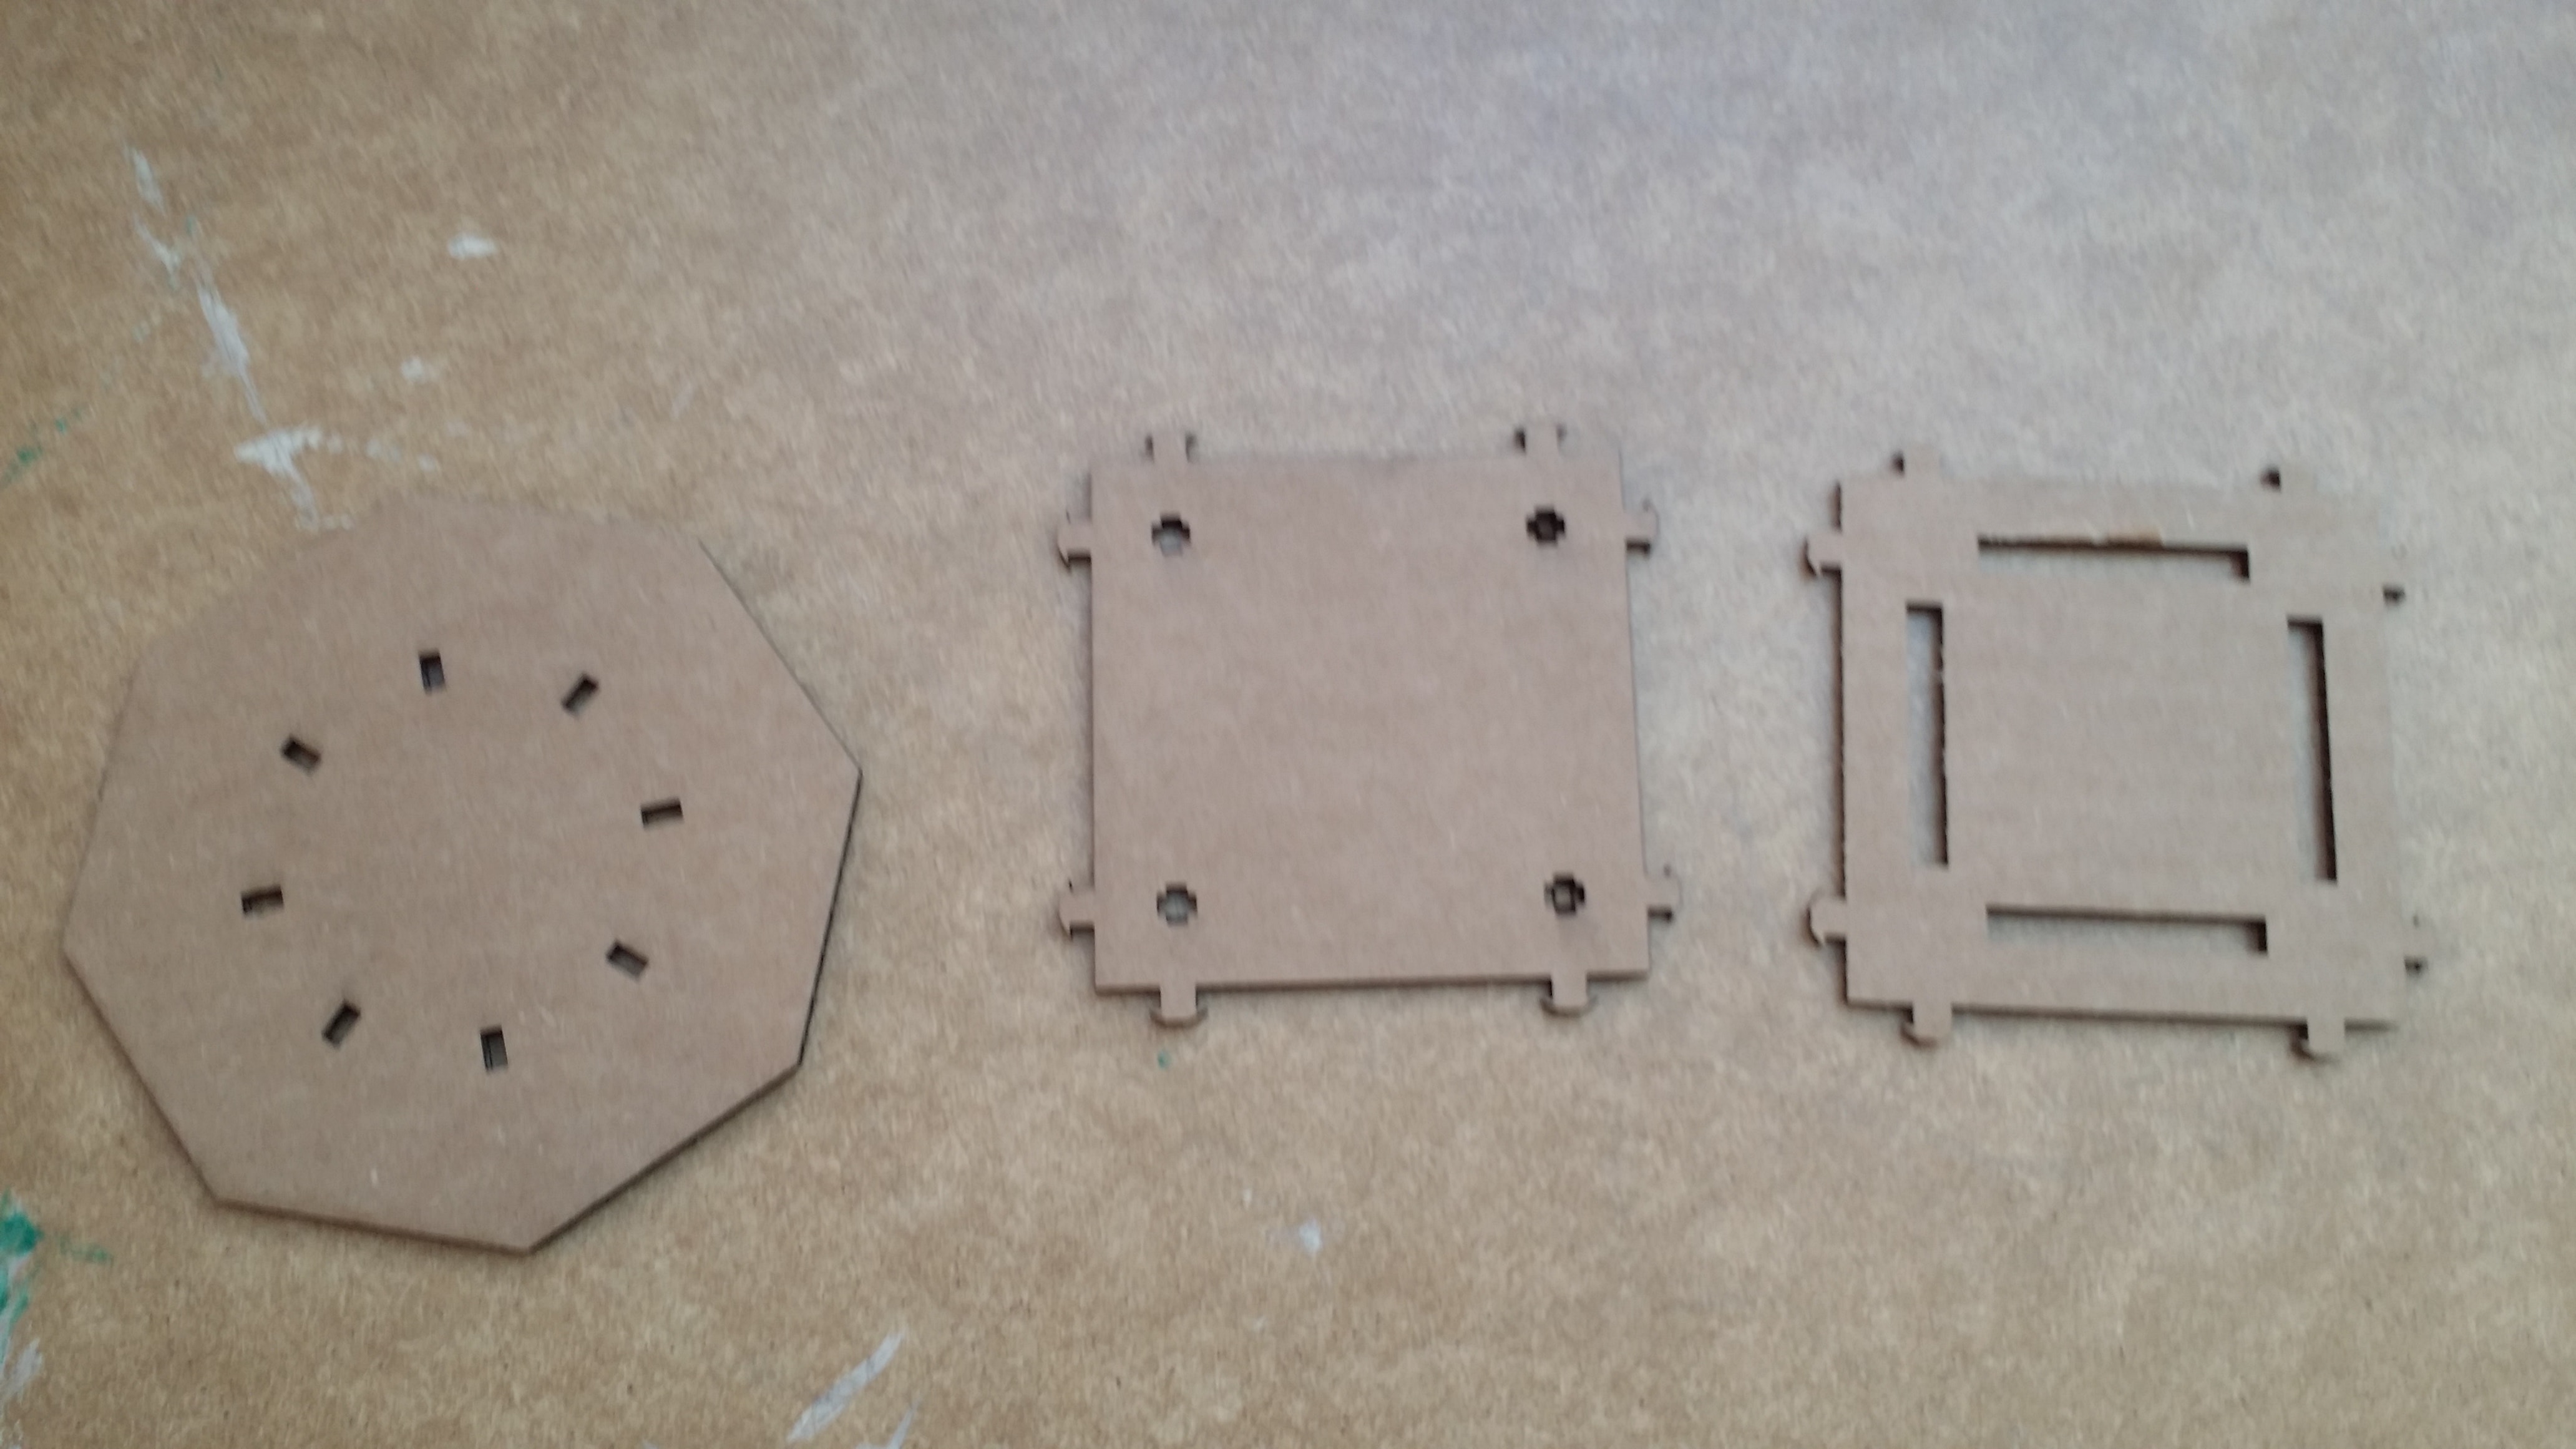
Coming into this week, I had just decided on a (new) final project plan. The quadcopter idea, while definitely something I would like to do, was potentially a bit ambitious for four weeks remaining. The chassis would probably require a lot of iterating in order to get it to be both sturdy and light enough for flight, and it would probably be hard to design very aerodynamic propellers without the proper domain knowledge. Instead, after talking with some people, I decided to make a hybrid handheld milling/3D printing device.
Read More / Hide
TThe design will require two DC motors: one for extrusion, and one for milling. Therefore, I decided this week I needed to make the following: a circuitboard with two switches with the following behavior: when one switch is down, it spins the plastic extrusion motor. When the other switch is down, it spins the milling motor. When both switches are down, it reverses the extrusion direction so material can be removed. An H-bridge is used for both cases though, in case I decide I also want the ability to change milling direction as well.
Methodology
The design is relatively straightforward - I mostly put a second H-bridge attached to the circuitboard the same way as the first. The two capacitors that were on there already were sufficient to work for both motors, although it's always easy to add more parallel capacitors. I also added two push-down switches as in my previous board. The drawing can be seen below.
Read More / Hide
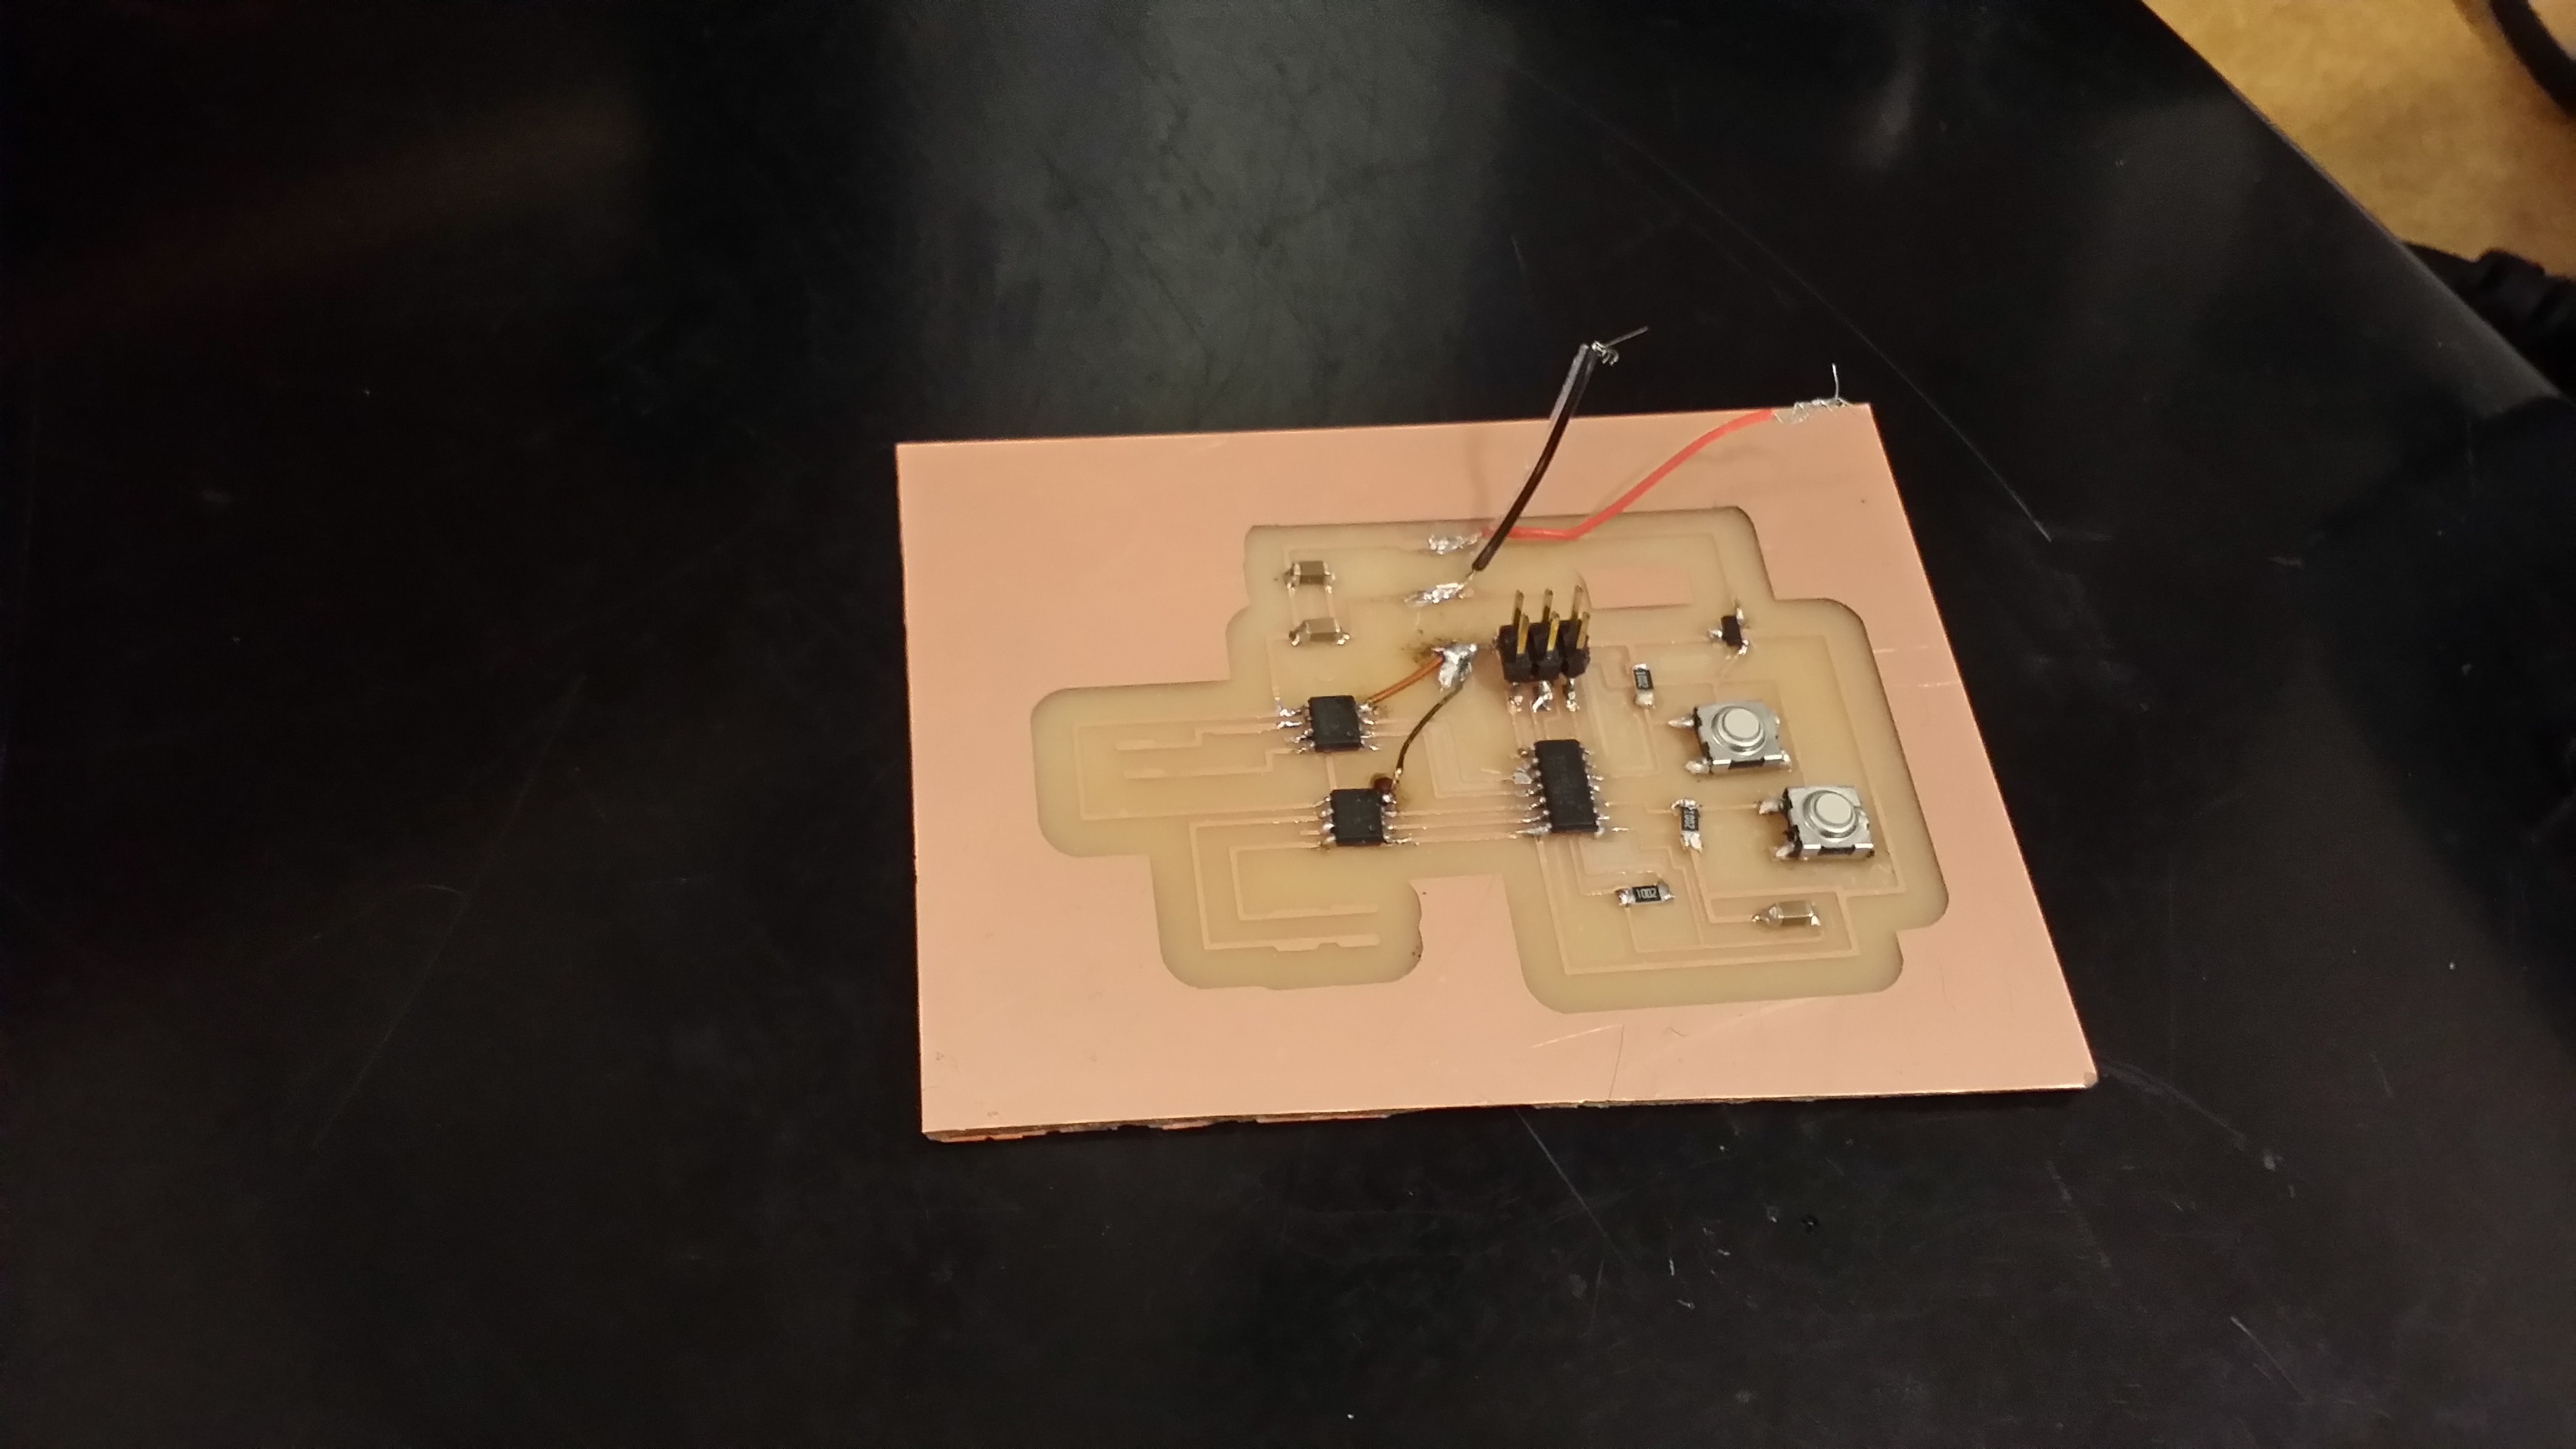
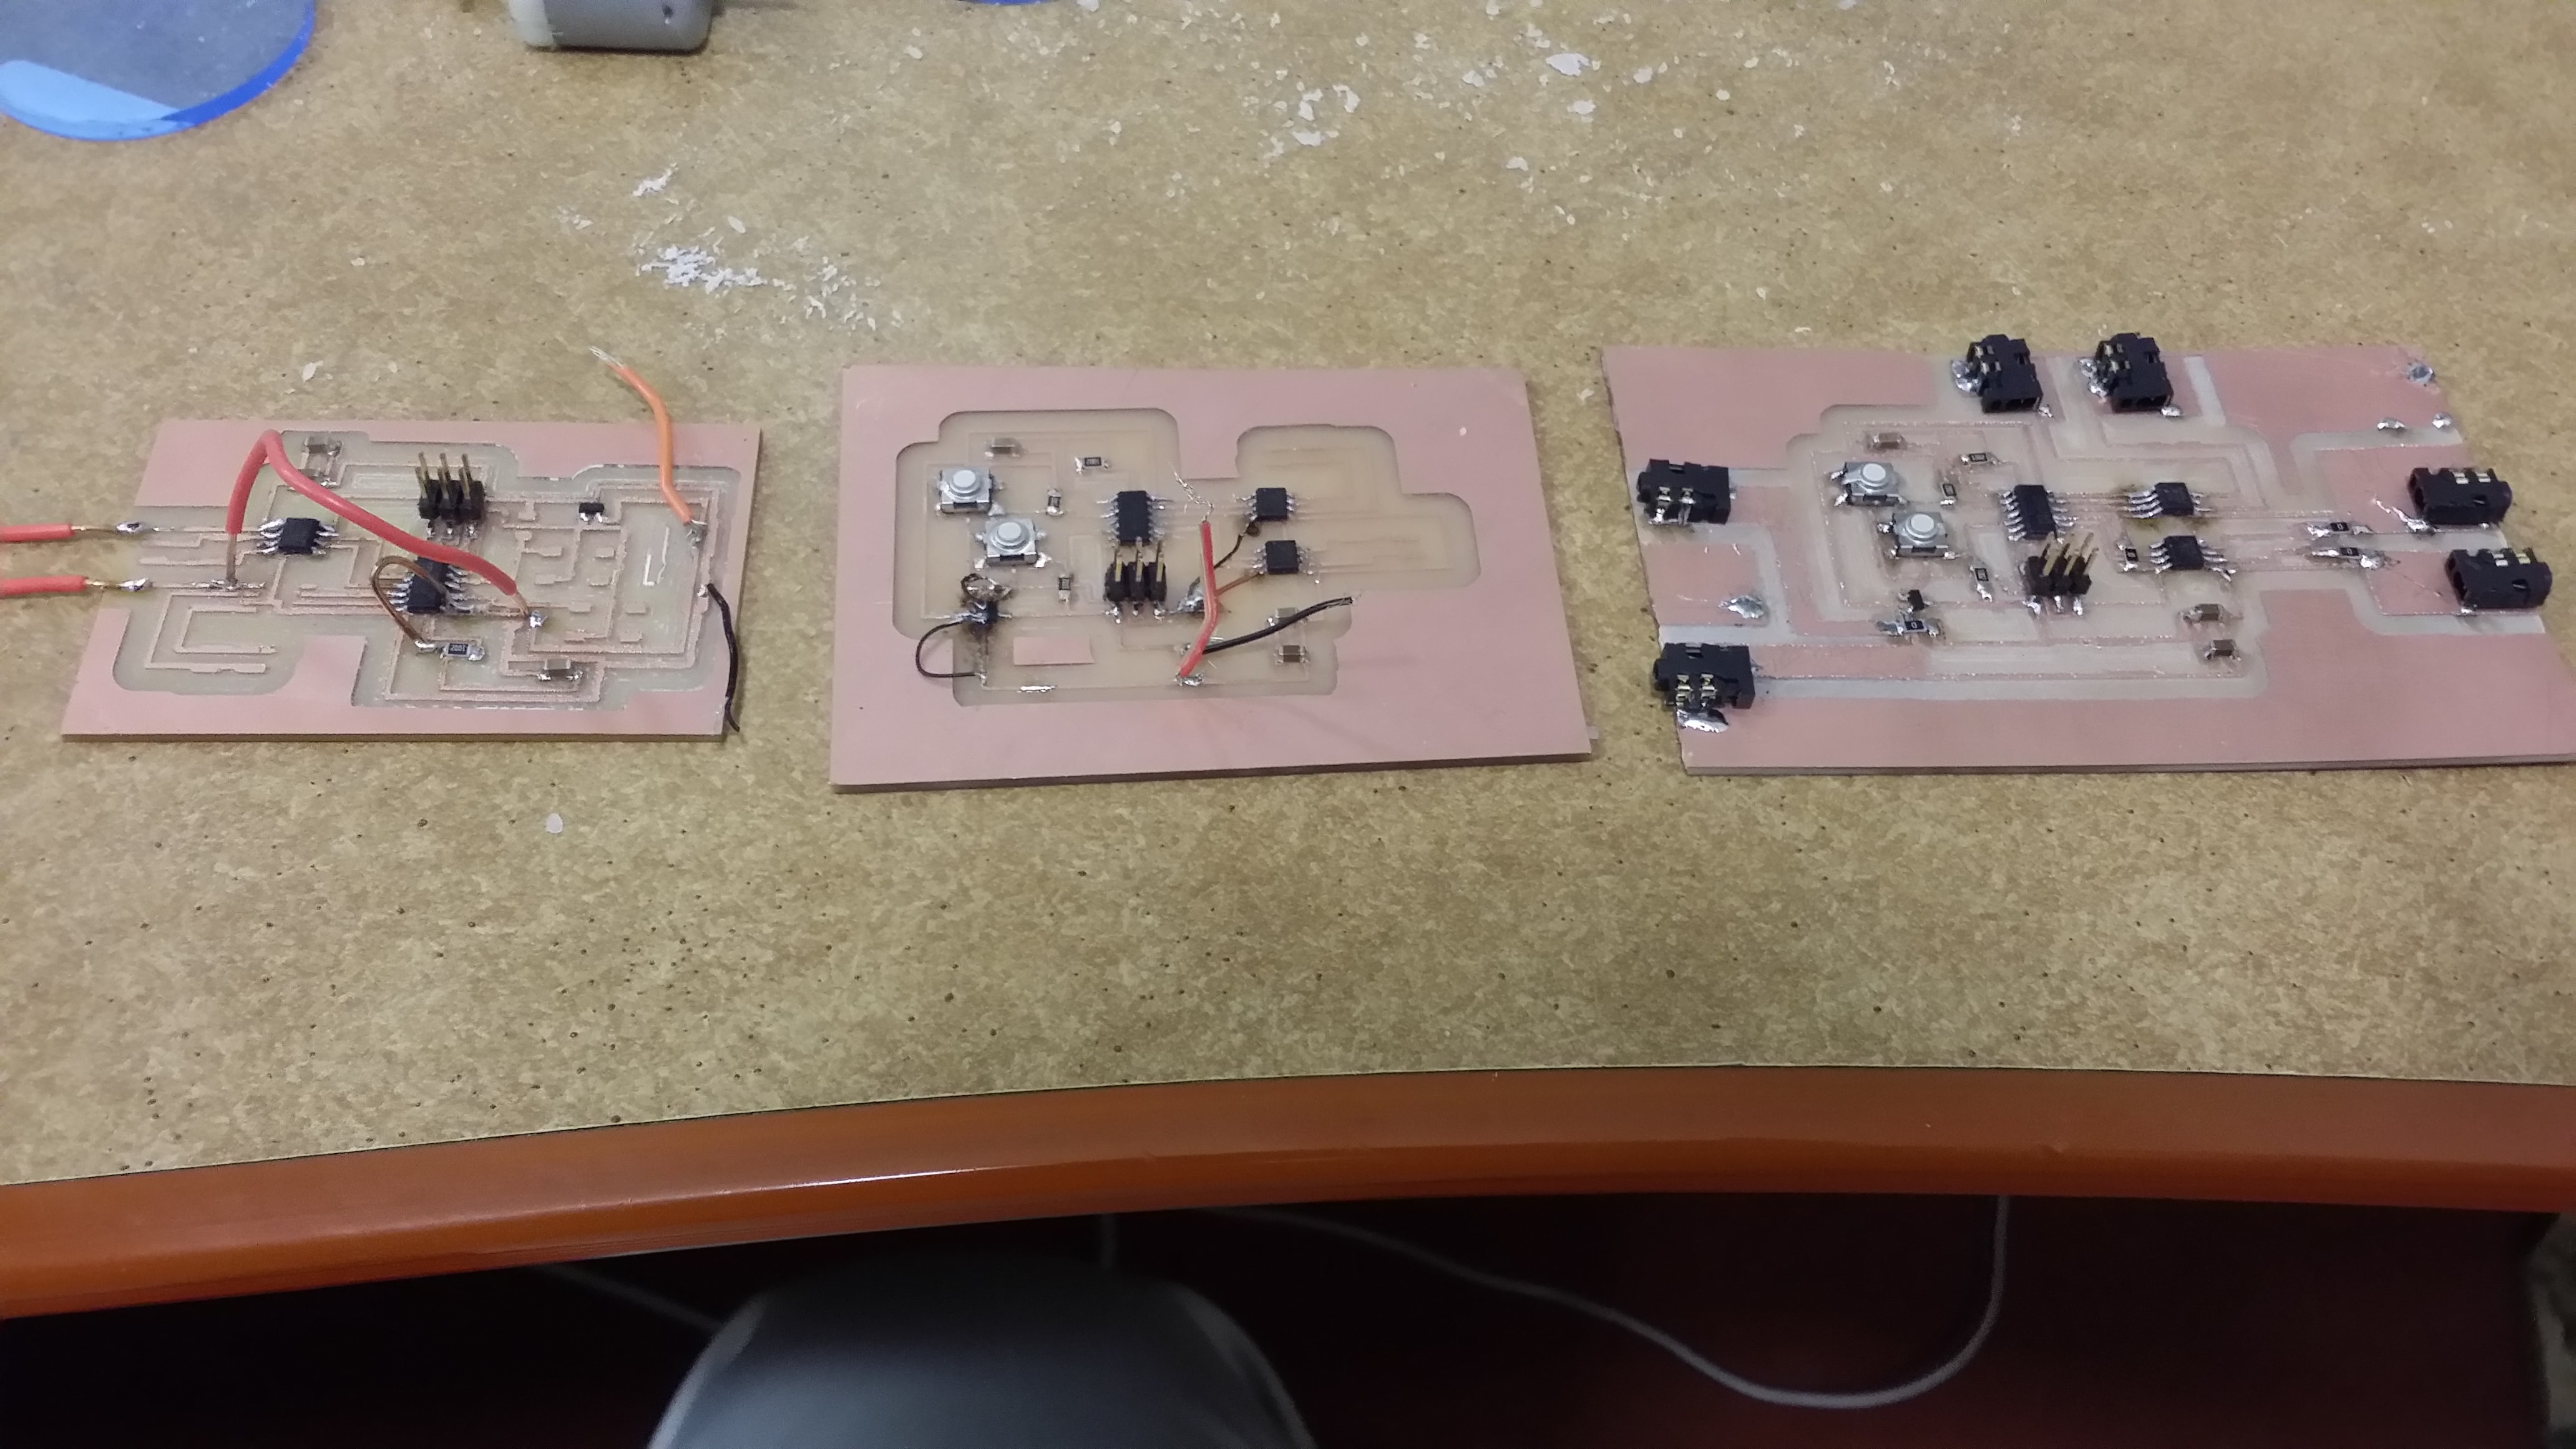
The board was then milled and stuffed. The first board came out bad - because I forgot to set the input of the ATTiny to explicitly be the output of the 5V converter, Eagle defaulted it to be VCC, which in this case is 12V! Grrr. That's a bug, not a feature, Eagle! You should require we explicitly set the input voltage and ground! This required me to add a bunch of jumpersand make a few changes to my first board, making it quite ugly.
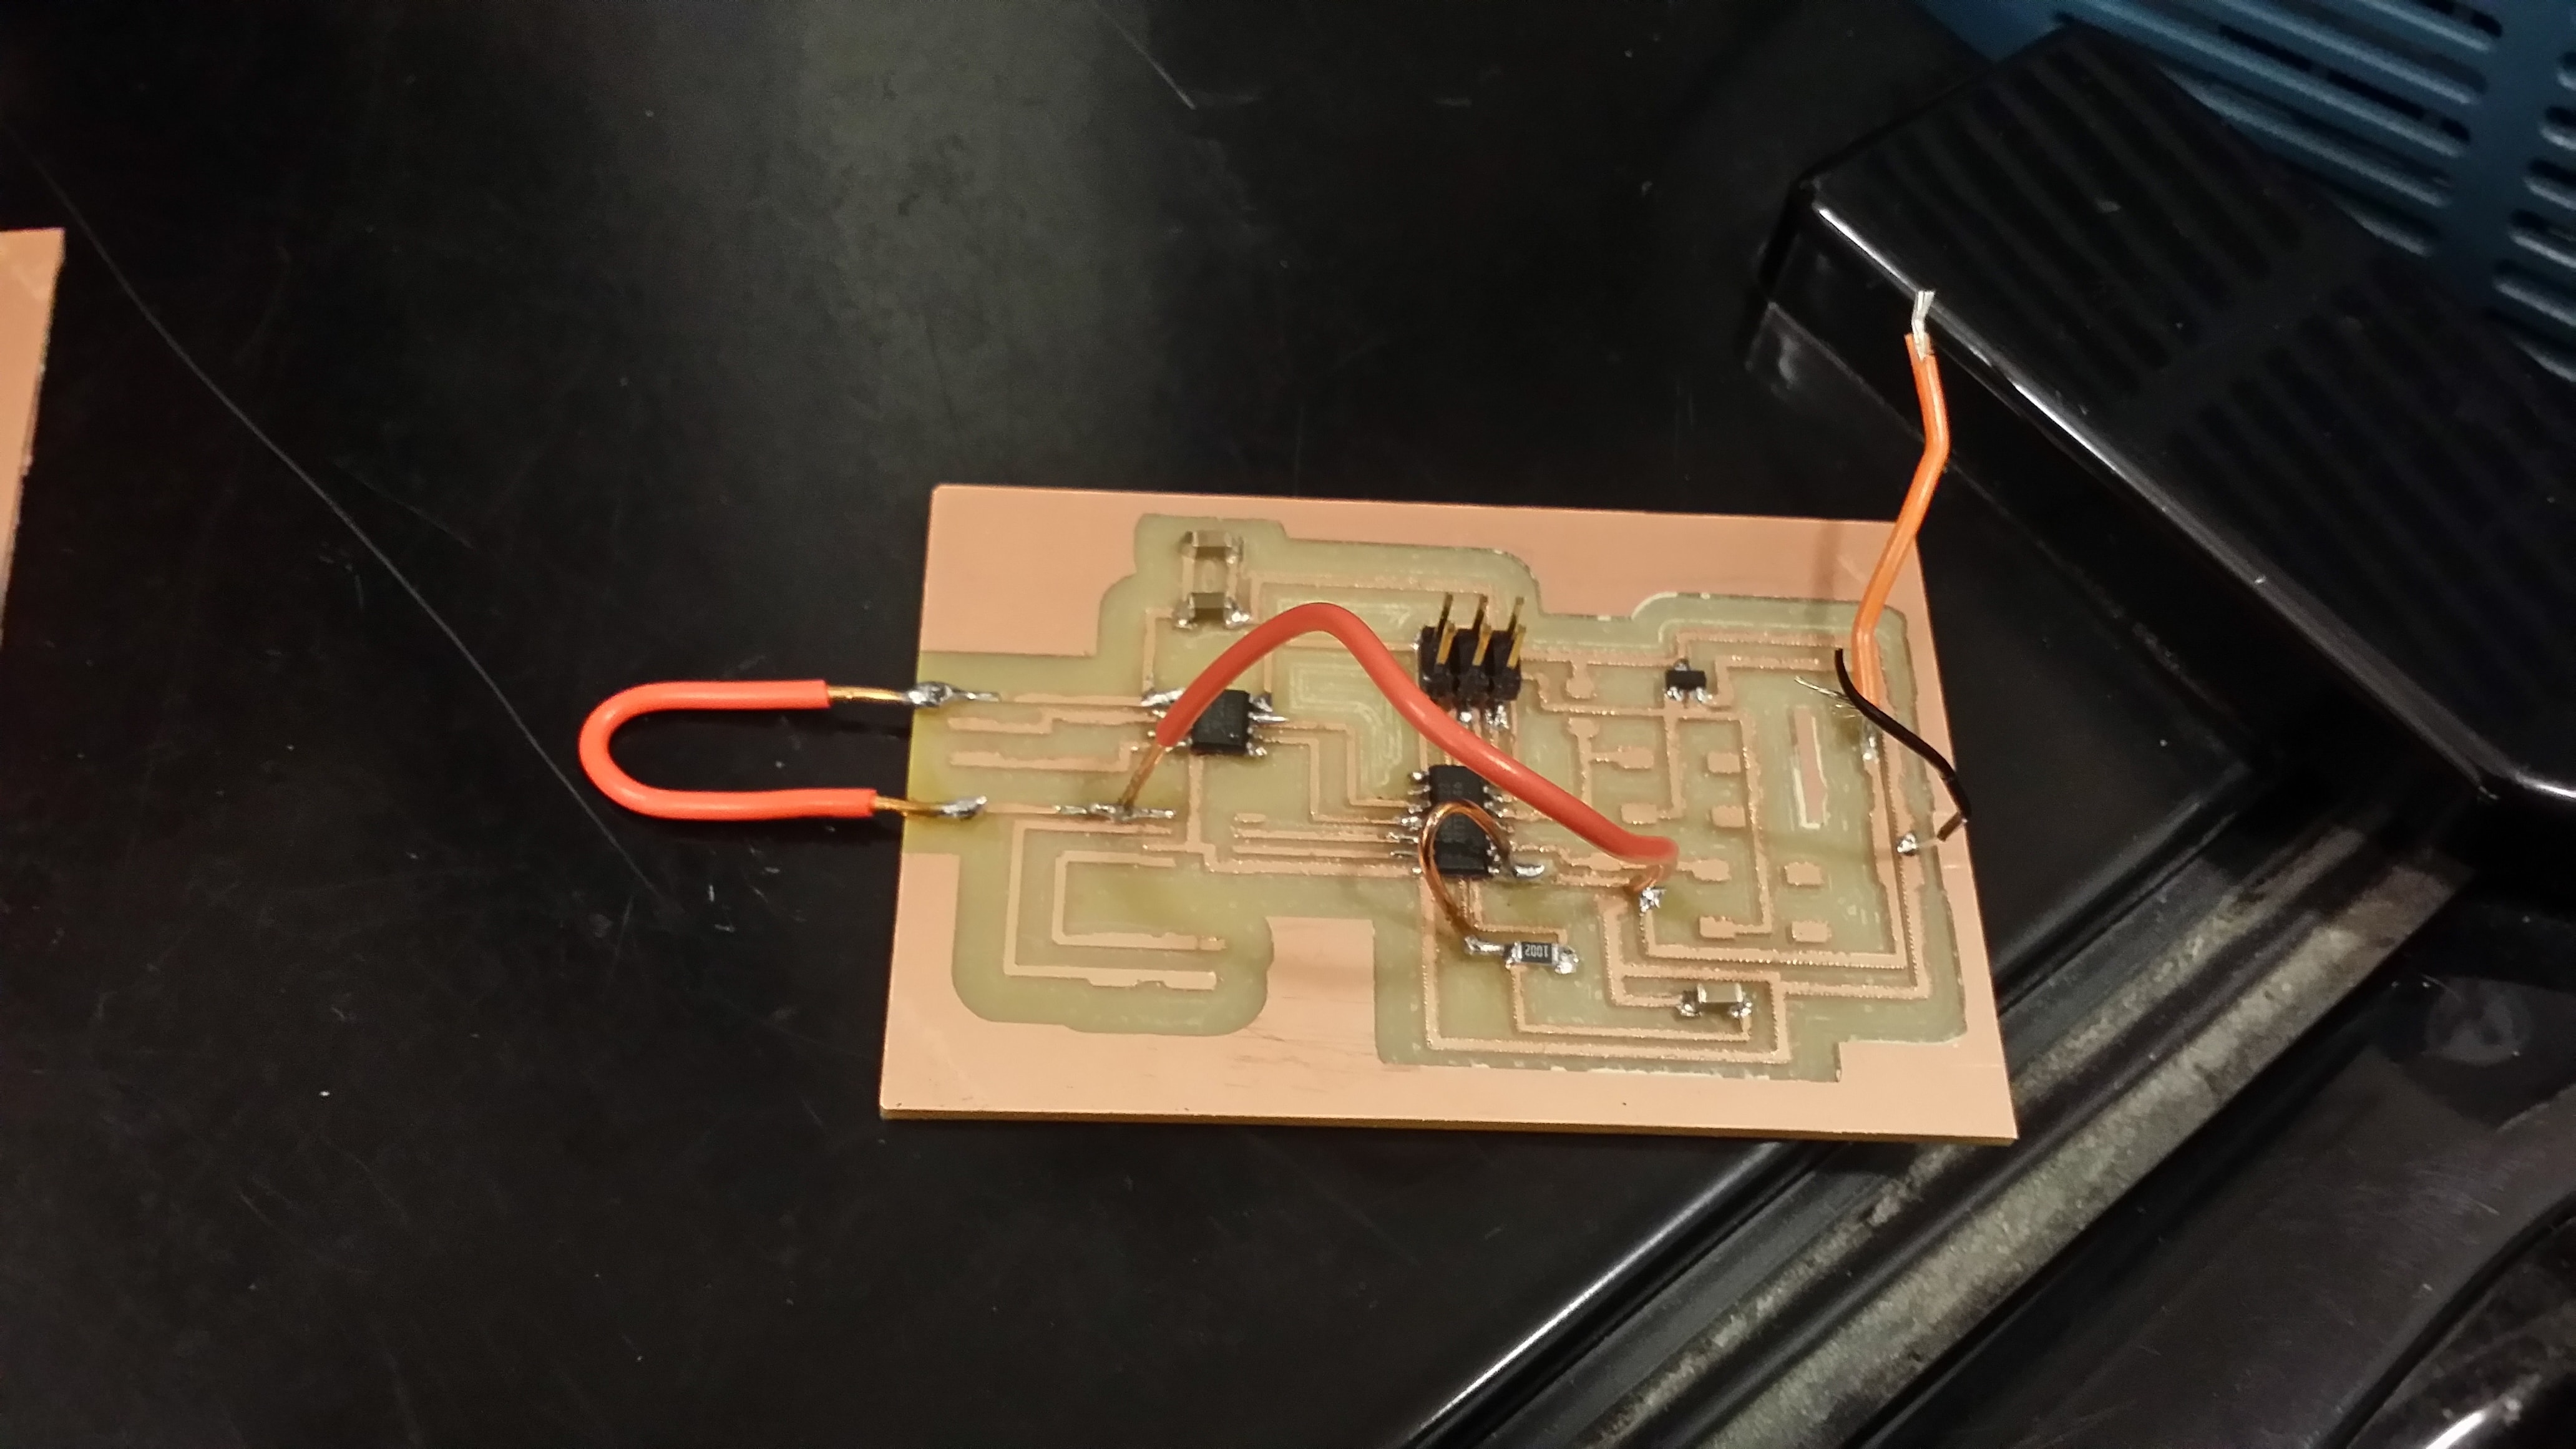
So, I went back and made a much prettier board, with only two jumpers: one because one of my interconnects peeled off, and one because I couldn't get the board planar (I swear it's not possible...) and didn't feel adventurous enough to play with vias.
The board was programmed simply by modifying the original DC motor sample code to work conditionally depending on the state of the pushed down button, and to add an extra output set. This was a good opportunity to learn how to handle switches in the gcc-avr library environment, not in the Arduino library environment. The board can be found here, the schematic can be found here and the code can be found here (DEPRECATED, OLD VERSION DIDN'T WORK, WORKING CODE IS ON MY COMPUTER).
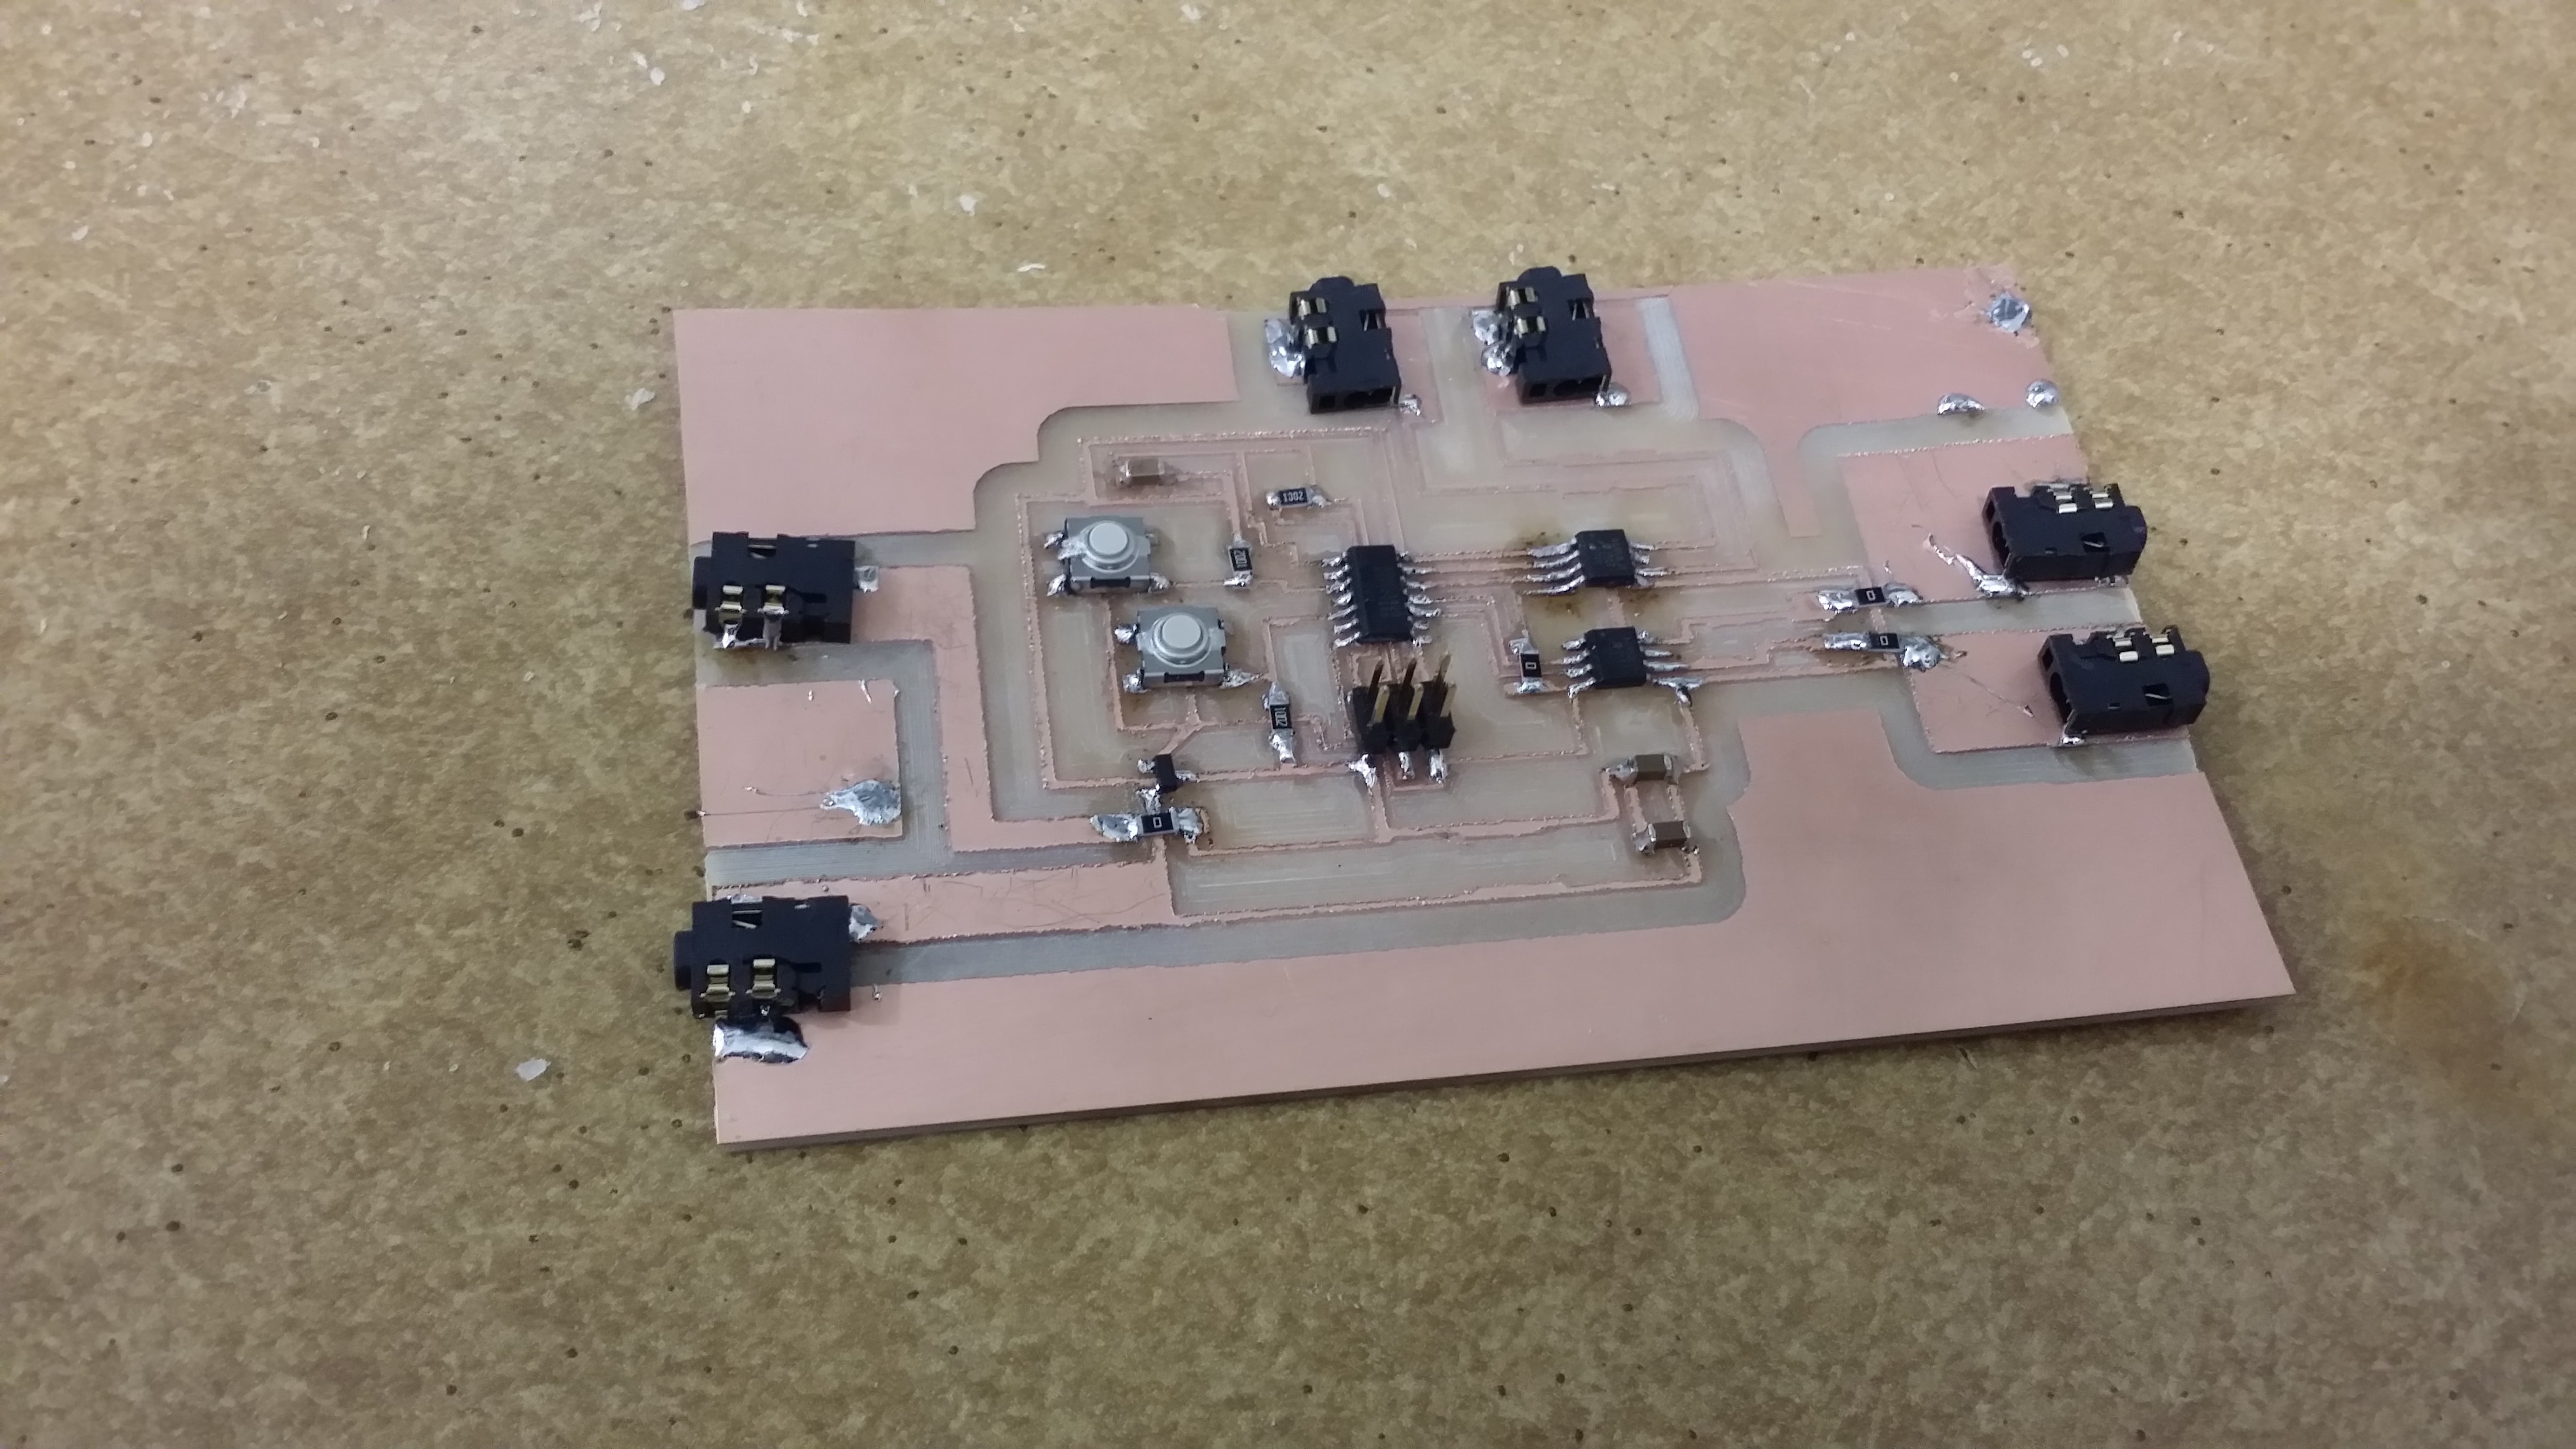
Update: This older board has two main problems. First, it wasn't designed to be well modular - it was very hard to attach and unattach motors. Thus, I rerouted it such that the motors and the input power can be attached on the edges of the board via audio jacks. Neil has cautioned against using Audio jacks, but I think it's fine in this case where I am only using a single connection of audio jack (and leaving the other end unattached except for mounting). This makes it very easy to plug in and remove modular components, including motors, daughter/motherboards, and power supplies, which I'll take advantage of for my final project. The second problem with this board was that the traces by the voltage regulator were shorted, leading to incorrect voltage readings near the switch. I tried removing some of the copper traces, but peeled way too much up, and decided it was best to remake the board. In the process, I also replaced any physical wire jumpers with 0 Ohm resistor jumpers. The three iterations, aslong with the final board, can be seen below.
Current Issues
No issues! This board works perfectly. See the full video below.