Ferrosketch was inspired by the Ferrolic ferrofluid display. The goal is to move ferrofluid with electromagnets.
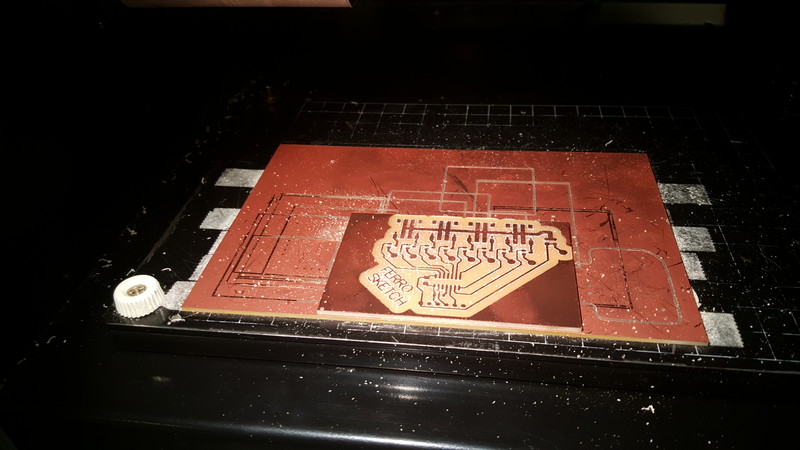
The device has six subsystems: Display Box, Fluid, Solenoids, Frame, Drive Electronics, Network. Creating the device required the following skills learned during MAS863: Laser Cutting, Acrylic Welding, 3d Printing, Coil Winding, Board design and fabrication, Programming (ATTiny and PSoC).
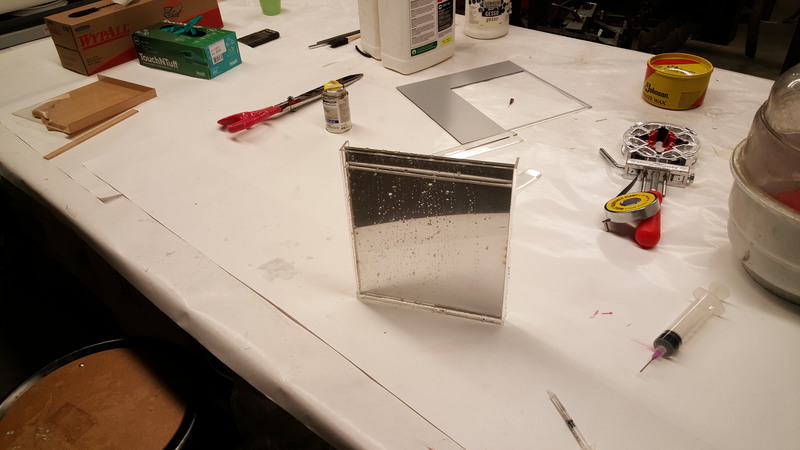
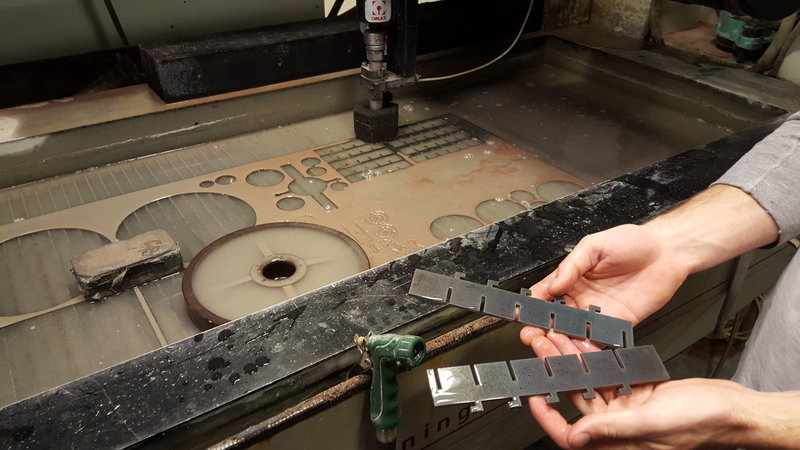
The front of the display is made of acrylic, laser-cut and then chemically bonded together. This is intended to make a water-tight seal.
I originally intended to use the "press-fit" techniques we learned earlier in the semester, but multiple people warned me off. Acrylic bonding works best on flat surfaces, and any interdigitation just adds potential failure points. Each wall is a simple rectangle.
The face is inset from the walls. This made using the 4-corner clamp relatively easy.
Controlling the flow of the cement was difficult. The best way I found was to use the small syringe to apply the cement, and a separate small metal needle to guide it. Mildly pushing the wall away from the face can encourage whicking. You can see where the cement has whicked if you look from the opposite side.
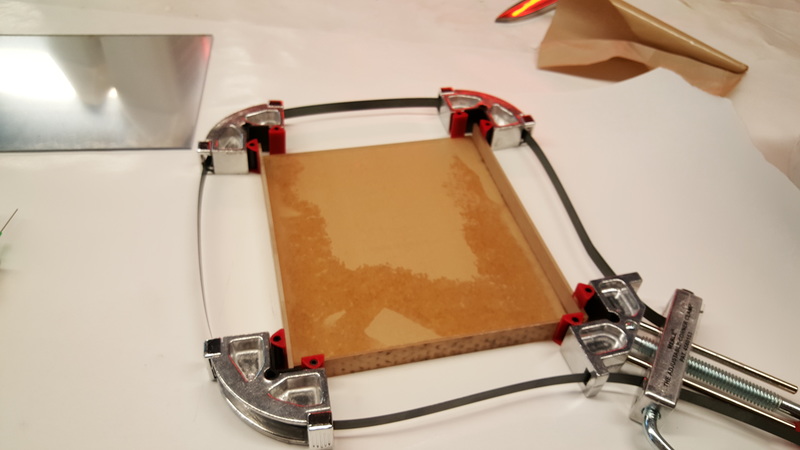
Four Corner Clamp
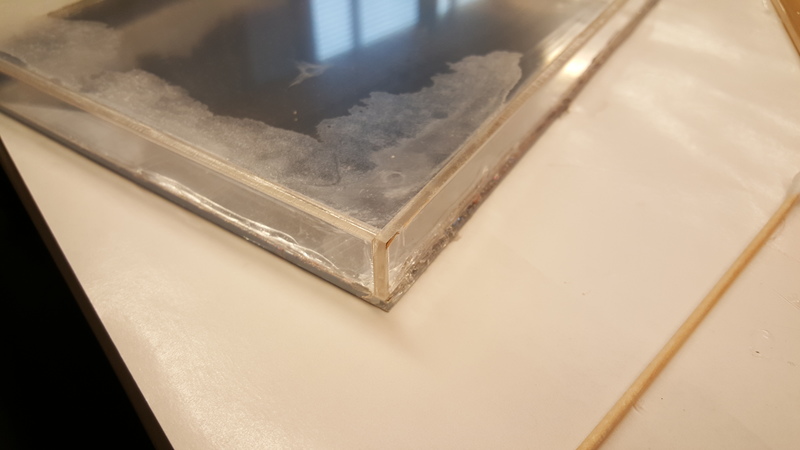
Acrylic Cement seeped underneath and ruined the surface finish
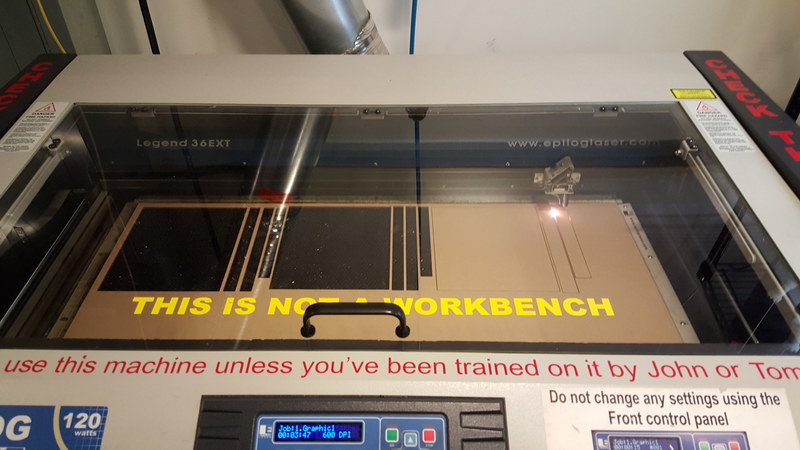
Laser Cutting Acrylic
Water Test
The original idea of using normal electromagnets was put on hold because it was difficult to create enough field to affect the ferrofluid. Instead, I'm using permanent magnets to move the fluid, and electromagnets to move the permanent magnet.
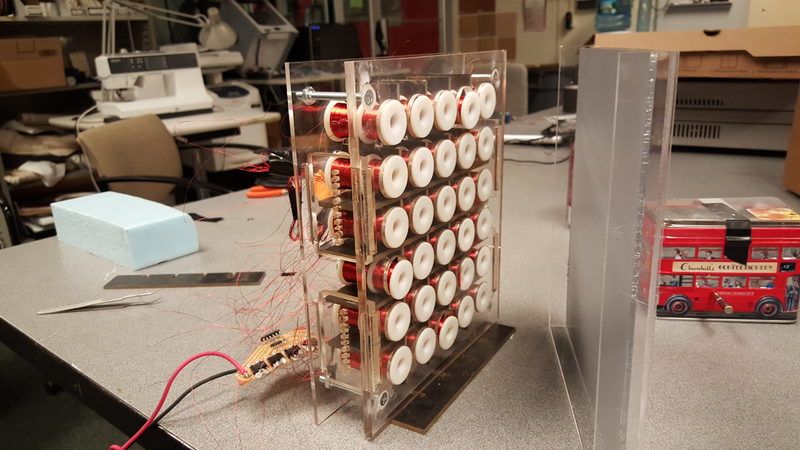
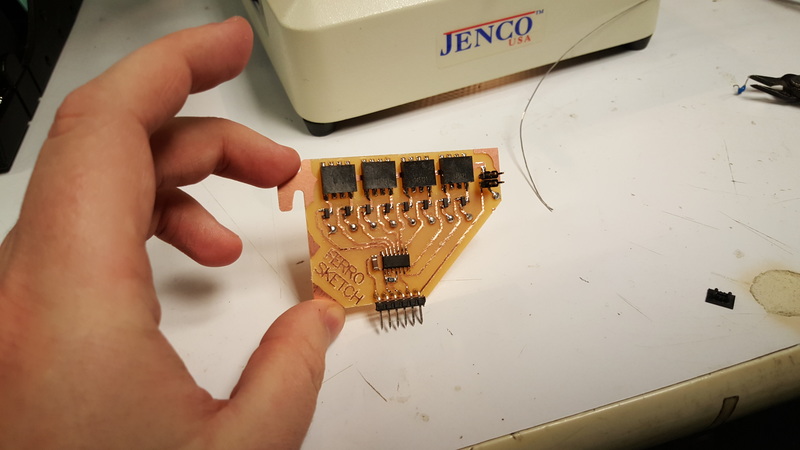
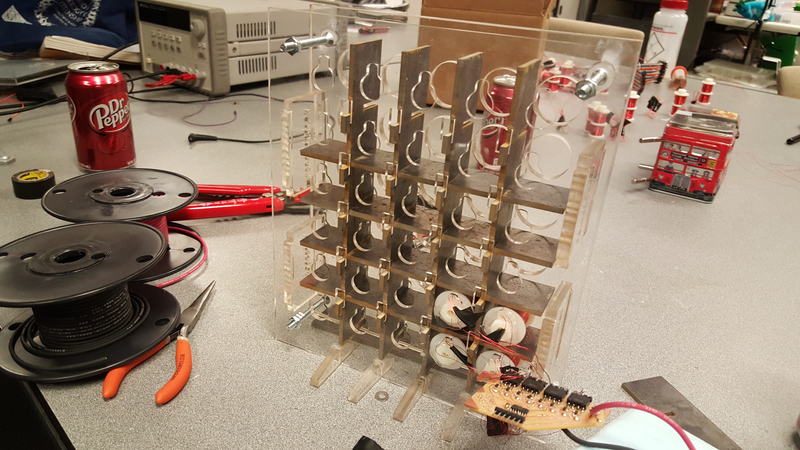
I chose to use 2 electromagnets driven unidirectionally instead of 2 electromagnets driven bidirectionally. This made winding them more difficult, but saved the use of an H-Bridge (that I hadn't ordered). If I were to re-do this project, I'd likely go with a single bi-directional coil.
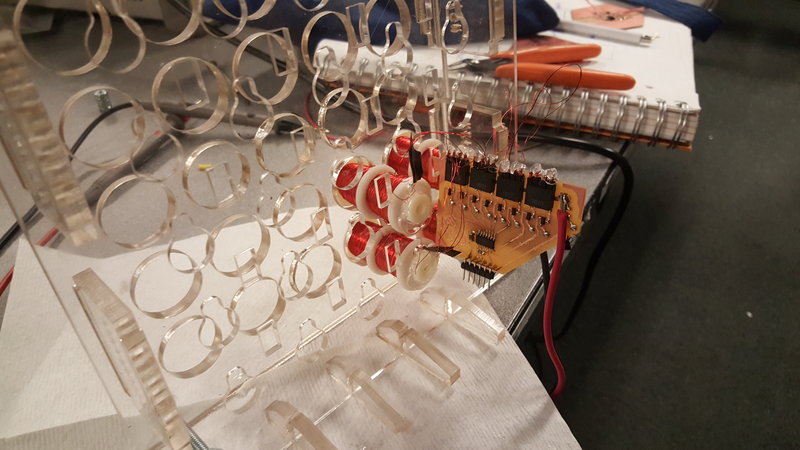
I designed a bobbin to hold the three magnets together. The core is hollow to allow the permanent magnet to slide back and forth. There are three fins to hold the electromagnets' windings in place. The fins have additional features to allow wire routing.
I printed these bobbins on the Stratasys because the lathe was not working. It took a bit longer to clean than I expected!
This video is of a successful test after the flux guides (see below) went in.

Here is a video of what I should have done:
This would have been much simpler and much more fun as a single magnet on an X-Y platform instead of coils galore.