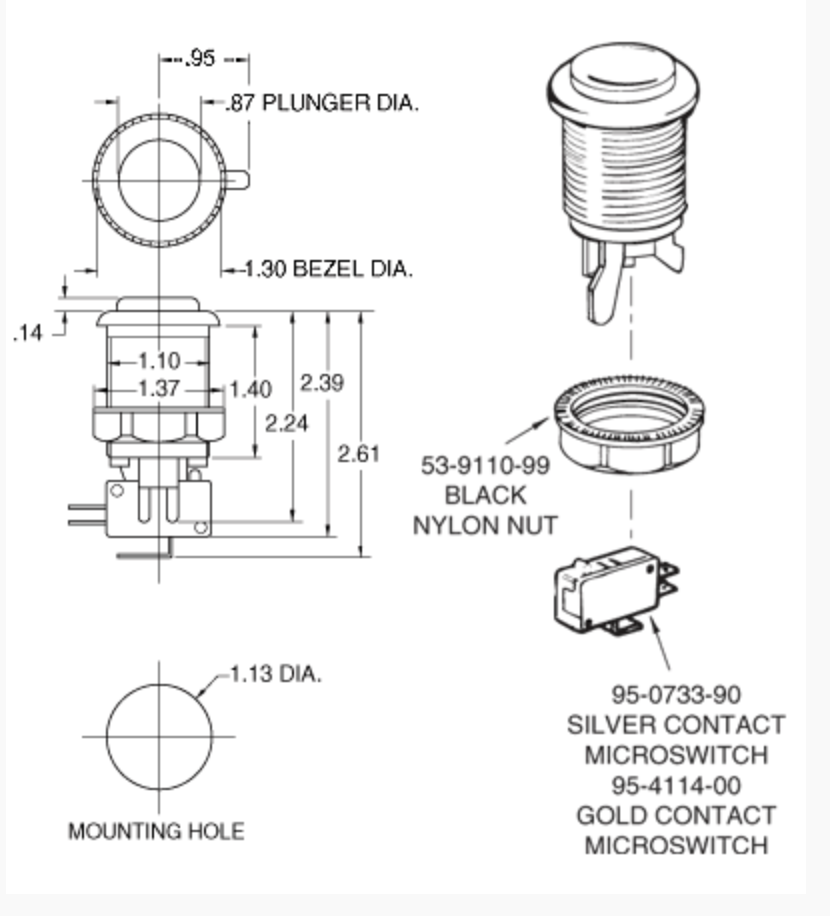
A future design would likely include holes for speakers, but as the game currently doesn't have sound, I didn't worry about that.
For the msot part, it was designed to glue together, with quarter-inch grooves in a lot of the wood pieces to make it easy to align the wood when specific angles were required. I ended up with a model I was fairly proud of, including a full parametric design to make it easy to tweak if I, say, wanted to make another one with wood of a different thickness.
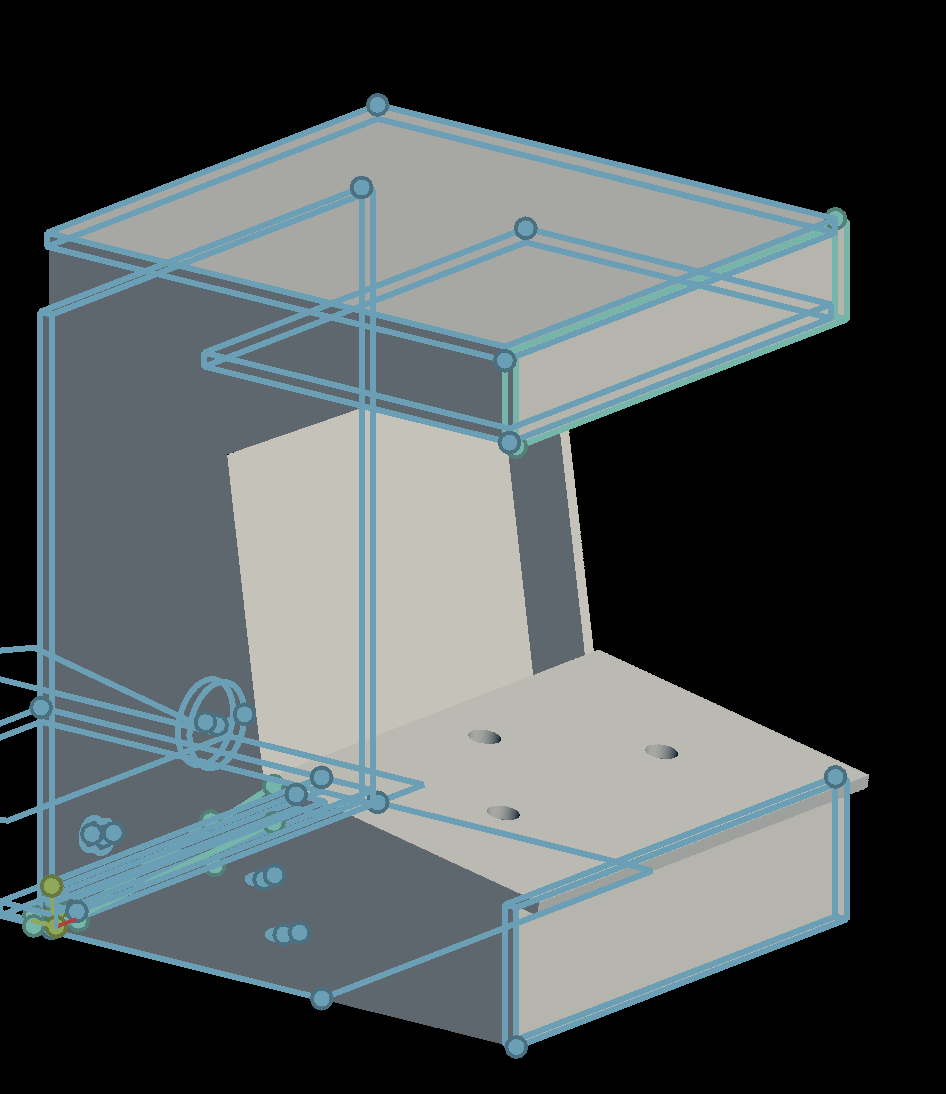
arcade.sb Antimony file
However, I quickly ran into a problem: I had no idea how to export my design into a format the ShopBot could use. While the model was divided up into discrete shapes for each piece of wood, Antimony's export only gave me the option of heightmap PNGs or mesh STLs. Taking the time to manually move all the objects into the same 2D plane to get heightmaps seemed like an exorbitant amount of work, even given that I could automate a lot of it, and the various methods I tried of exporting into Rhino (exporting each piece individually, combining into a single giant mesh and exporting that) proved unsuccessful as well. How frustrating!
Modeling in Rhino
After my frustrations with Antimony, I decided to re-layout my design in Rhino. Given that I already knew the dimensions of every piece and how they fit together, I didn't bother creating a 3D model; I simply created the 2D shapes the ShopBot needed to cut.
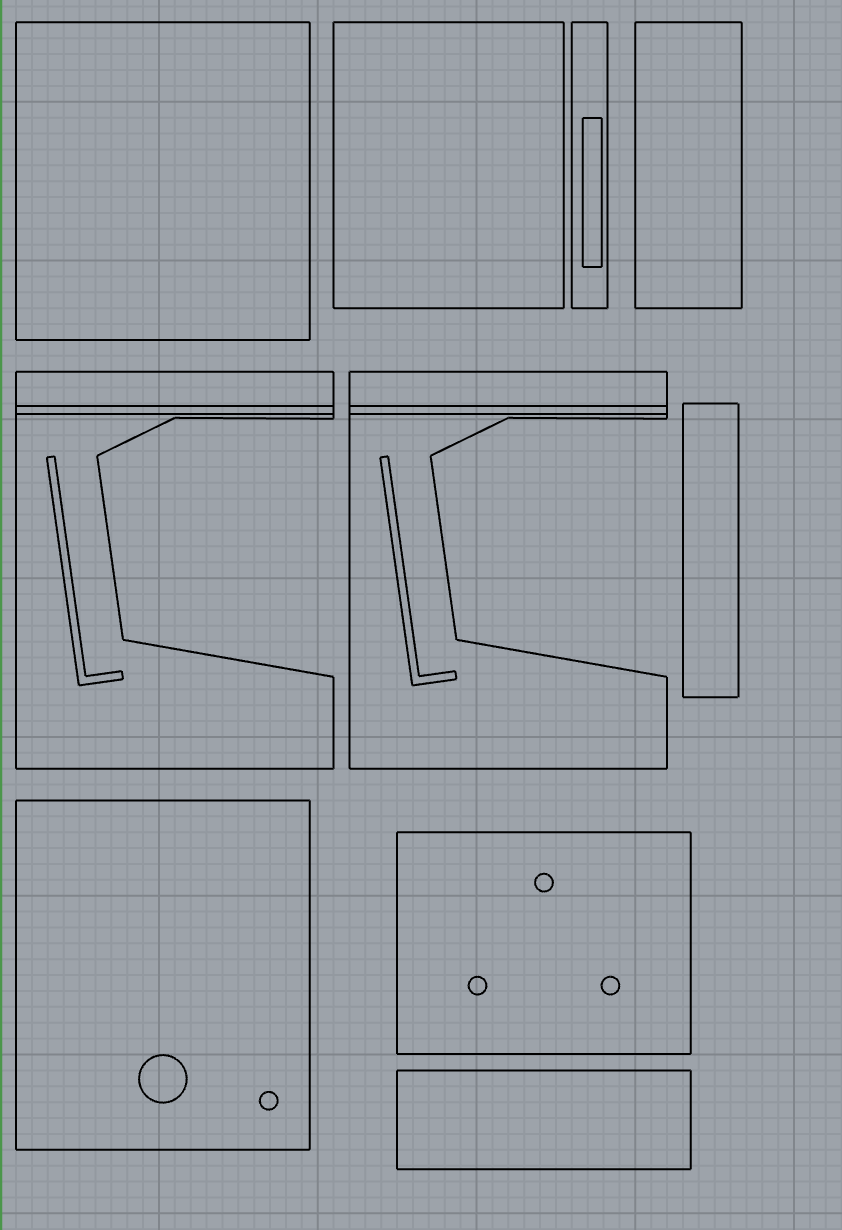
arcade.dxf export file
However, someone more experienced than myself might notice that when drawing this, I forgot to flip the second side panel piece! I didn't notice until after I made my cuts, and thus needed to do a second batch (I also made my shelf slightly longer, as I made a slight mathematical error calculating its length originally). Unfortunately, I didn't have a large enough piece of wood to use for that cut, only a scrap piece of wood in the form of a circle 29.5 inches in diameter. I had to lay out my second cut to optimize for the amount of material I could get out of it.
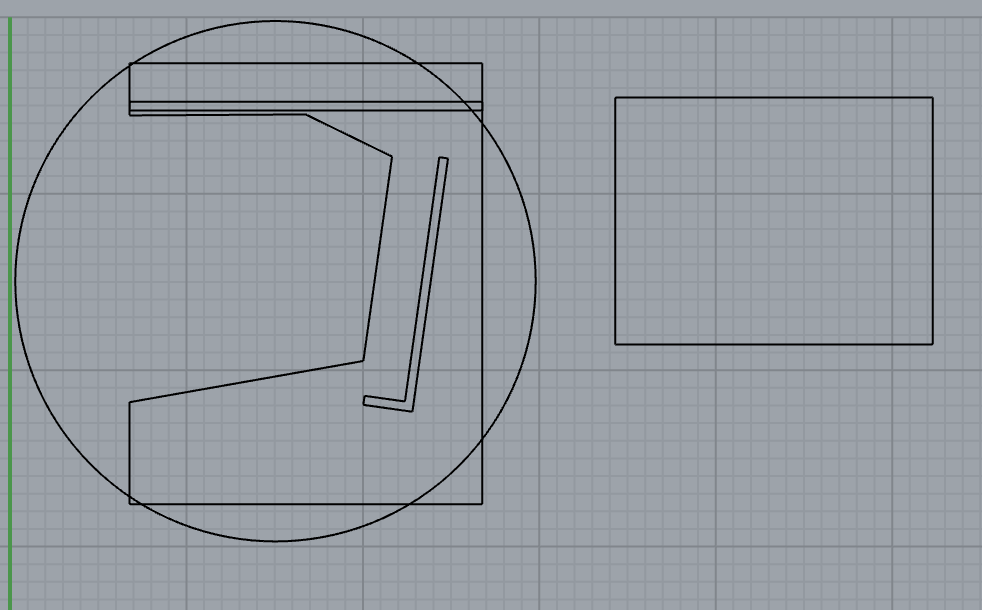 DXF export
Milling and Construction
Other than my minor design snafus, milling went off without a hitch.
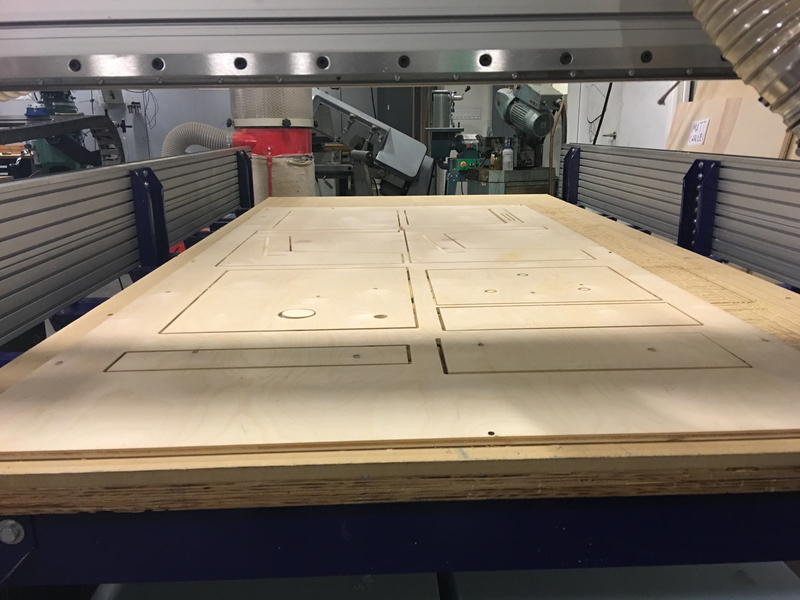
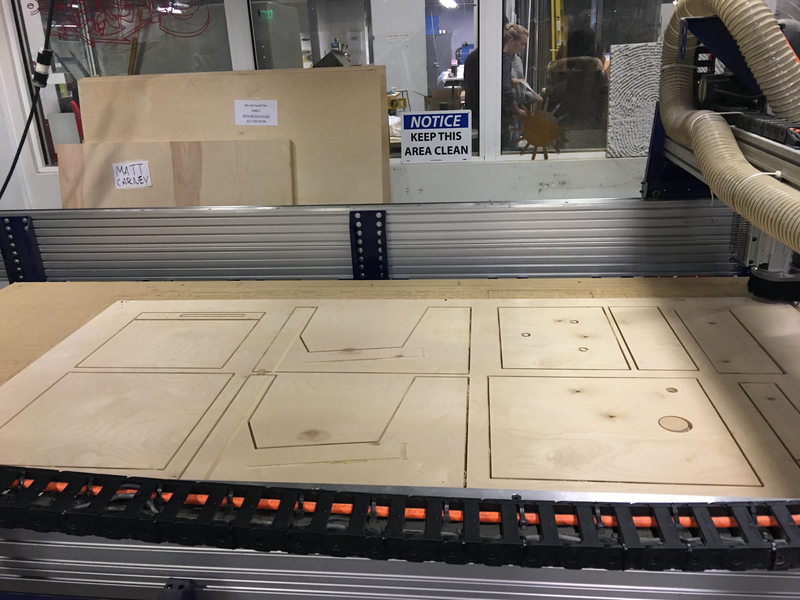
I sadly didn't get very much documentation of the construction process. I did it over the course of a week, letting the glue dry completely between glues, although that was unnecessary and it could have been sped way up. In general, I glued each piece together, using 2-3 wood clamps to keep them in place and tight.
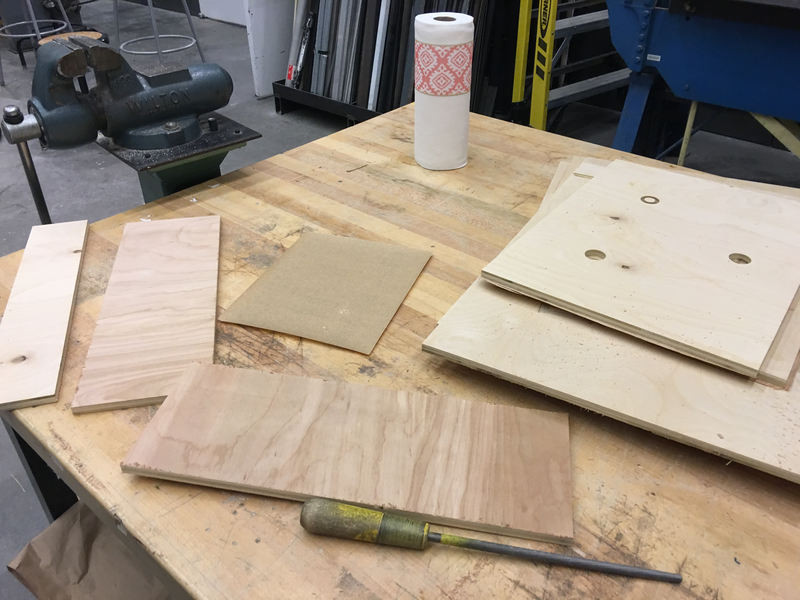
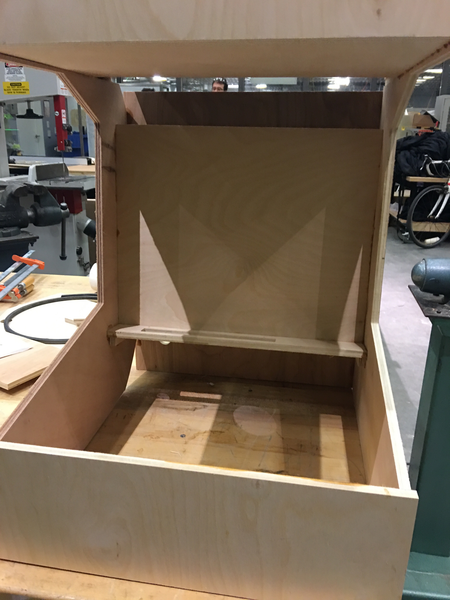
At Miguel's suggestion, I included a few tiny pieces of wood underneath the monitor support pieces to help structural integrity.
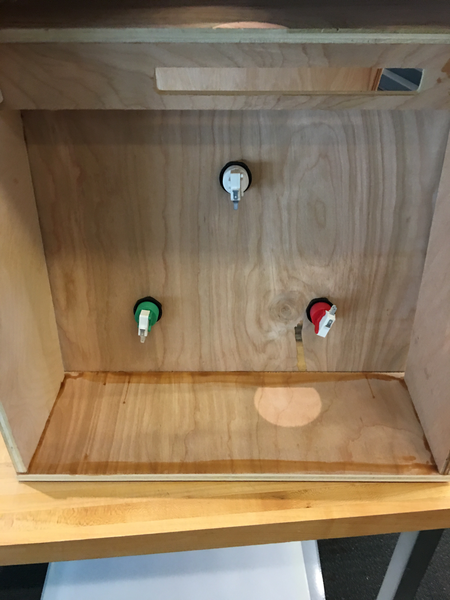
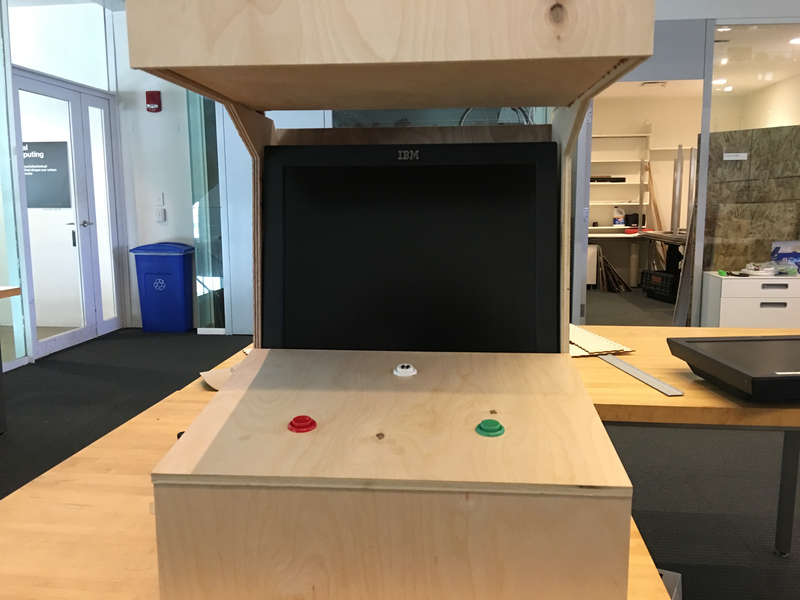
Finally, it was up and running!

Lessons Learned
I learned a few important things about constructing things out of wood:
- If you're going to be just gluing pieces together, guides are essential. The inner pieces with cut 1/4" grooves fit perfectly (after using a level while gluing to make sure they were at a proper right angle), but e.g. the back piece, which I just stuck on and tried to manually align, ended up fairly crooked.
- The raw wood itself looks, well, raw. For future cabinets, I'd love to experiment with painting or staining the wood, and perhaps adding a layer of acrylling to the button panel.
- The button panel rests along the angled slope of the side pieces. At least, it's supposed to. While I made the bottom front piece (that goes in front of / below the button panel) the same height as the bottom of the sloped sides, its height should have actually been the extension of that downwards line 0.5" farther. What that meant is that button panel doesn't fit flush with the sides, since it's resting on the protruding front panel instead. Once I realized this, I could have cut the front piece down, but it appeared to be a purely aesthetic issue rather than a practical structural integity one.
- Due to a slight miscalculation, the monitor lies slightly lower than I intended, and the bottom quarter-inch or so of the display is occluded by the button panel. While I could easily fix this by putting a small piece of wood underneath it to prop it up, my game's widescreen aspect ratio means this isn't an issue in practice.
- Looking above the monitor, light is visible through two holes in the cabinet. While both of these holes are there by design, I didn't anticipate light shining through. This would easily be solved with e.g. a piece of black cloth covering the hole by the monitor, which I intended on doing anyway to mask the HDMI, power, and button cables dropping down from the RPi.
I learned a lot about arcade cabinet design:
- While the angle for the button panel was very comfortable, the monitor was angled in such a way that it's only comfortable to view if you're exactly staring at it from a seated position. Next time, I'd experiment more with viewing angles in prototype form before committing.
- The top marquee protrudes the exact same distance as the button panel. In practice, this means that you can't view the monitor from above, only from a seated position. Commercial arcade machines solve this by having the marquee be far shallower than the control panel; now I know why.


