I wanted to make this week an excuse to dive into the heart of Antimony, in particular, understanding how its shape object works. After digging into the documentation, which led me to Matt's thesis . I thought that an interesting way to test whether or not I understood how the shape object worked would be to code up a Klein Bottle. Similar to how a Möbius strip is a two-dimensional object that can only be rendered in three-dimensional space, a Klein bottle is a three-dimensional object that can only be properly rendered in four-dimensions. Thus, you can only take a slice of it when attempting to print it in 3d, and depending on the slice, you will end up with a very different result. The eqution I ended up using is available below.
Coding this up in antimony, it looked like this
		 import math
		 import functools
		 import operator
		 import fab
		 from fab.types import Shape, Transform


		 def klein():
		 	return Shape("""+*-+++*Yf2qXqYqZf1-q--+
			+qXqYqZ*Yf2f1*f8qZ
			****f8f2XZ--++qXqYqZ*Yf2f1"""
			 % (),-20, -20, -20, 20,20,20)


		 title('Klein')
		 input('k', float)


		 output('shape', klein())


		 sb.ui.point(0, 0,0)
		 sb.ui.point(0, 0, k, drag=(None, None, k))
		 sb.ui.point(0, 0, -k, drag=(None, None, k))
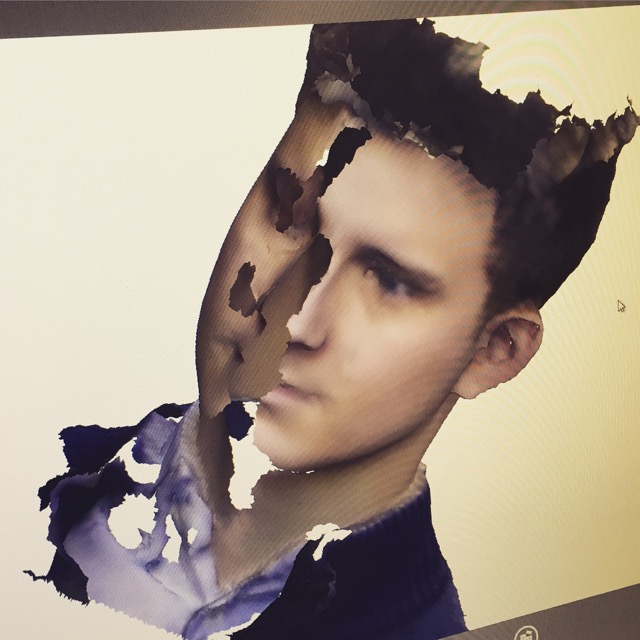
Getting used to the Polish notation required to render the object took quite a bit of time, but I now finally understand why the about page on the Antimony github describes antimony as a "CAD tool from a parallel universe in which CAD software evolved from Lisp rather than drafting tables," since the shape objects all take in very lisp like objects. The output of this Antimony file is below
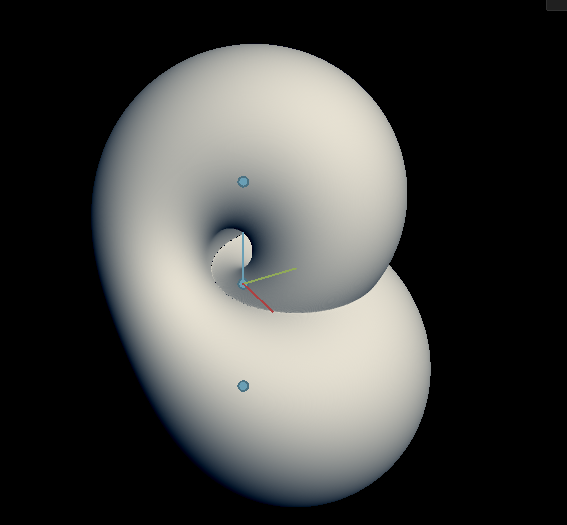
The Klein Bottle rendered in Antimony
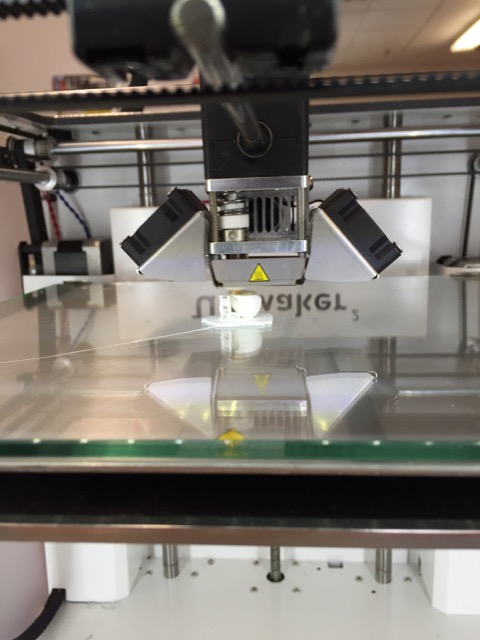
Now it was time to print. I decided to use the Ultimaker, since that was well regarded by Nathan and the RepRap seemed real scary.
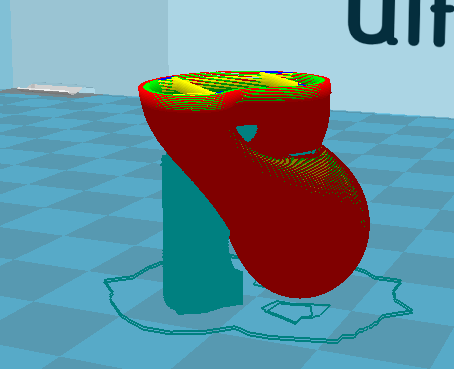
Now in Cura
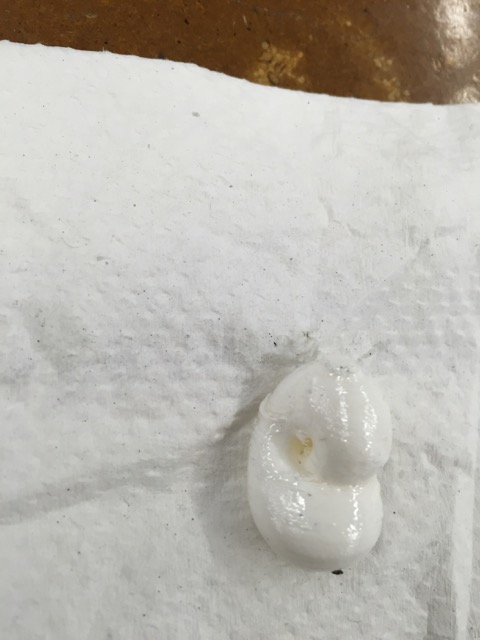
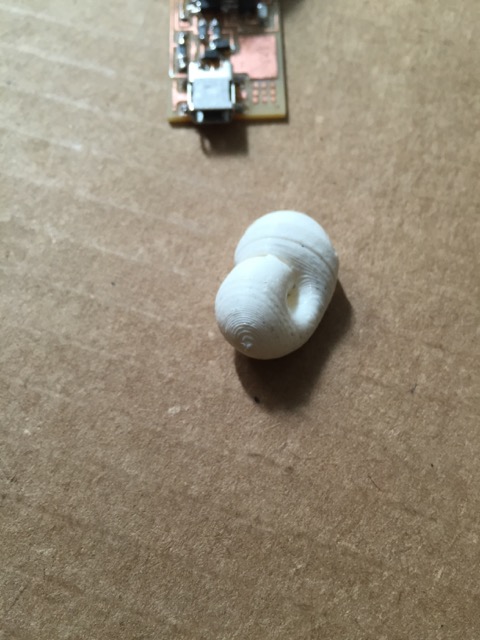
I was using the printer at a busy time, and Antimony was having trouble exporting the file to an .stl (the first time I did this, it crashed, and I had to redo all my code. I definitely shouldn't have saved it), so I decided to do a smaller print that only took 23 minutes. After printing, I put a coat of XTC-3D on it and let it dry.