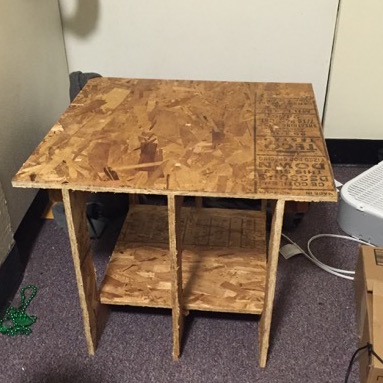
Before jumping straight into design this week, I decided to look over the internet to see the types of furniture that could be made with a shopbot. It turns out that people have made a lot of cool things with a shopbot. Drawing inspiration from the last design, I wanted to make a table that was very stable, hopefully, one that could support my weight. Additionally, I wante to do this only with pressfit design, so that I could easily disassemble and reassemble this as I move from dorm to dorm.
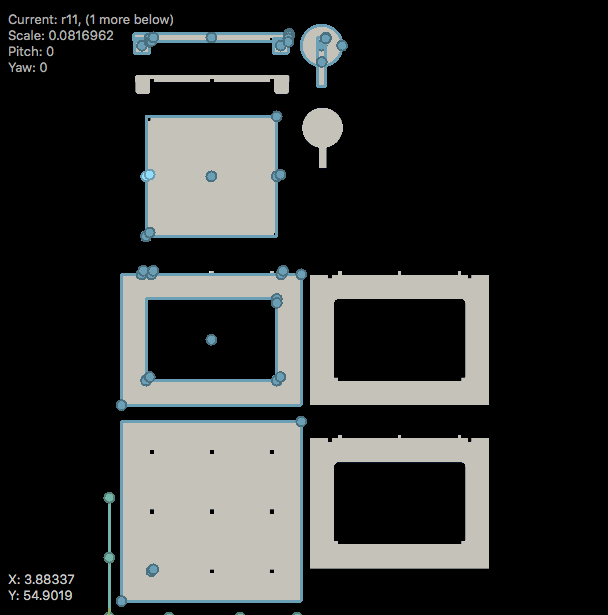
Rendering my table in Antimony
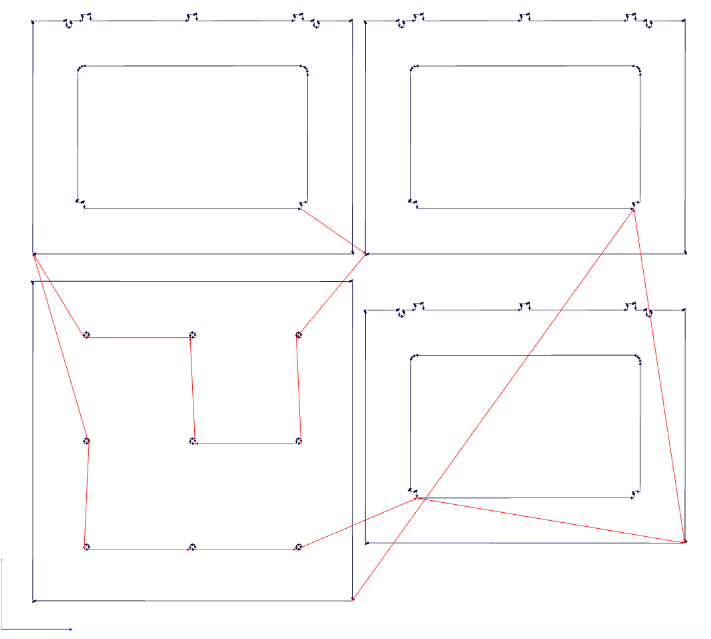
I mocked up the table in Antimony, trying to keep all the parts within two distinct 48x48 inch blocks. Additionally, the ping pong paddles went missing from my dorm this past week (who would steal ping pong paddles?) so I figured I would rather have some OSB ping pong paddles than none at all. Thus, I through these together on the second sheet. After designing this, I used fab modules to make my shopbot file. I was going to use an 1/8 inch mill, and I put my settings to be at 14000RPM and to have a cut depth of .46, .02 inches below the depth.
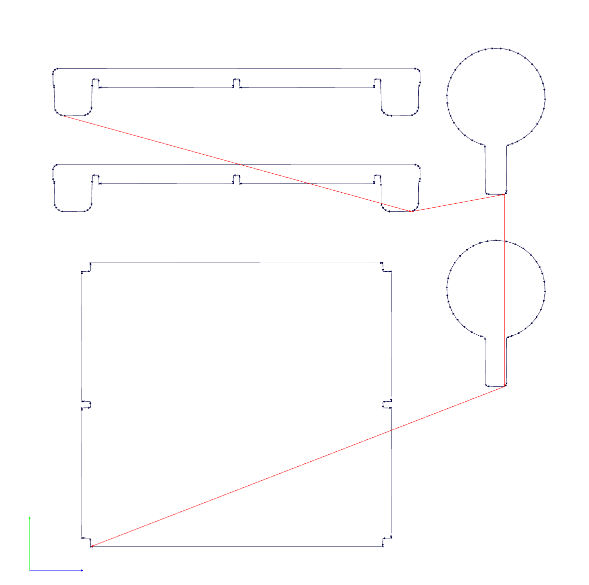
My table rendered in Antimony
After this, it was time to cut! I screwed in a board on all corners and all of the sides, but was unable to put a screw in the middle, since my first cut used virtually the entire board. I also did not use VCarve to create my .sbp file, so I created tabs using the shopbot software. After doing an aircut, I started to cut my board, but the mill cut straight through the corner of one of the legs, instead of picking up! Rob realized that the tab inserting software did not work as directed, and deleted the command to lift up the mill in between cuts. Thus, we did the cut without tabs, and it still worked pretty well. After the first cut, I had a table
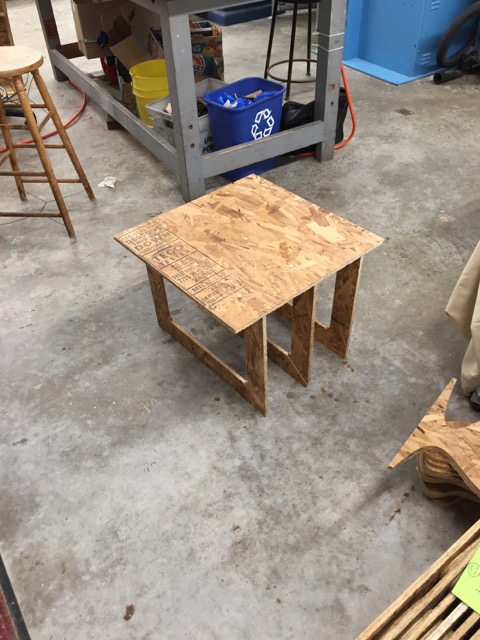
The table without support
The press fit of the top table
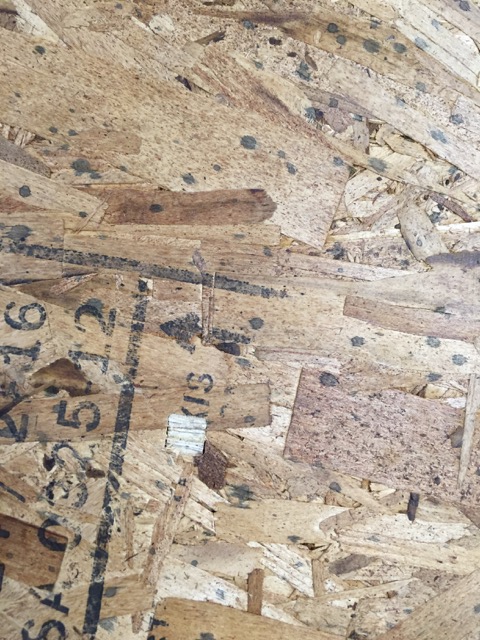
However, this table was still wobbly, and did not have any shelf space. Thus, I still needed to print the horizontal supports and the bottom shelf. This cut did not go great, I didn't end up cutting through the board and ended up trying to chisel through the board. Daniel saw me and stried to stop this as quickly as he could, handing me an exacto knife. After this, and hammering in all of the press fit joints, I had a table! It was strong enough to support my weight, and not wobbly at all, a marked improvement over my first project. My only complaint is that it is not terribly big.