Molding and casting
I had such ambitious plans this week: I thought I'd begin with a basic mold, try to do something creative and make a cool ice cube tray out of Sorta-Clear food-safe silicone. Maybe a Yoda head. Or a snail. Or 3D scan the Cambridge Turkey and make tongue-in-cheek referential holiday chocolates.
Alas, it was not to be. I ended up just barely completing my mold, after failing again to get Antimony to compile on my Ubuntu virtual machine. It's a derpy, derpy skeleton key, which I (with some success) cast in metal.
Designing my part in Antimony was pretty straight-forward. The graph representation made duplication of the mold outline and rotation of the key really easy--when I later had to change a thing or two (e.g. putting the alignment holes in opposite corners on the two halves of the mold), it usually only required a minor change to the graph, then I could click on the export button again and it would still work. Alas, I accidentally reflected the alignment pegs about the center plane, rather than rotating them as I had the key, so they ended up being unusable. Ah well, live and learn.
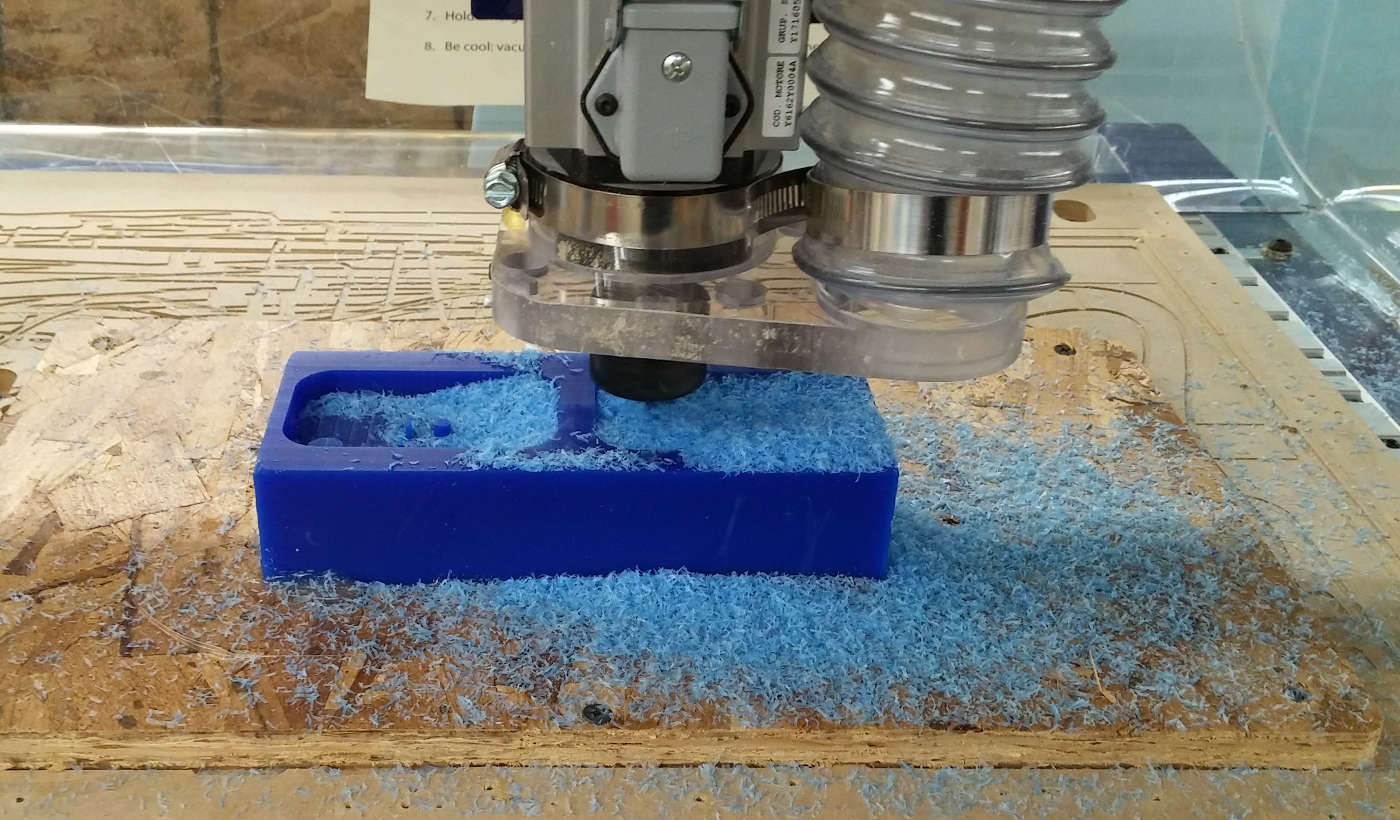
Mold cutting: Using the Shopbot PRS Desktop proved to be straightforward--cutting the rough pass took all of two minutes, while the smoothing pass went smoothly for the first diagonals, then stopped when the computer fell asleep on the other diagonal. Overall, it was still very smooth: it's not clear that both directions of smoothing pass are necessary with 91% tool overlap.
After cutting the mold, I mixed up some oomoo, the light-teal silicone we're using for molds. It was pretty easy to mix, except for running out of large cups before mixing. This meant that I was mixing in a tiny cup in which I couldn't pour the two parts in a way that they were already vertically mixed--thus, I introduced a lot of bubbles getting the two parts to mix vertically. I tried to remove bubbles from the mixed oomoo using the vacuum jar--this was kind of disconcerting because it always looked like the oomoo was about to boil over in my tiny cup. I think it was at least a little effective for mixing, as my final molds didn't have any problematic surface bubbles.
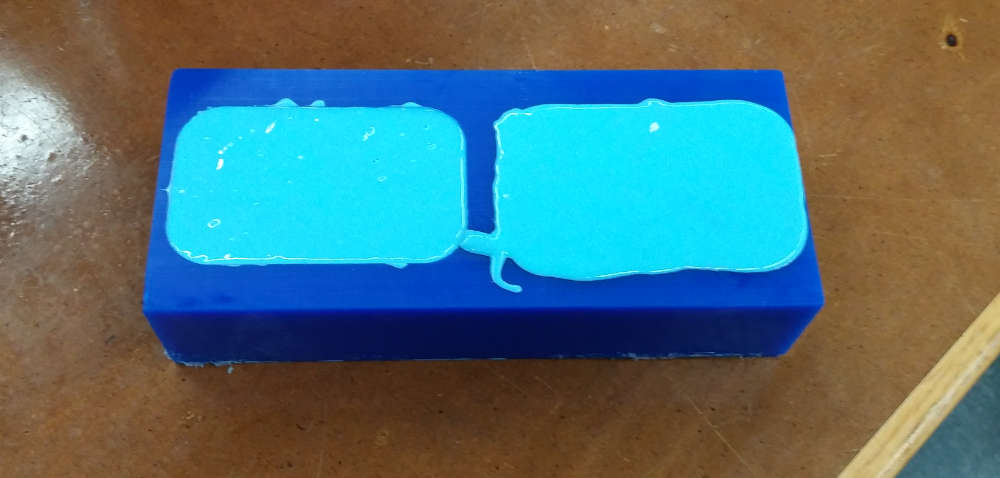
Oomoo setting: Despite assurances to the contrary, my oomoo still didn't set fully after 2 and a half hours of waiting. I also vibrated it to remove bubbles by whacking it loudly on the table a couple hundred times. Eventually, I became so impatient that I just removed it from its mold even though it hadn't set properly, and got ready to cast the Bismuth-Tin alloy.
Key casting!
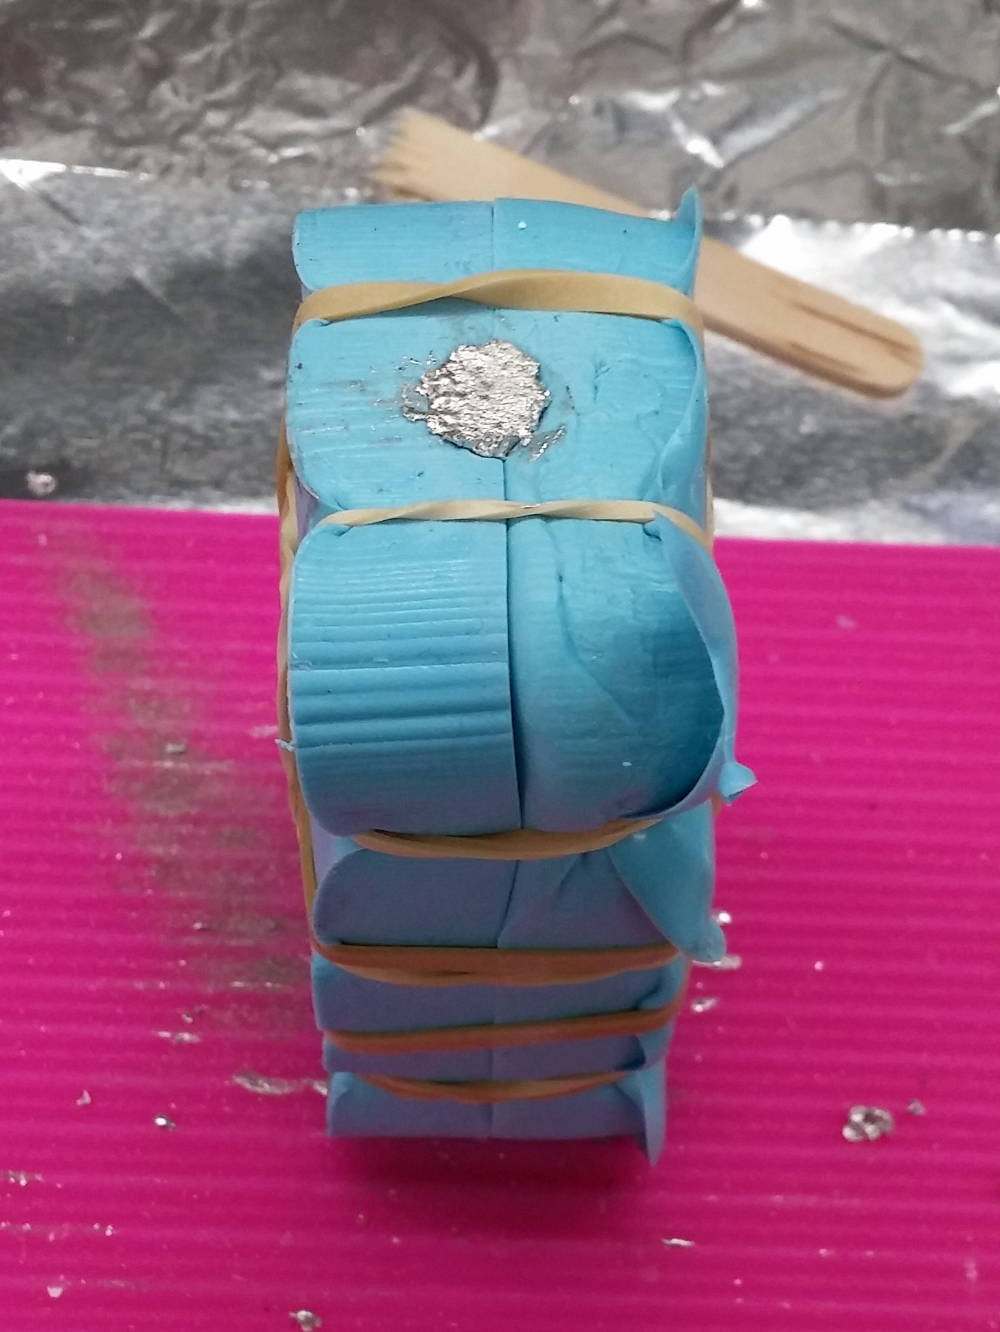
Casting the key: After dusting the inside of each half of the mold with talcum powder, I attempted to manually align the two sides of the mold just based on the fact that the central axis was still in the middle of each mold. I then wrapped it tightly in rubber bands and cast the molten metal through a funnel directly into the vent.
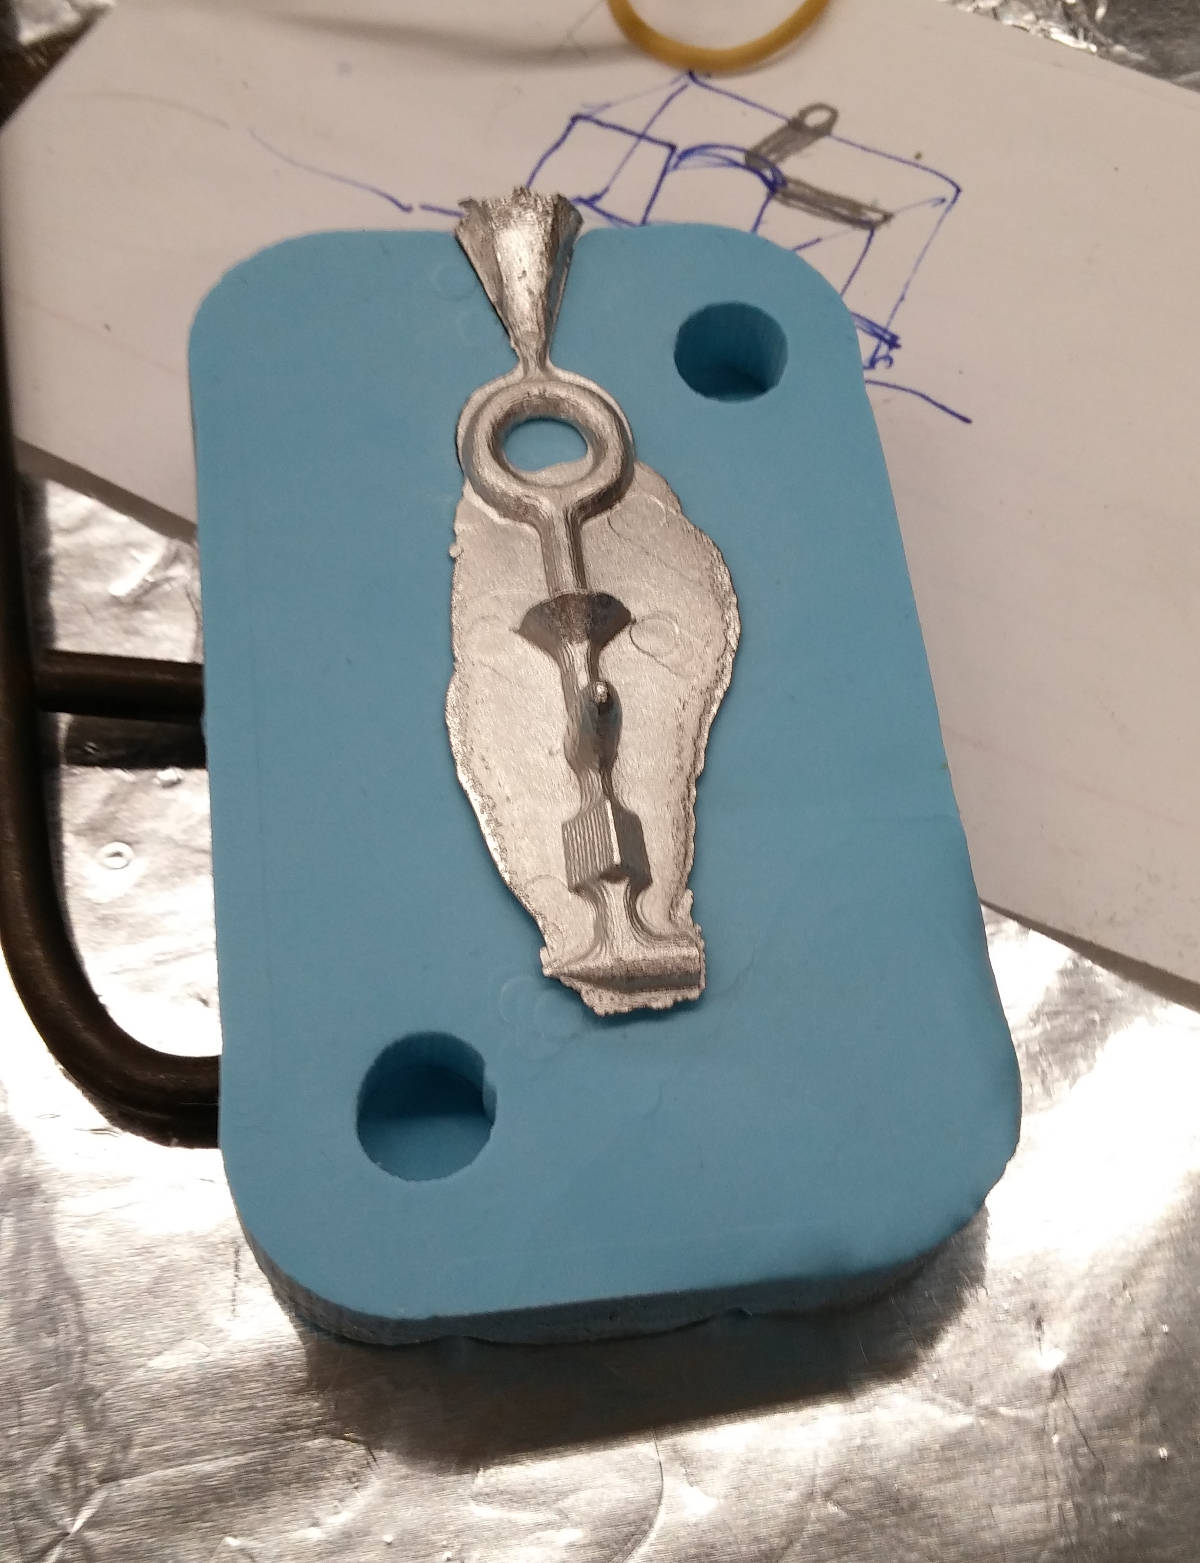
Demolding the key: Clearly, there were some flashing issues. However, the application of talcum powder gave it a very clean surface finish. Next time, I would try to put something rigid on either side of the mold while clamping so that there would be more structure.
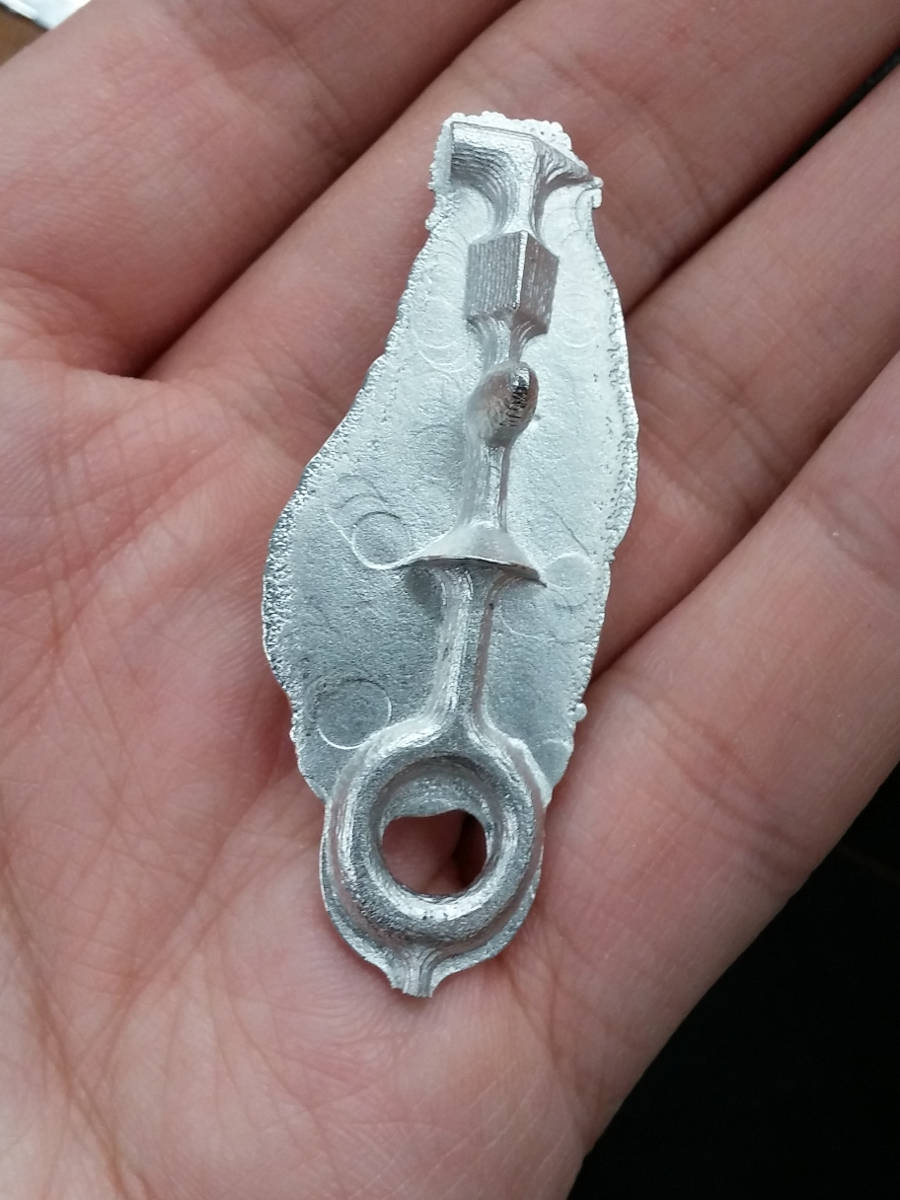
Finished key: The vent cone broke off easily, and I filed the sides a bit; however, I'd really need to recast in order to fix the flashing issue. In this photo, it's more obvious that the two sides didn't line up properly, so the two halves of the ring are offset.