How to Make (almost) Anything

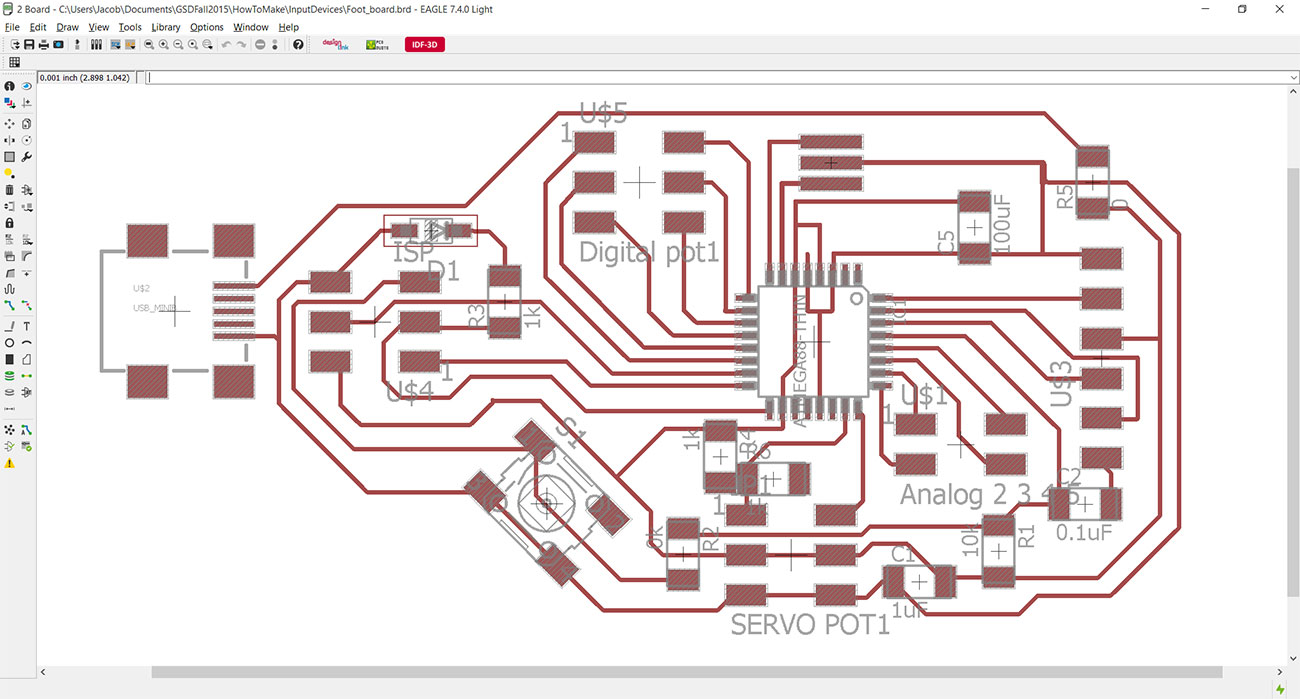
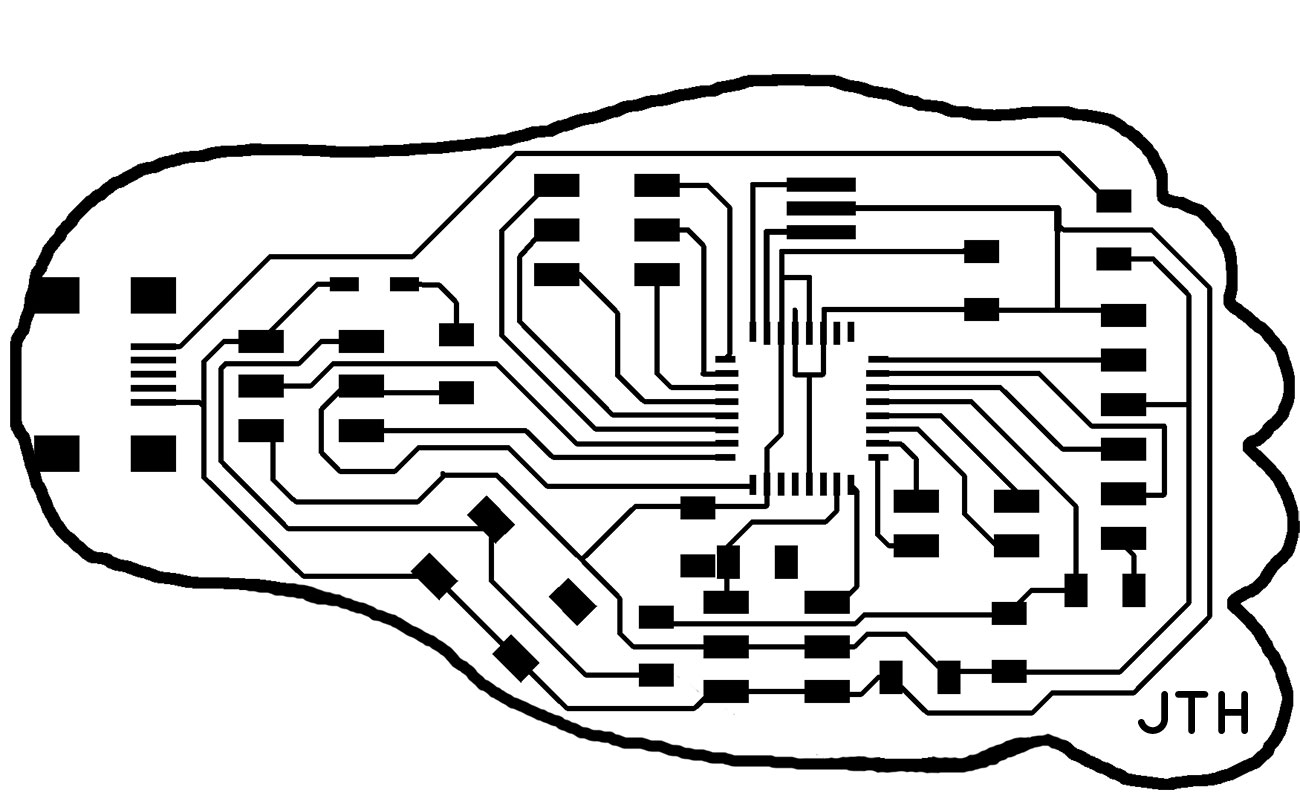
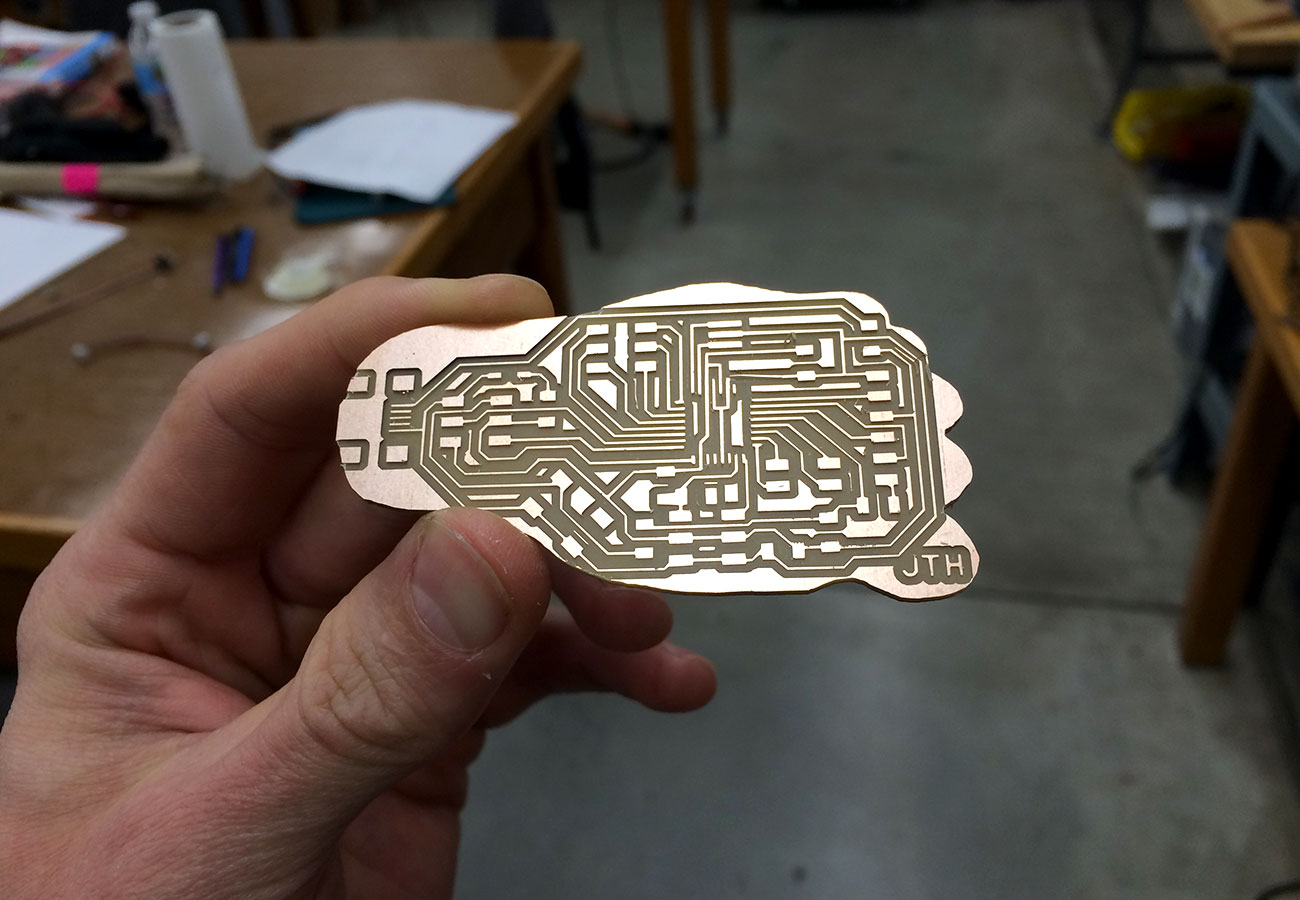
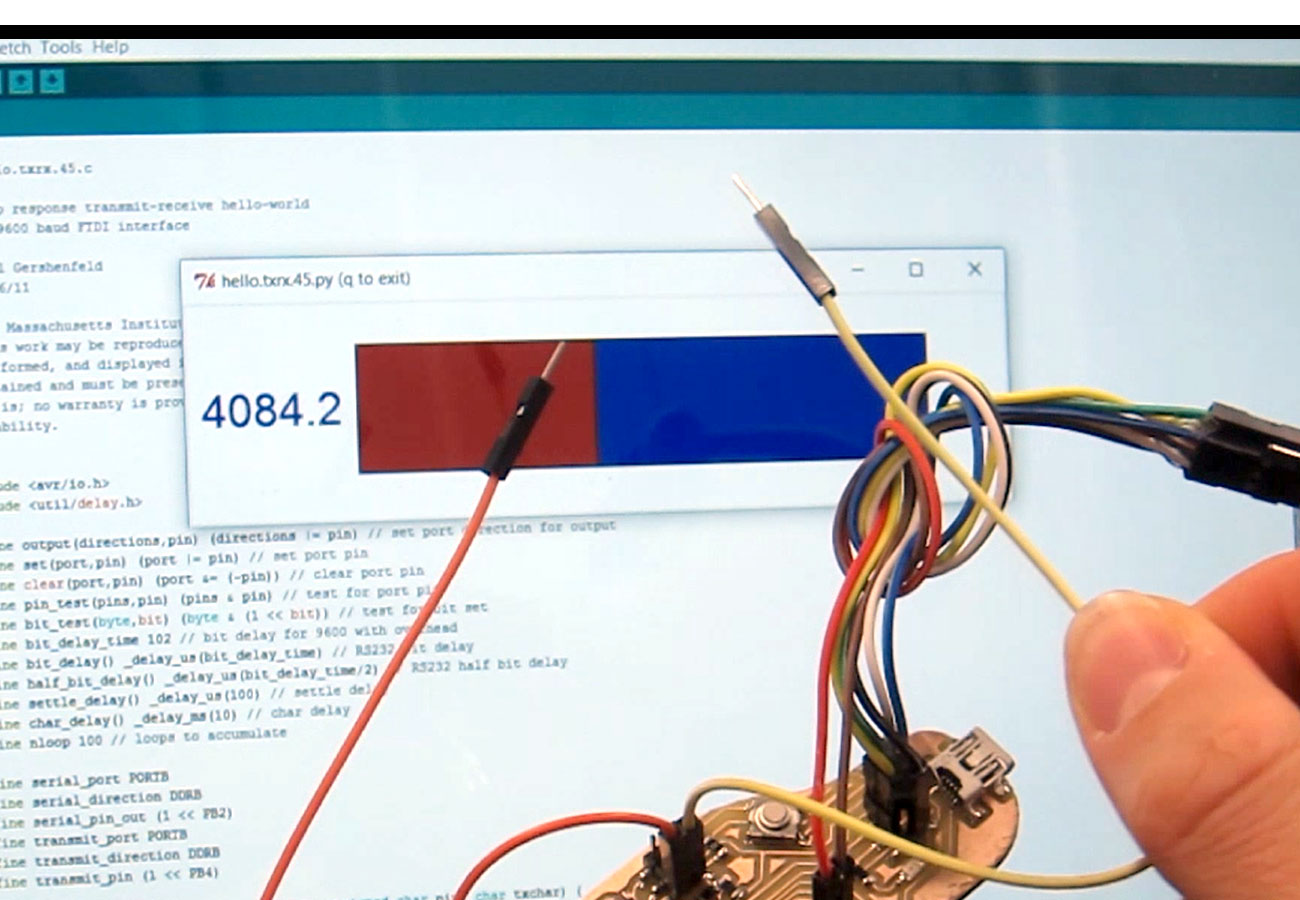
This week we were asked to measure something by adding a sensor to a microcontroller board that we have designed and read it. I have found it very useful to simply recreate Neil's board example as a warm-up excercise prior to implementing a custom design. I chose to build the hello.txrx.45 board as I would like to use the step response sensor as a pressure sensor that you can embed into a shoe insert. The board is surprisingly simple for what it is able to measure, and I was able to produce it relatively quickly. This example also makes use of a python program which reads in the characters sent through the serial port by the ATtiny45. The ATtiny45 is unable to speak to the Arduino IDE serial console unless you use the softwareSerial library. I did not have success with this, so the only way that I could tell if the board was functioning properly was to run the python program. I already had Python installed on my windows machine, but I also needed to install pySerial and tkinter. When I tried to download the pySerial Windows installer, it was identified as a serious malware threat by Windows Defender. I instead downloaded the tar.gz file and unpacked it to a folder location. In windows powershell, I navigated to the directory where pyserial was extracted and typed "python setup.py install", which was successful. I downloaded tkinter from here which I believe is a package that allows you to program GUI elements in python. After this, I navigated to the location of the python program, copied from here and then entered: python hello.txrx.45.py COM6 which started the program and gave me visual feedback for the capacitance value of this circuit.
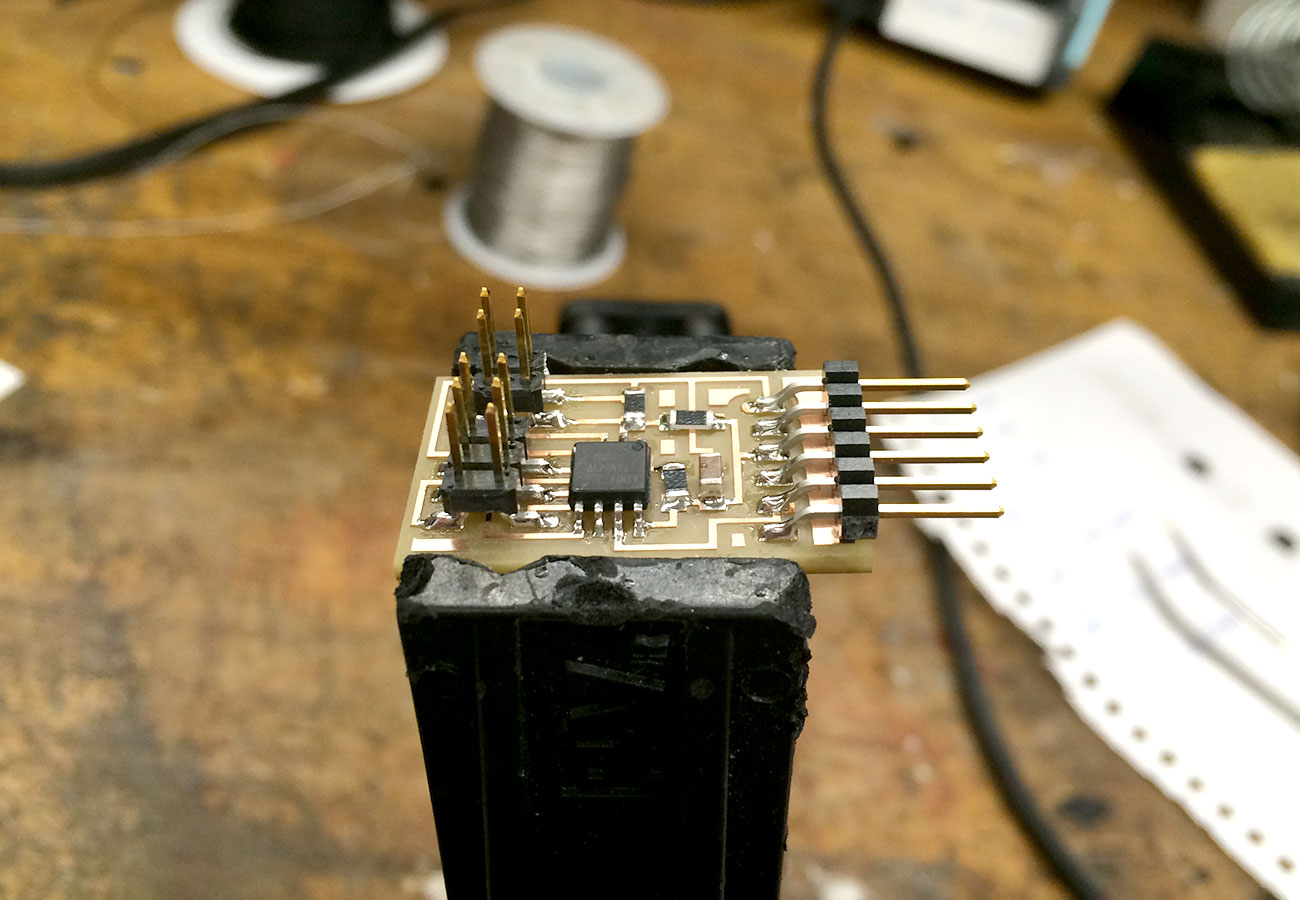
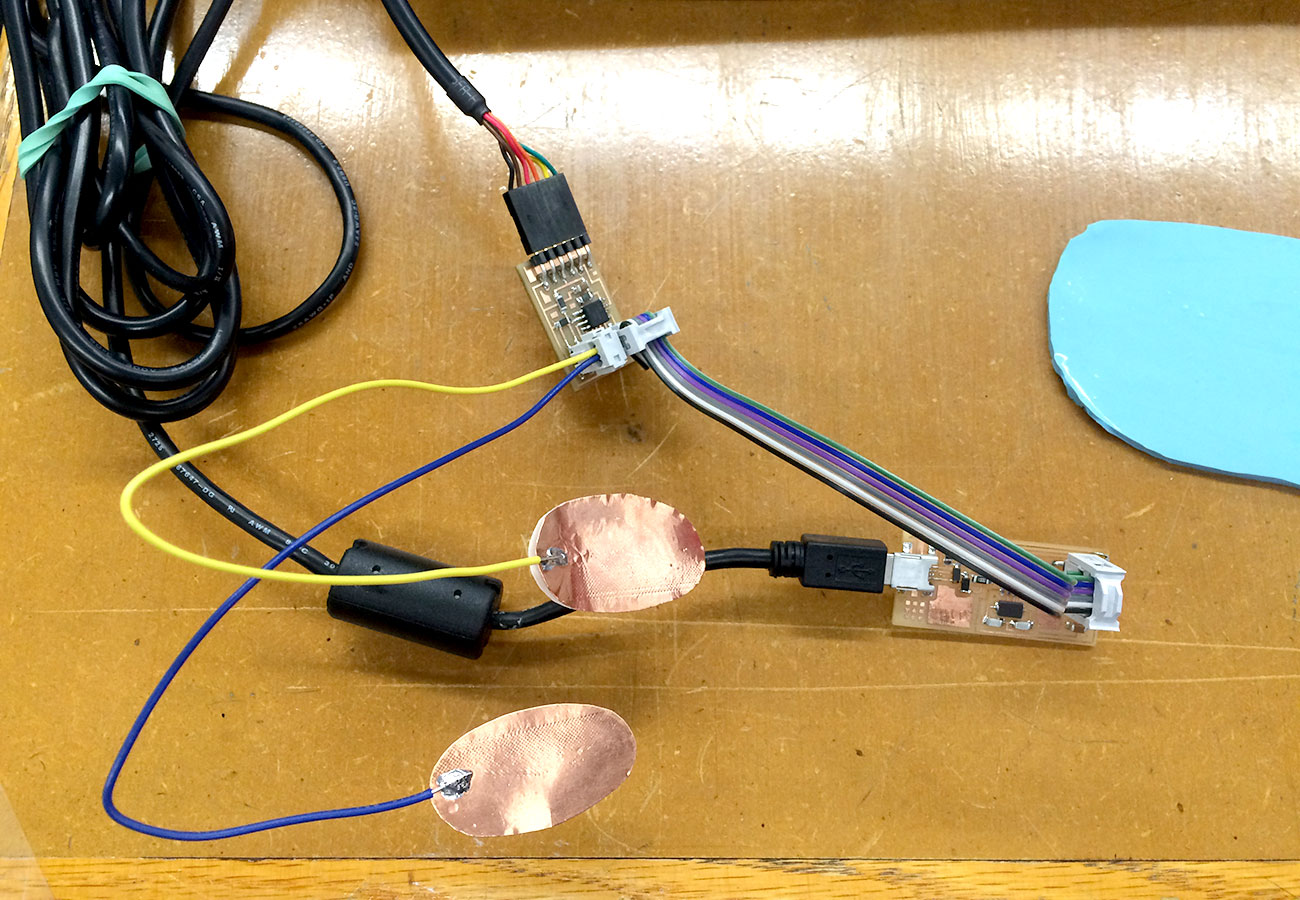

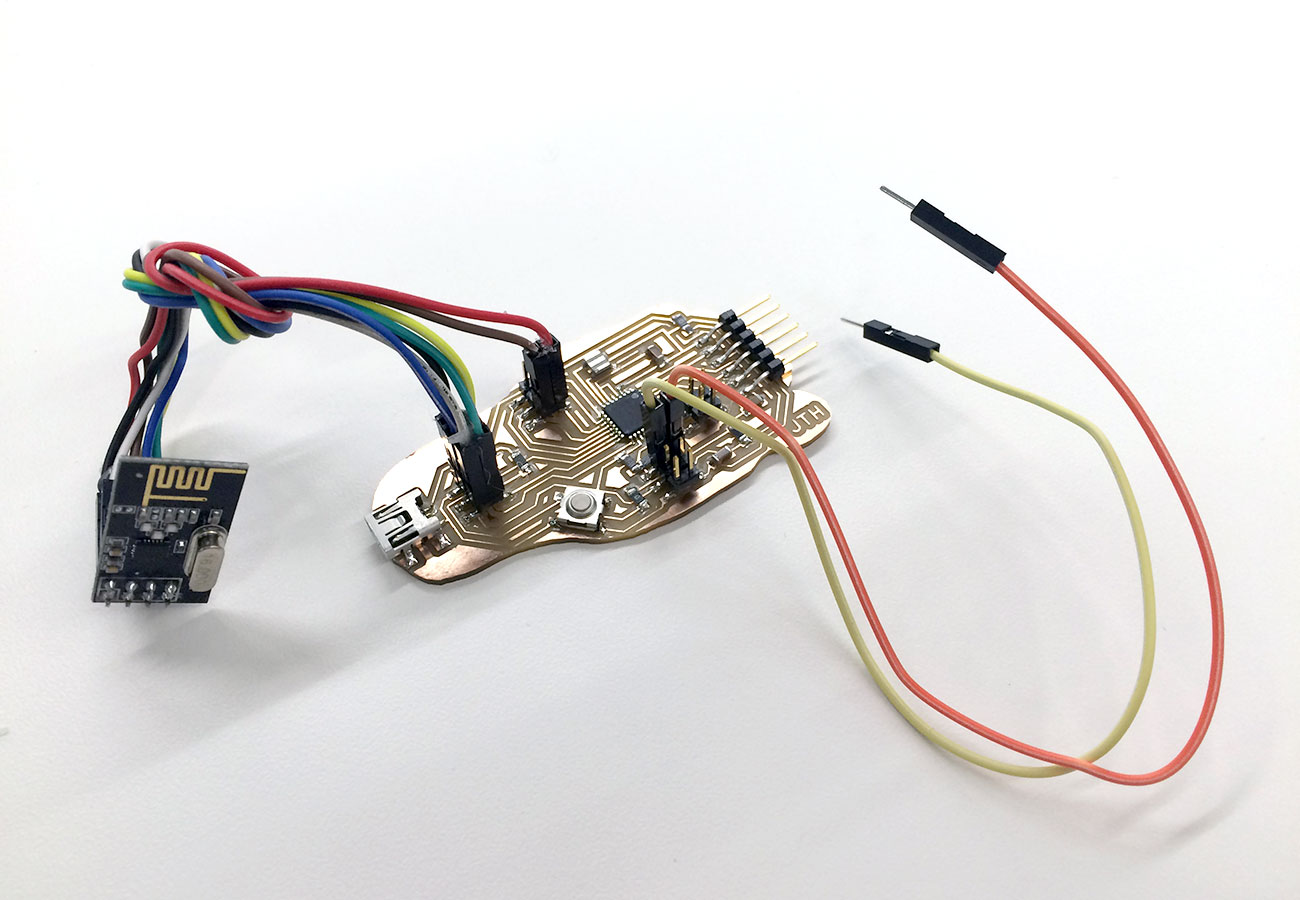
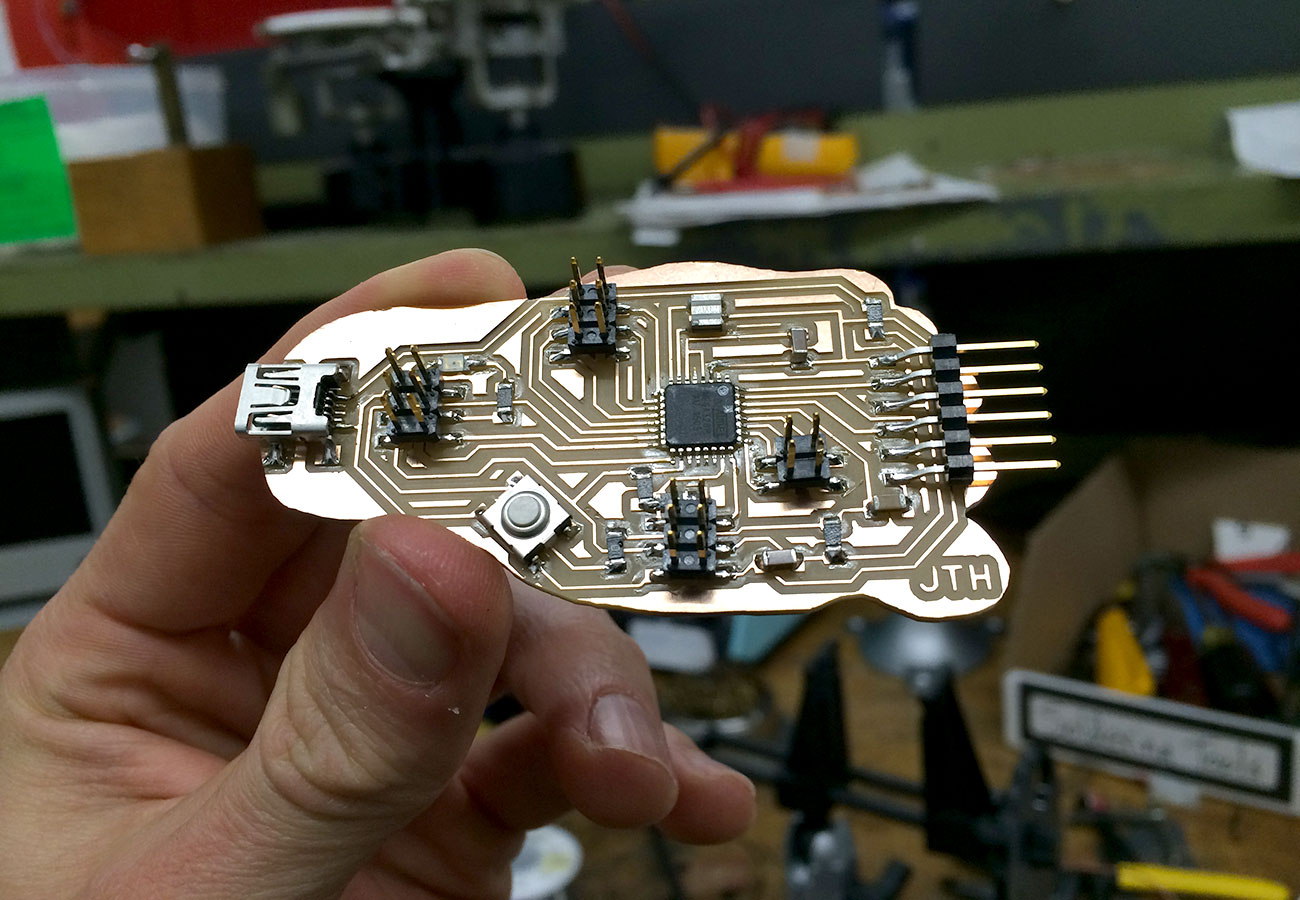
As I am interested in creating a wearable shoe insert, I decided that I should figure out how to get the signal from the txrx board sent wirelessly using an rf module. I have already gotten this to work between two of my fabduinos from the previous week, so this week I created a new board which would accommodate the rf module pin-outs as well as the necessary components for the txrx board. I also tried to pack things as tight as possible on this new hybrid board.
I was able to load the txrx code onto this board and have it perform the same as Neil's example. I then also tried loading the rf sender code and got this to work the same as it was on my fabduino board last week. The challenge that I have not yet solved is how to combine these two code blocks into one which is able to wirelessly send the value that is currently just being displayed in the python program.