How to Make (almost) Anything

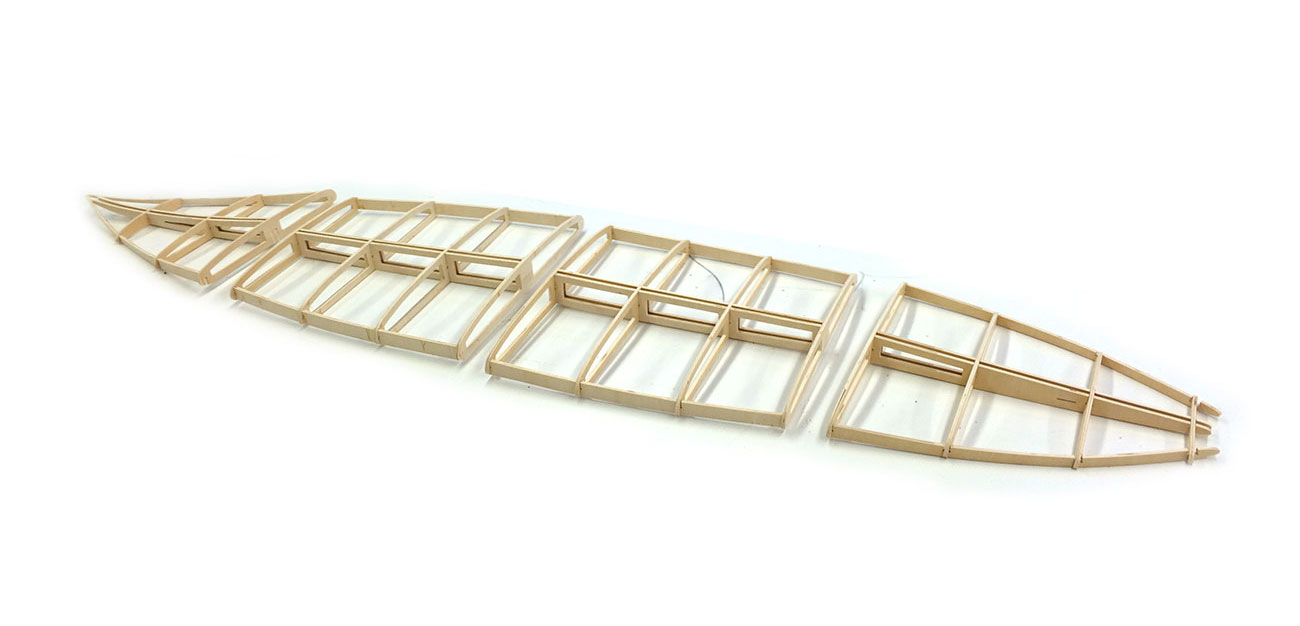
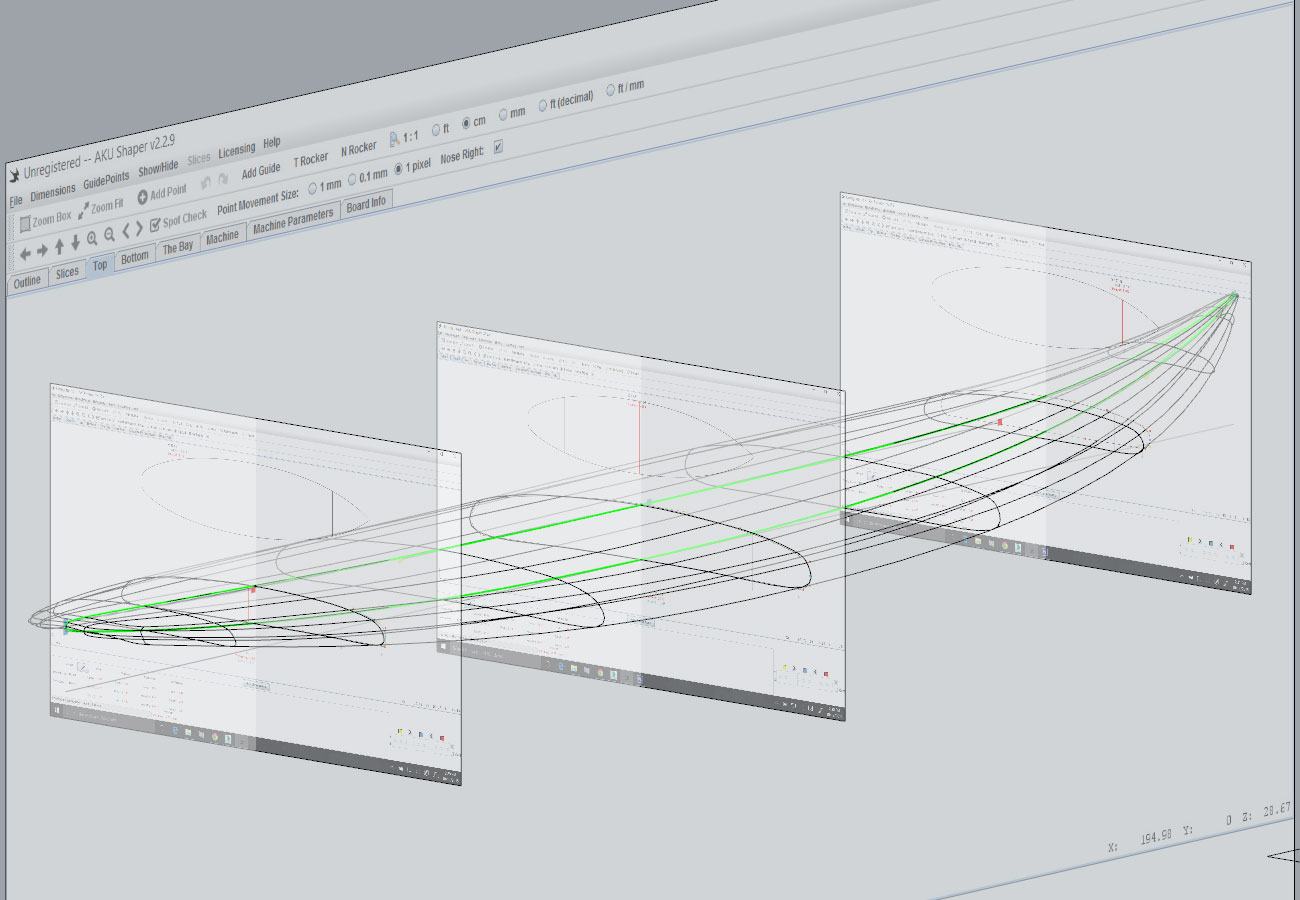
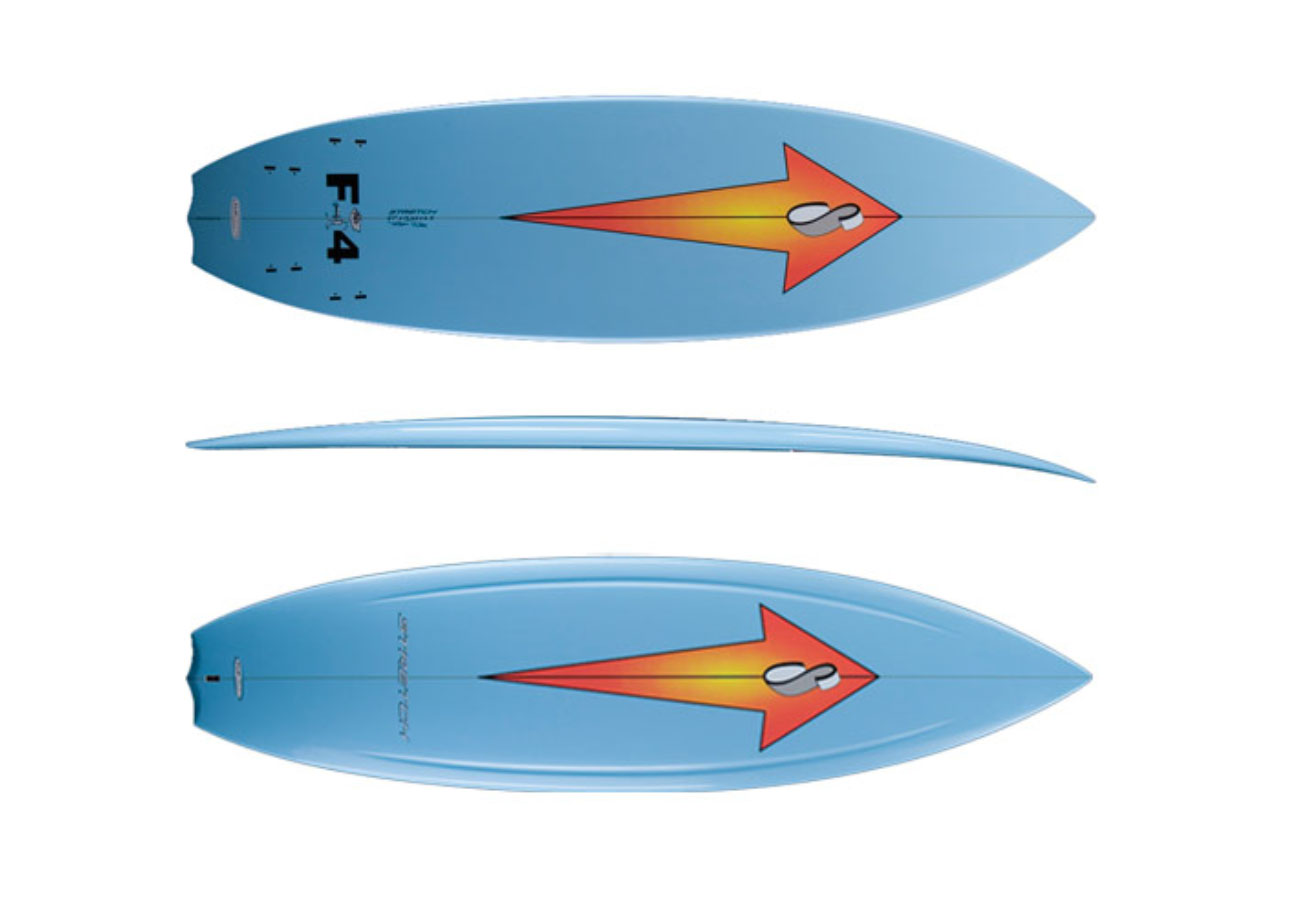
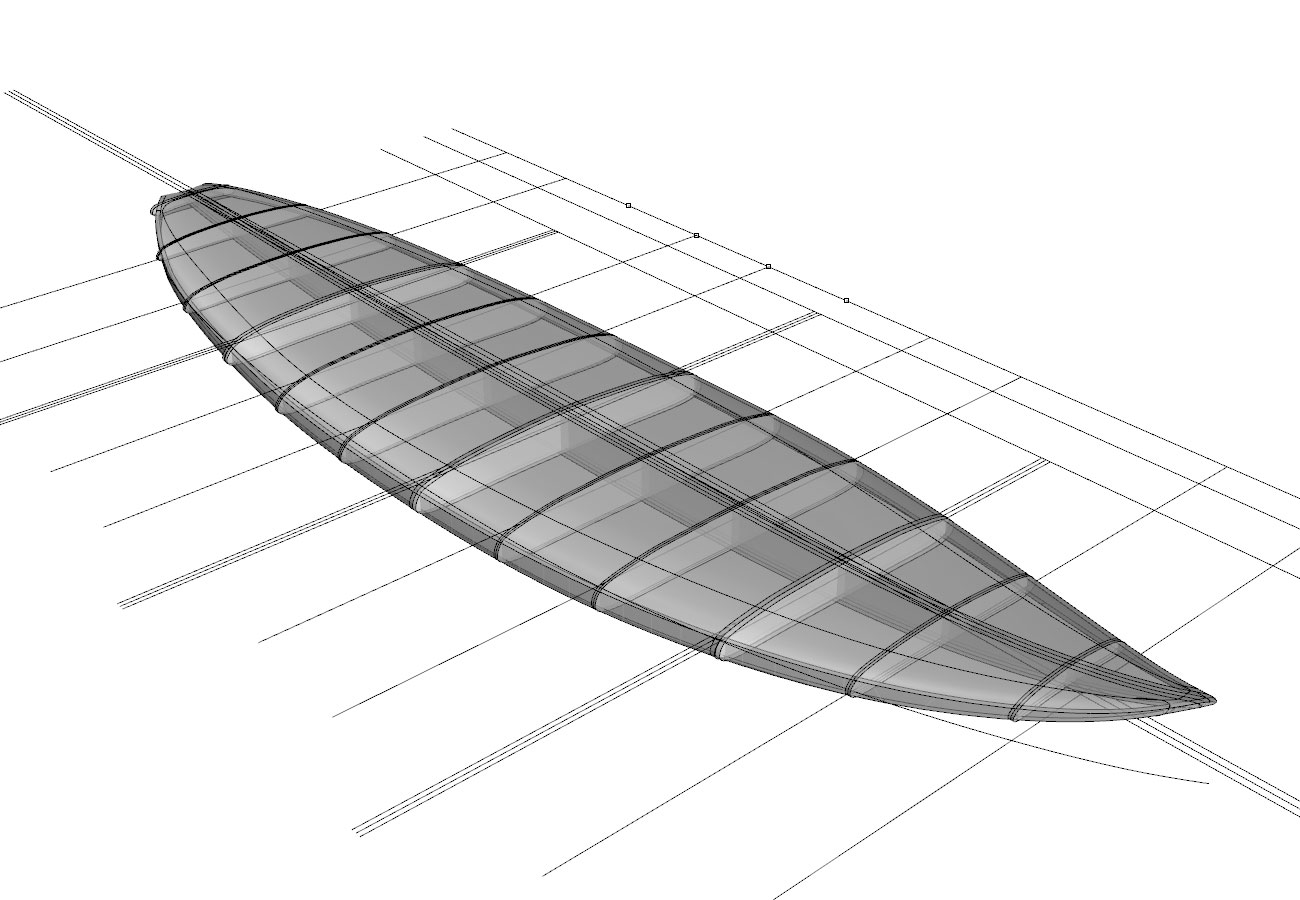
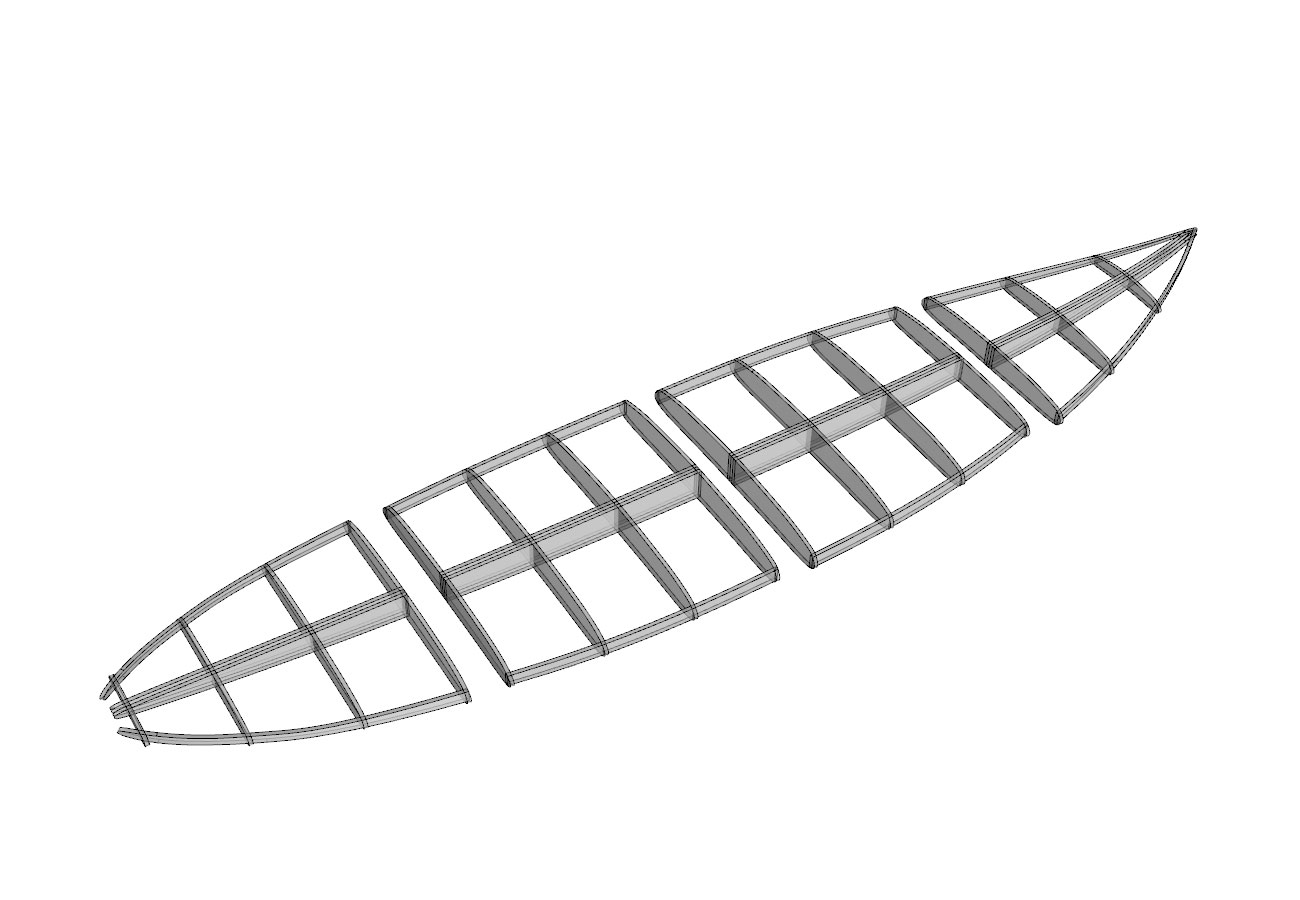
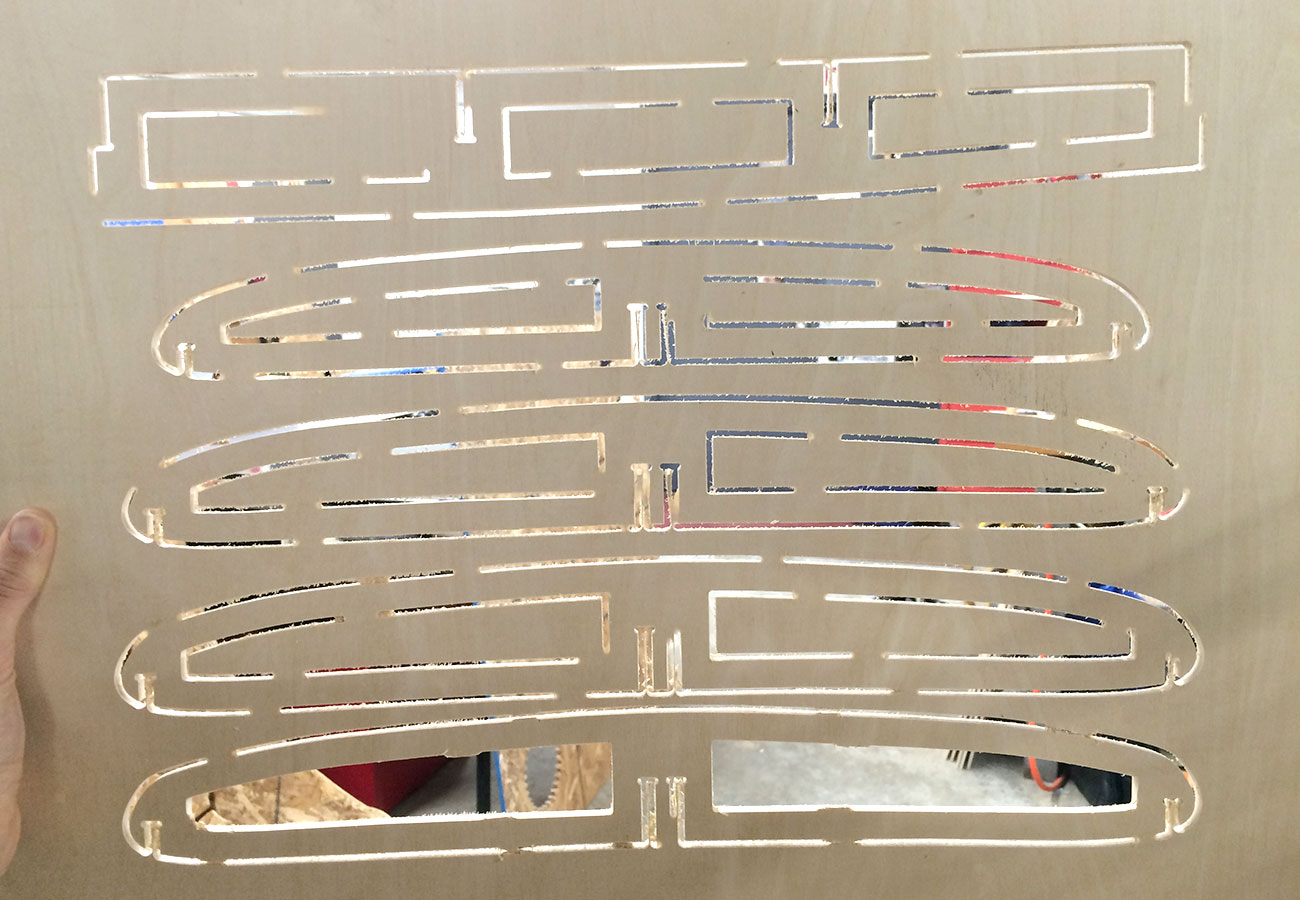
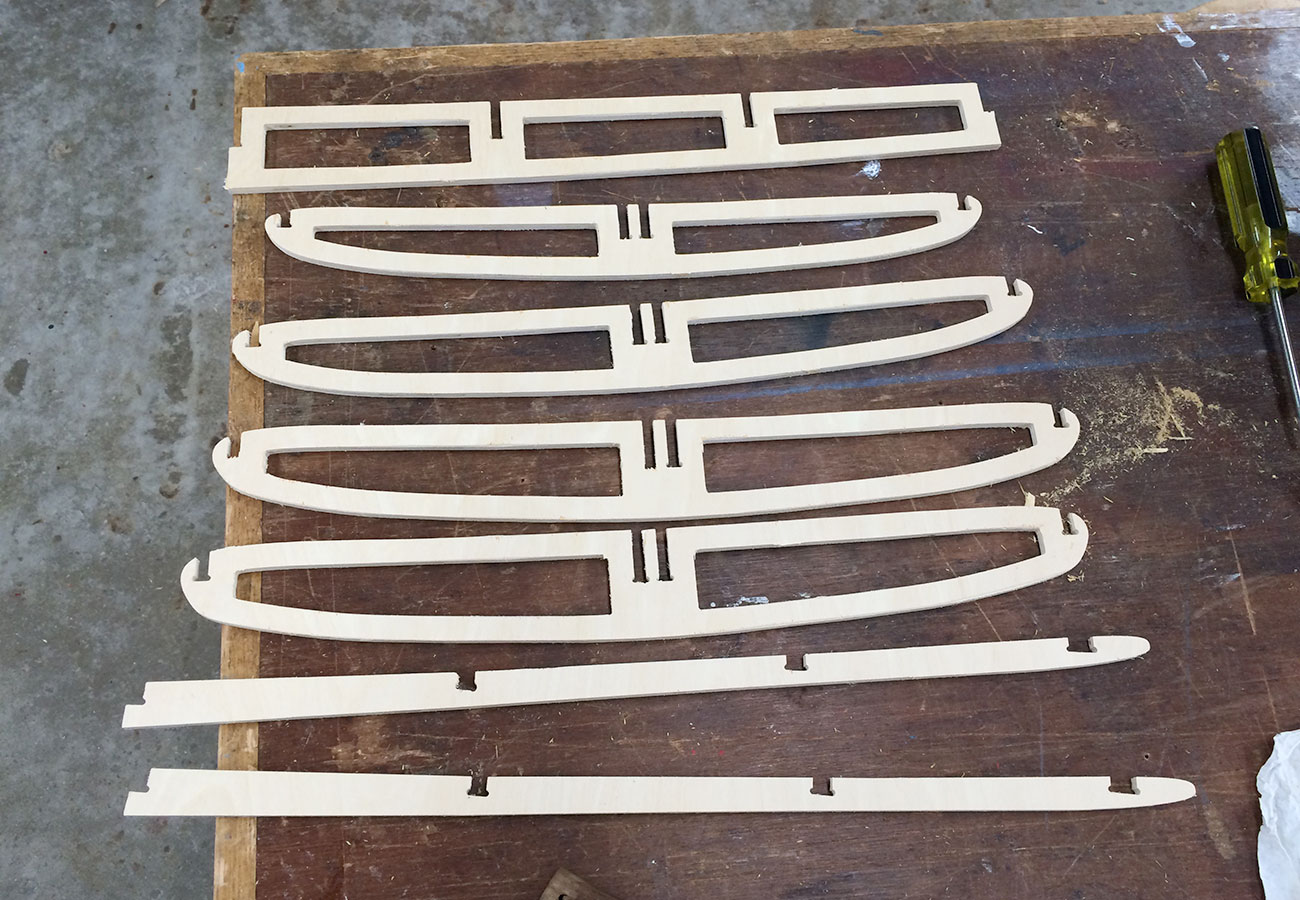
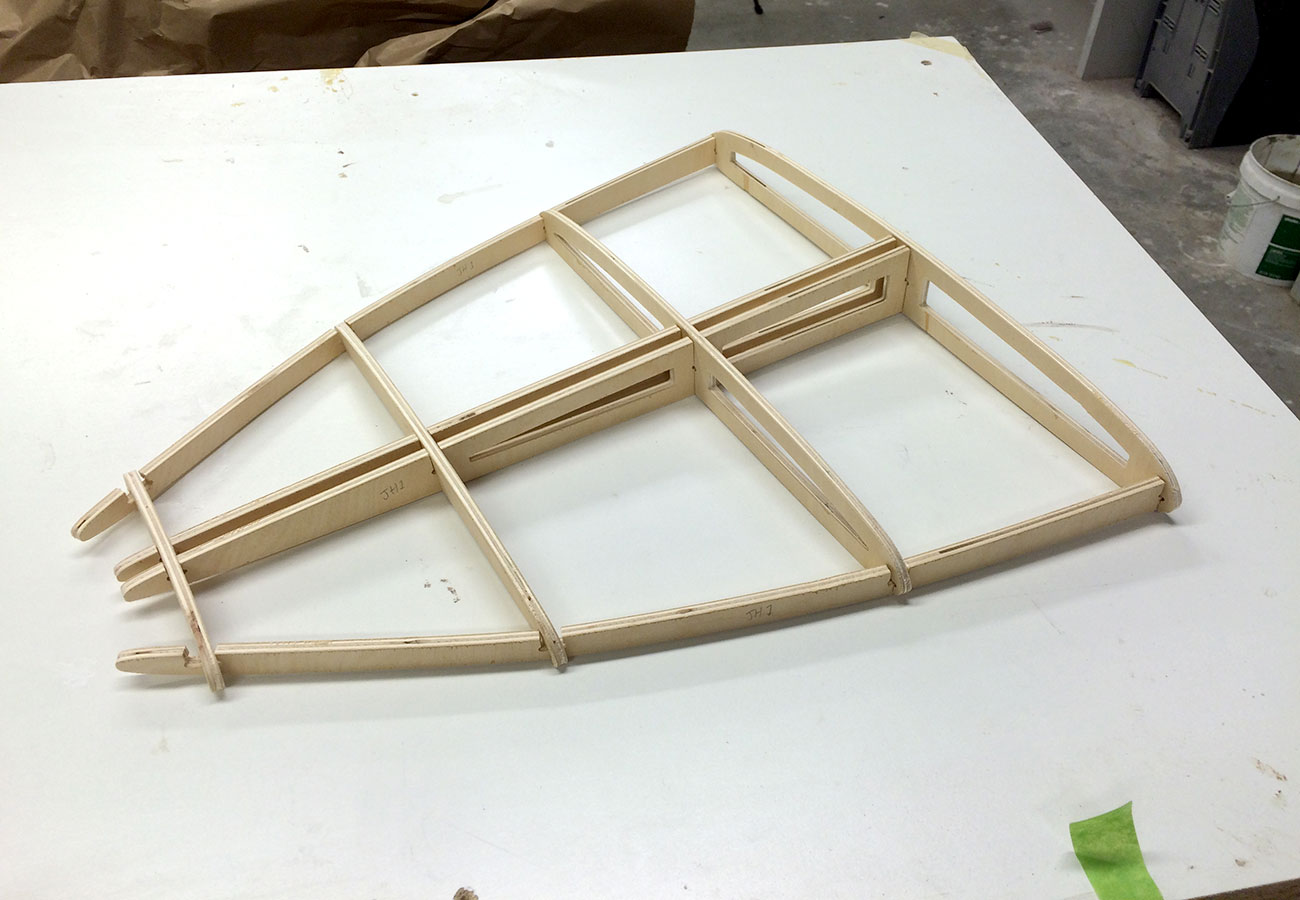
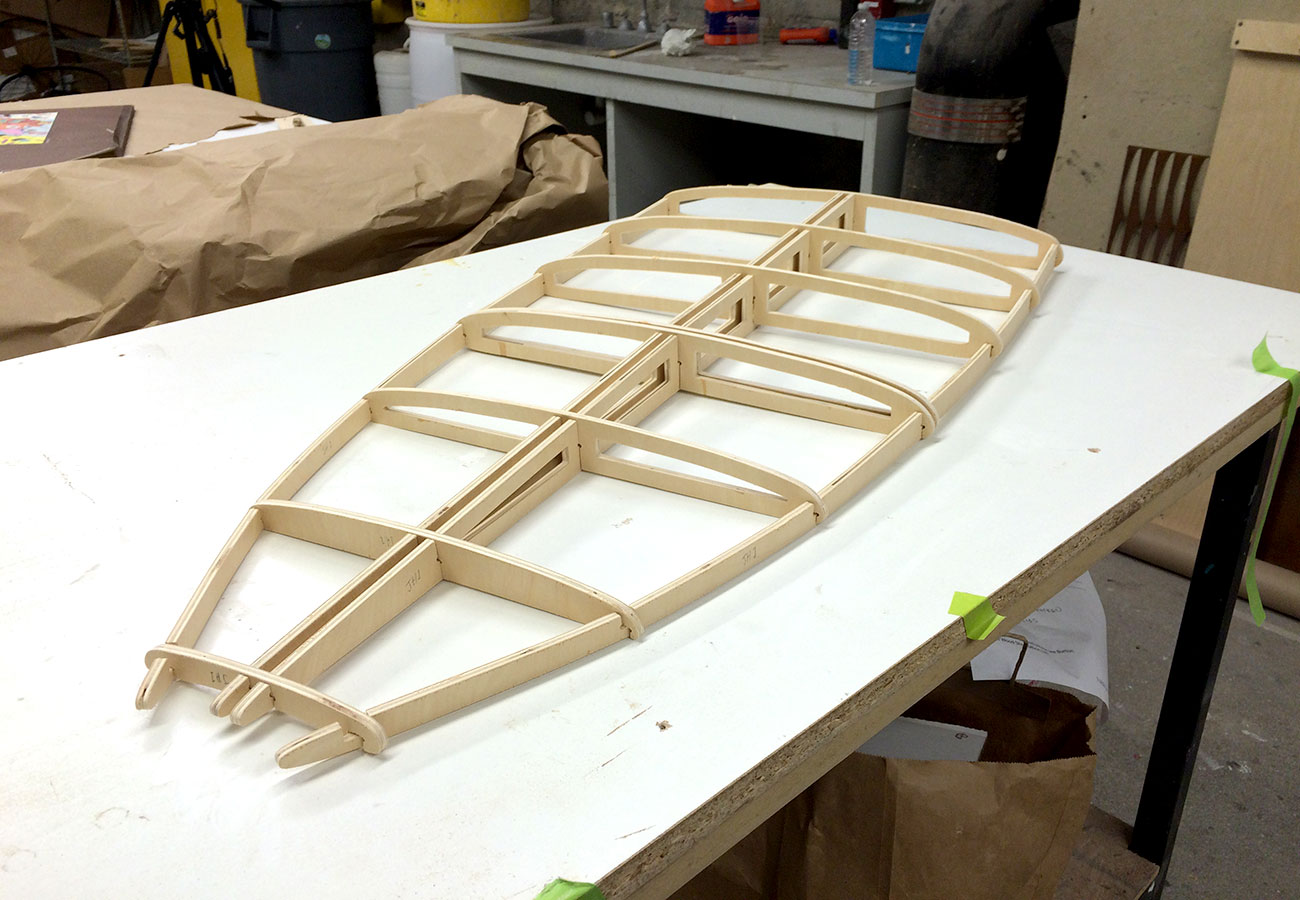
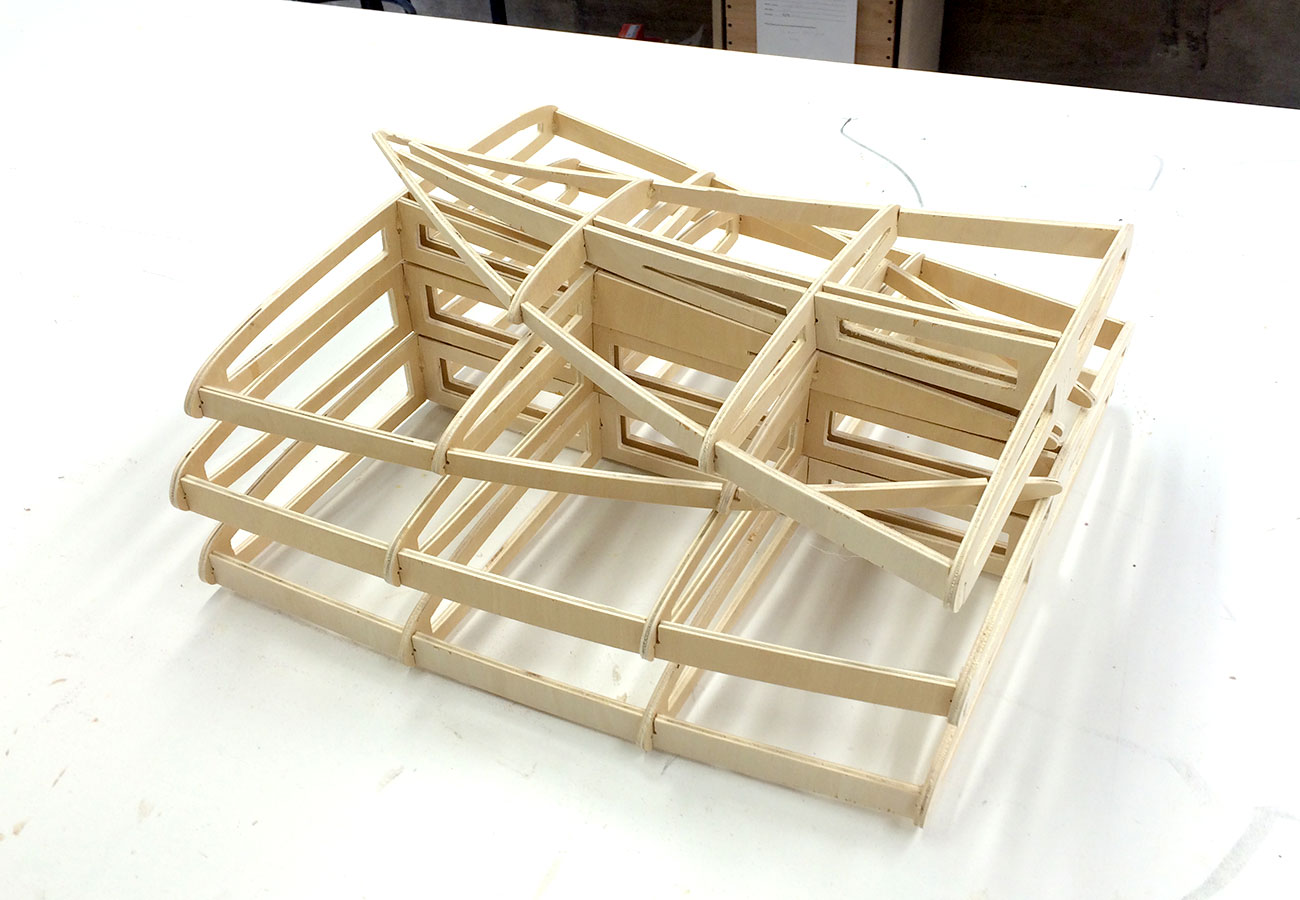
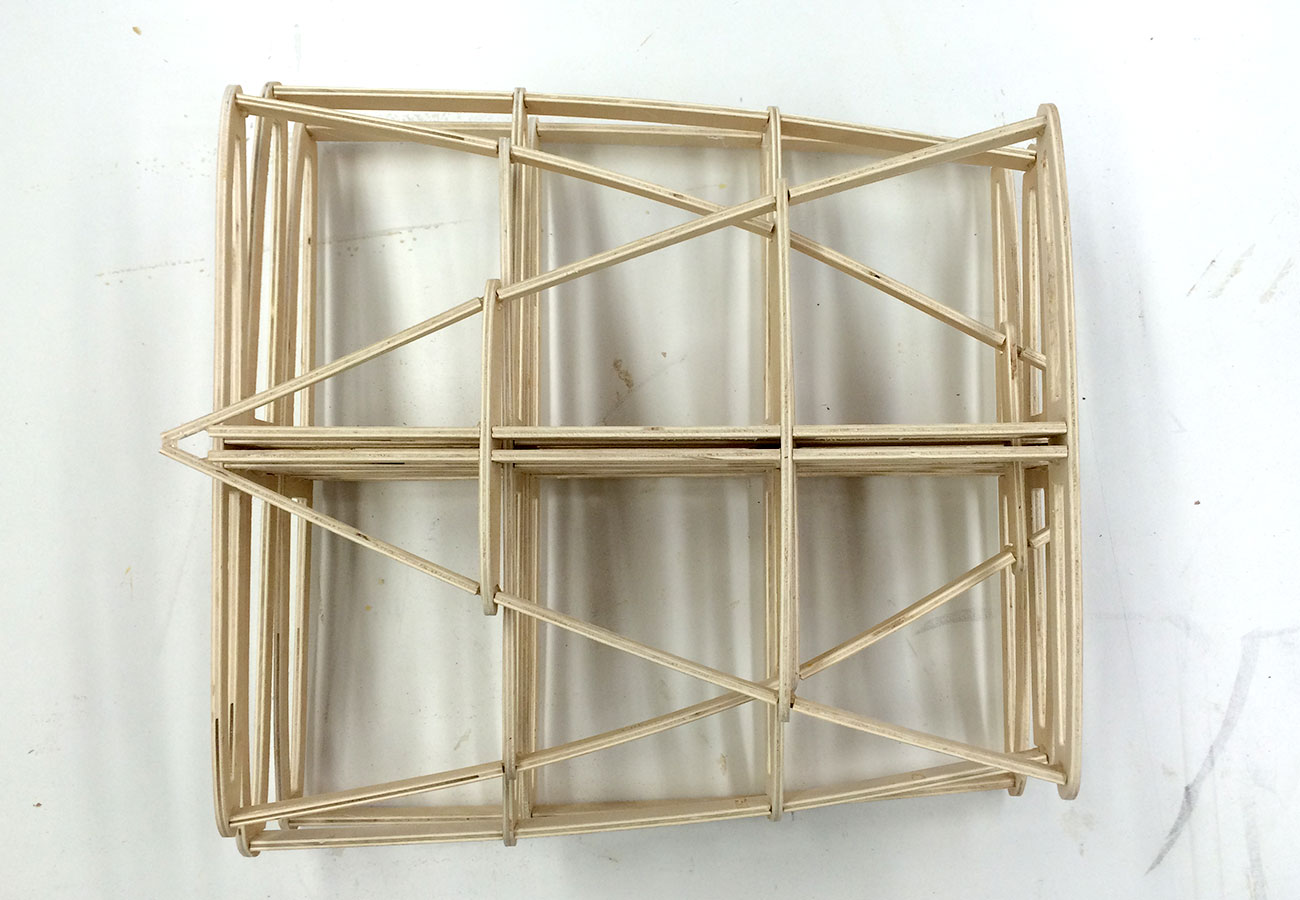
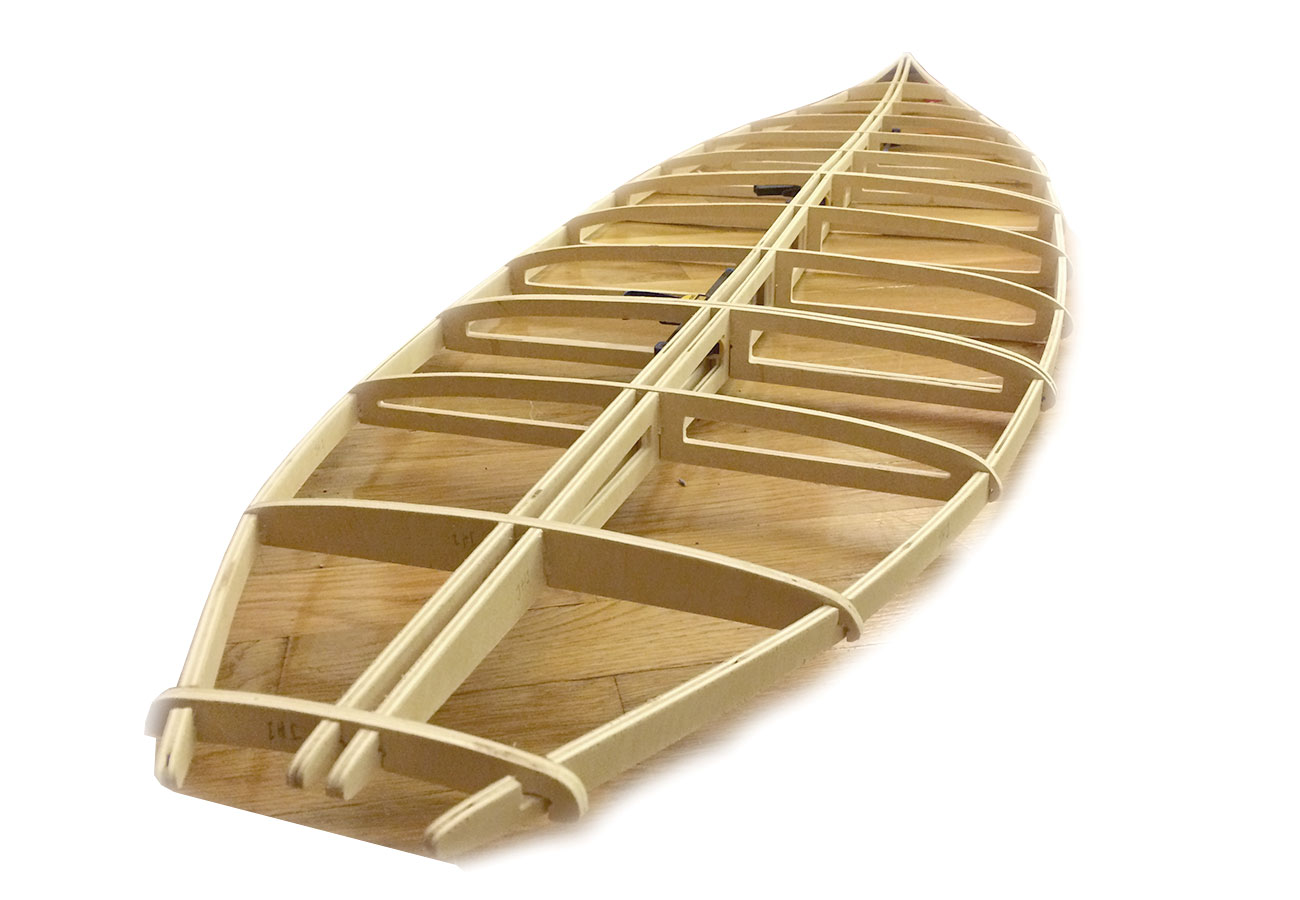
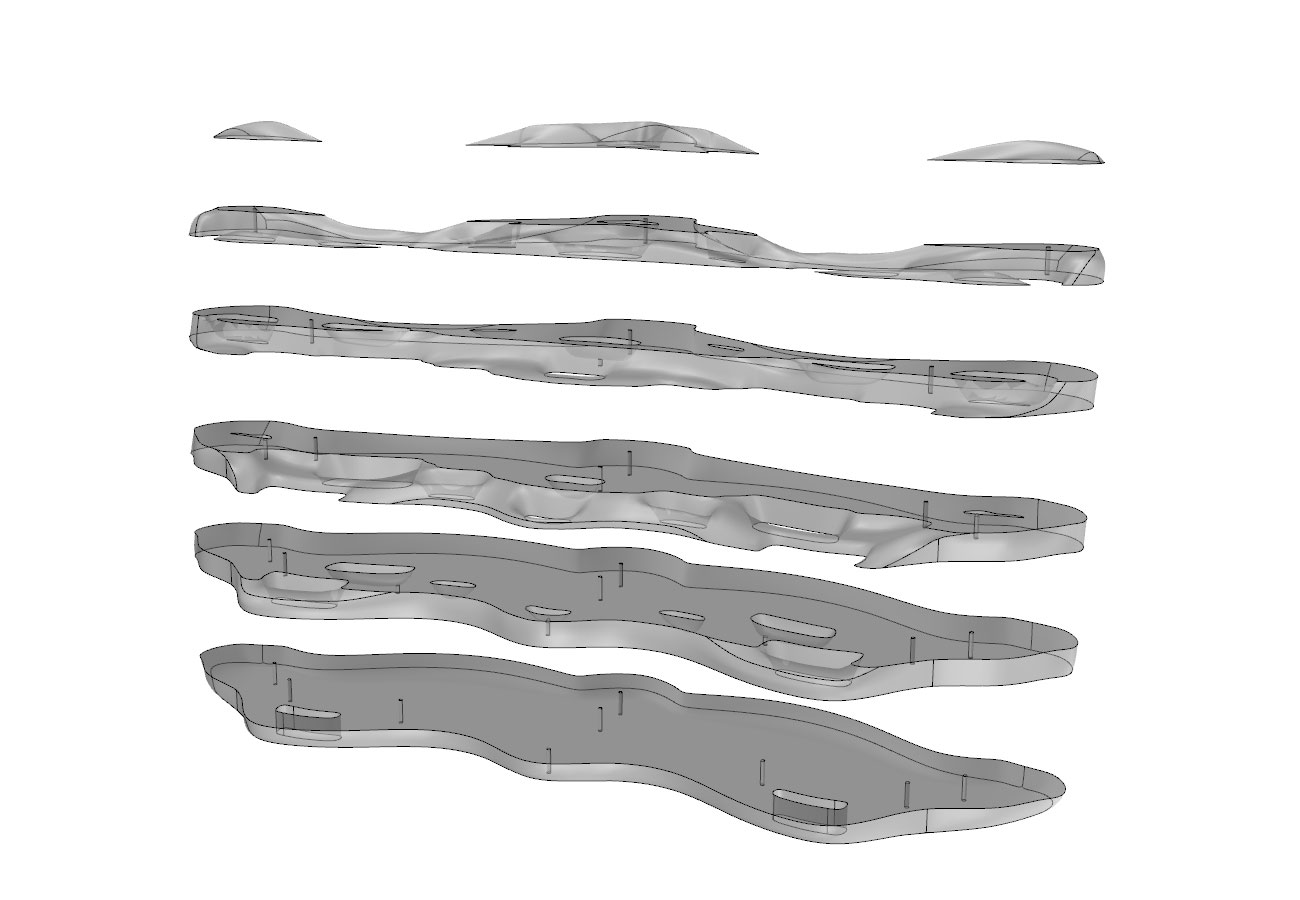
This week we were introduced to the concepts, techniques and machinery within the realm of computer-controlled machining. While the range of this equipment varies from several hundred to over a million dollars, the Harvard section has access to two ShopBot milling machines. The large ShopBot can handle stock material up to 4'x 8' while the smaller desktop unit can mill sheets that are up to 24" x 18". At first the number of setup steps seems overwhelming, but after going through the process once or twice, it becomes very easy. My "Make Something Big" project continues the path of surfboard design exploration and I chose to build a hollow wooden frame surfboard. Although I had previously generated a 3D file, I went through the process again, this time using a software specifically built for board design called "AKU Shaper". This software is used by shapers to automate the process of cnc produced foam blanks, but I was most interested in the ability to quickly explore the bottom contour profiles. I decided upon a concave bottom, which acts to contain water flow through the length of the board, creating greater pressure through the fins which adds lift and minimizes drag. I used screen shots from this software along with a reference image of a Stretch Surfboard model that I use to own to recreate the desired shape with T-Splines in Rhino. I then took section cuts and generated an interlocking rib structure that could be cut on the ShopBot. I chose to purchase 1/4" plywood for this project to add strength and reduce weight. The concept for this board is that it can be broken down into 4 parts, which allowed me to use the desktop ShopBot to mill my pieces. I am still working on a design for a connection detail that will lock the pieces together for surfing.
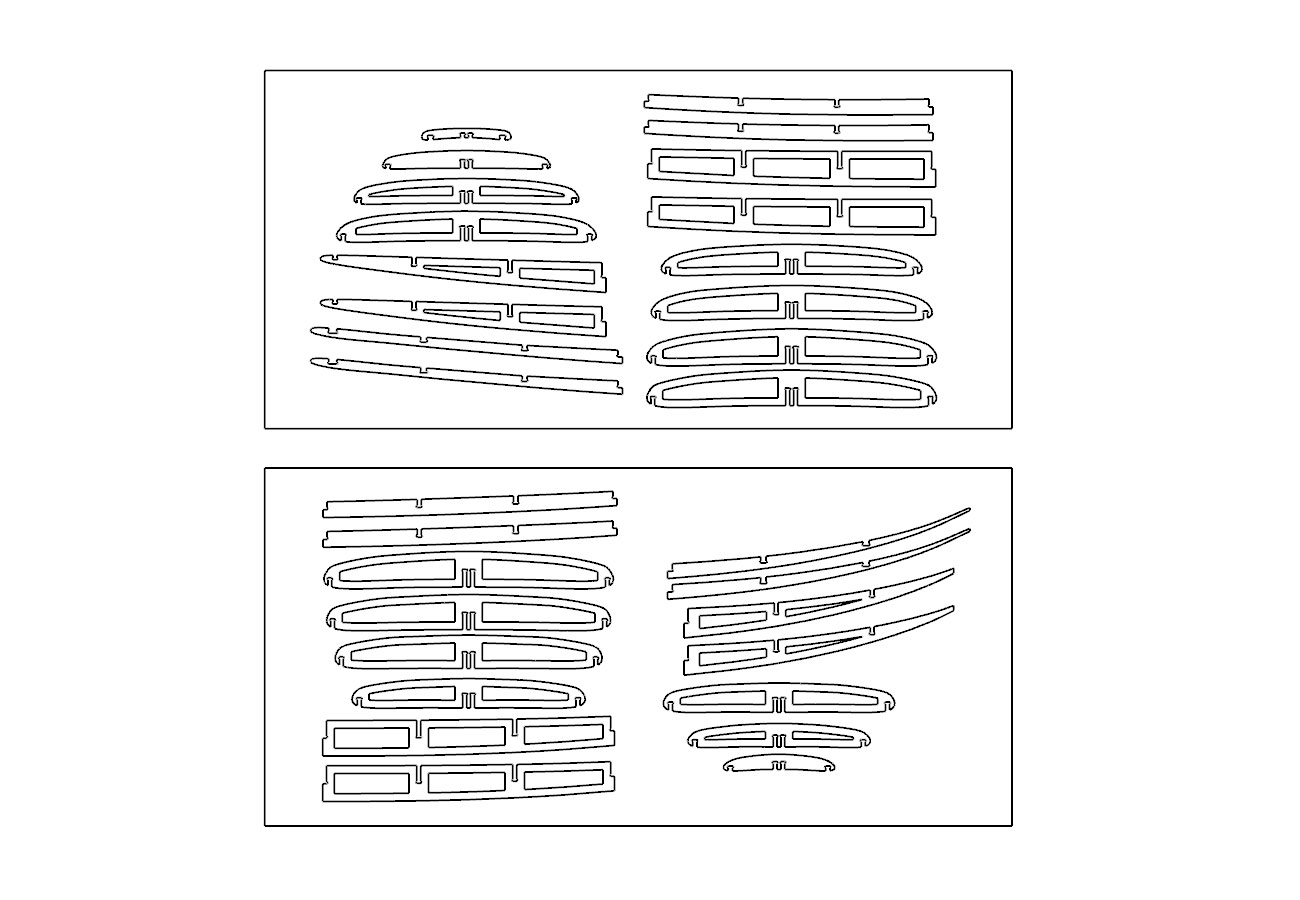
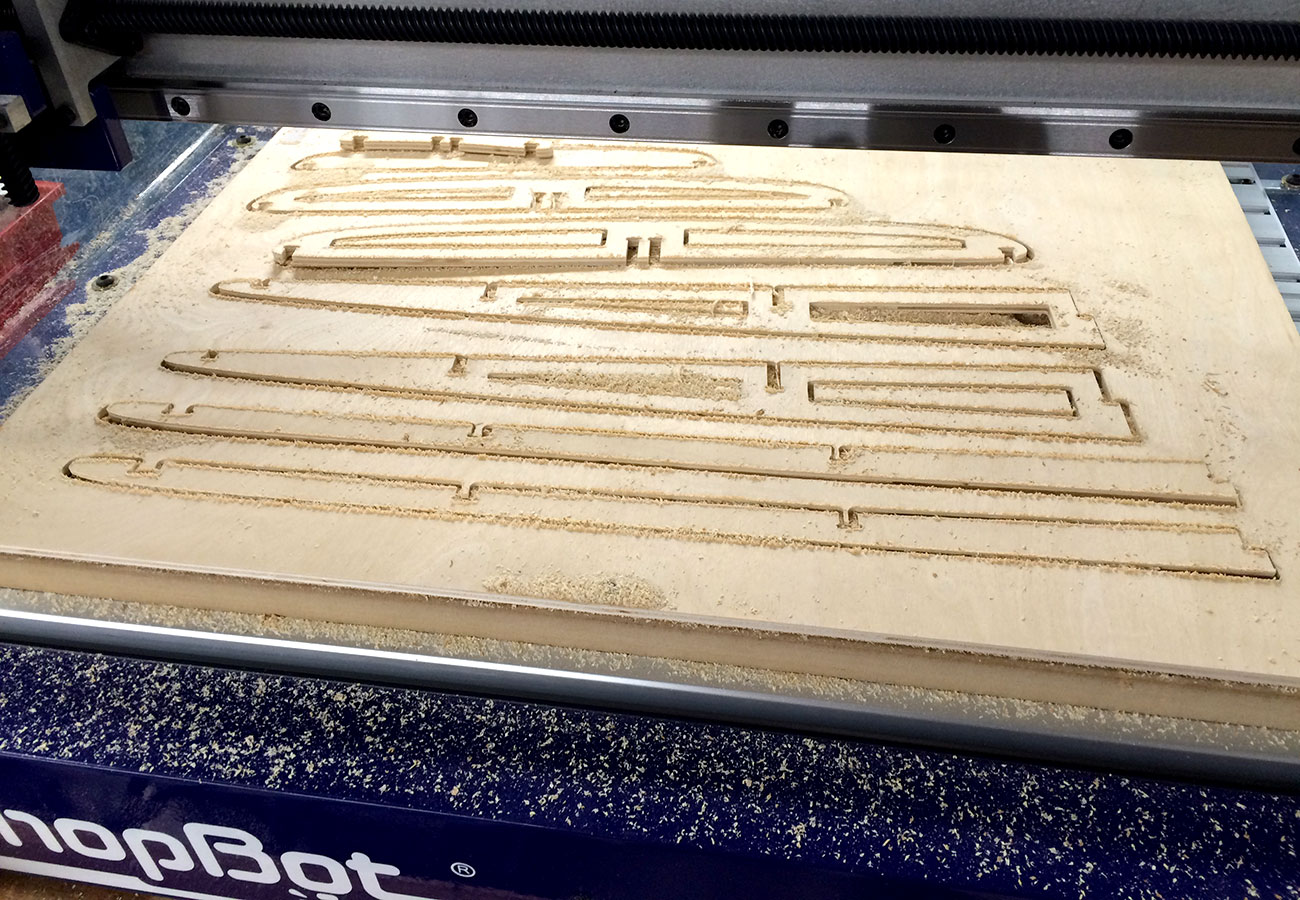
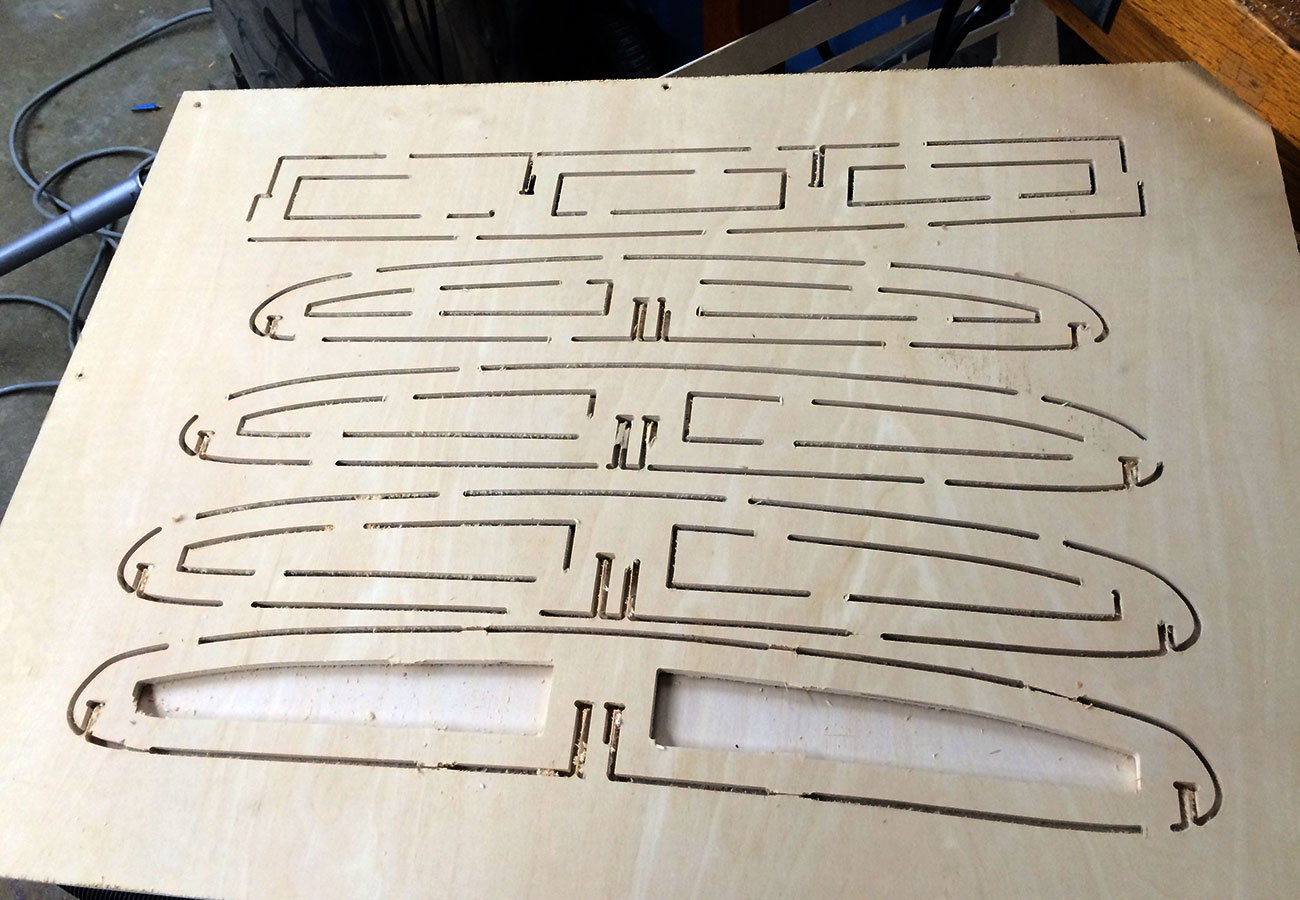
The rib profiles were first generated in Rhino, then exported as .dwg files to be opened in VCarve software. This interface allows you to set up your stock materials, different toolpath layers, end mill dimensions, step over values, and tab generation. You can then save out from here as gcode, or shopBot file and load it into the ShopBot interface which allows you to zero the tool bit and send your job to the machine. This process was pretty smooth thanks to the assistance of David, and after running a test cut, I refined the cut depth and determined the need for tabs on my interior cut pieces.


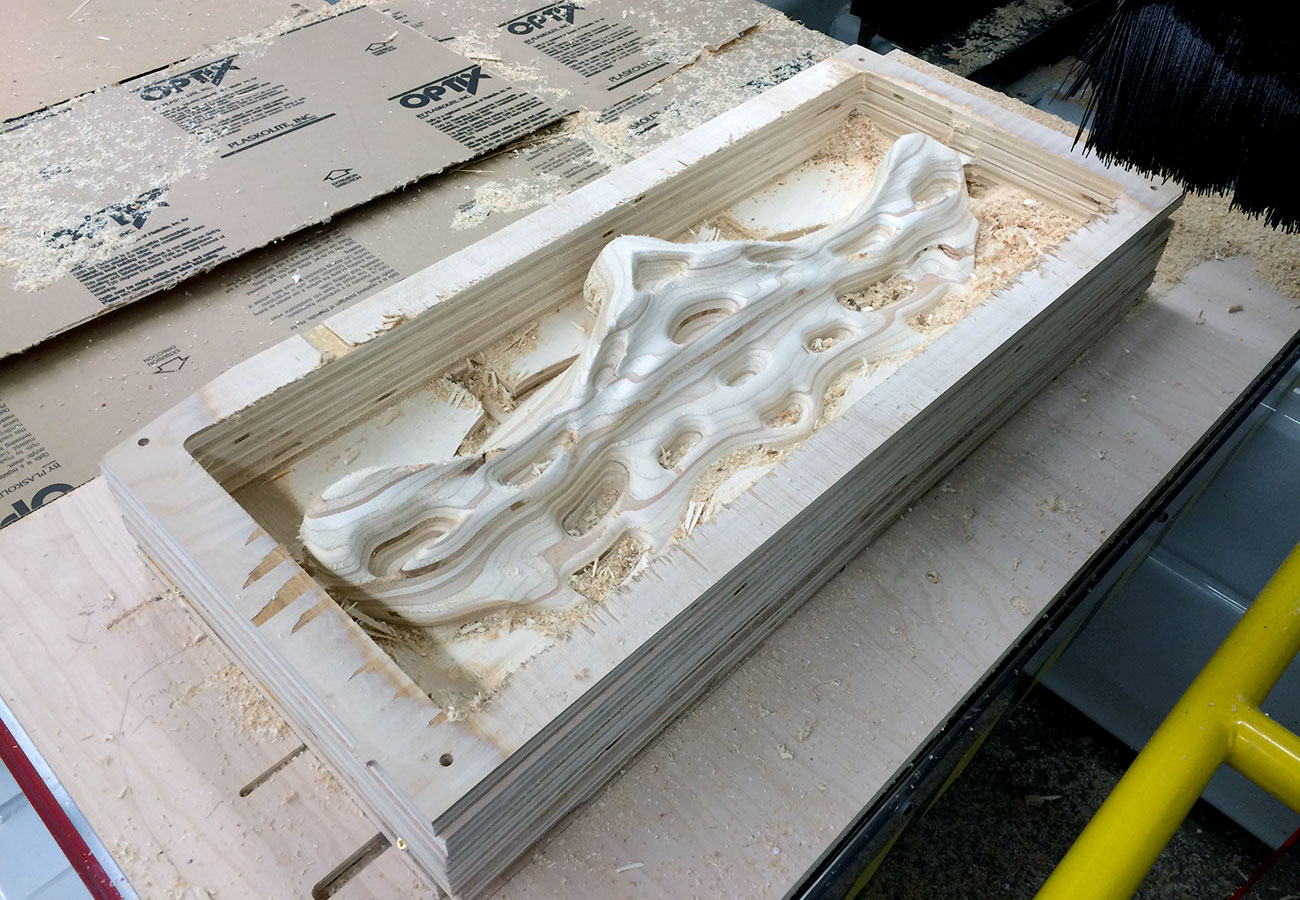
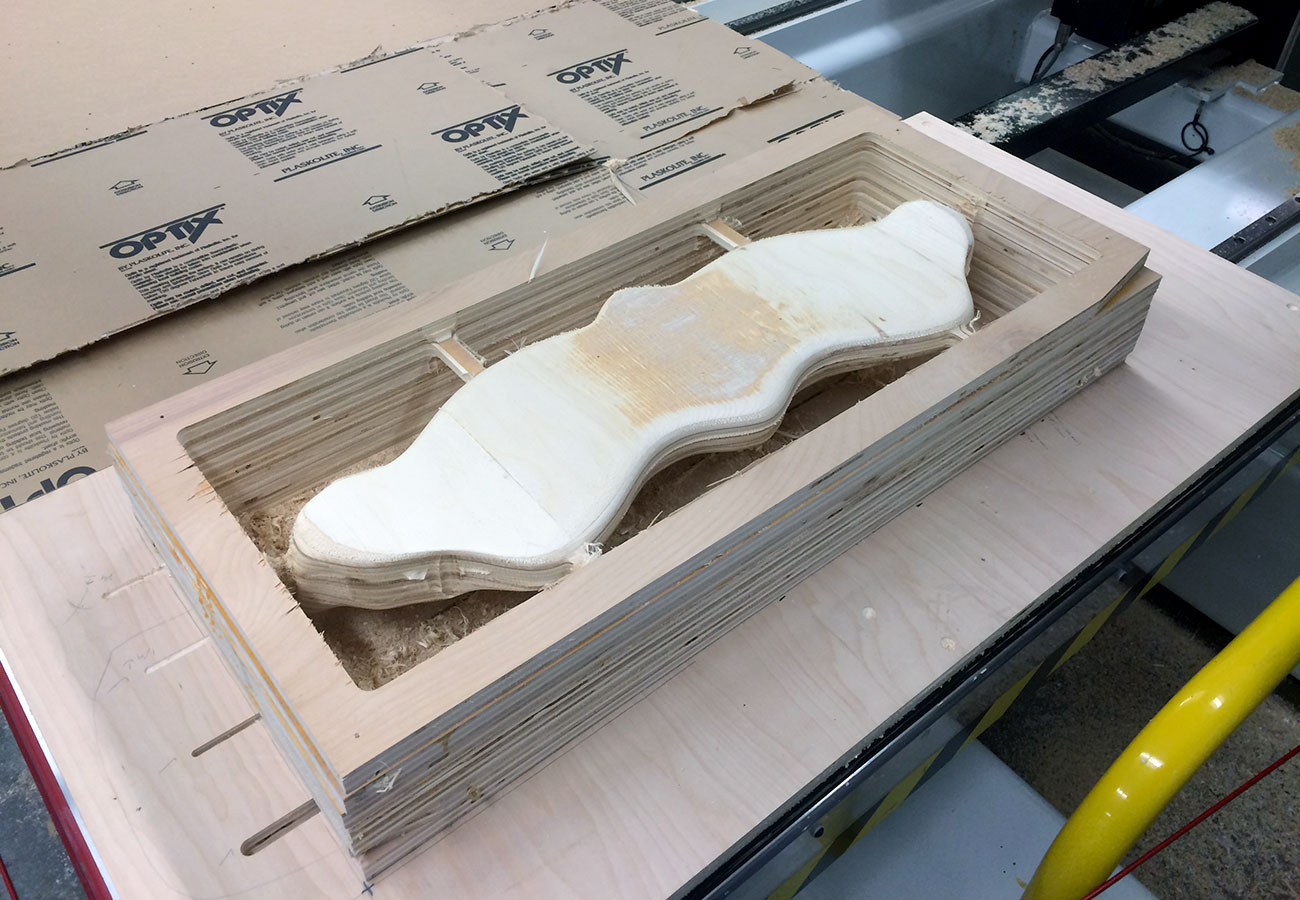
I was also trying to make a climbing hangboard, which is like a pull-up bar for rock climbers. This specialized piece of training equipment simulates holds on a rock face and enables climbers to develop finger strength. I modeled a version of a hang wall based upon a reference image of one that I have used before. I again used T-splines within Rhino to generate a smooth polysurface. As this design resulted in overhanging elements, I was going to need to figure out how to do a flip-mill or come up with some work-around. I have some 3/4" plywood stock, so I decided that I could slice 3/4" thick sections from my design and then anywhere that had an overhang (or undercut), would just be left as a straight extrusion. This would allow me to smoothly mill the regular sloping faces and the undercut sections would result in a rough 3/4" step, which I decided that I can sand out if I need to. For this project, I wanted to try using the CNC router in the fablab at GSD, which requires setup using MasterCam. This software is a bit harder to work with than Vcarve, and I quickly ran up against some issues. I had set my file up using a "constant scallop" toolpath, but I didn't build in a rough cut pass first. I am still working out the kinks with the file set-up on this one, so I'll have to post an update once I have produced a cut.
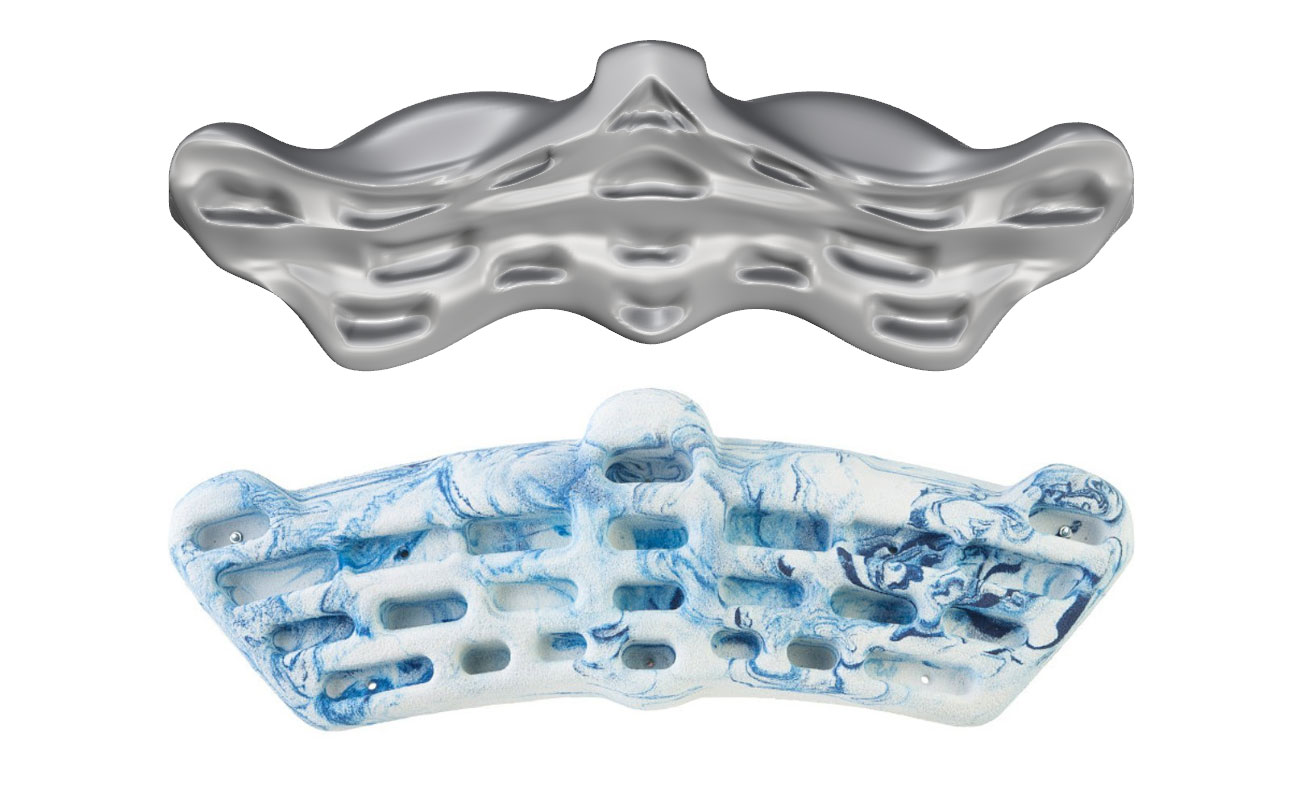
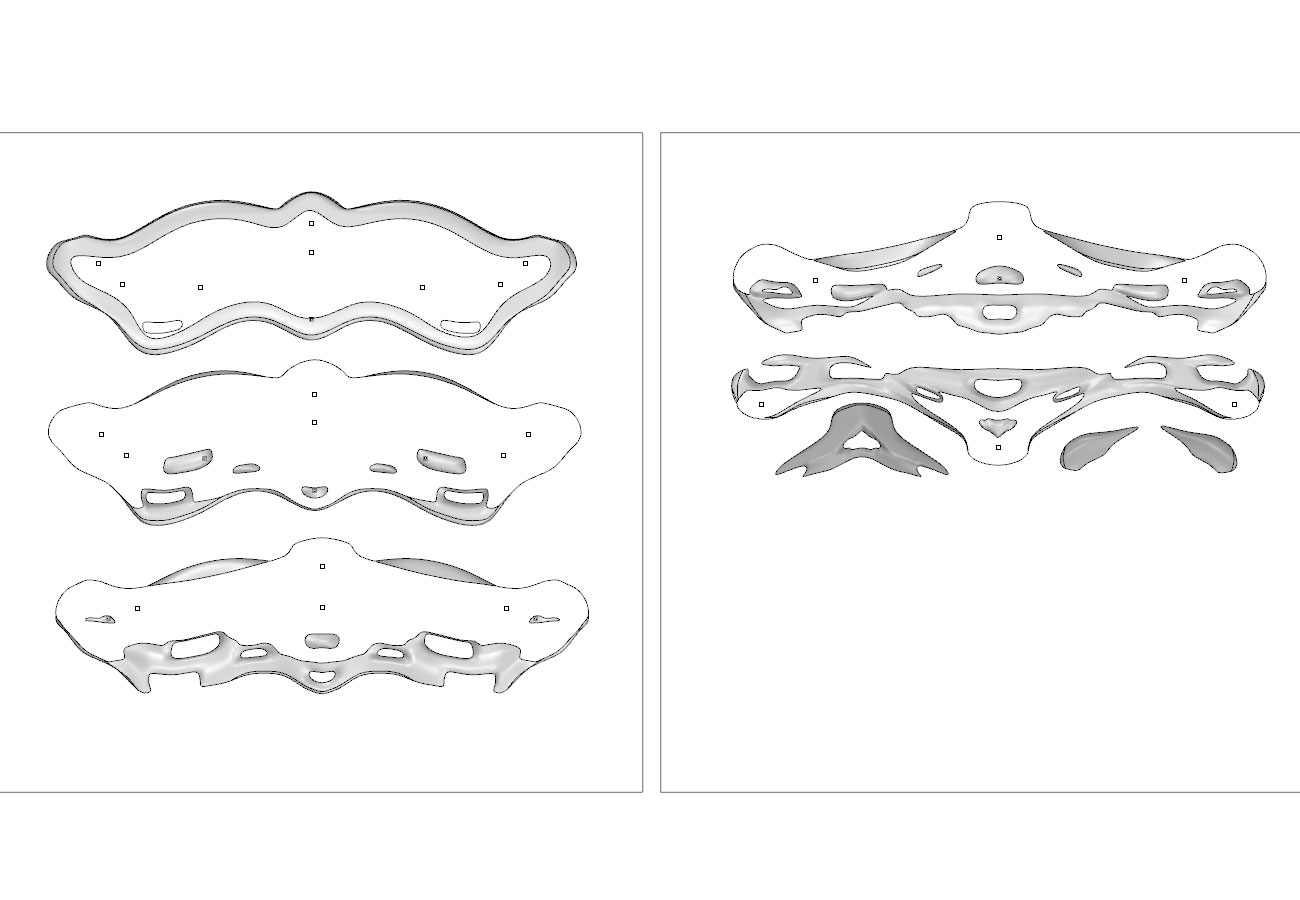
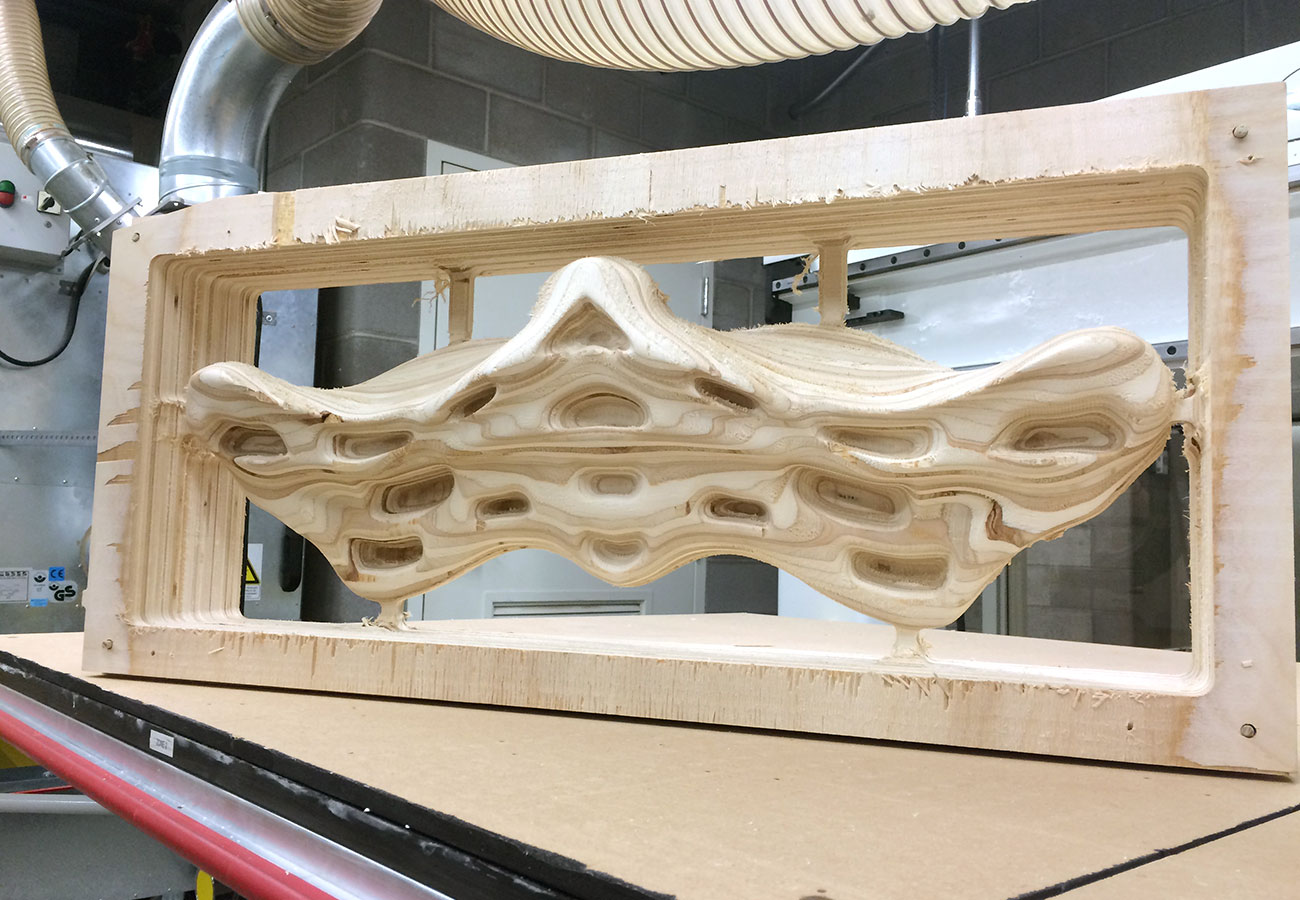
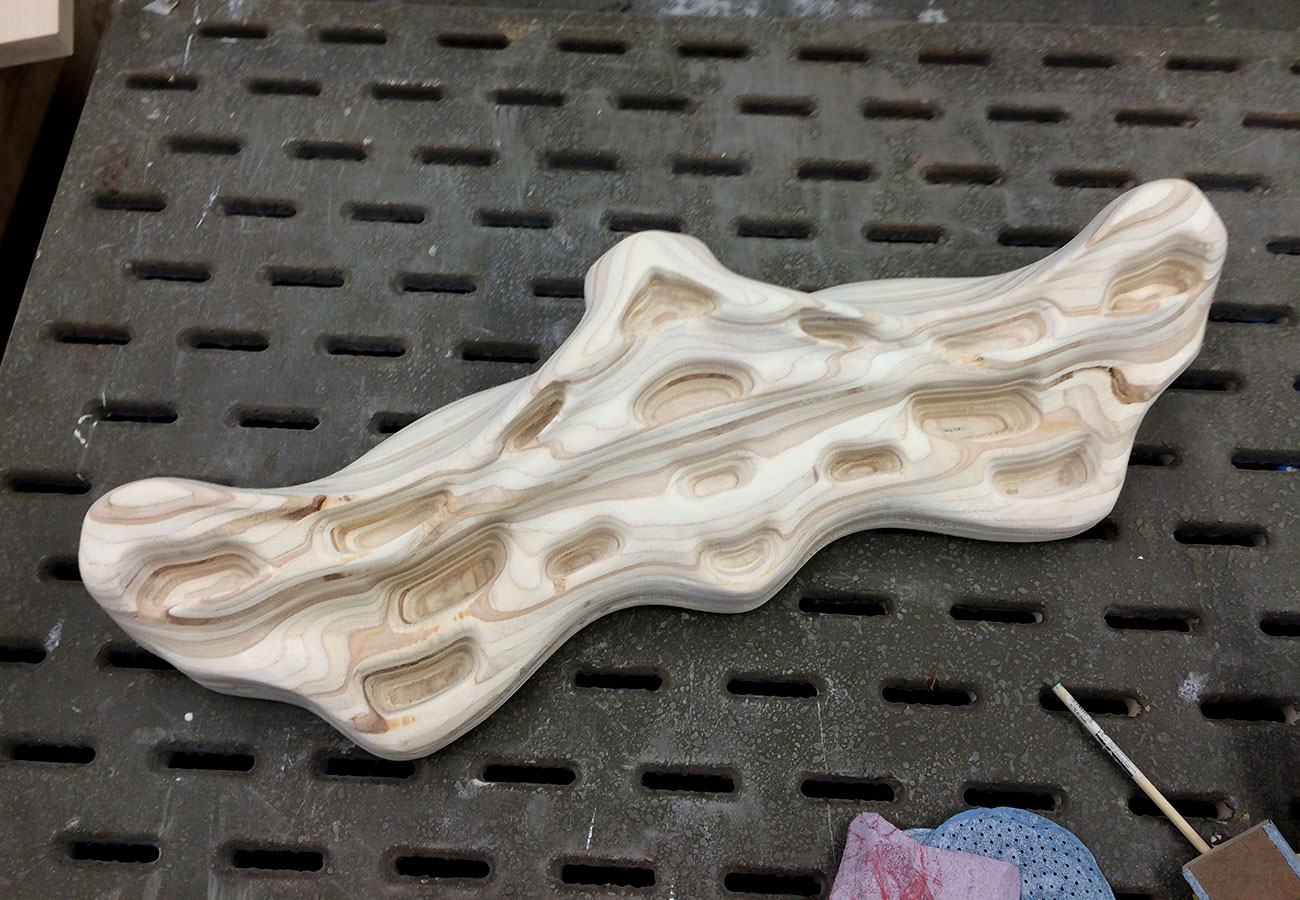
*Update: After consulting with one of the CNC TAs at the GSD fab lab, I was able to determine that a flip mill would be the best way to produce this part. As I was planning to use the Onsrud high-speed 3-axis router, I prepared my file using MasterCam. The first toolpath for this job was a surfacing operation to bring the material from 5.25" to exactly 5" . Next was a peck drill for creating registration holes to insert 1/4" dowels, necessary for the flipped stock registration. There was then a roughing pass and a finishing pass with 1/2" ball nose end mill , and then a refinment pass around the finger holds with a 1/4" ball nose. Once the top side had finished, the stock was flipped and dowels were inserted at the registration holes to ensure that the placement would match. The total time for this job took about 3 hours and the milled peice was released from the support arms using a hand size. This was my first flip mill and I was very happy with the results and the aesthetic of the countoured plywood. After a thorough hand sanding, wood filler to repair gaps, and a coat of polyurethane for protection, this hangboard will be ready to mount onto a backing plate which will be screwed into the studs of a wall.