How to Make (almost) Anything

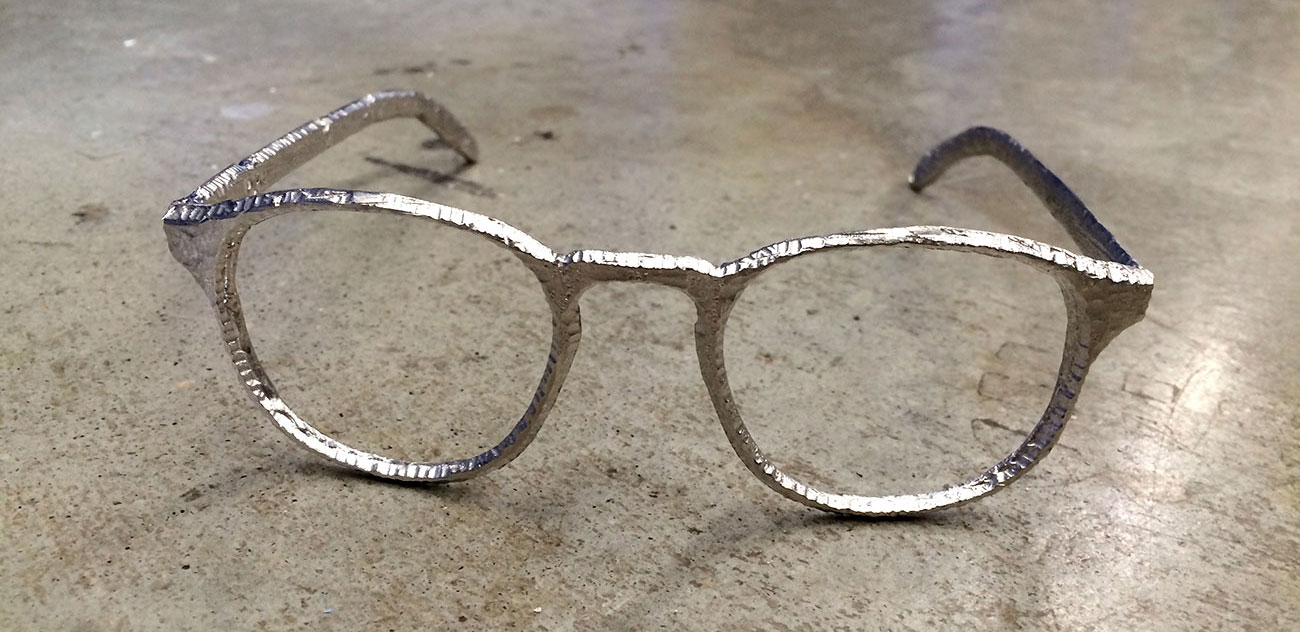
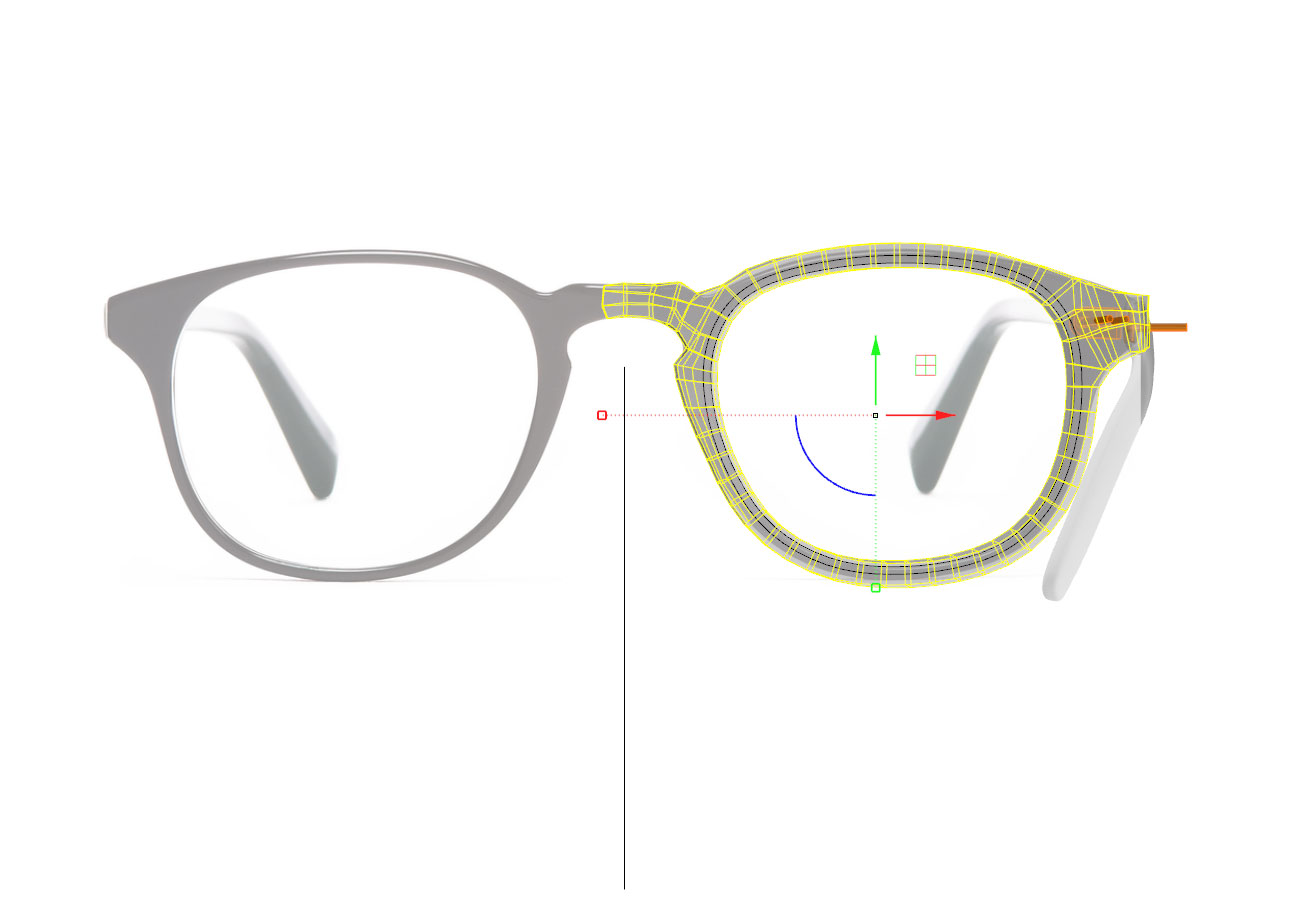
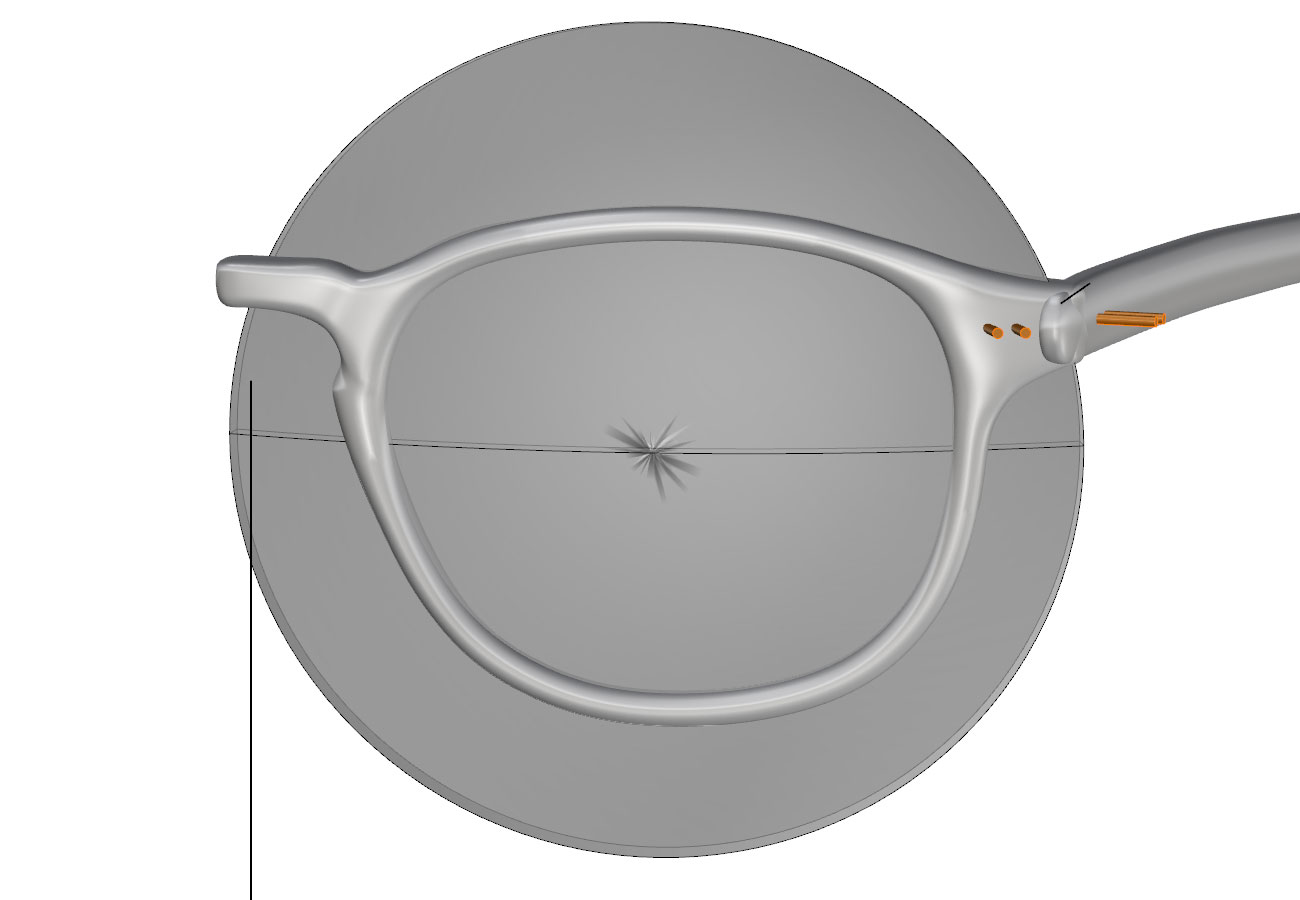
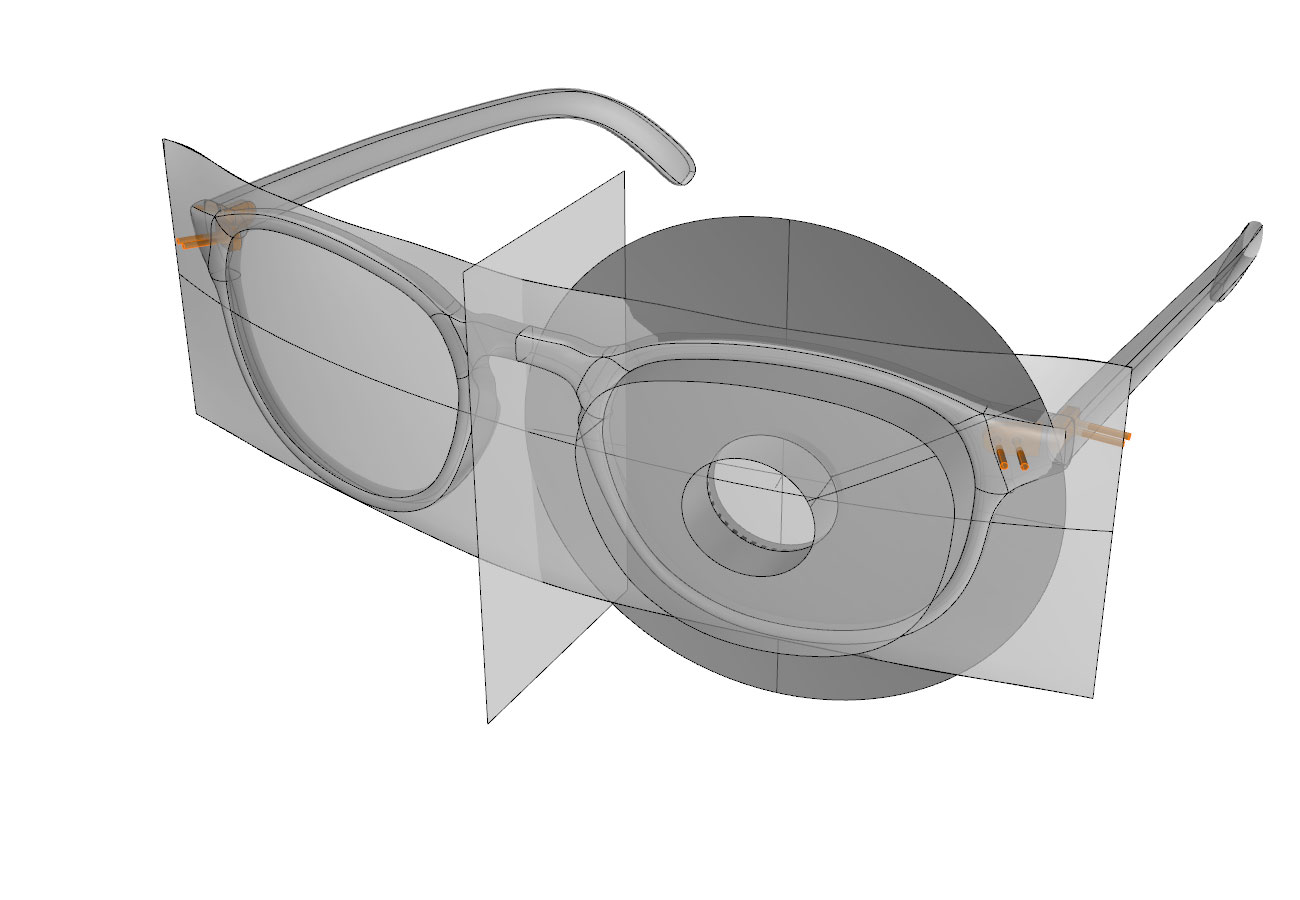
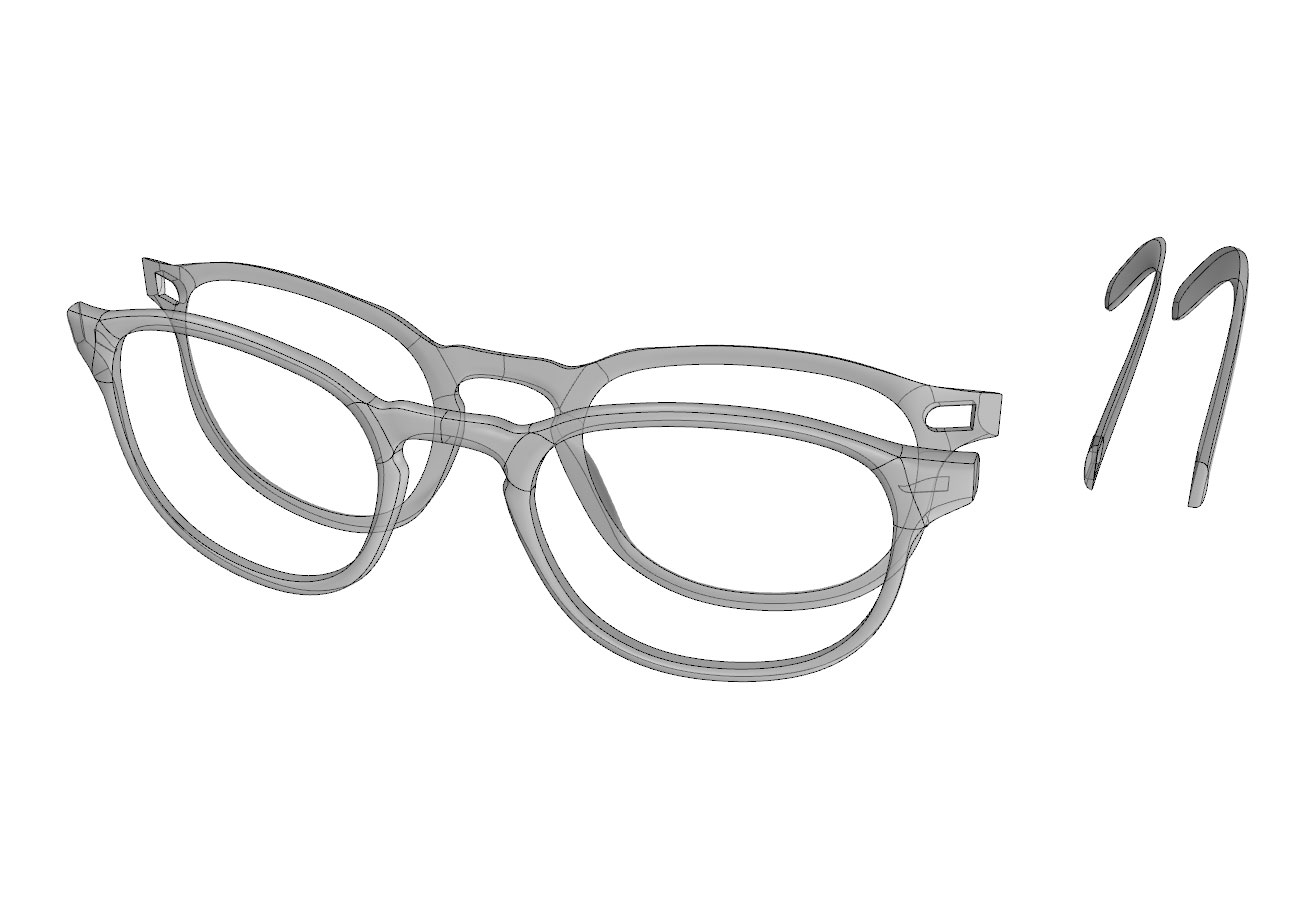
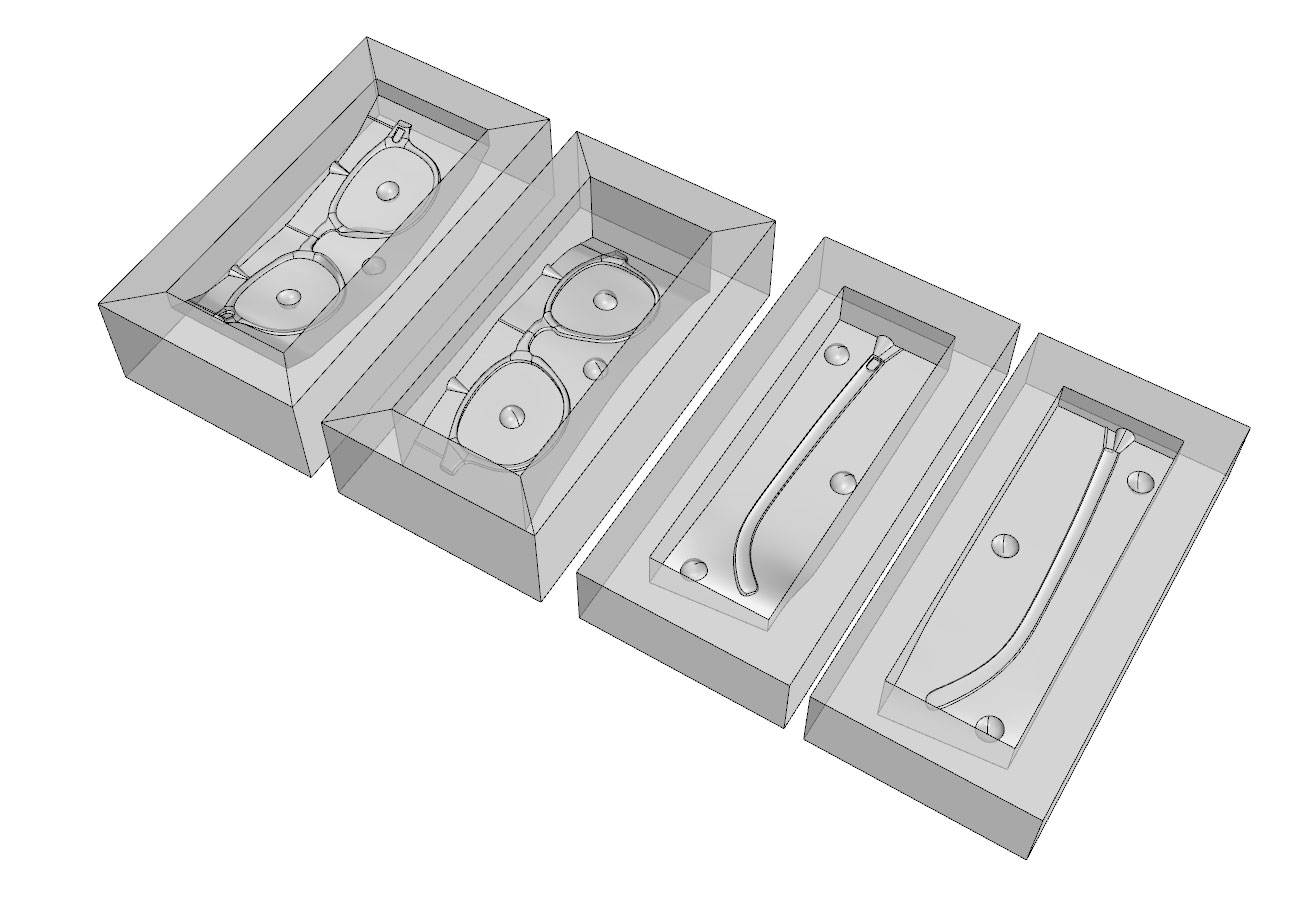
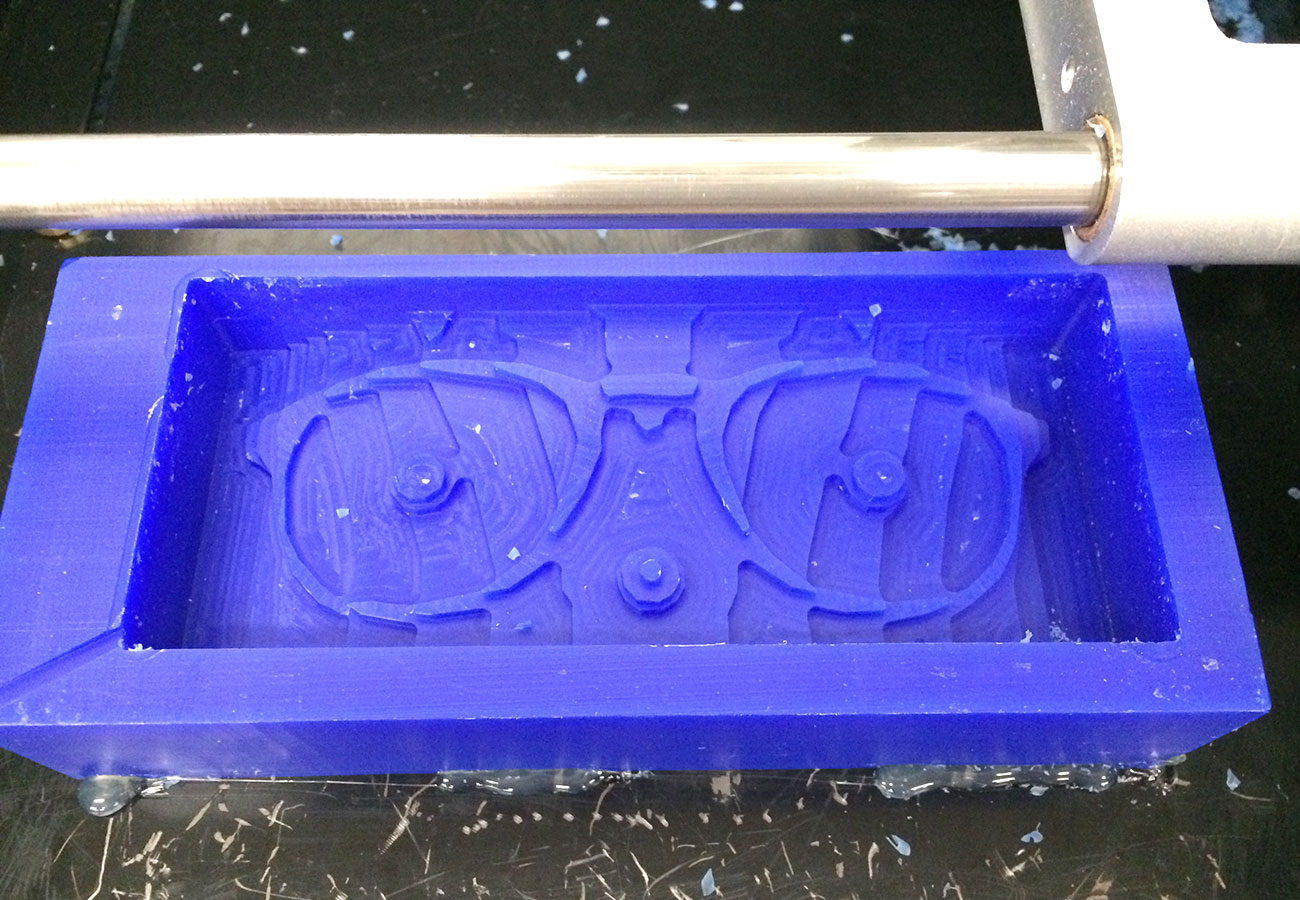
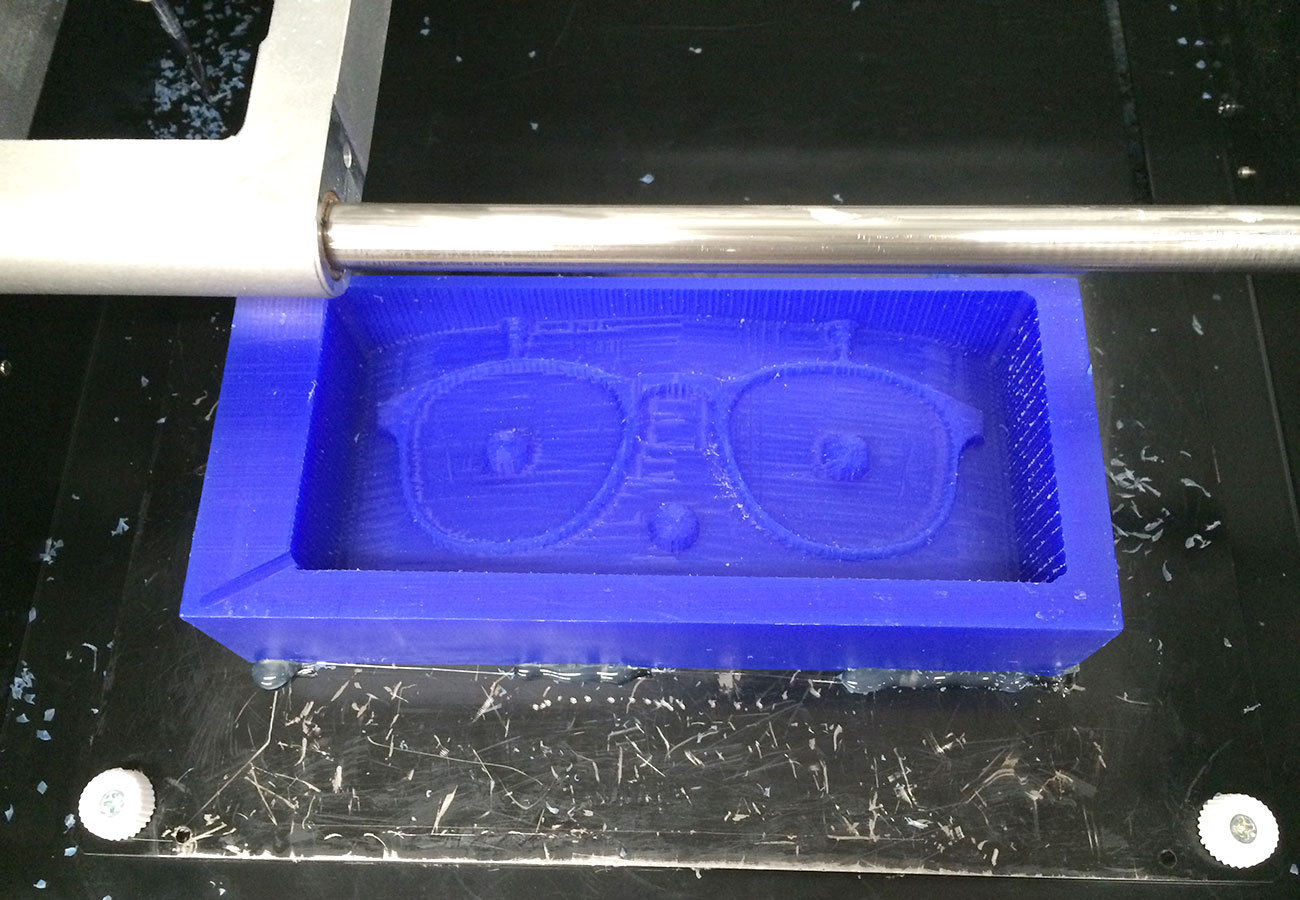
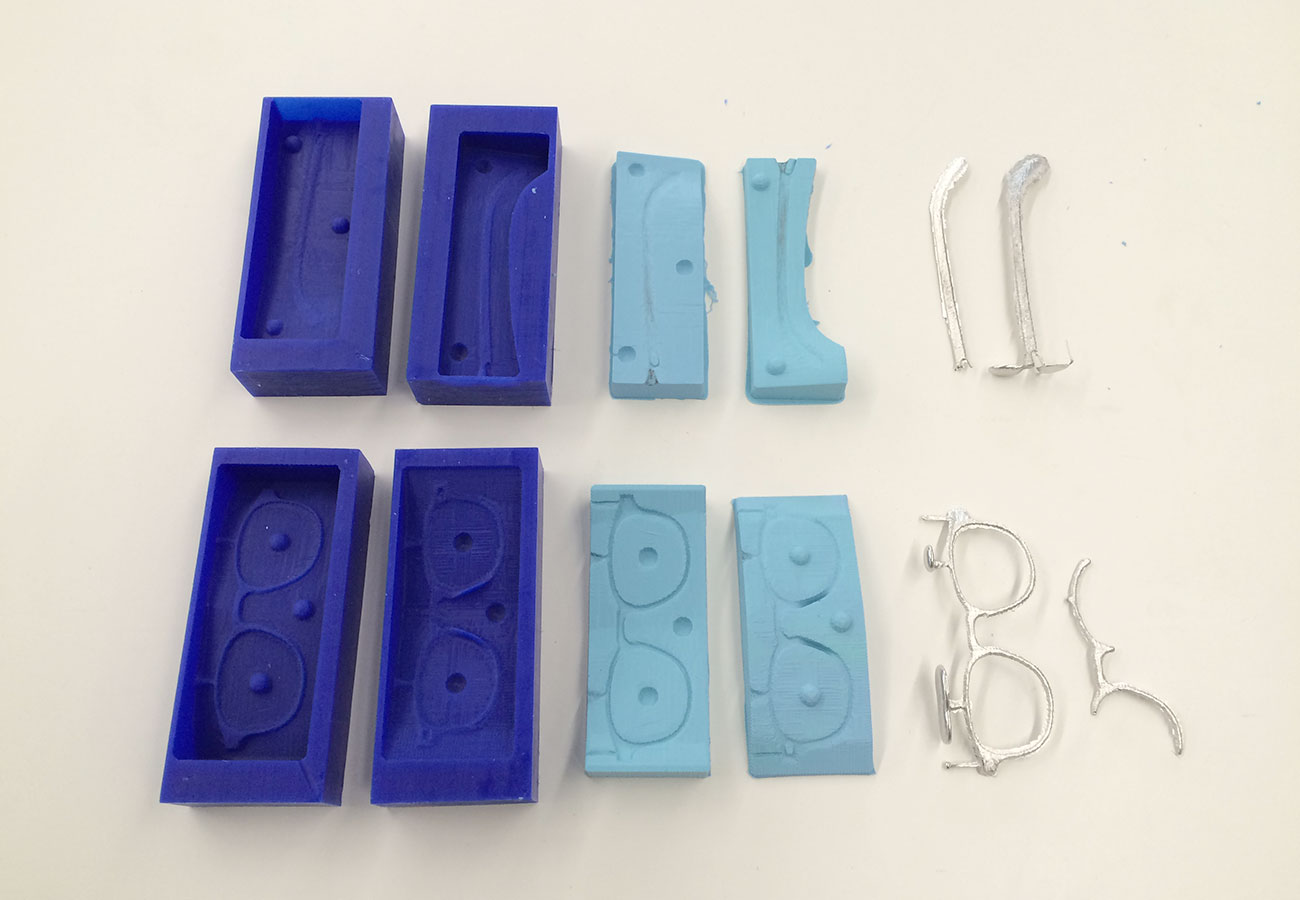
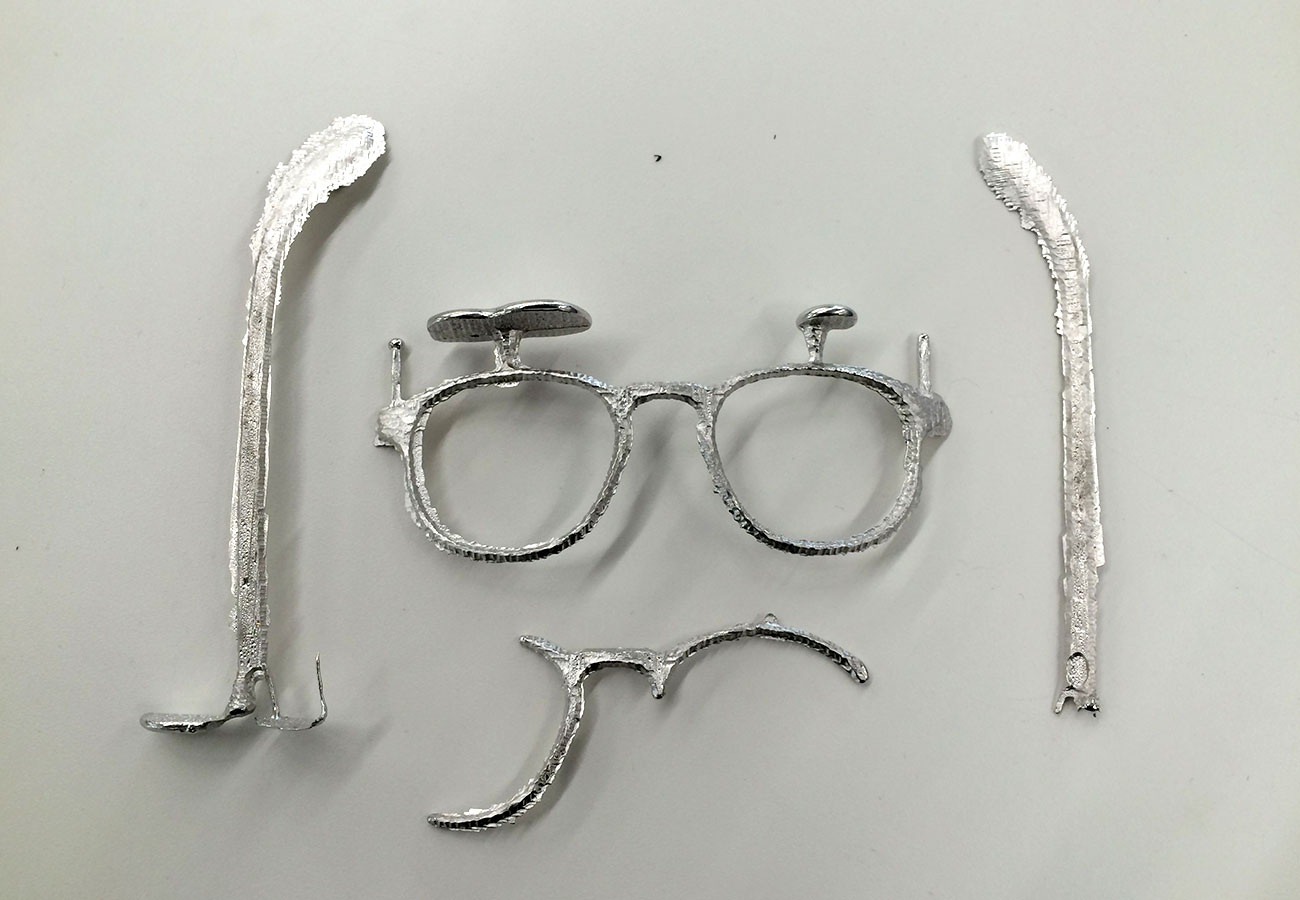
This week we were asked to design a 3d mold, mill it, and cast it. I have been interested in creating my own eyewear for a while now and have explored the fabrication techniques of 3d printing and wood veneer lamination. Most eyeglass frames are created with acetate plastic using injection molding production, so understanding the process of mold fabrication brings me closer to a scalable technique. As I learned during this week, you need to think through the entire process in as much detail as possible while creating the 3d model. This requires visualizing how the silicone molds will be created from the milled wax mold and how they will get registered and fit together. You also need to consider the geometry of your object and figure out how many mold pieces are necessary in order to accomodate for undercuts and the process of disassembling / re-assembling the silicone mold. One tricky design consideration that I struggled with was how the lenses would fit into the frame. The lense curvature actually drove the 3d design, as the frame would need to ultimately hold a lense of a certain curvature (in my case a Base 4 curvature lense). In acetate frames, there is a small lip which the lense pops into. I could not figure out a good way to maintain this lip with my mold, so I settled for a design where the lense slots in from one side and butts up against a single lip. In this case, the lense will need to be affixed with some adhesive. This decision required that I precisely split the frame along the line of this lip, where one half would have a larger lense opening. This was the general sequence for mold production.


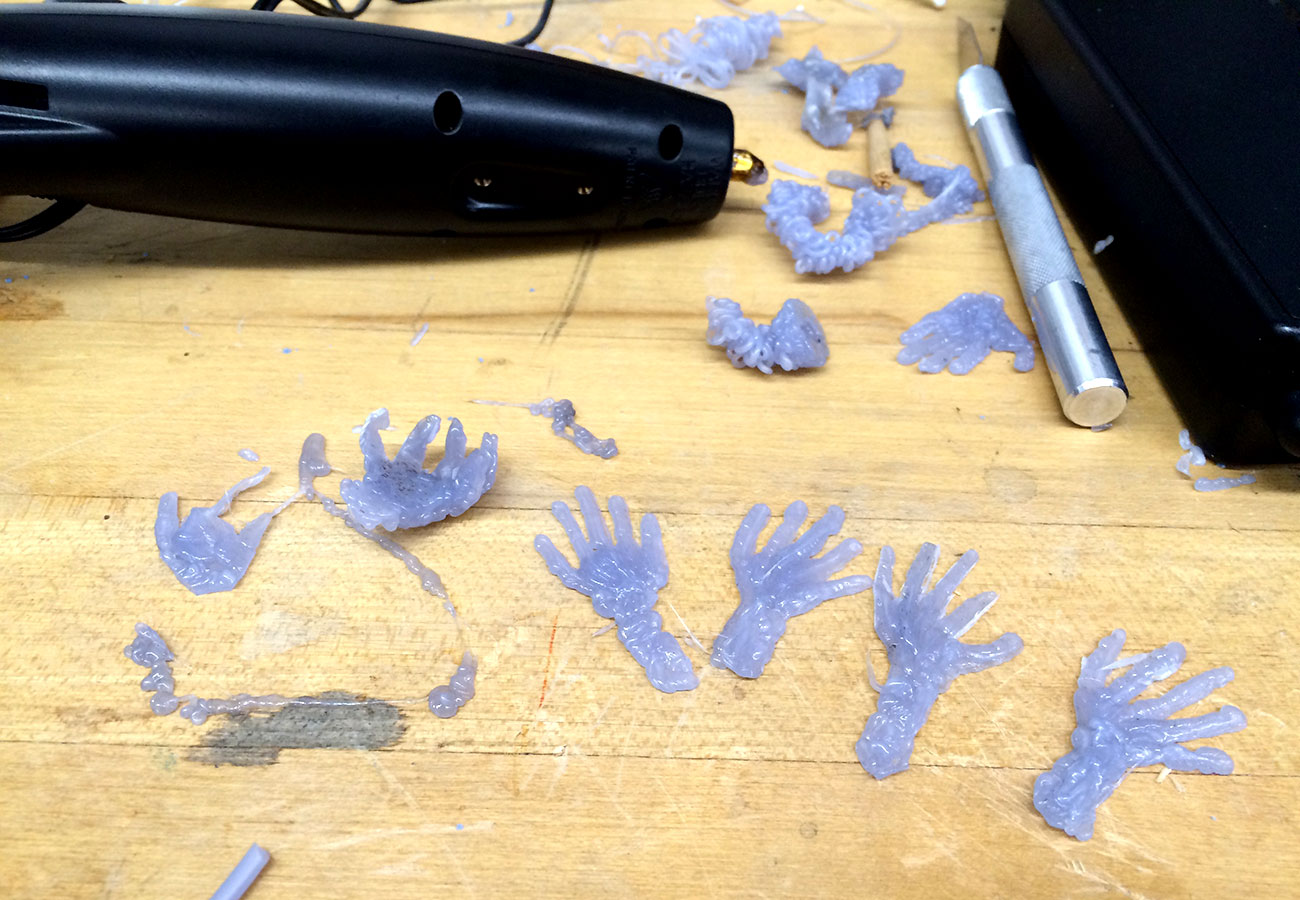
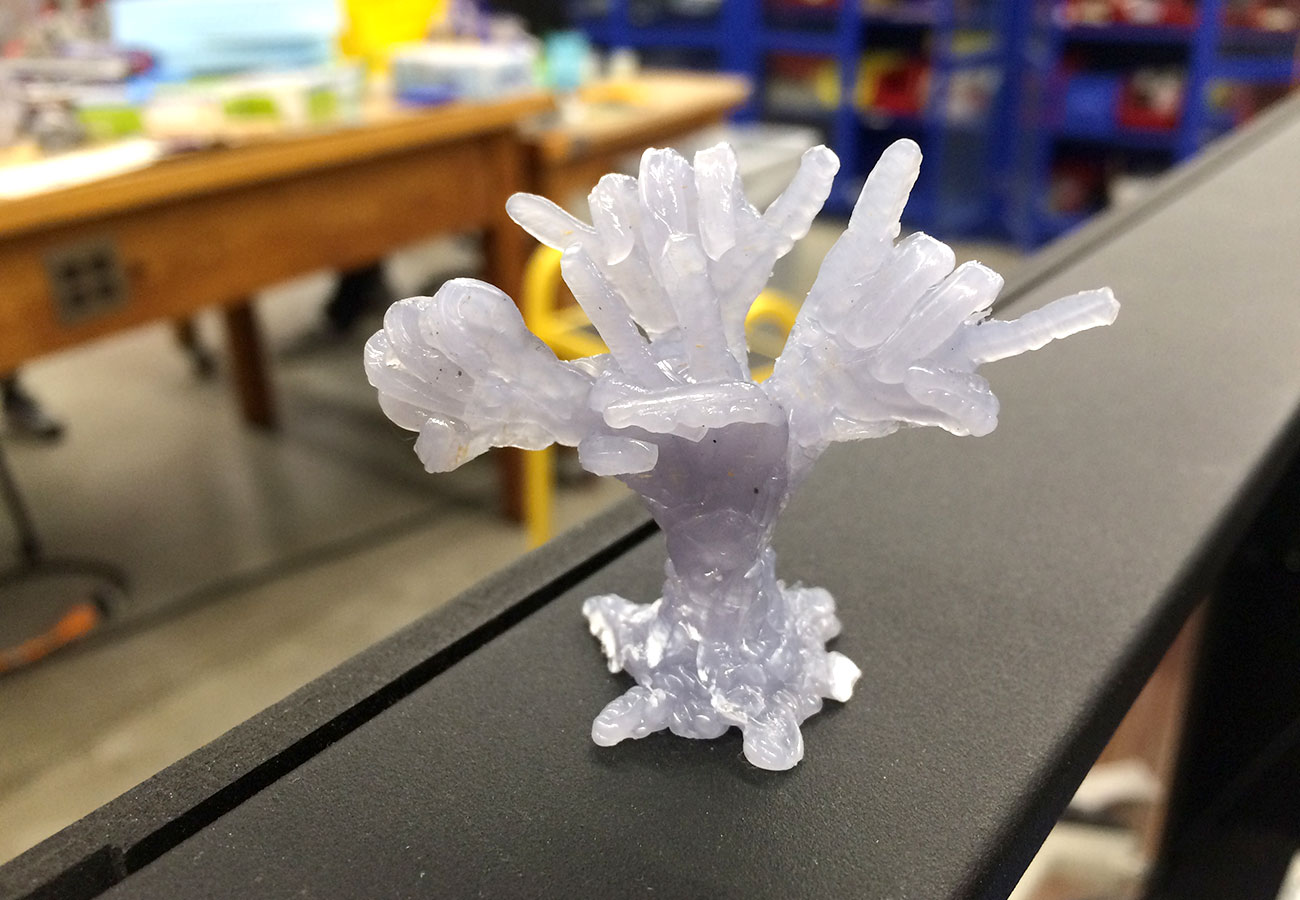
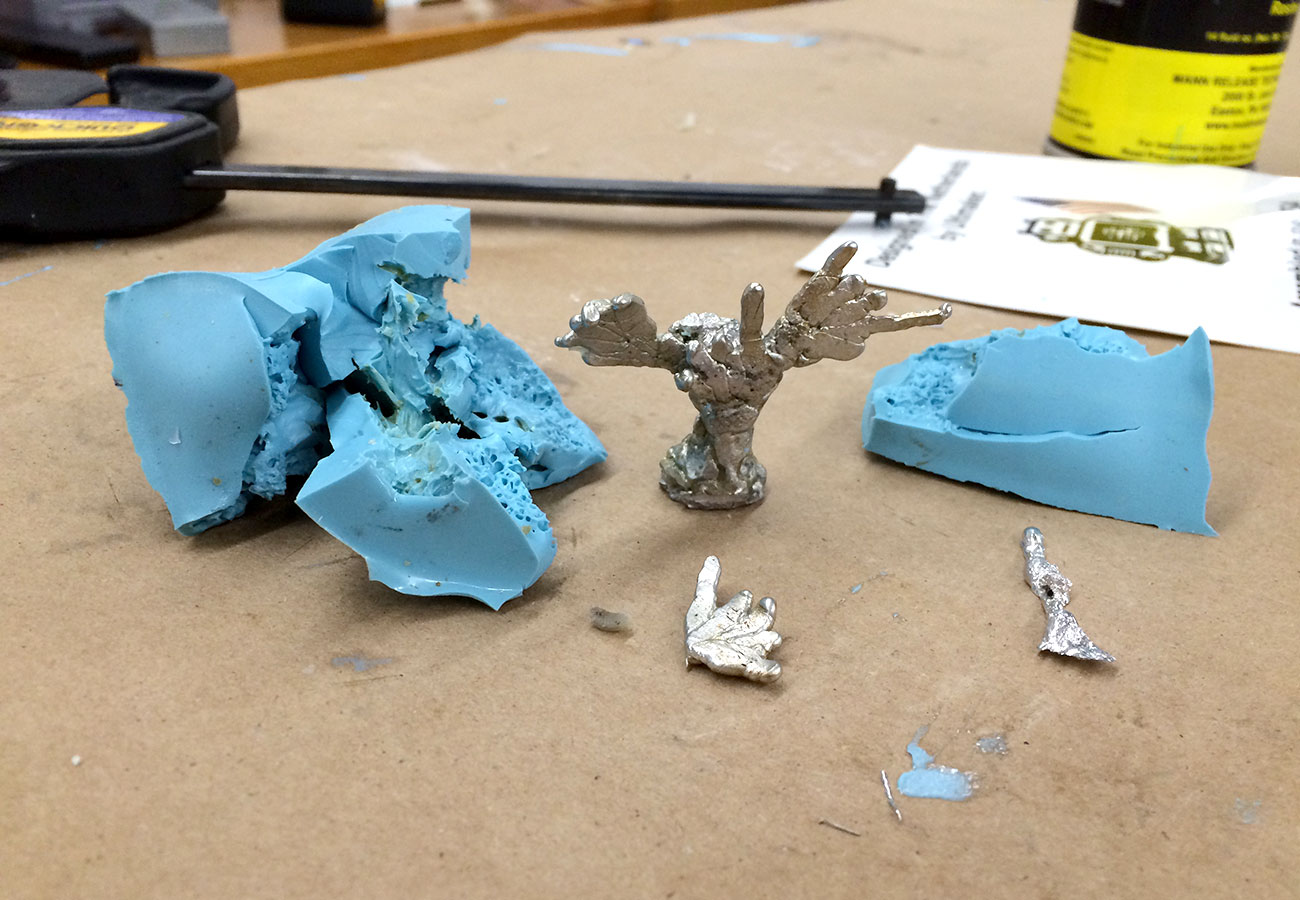
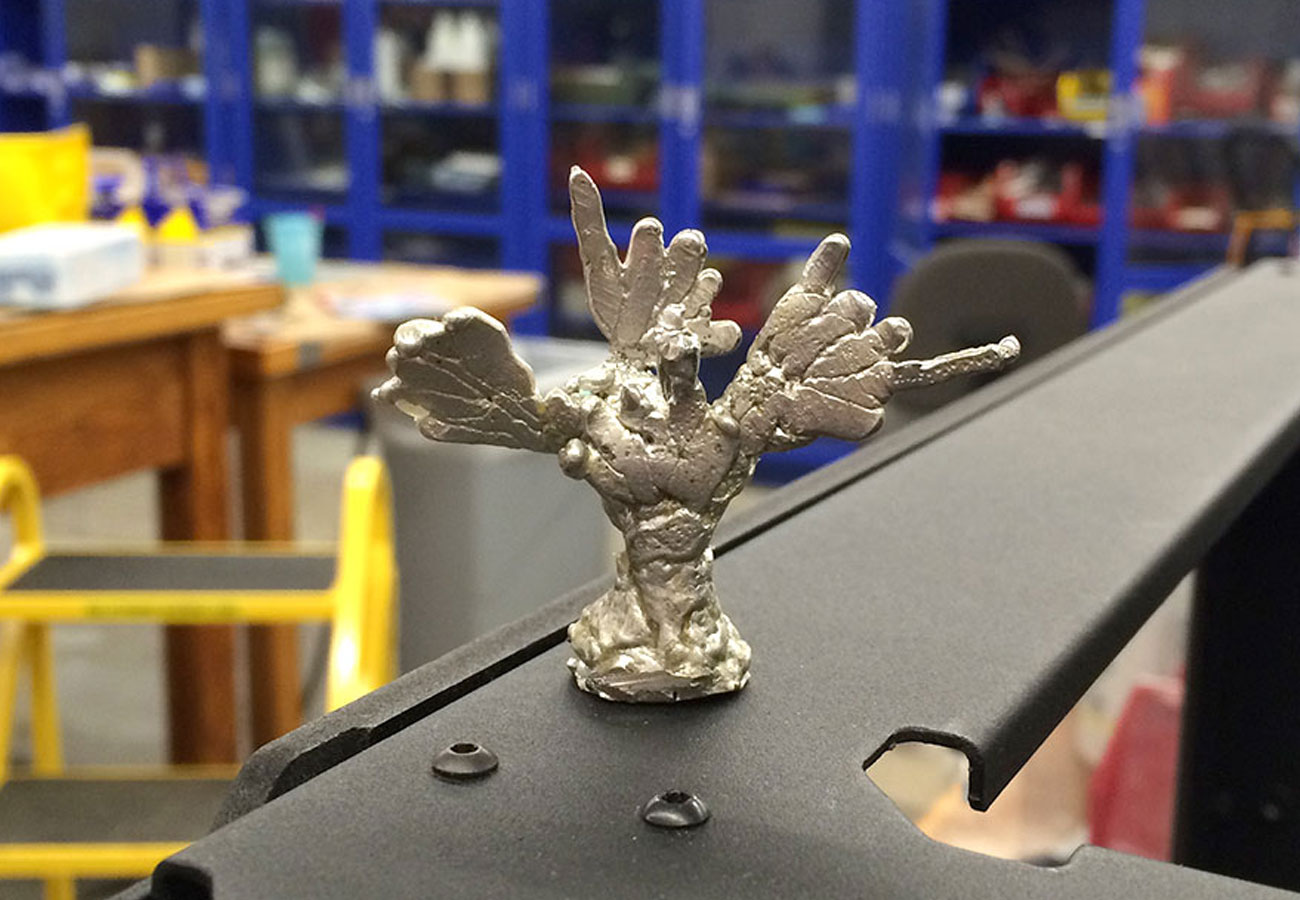
I also tried the "lost-wax" molding technique where you cast a silicone mold around a wax object and then heat up the mold to melt out the wax from the interior. To create the wax object I used the Doodle 3d printer pen loaded with wax filament. I drew a couple hand figures and then, with the assistance of the head gun, sculpted them into various hand gestures and combined them into a hand-tree. After the silicone mold had set, I heated it in the oven at 450 degrees F for about 20 min until it seemed like all the wax had melted out. As this object was fairly complex with small features, I added a few vent holes towards the ends of the hands. This allowed for a small amount of the hot metal to flow out as I was pouring, but ensured that air would not get trapped in these small areas. Once the metal had cooled, I used an exacto blade to cut away the mold and reveal the object inside. The final result did not pick up all of the fingers and there was some remaining wax residue on the surface, but I was surprised that this process worked as well as it did.