How to Make (almost) Anything

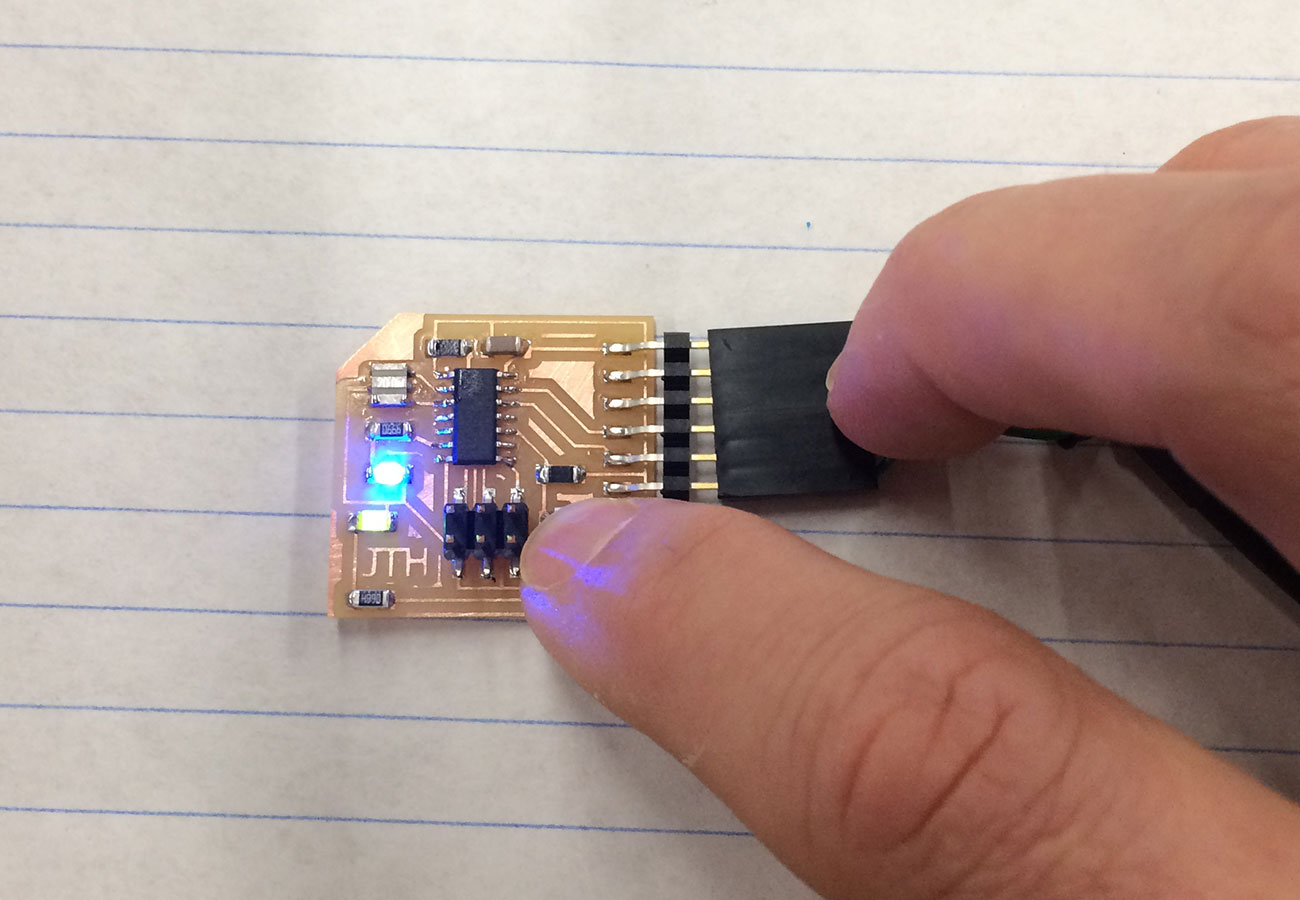
This week we were asked to program our board to do something. I already had placed a blue LED and a button on my board from week 6, electronics design, so I was now ready to try to program it. My first approach was to program the board using the terminal and avrdude on the Mac in the physics lab. Here are the steps that were involved:
After getting the board loaded through avrdude, I wanted to make sure that I could program the board on my own computer. For this I decided to use the Arduino IDE and followed the instructions in this tutorial from HighTechLowTech. I was then able to select the ATTiny as the board, the ATtiny44 as the processor, 20MHz external clock, and the USBtinyISP as the programmer. Once all of these settings were correct, I was able to burn the bootloader and then remove the fabISP. I tried uploading few of the example sketches such as the LED fade to make sure that everything was working properly.
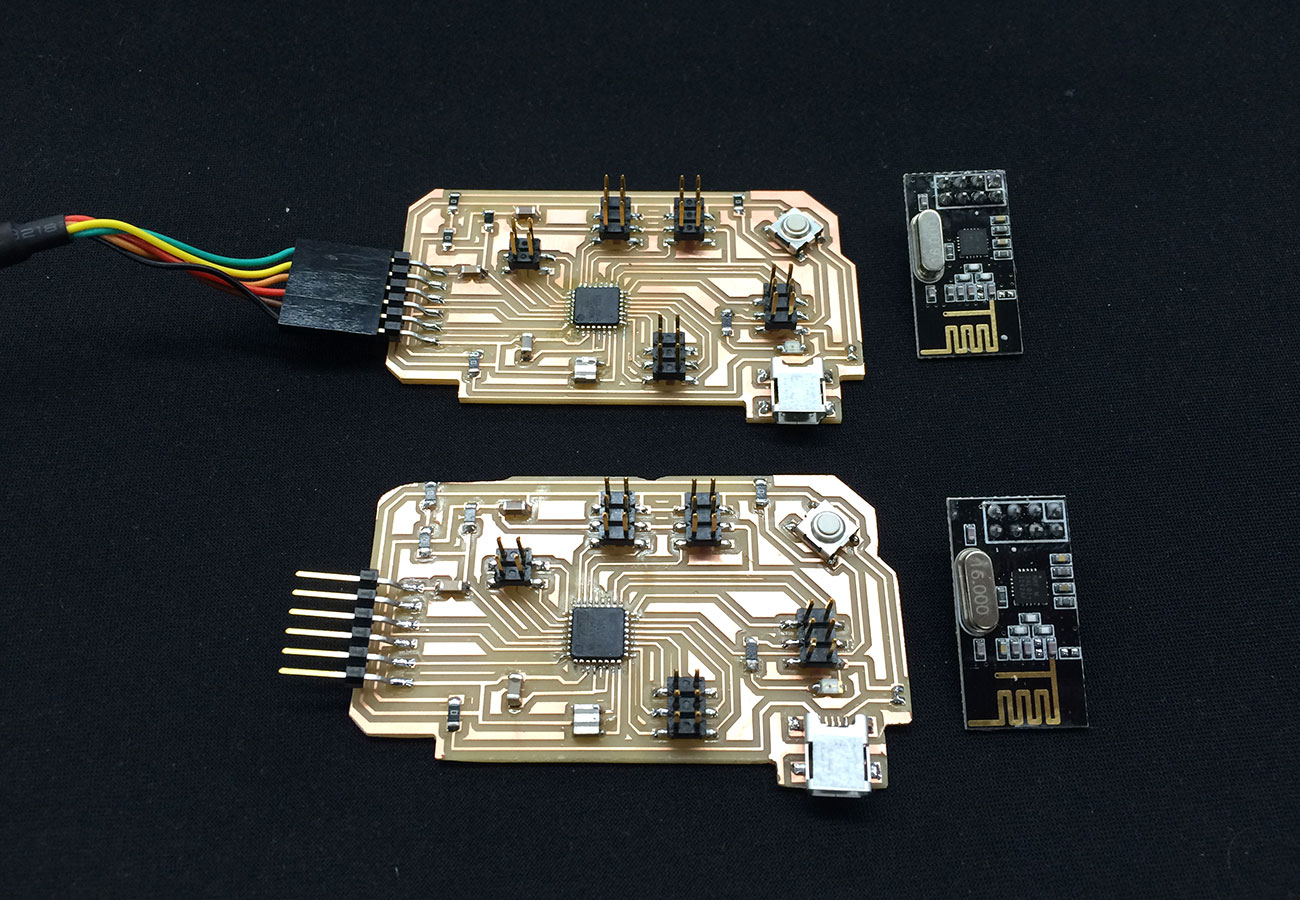
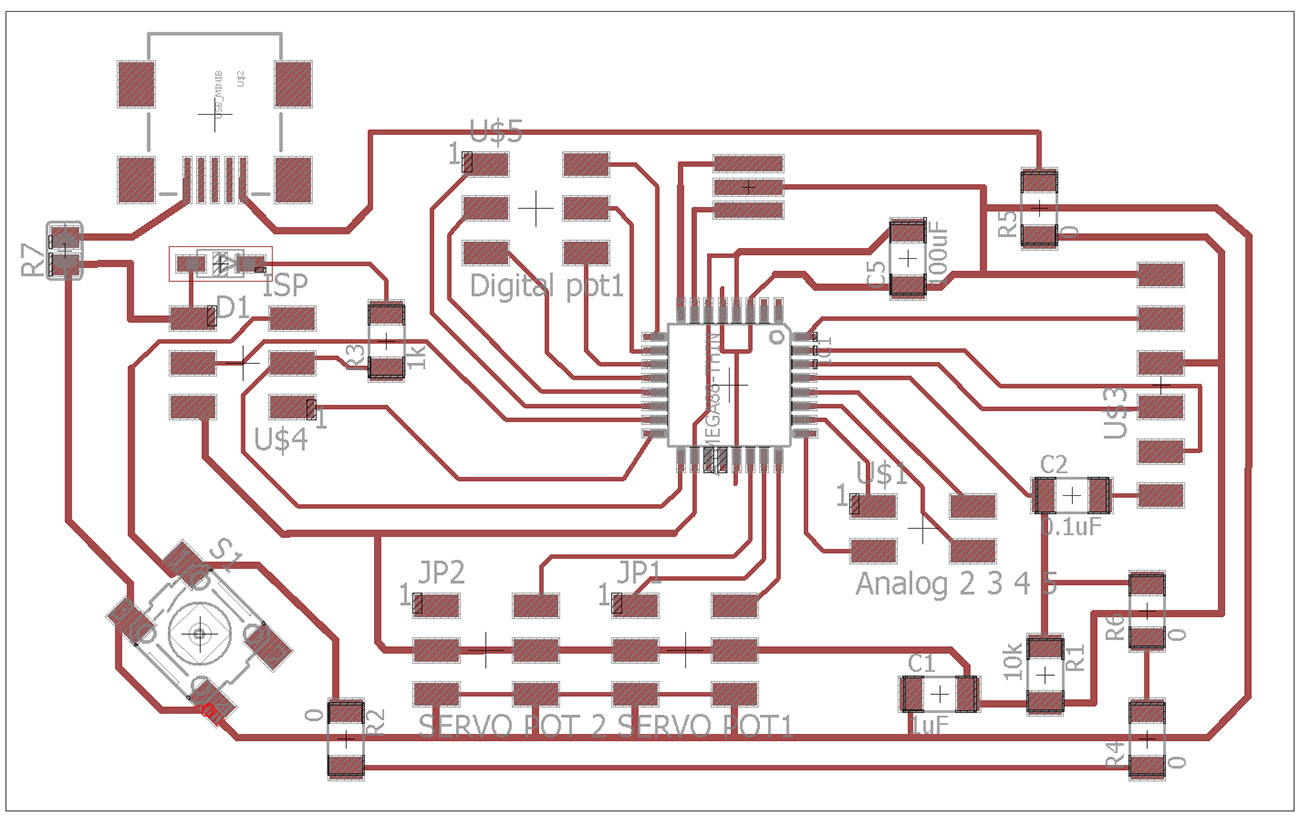
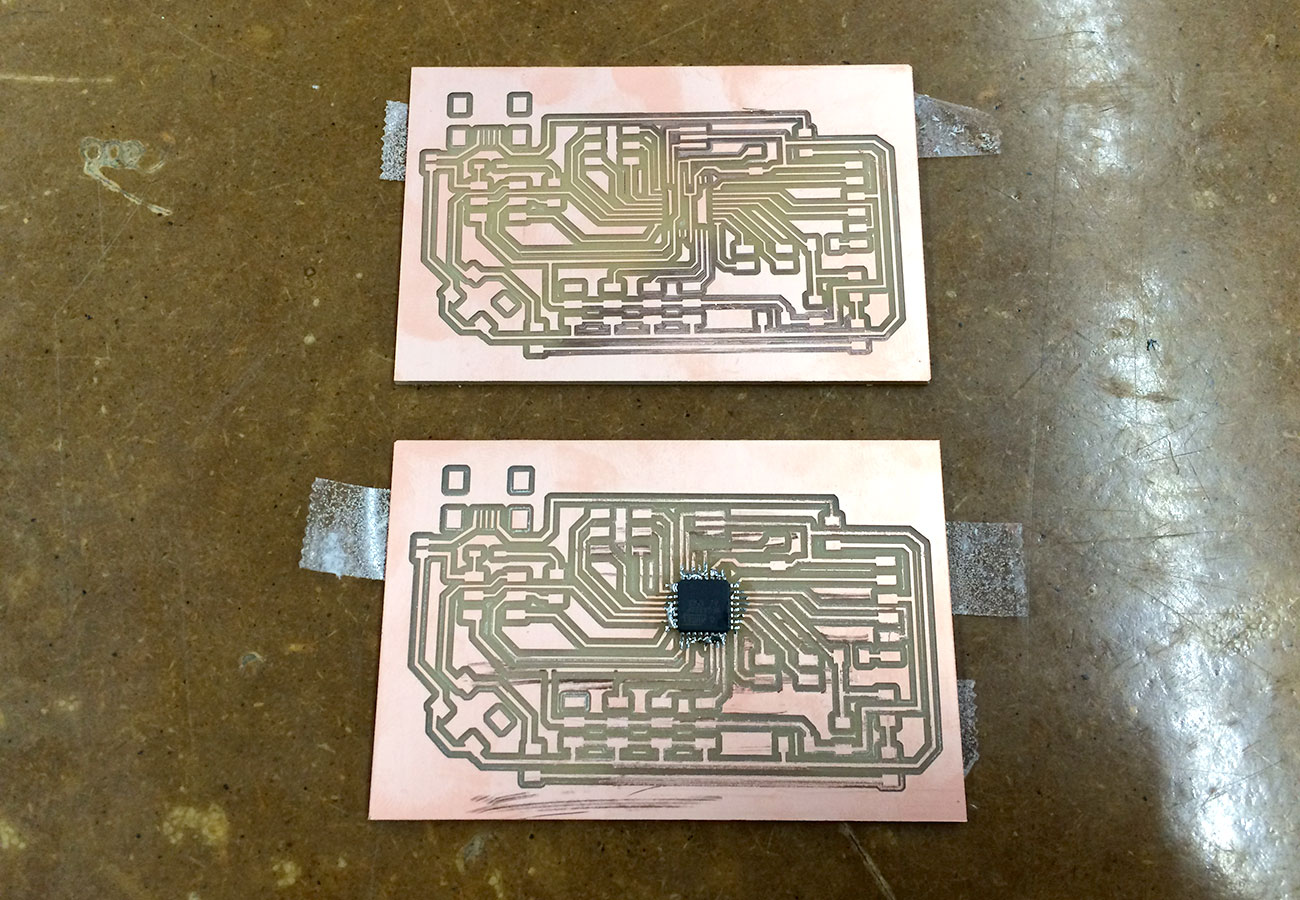
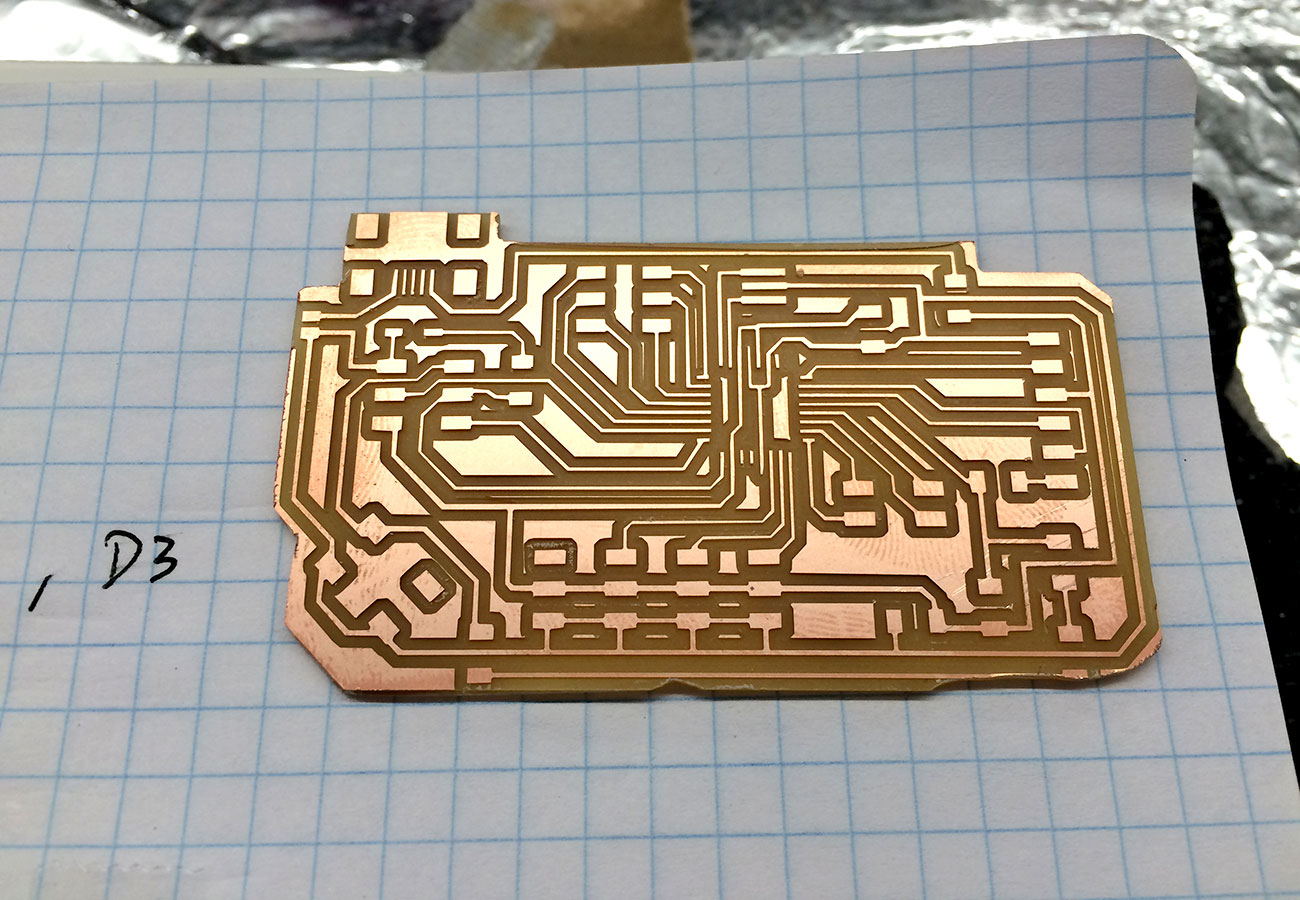
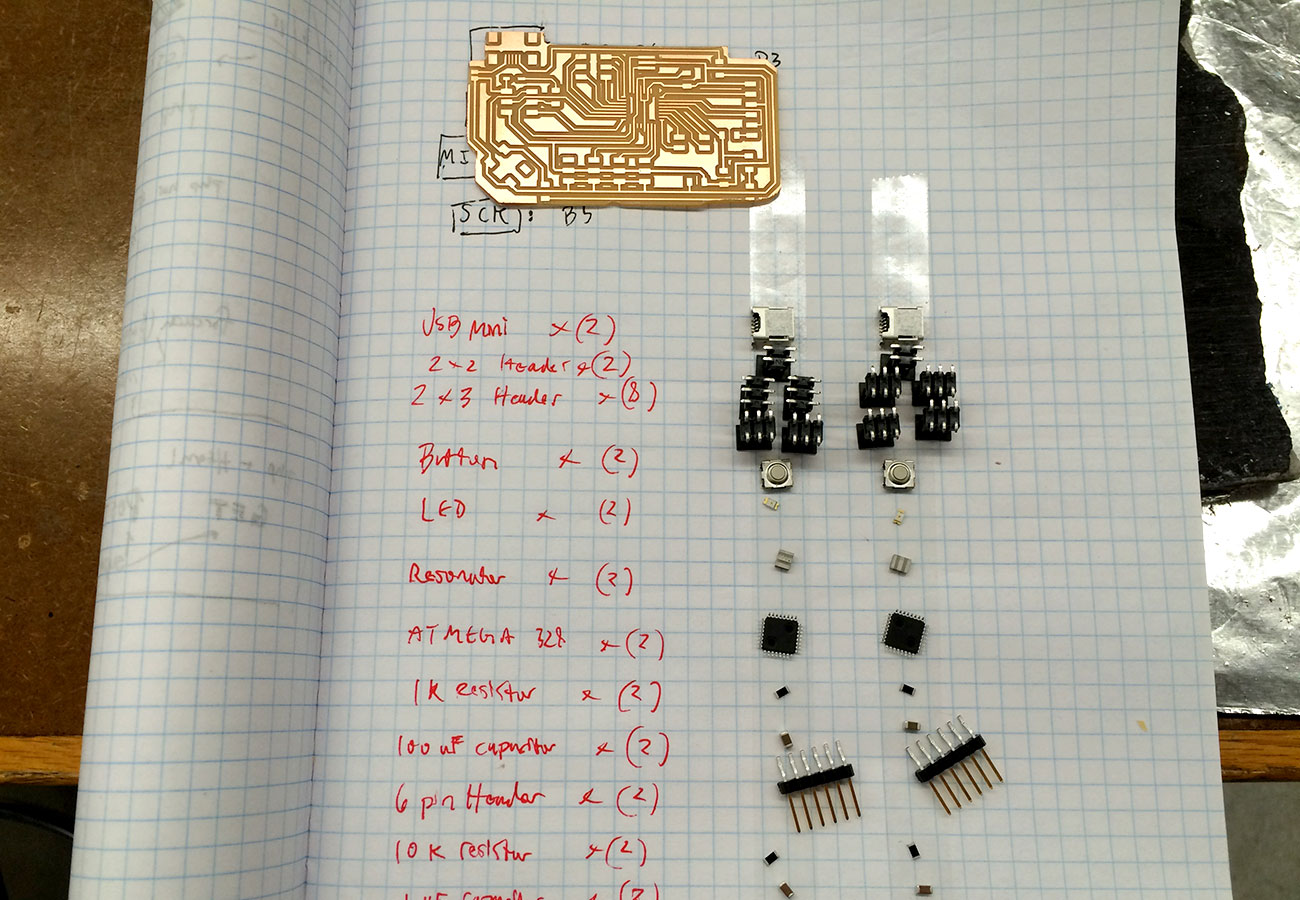
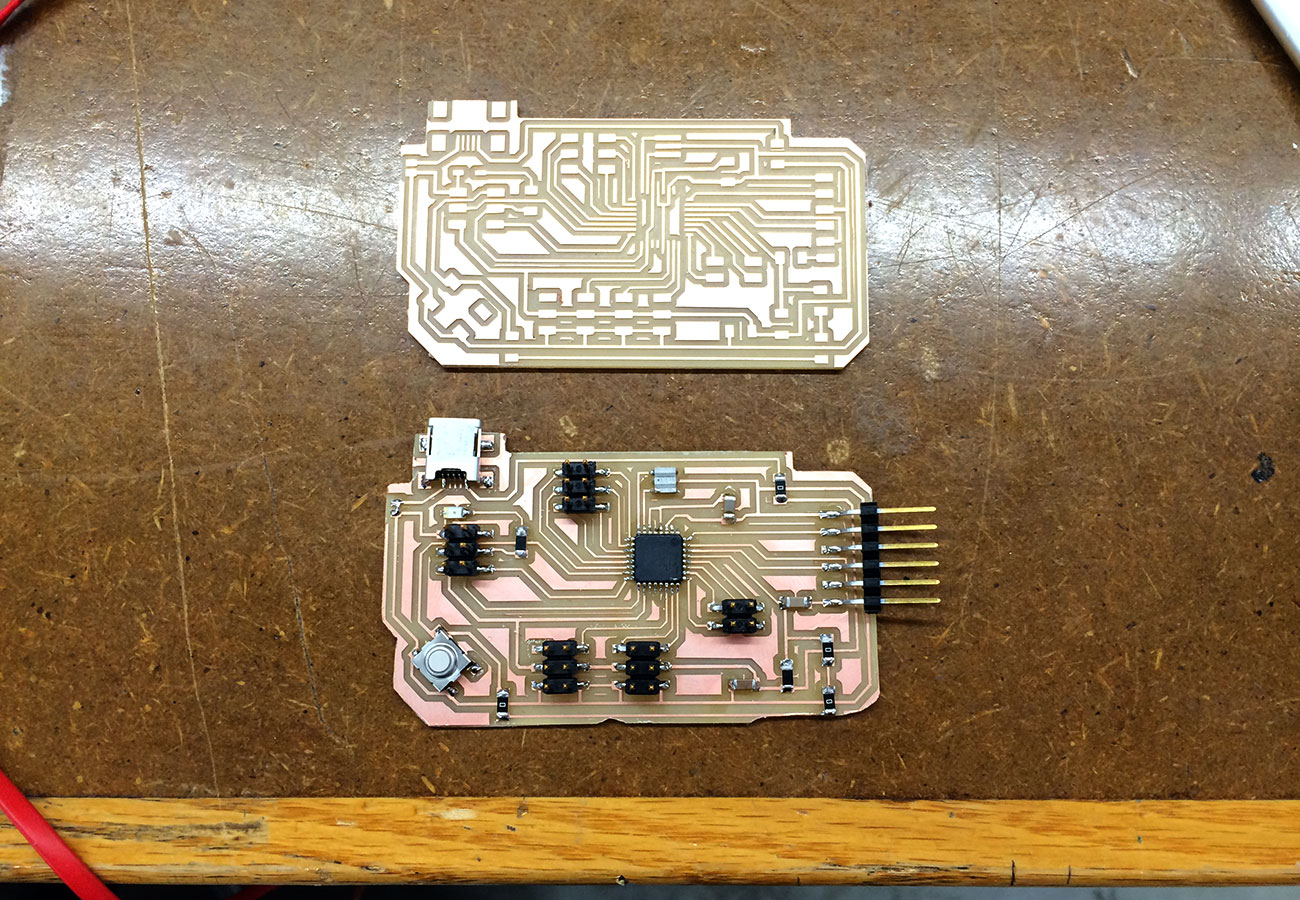
After programming my blue led board, I wanted to try wireless communication using the nRF24 module. My idea was to use a piezo as a sensor to detect a knock and then transmit a signal to another board which would blink an LED. After talking with Dan Chen about the necessary steps and reading through his tutorial, I decided to make two copies of his Dandurino board (slightly changing the design to use a 20 MHz resonator instead of a crystal with two capacitors), which uses an ATmega328p so that there are more available pins, and also breaks out the pins into several headers for easier prototyping. This seemed very appealing to be able to potentially swap out a piezo sensor for a pressure sensor, or send a signal to a motor in addition to an LED.
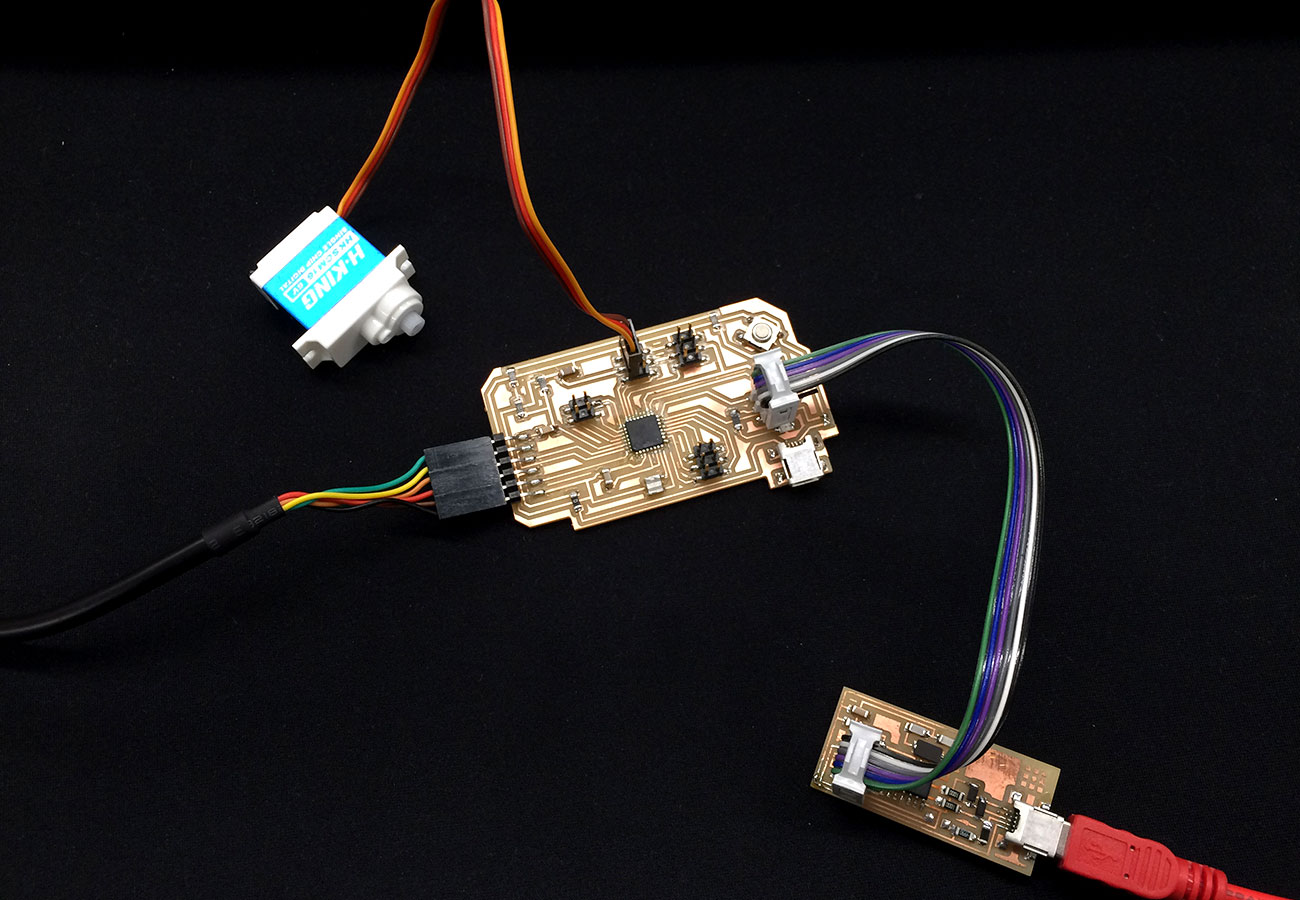
While my ATtiny44 board worked great with the Arduino IDE, I did not have the same success with my ATmega328p boards. I was able to successfully burn the bootloader on both of these boards, but when I tried to upload a test program for moving a servo, I recieved an error message saying that the program could not be uploaded. I still need to do some more debugging to determine what is preventing the program upload and then I should be able to test out the RF module.