week 5: electronics cycle
The objective this week was to gain fluency in the electronics design workflow: from designing a board layout in CAD tools, to milling, to stuffing, and to ultimately testing and validating function.
design
For the design, I used Eagle to replicate the "hello world" board config with an added LED and tactile switch (for maximal simplicity in this first iteration, I added them in series between the 5V Vcc trace and ground, along with a 500 Ohm current limiting resistor to limit the LED to 10 mA).
Designing the schematic was relatively straightforward - for the most part, all of the component blocks were taken from the fab.lbr library (besides the GRN and VCC nodes, taken from the supply library). Drawing the traces in board view was slightly less straightforward conceptually, though simple mechanistically (just involving the 'route' and 'rip-up' tabs).
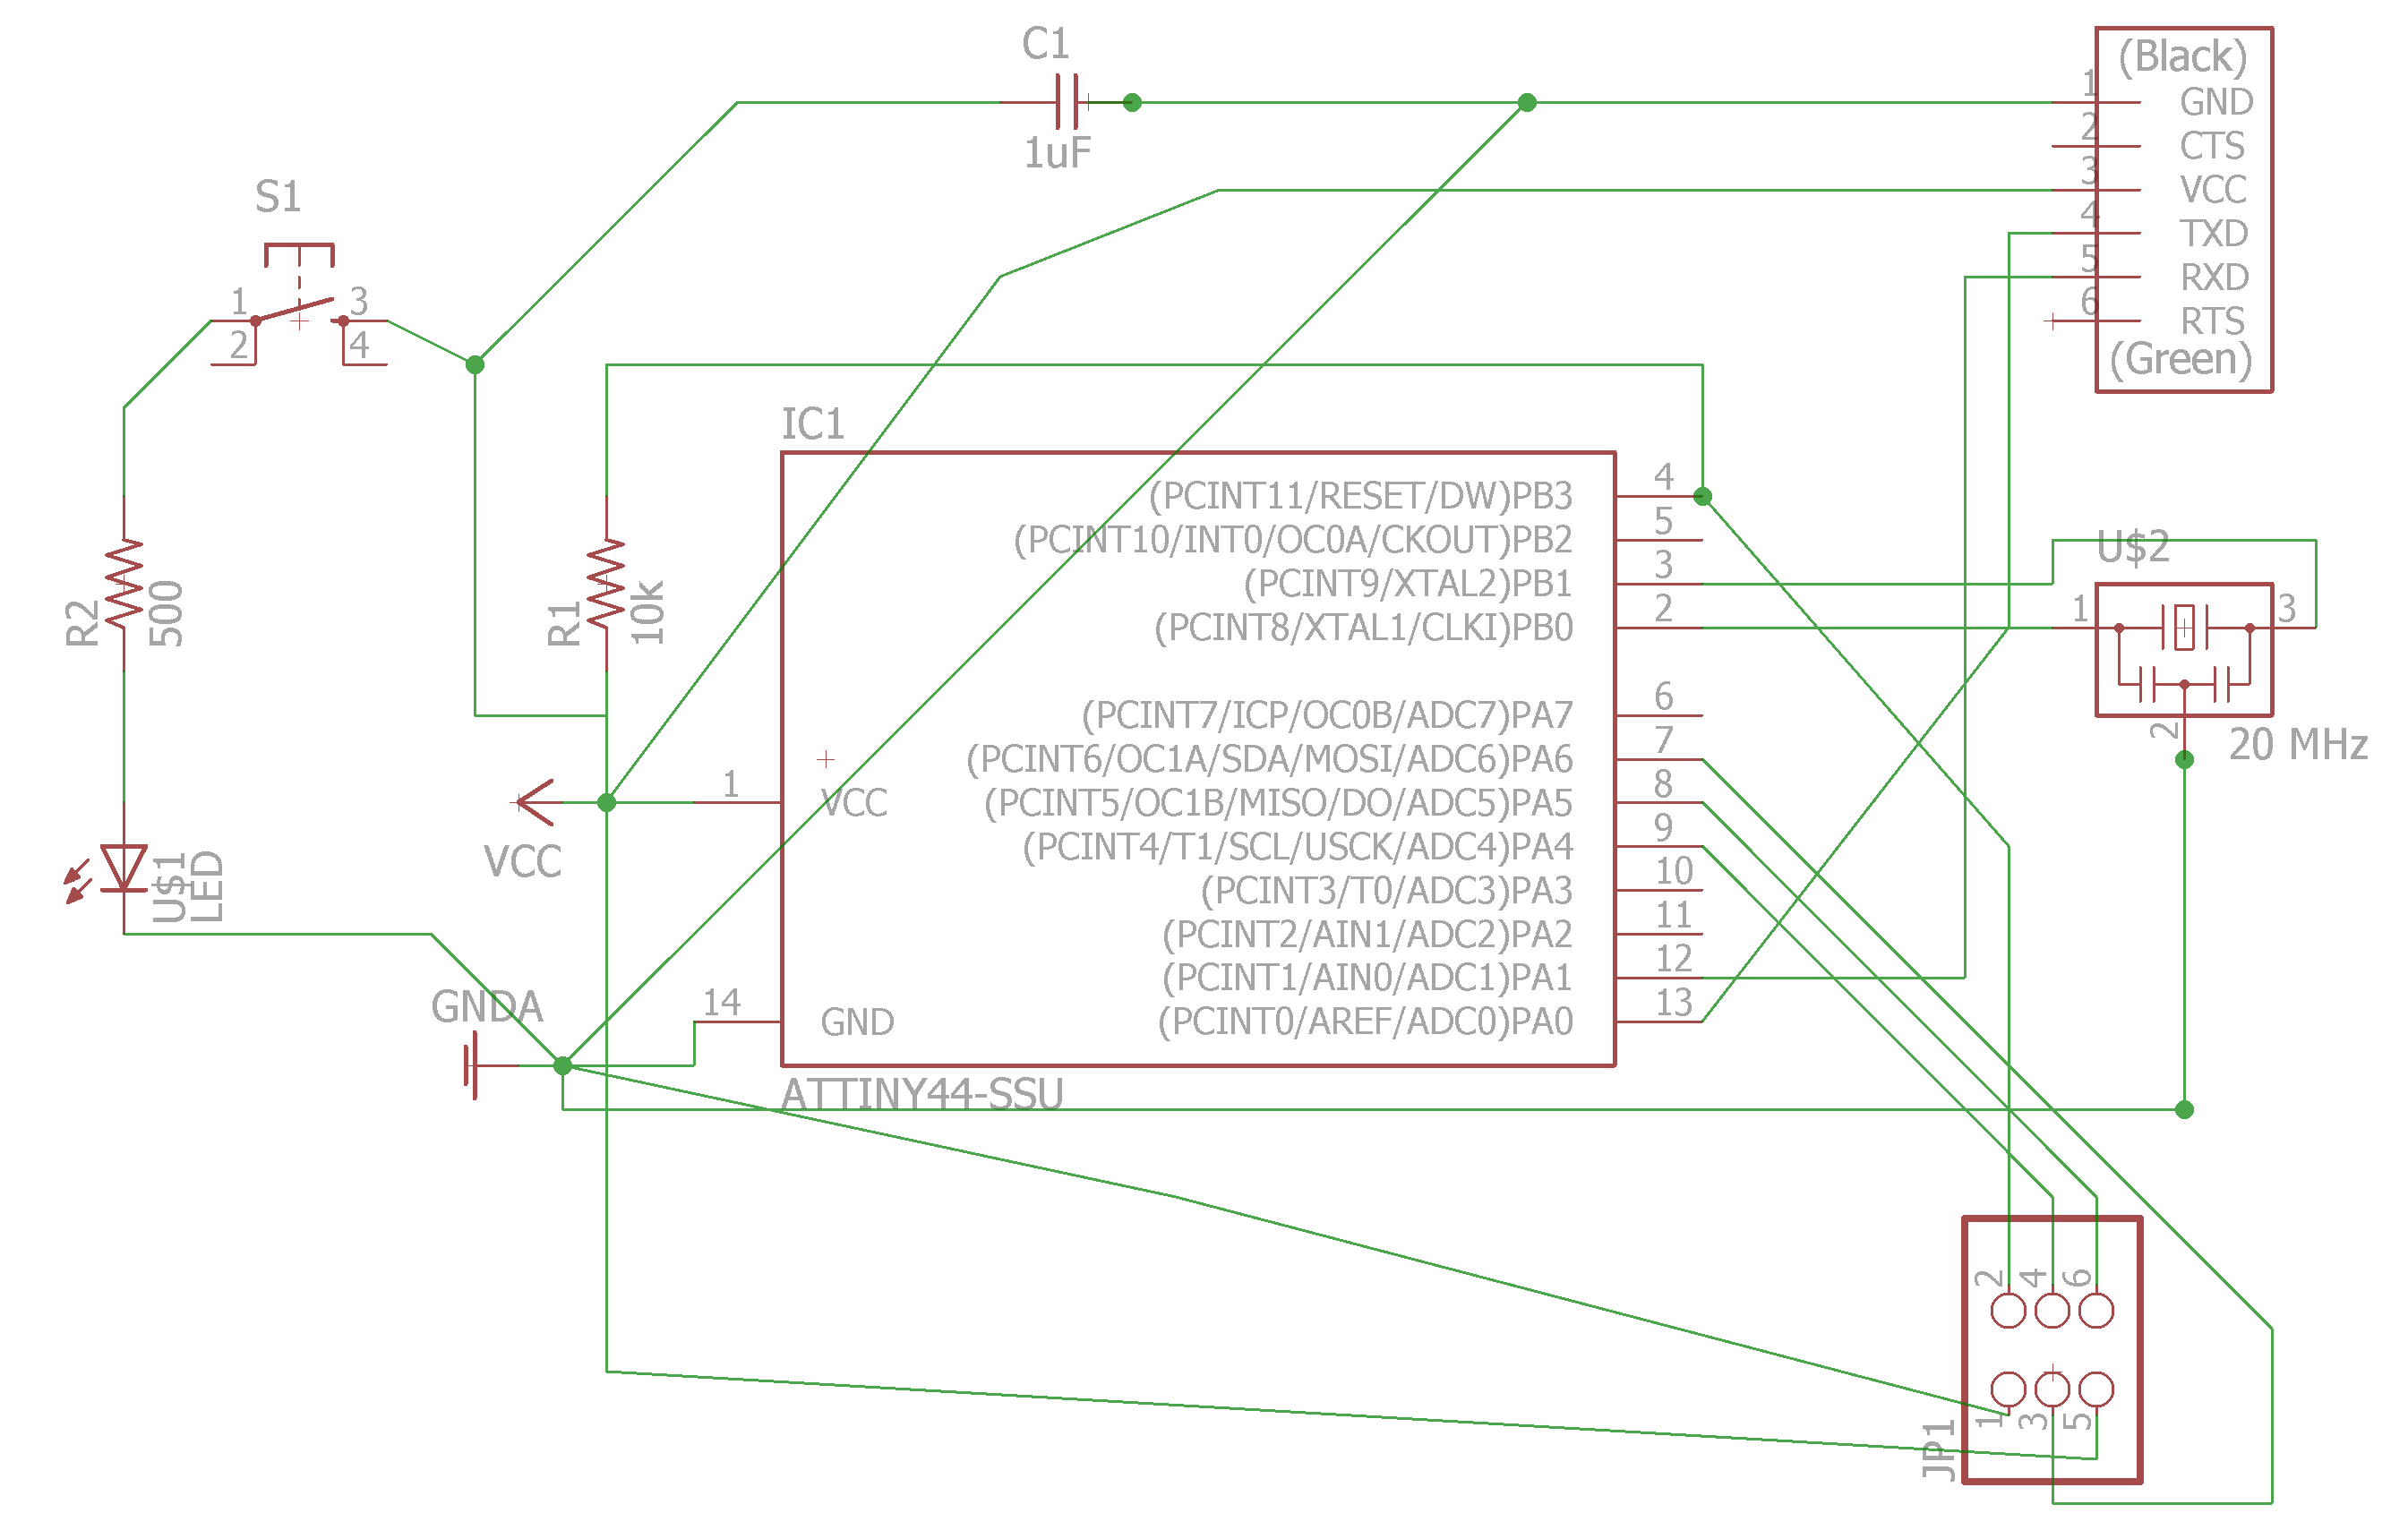
board schematic
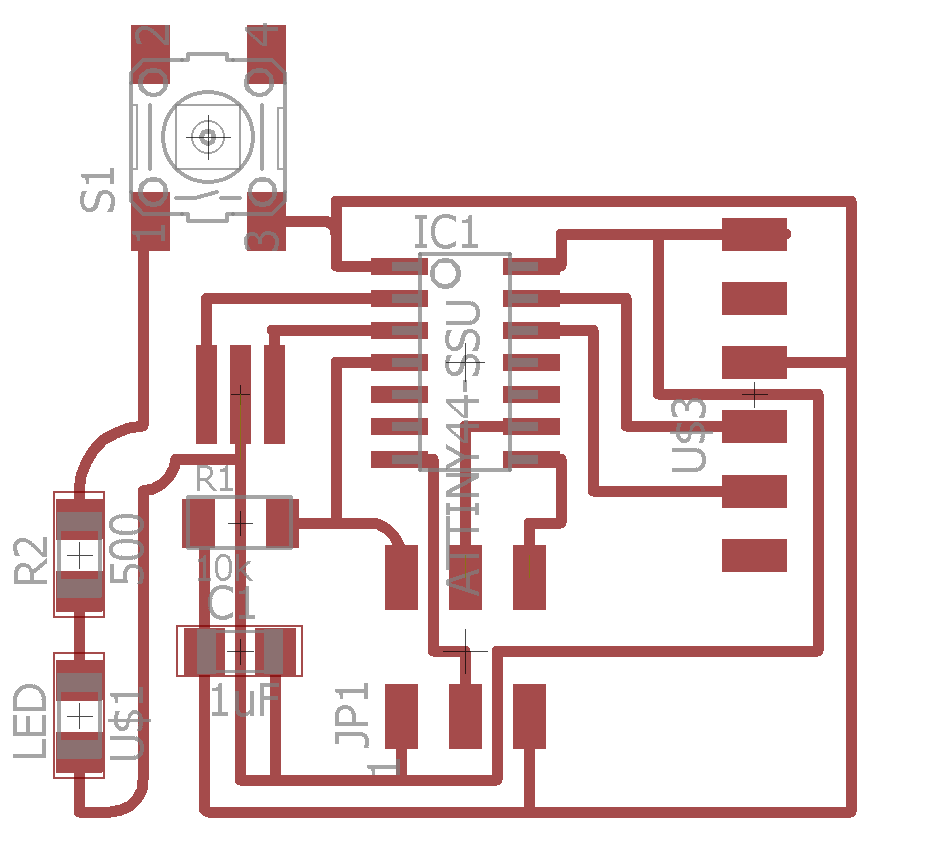
original trace design
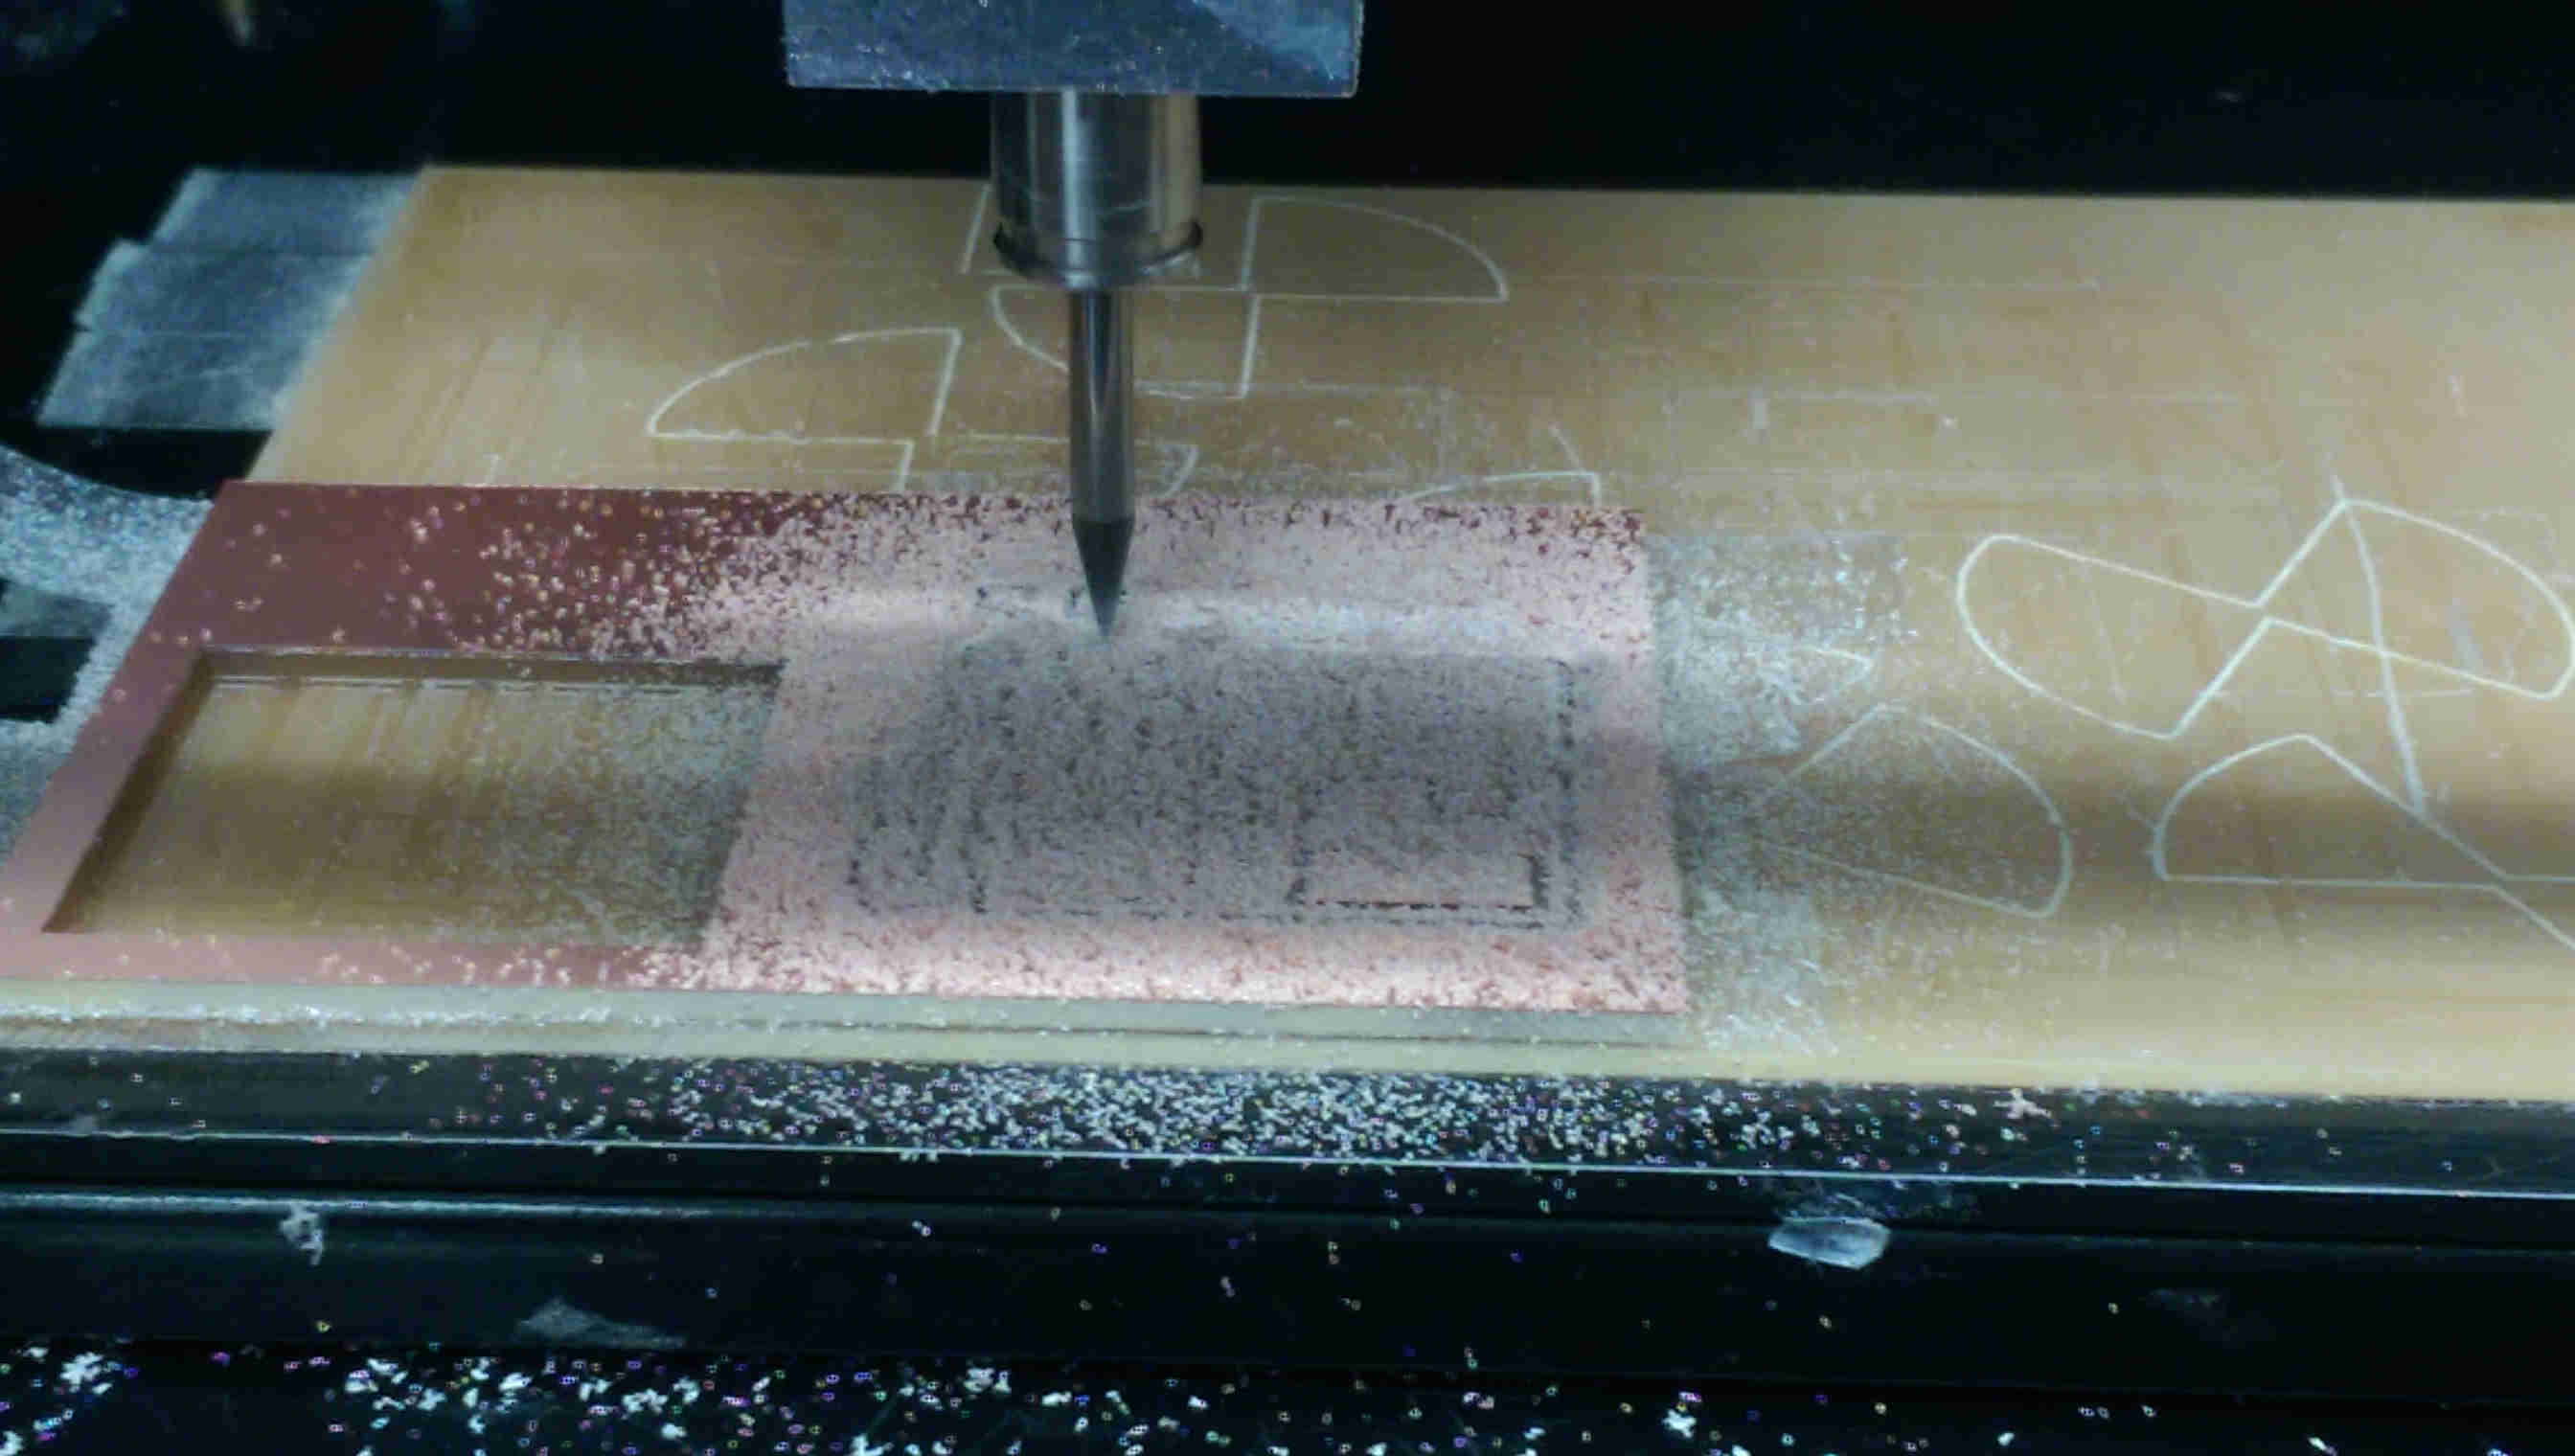
pcb fab
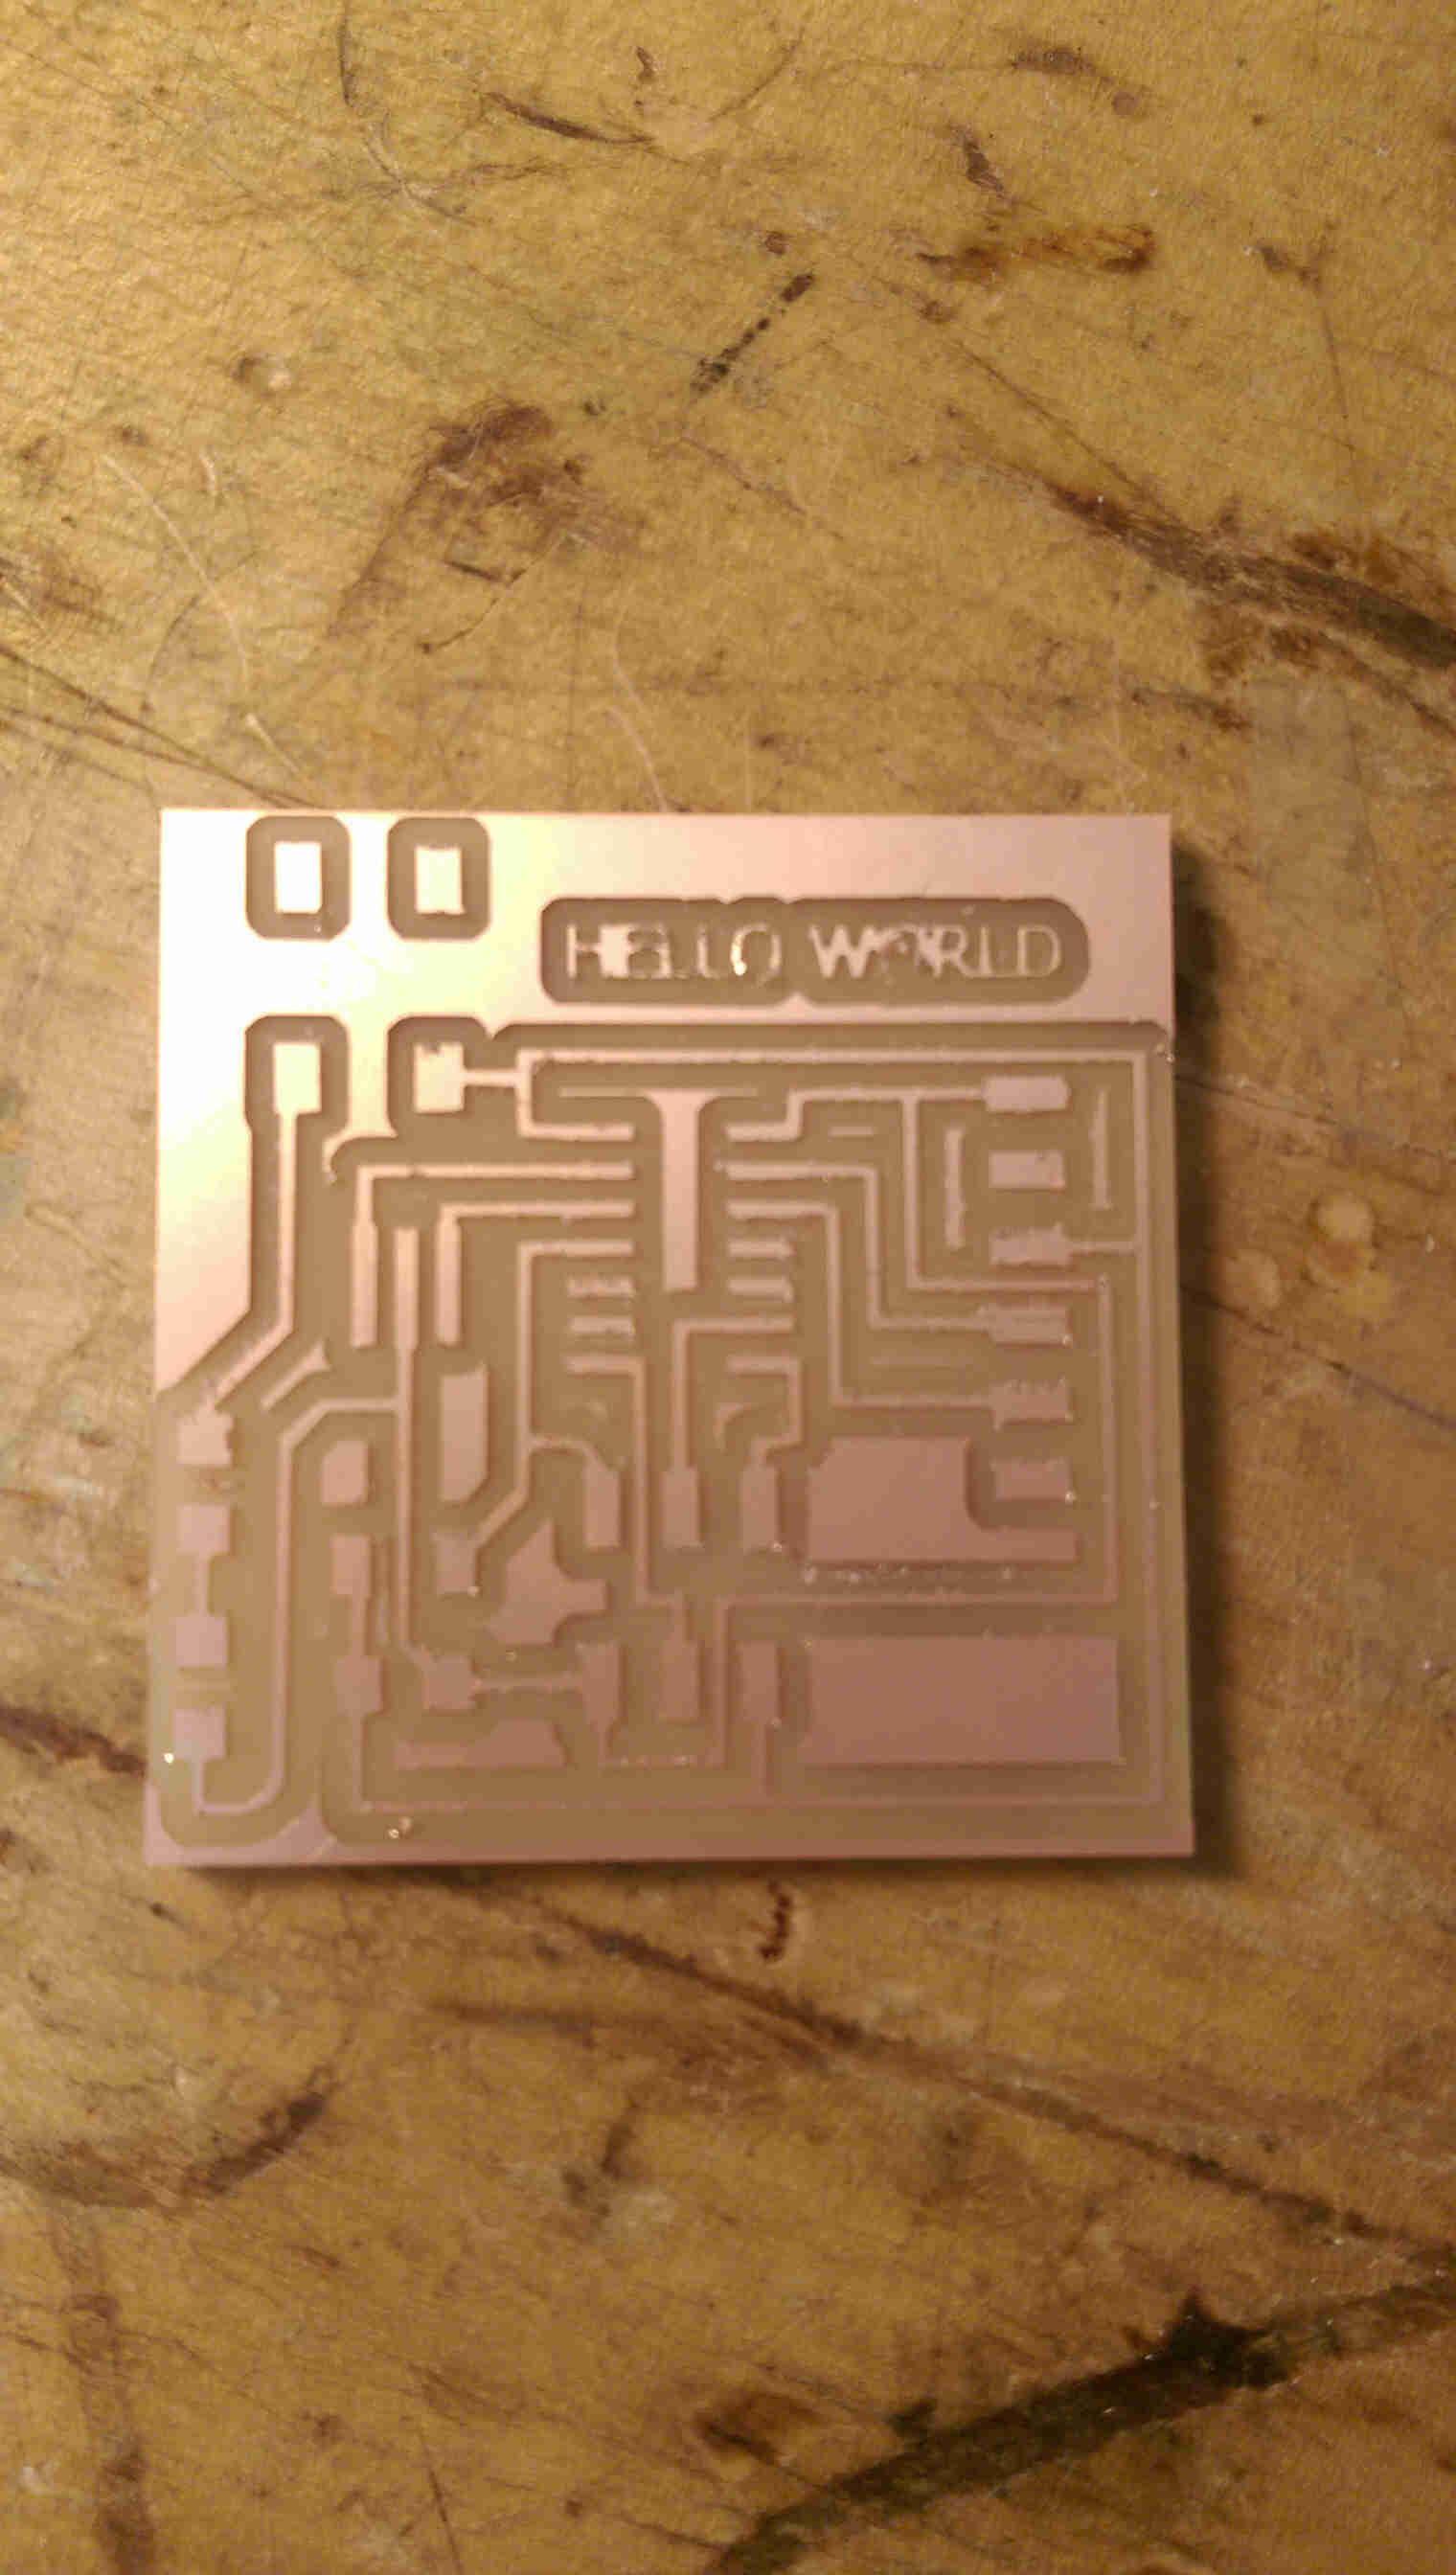
I checked the design rules on my initial board (using the 'DRC' tab), and while I returned no over errors, returned a couple warning messages about having close traces. Because my traces *seemed* no closer than those on other boards, I decided to give it a shot anyways. In the end, the first version of my board did indeed have 2 spots where the traces/pads didn't separate. In retrospect, I could have seen this if I had been more careful about checking the fab modules toolpath.
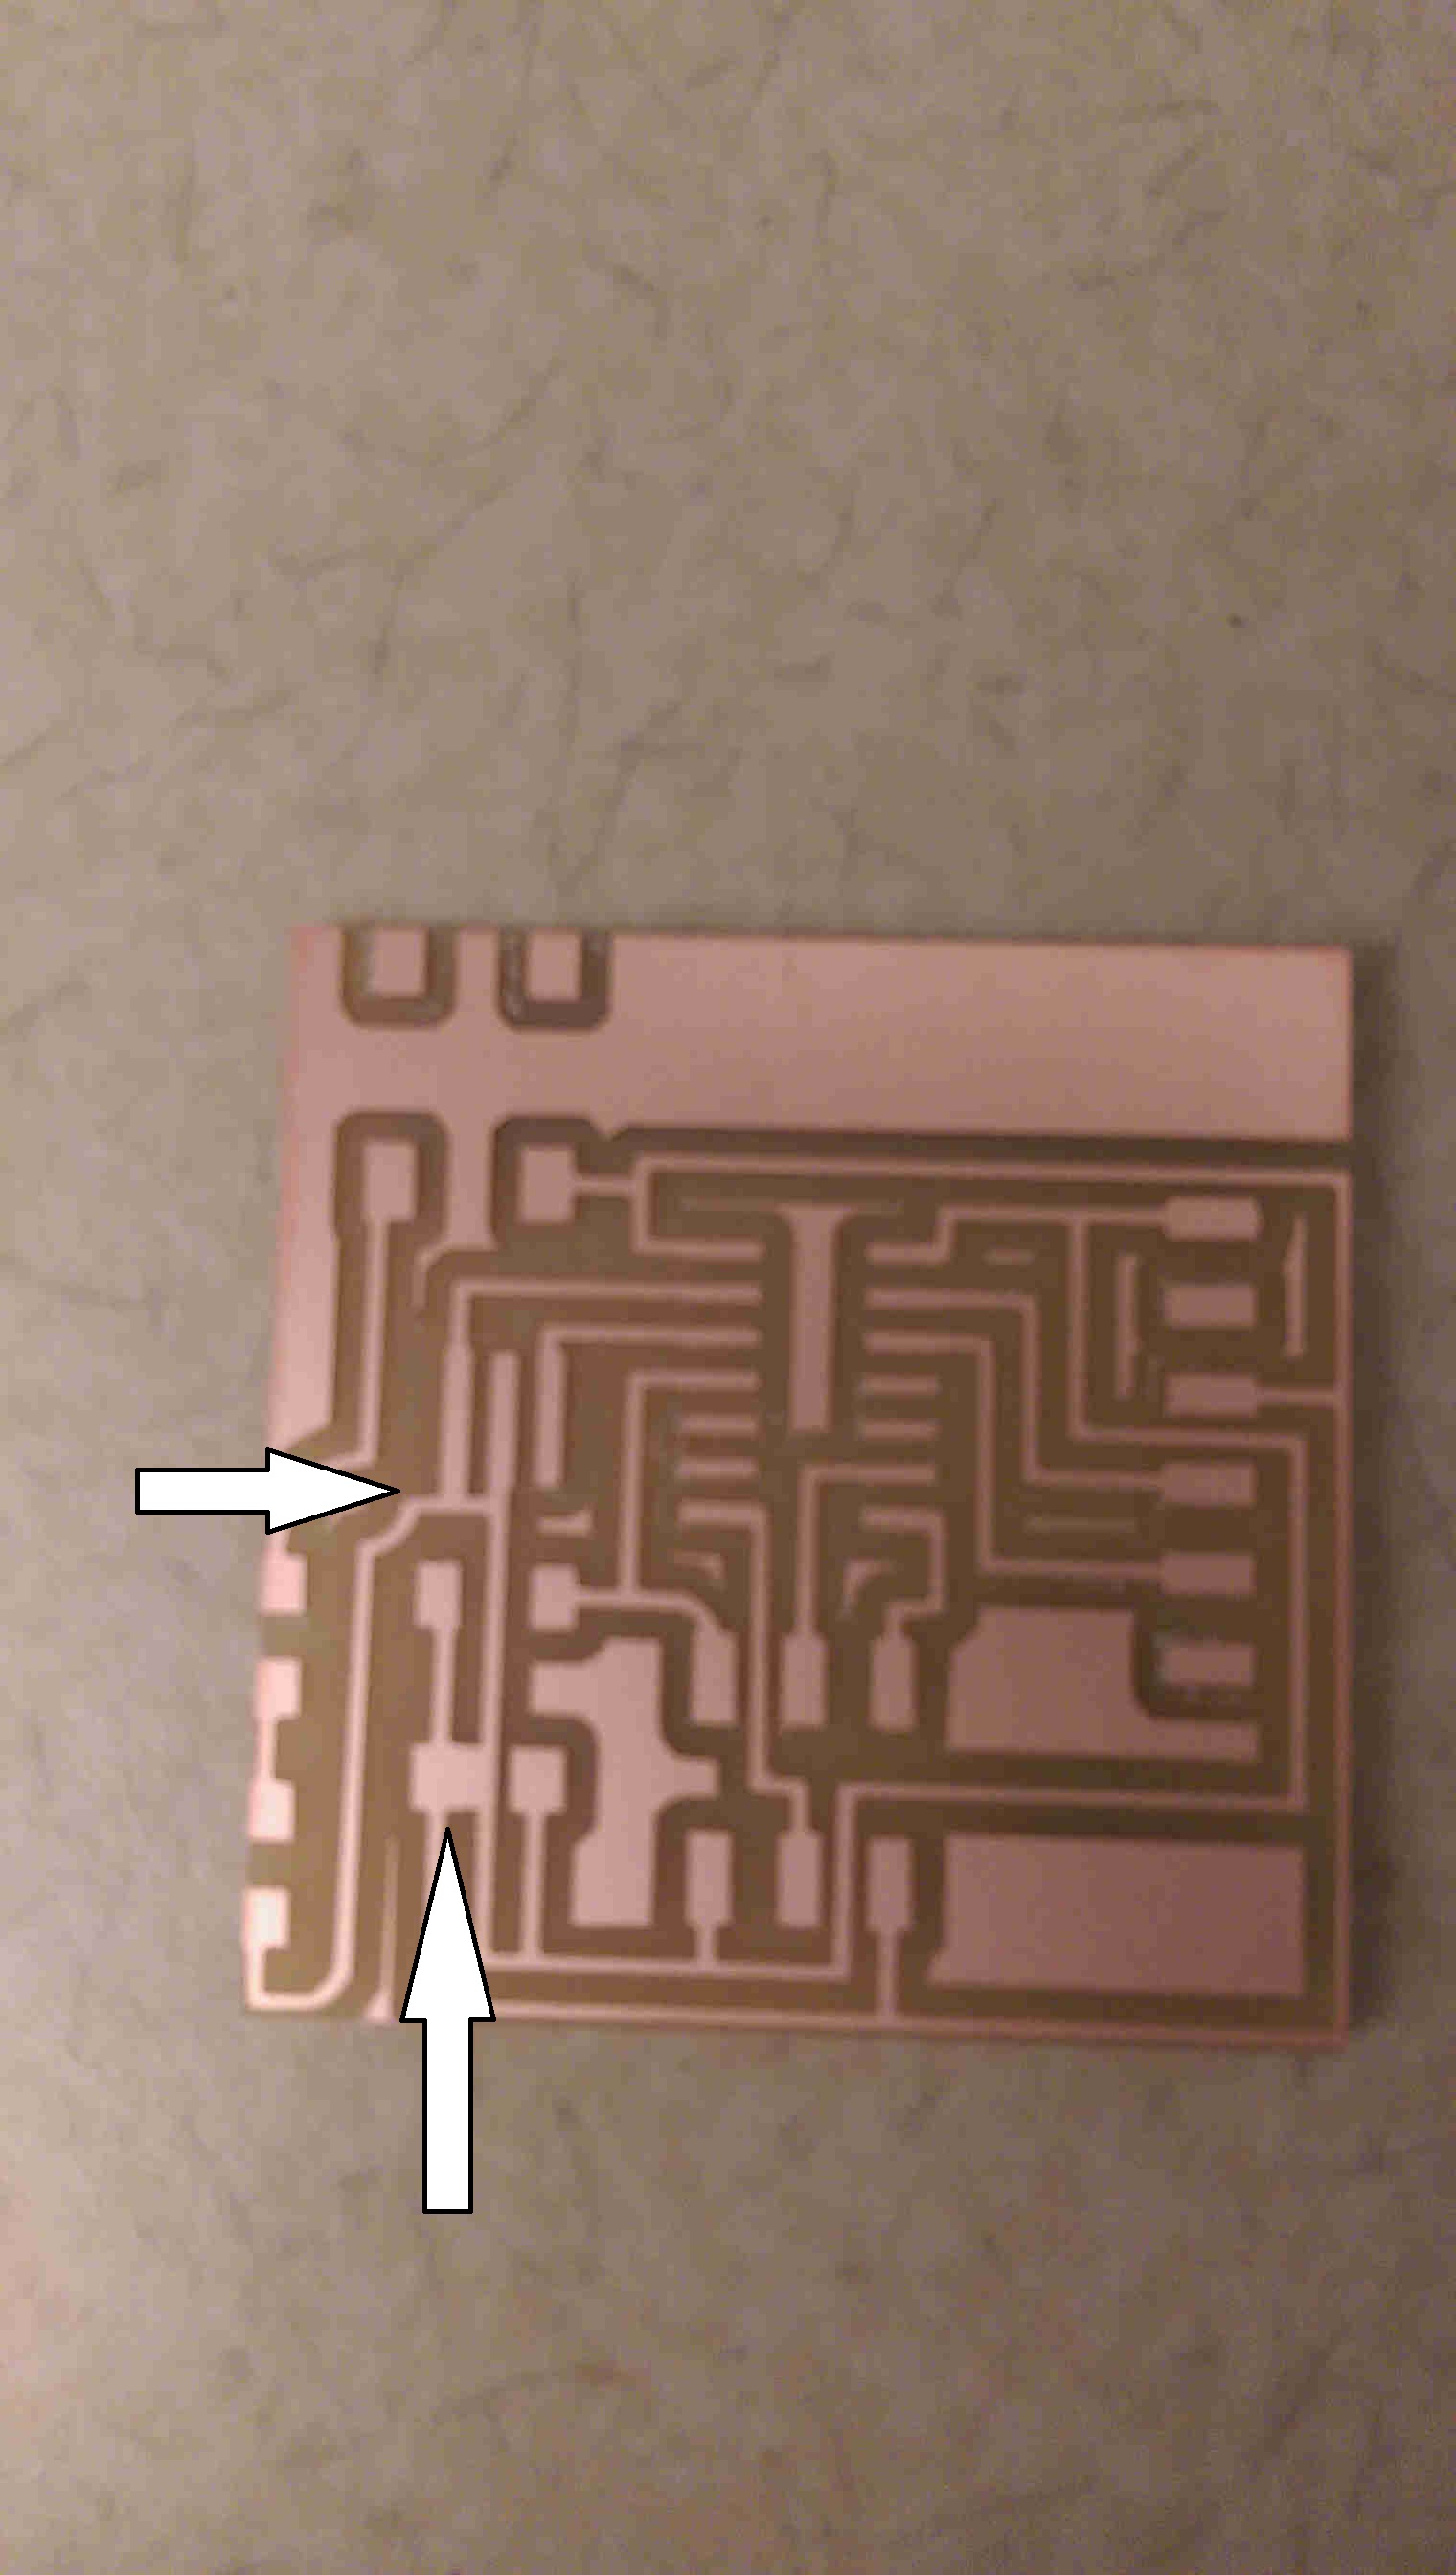
the first board failed to separate traces from component pads in two locations...
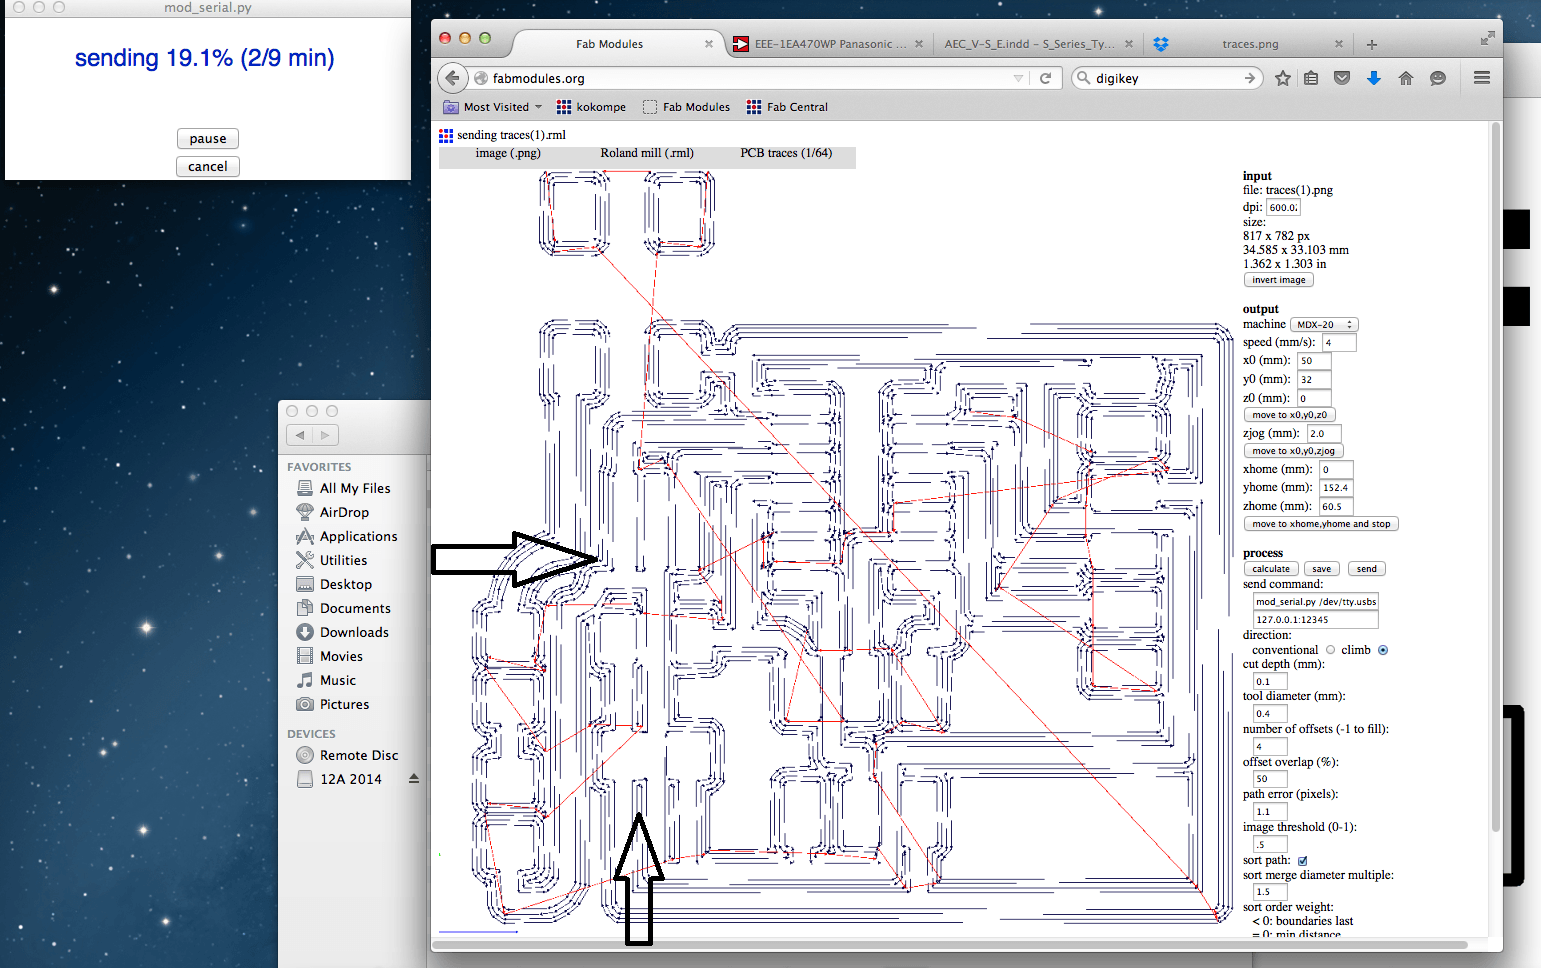
...which, in retrospect, was apparent from the fabmodules toolpath
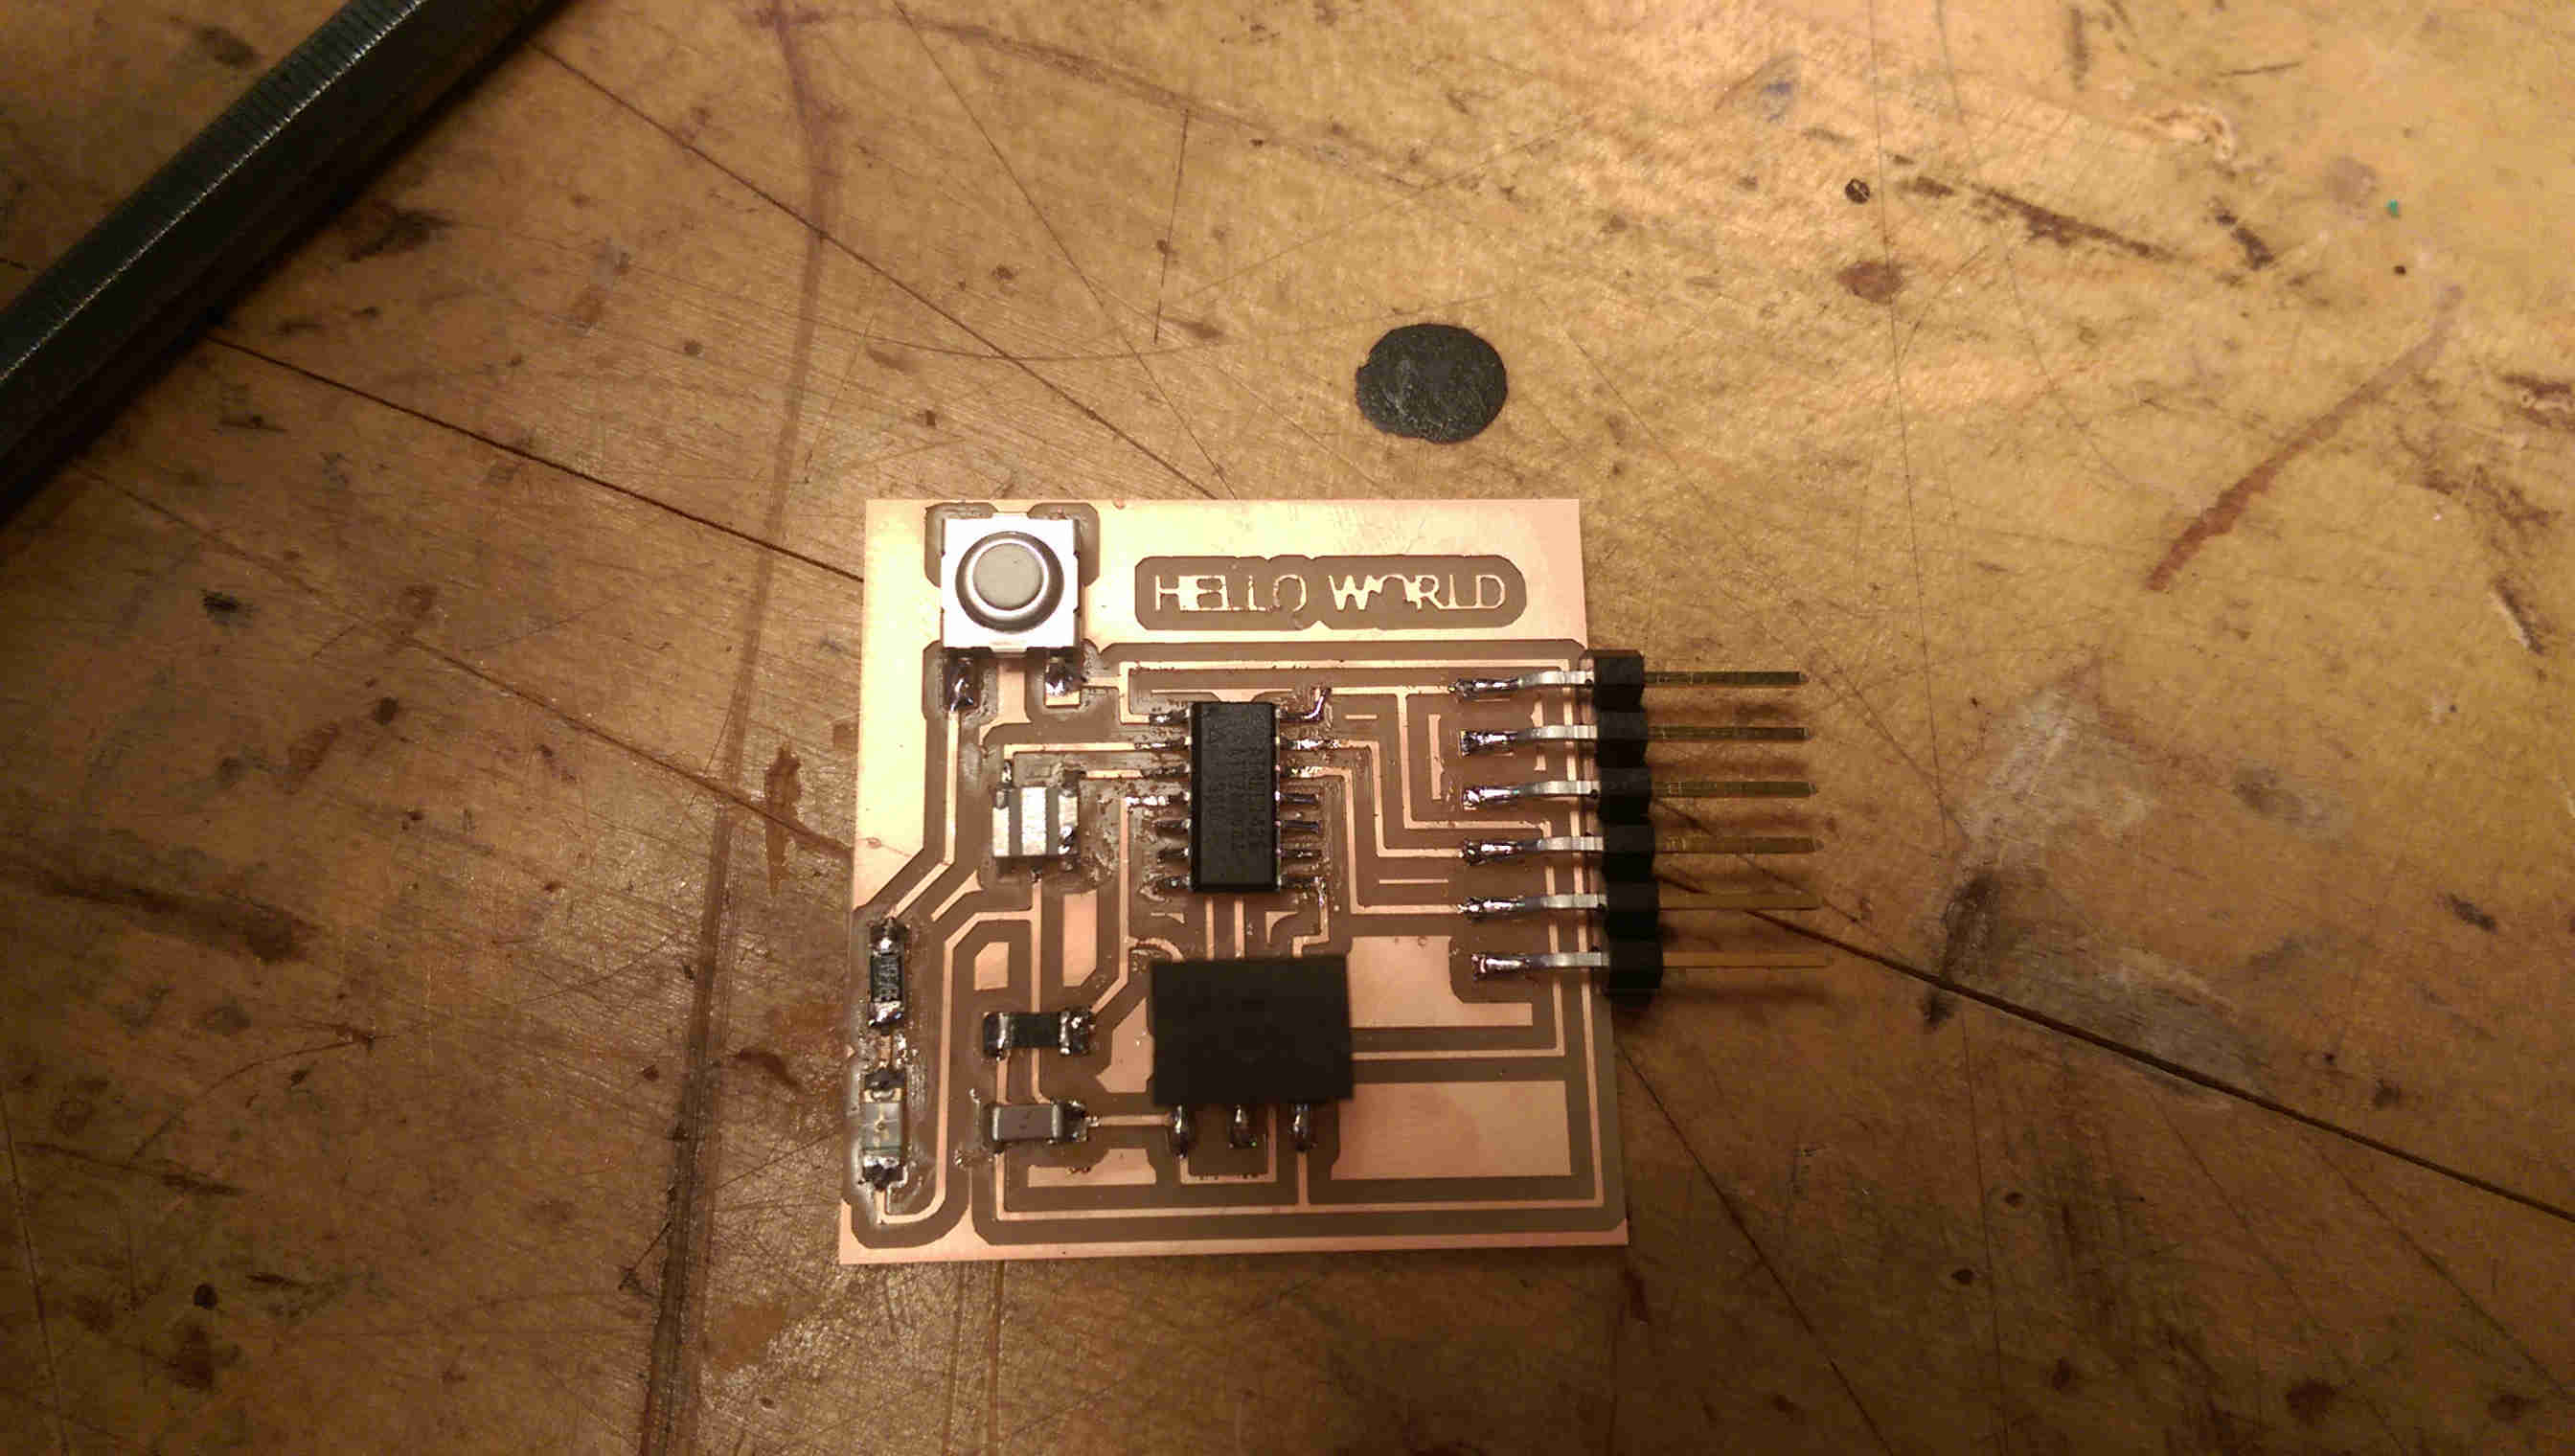
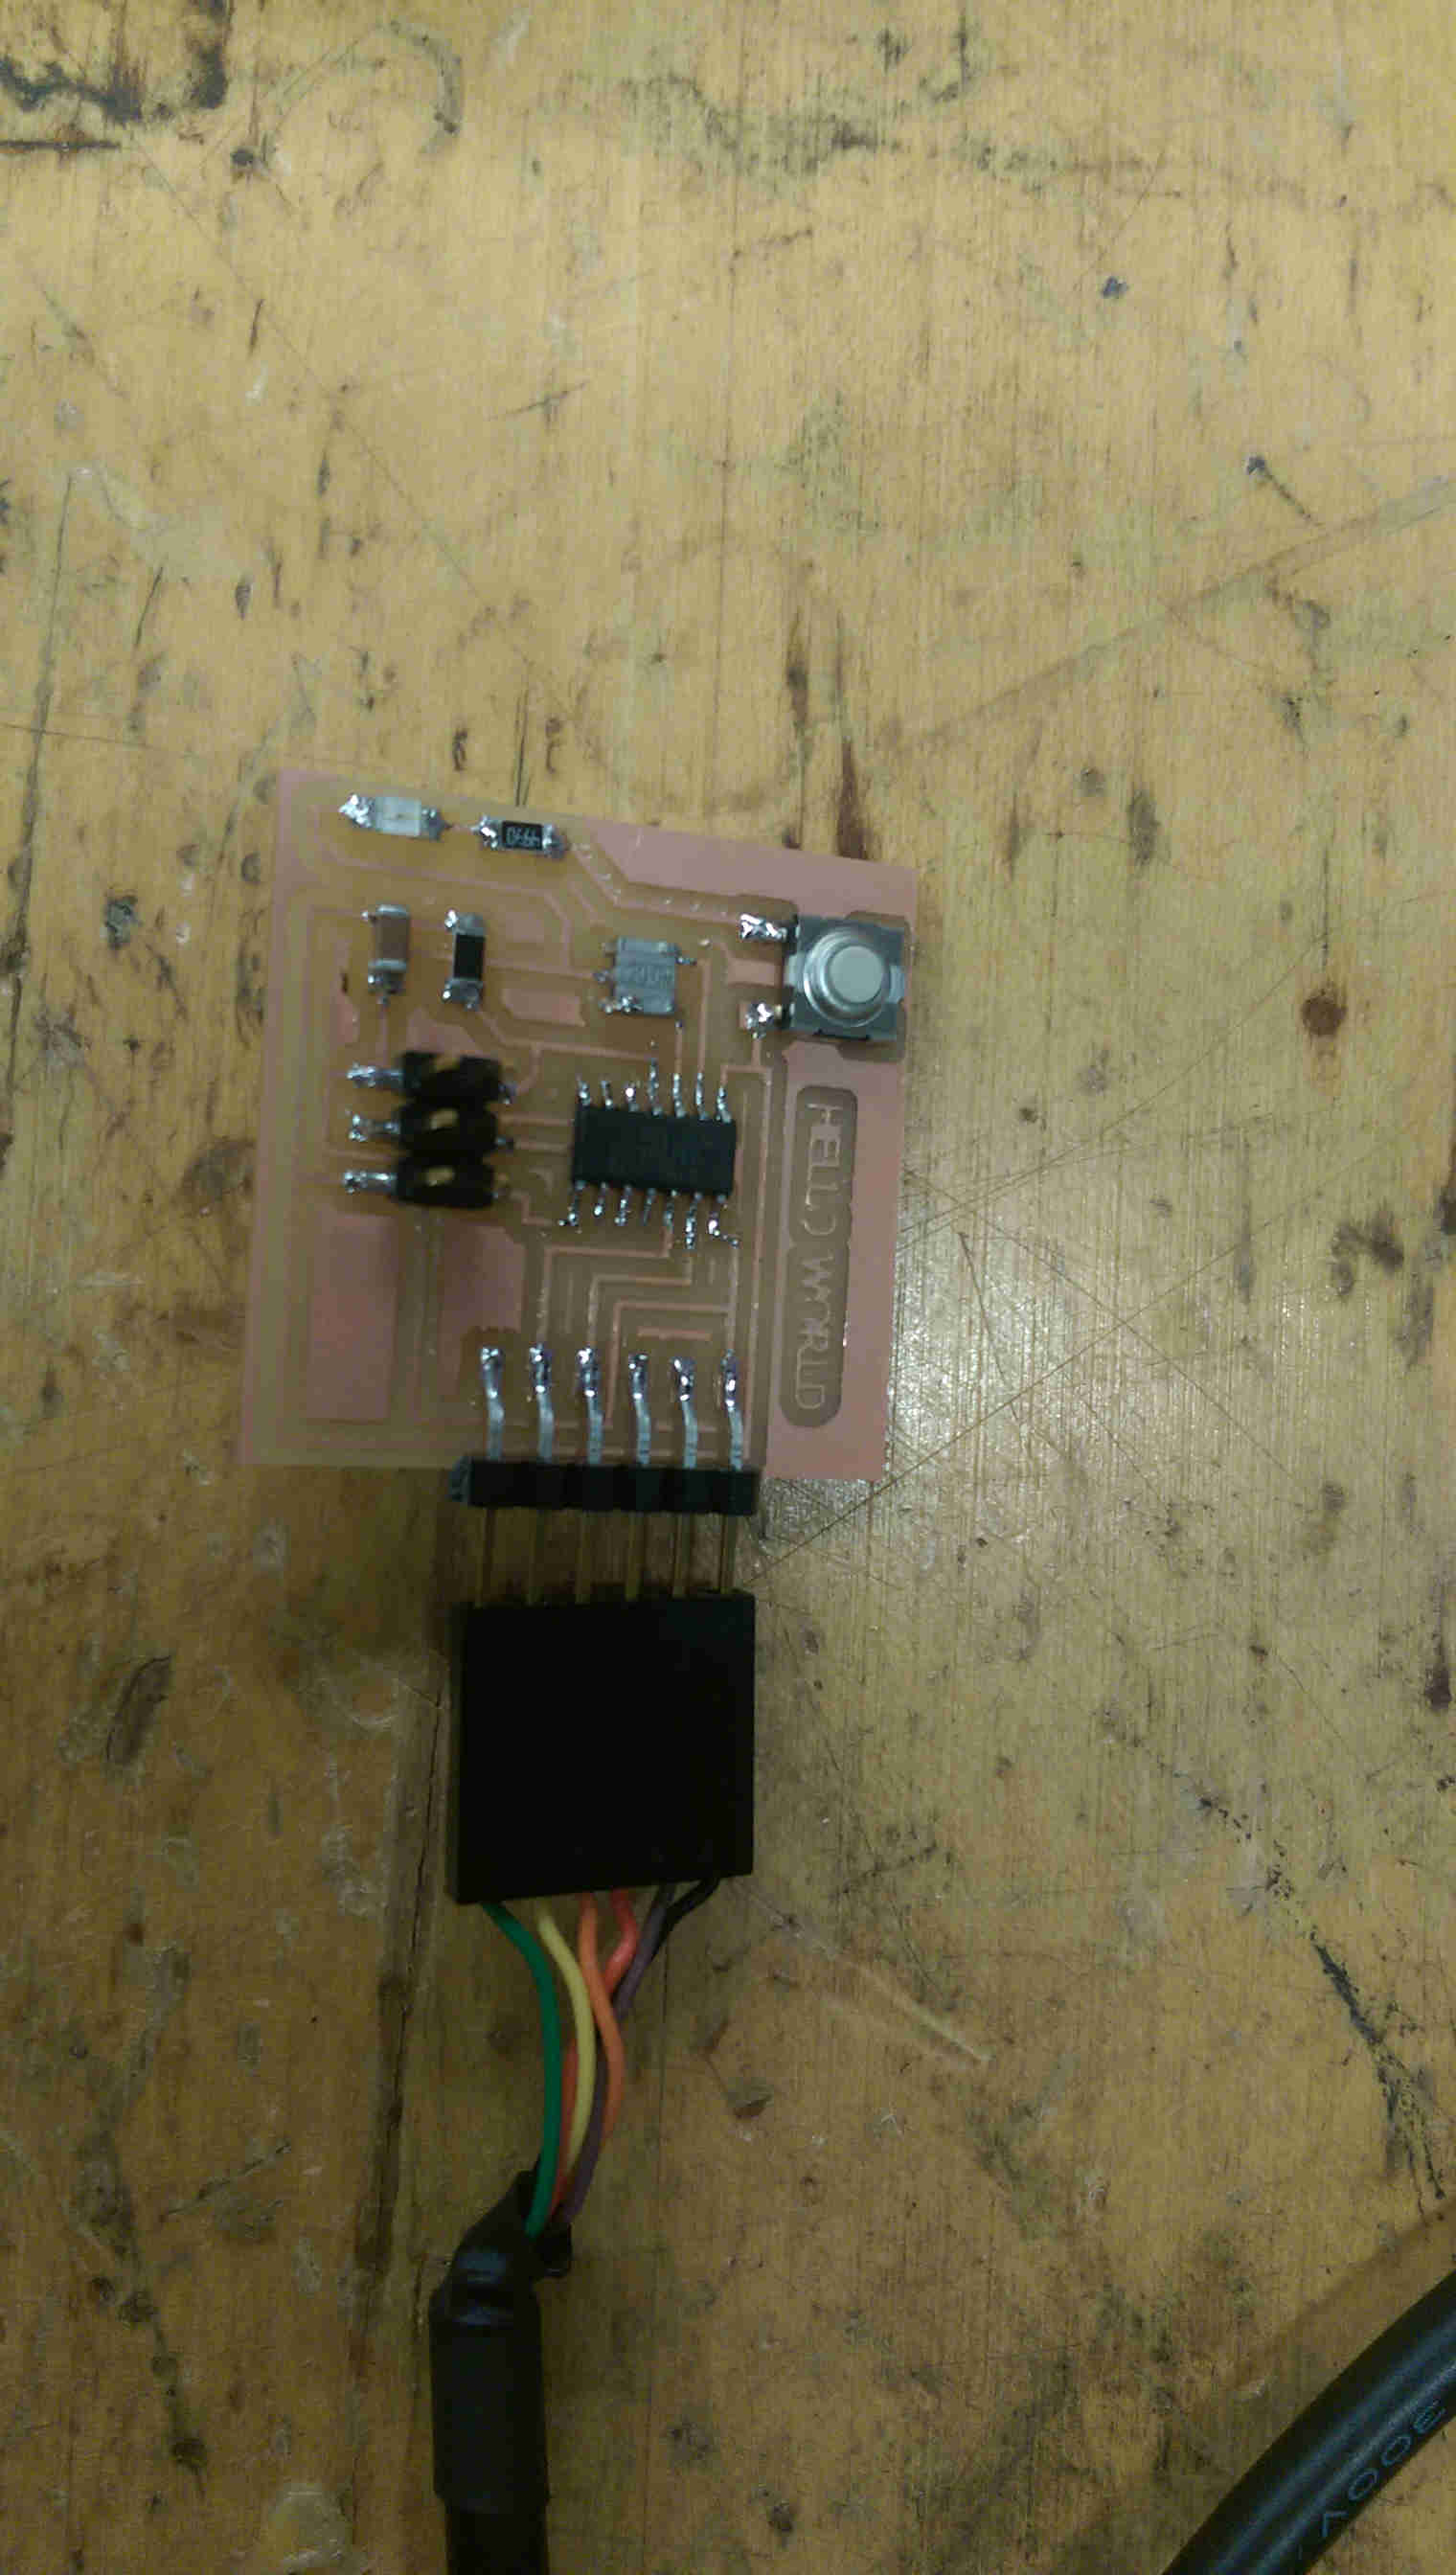
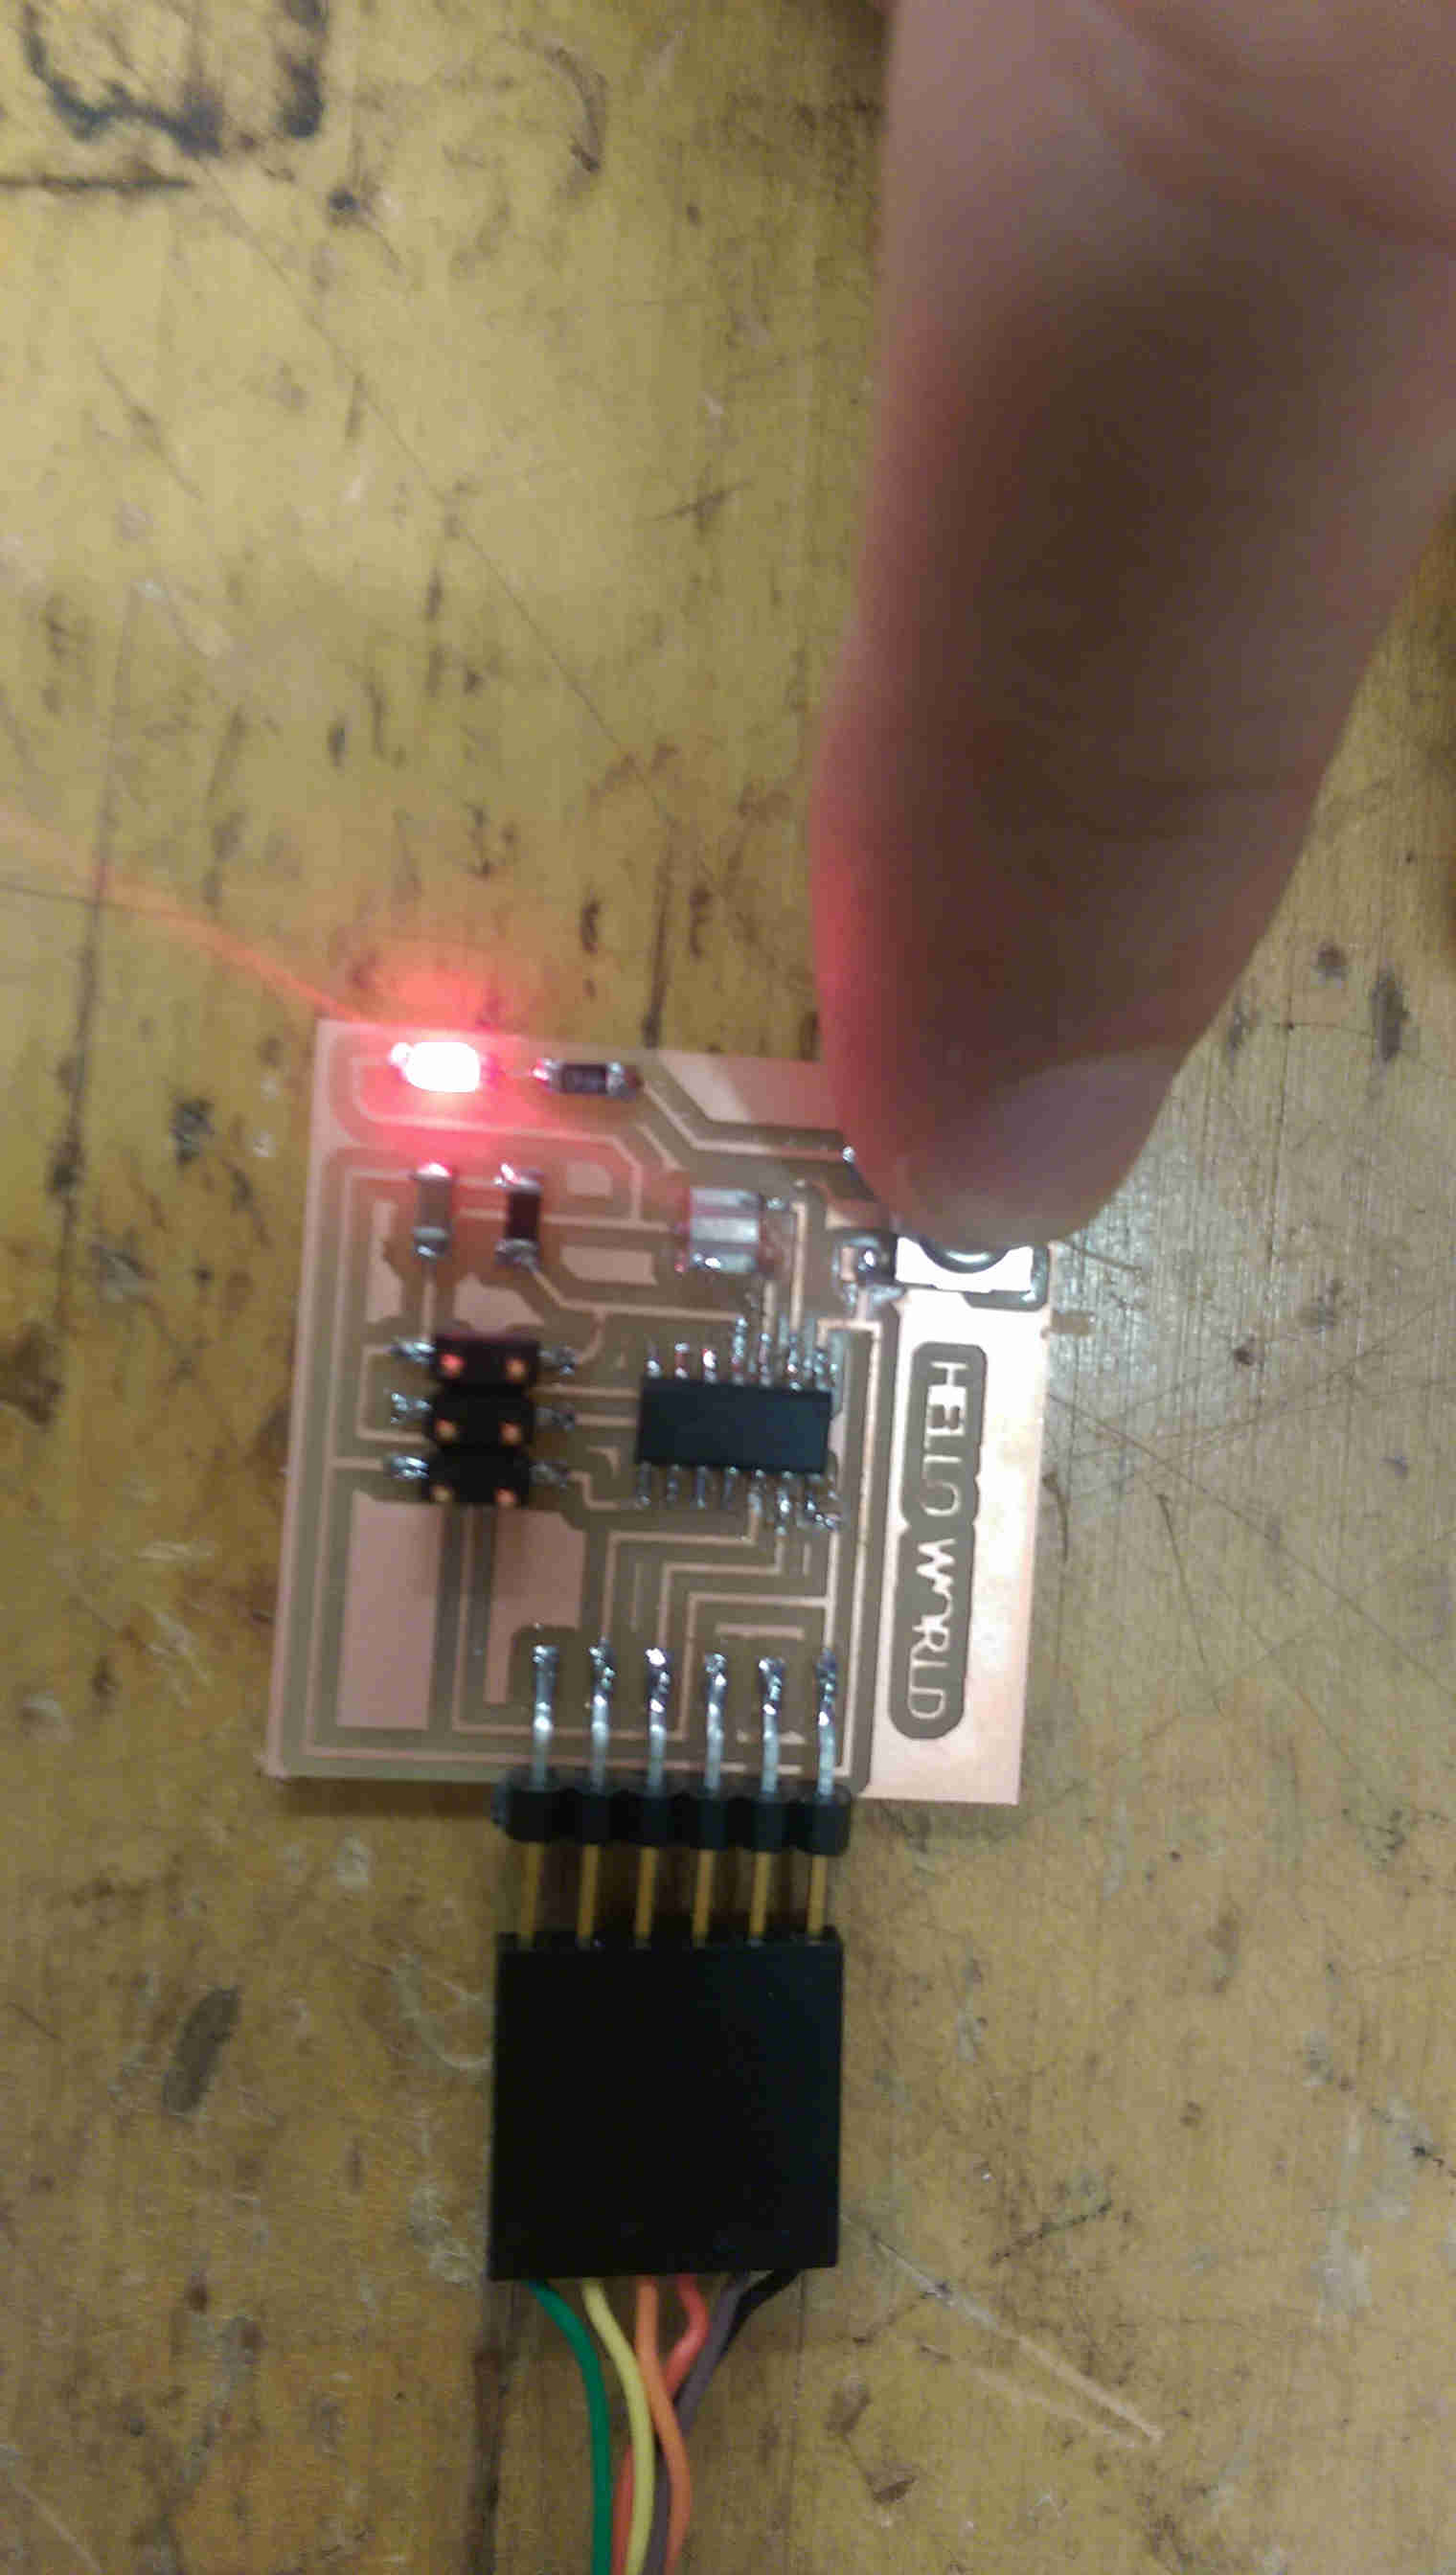
I could I have solved the issue by making the traces more narrow, but I opted instead to redraw the trace topology in the problematic area of the board. The updated design milled cleanly. I then stuffed the board, powered it using the FTDI port, and tested its function (both checking voltages and testing the tactile switch + LED combo)