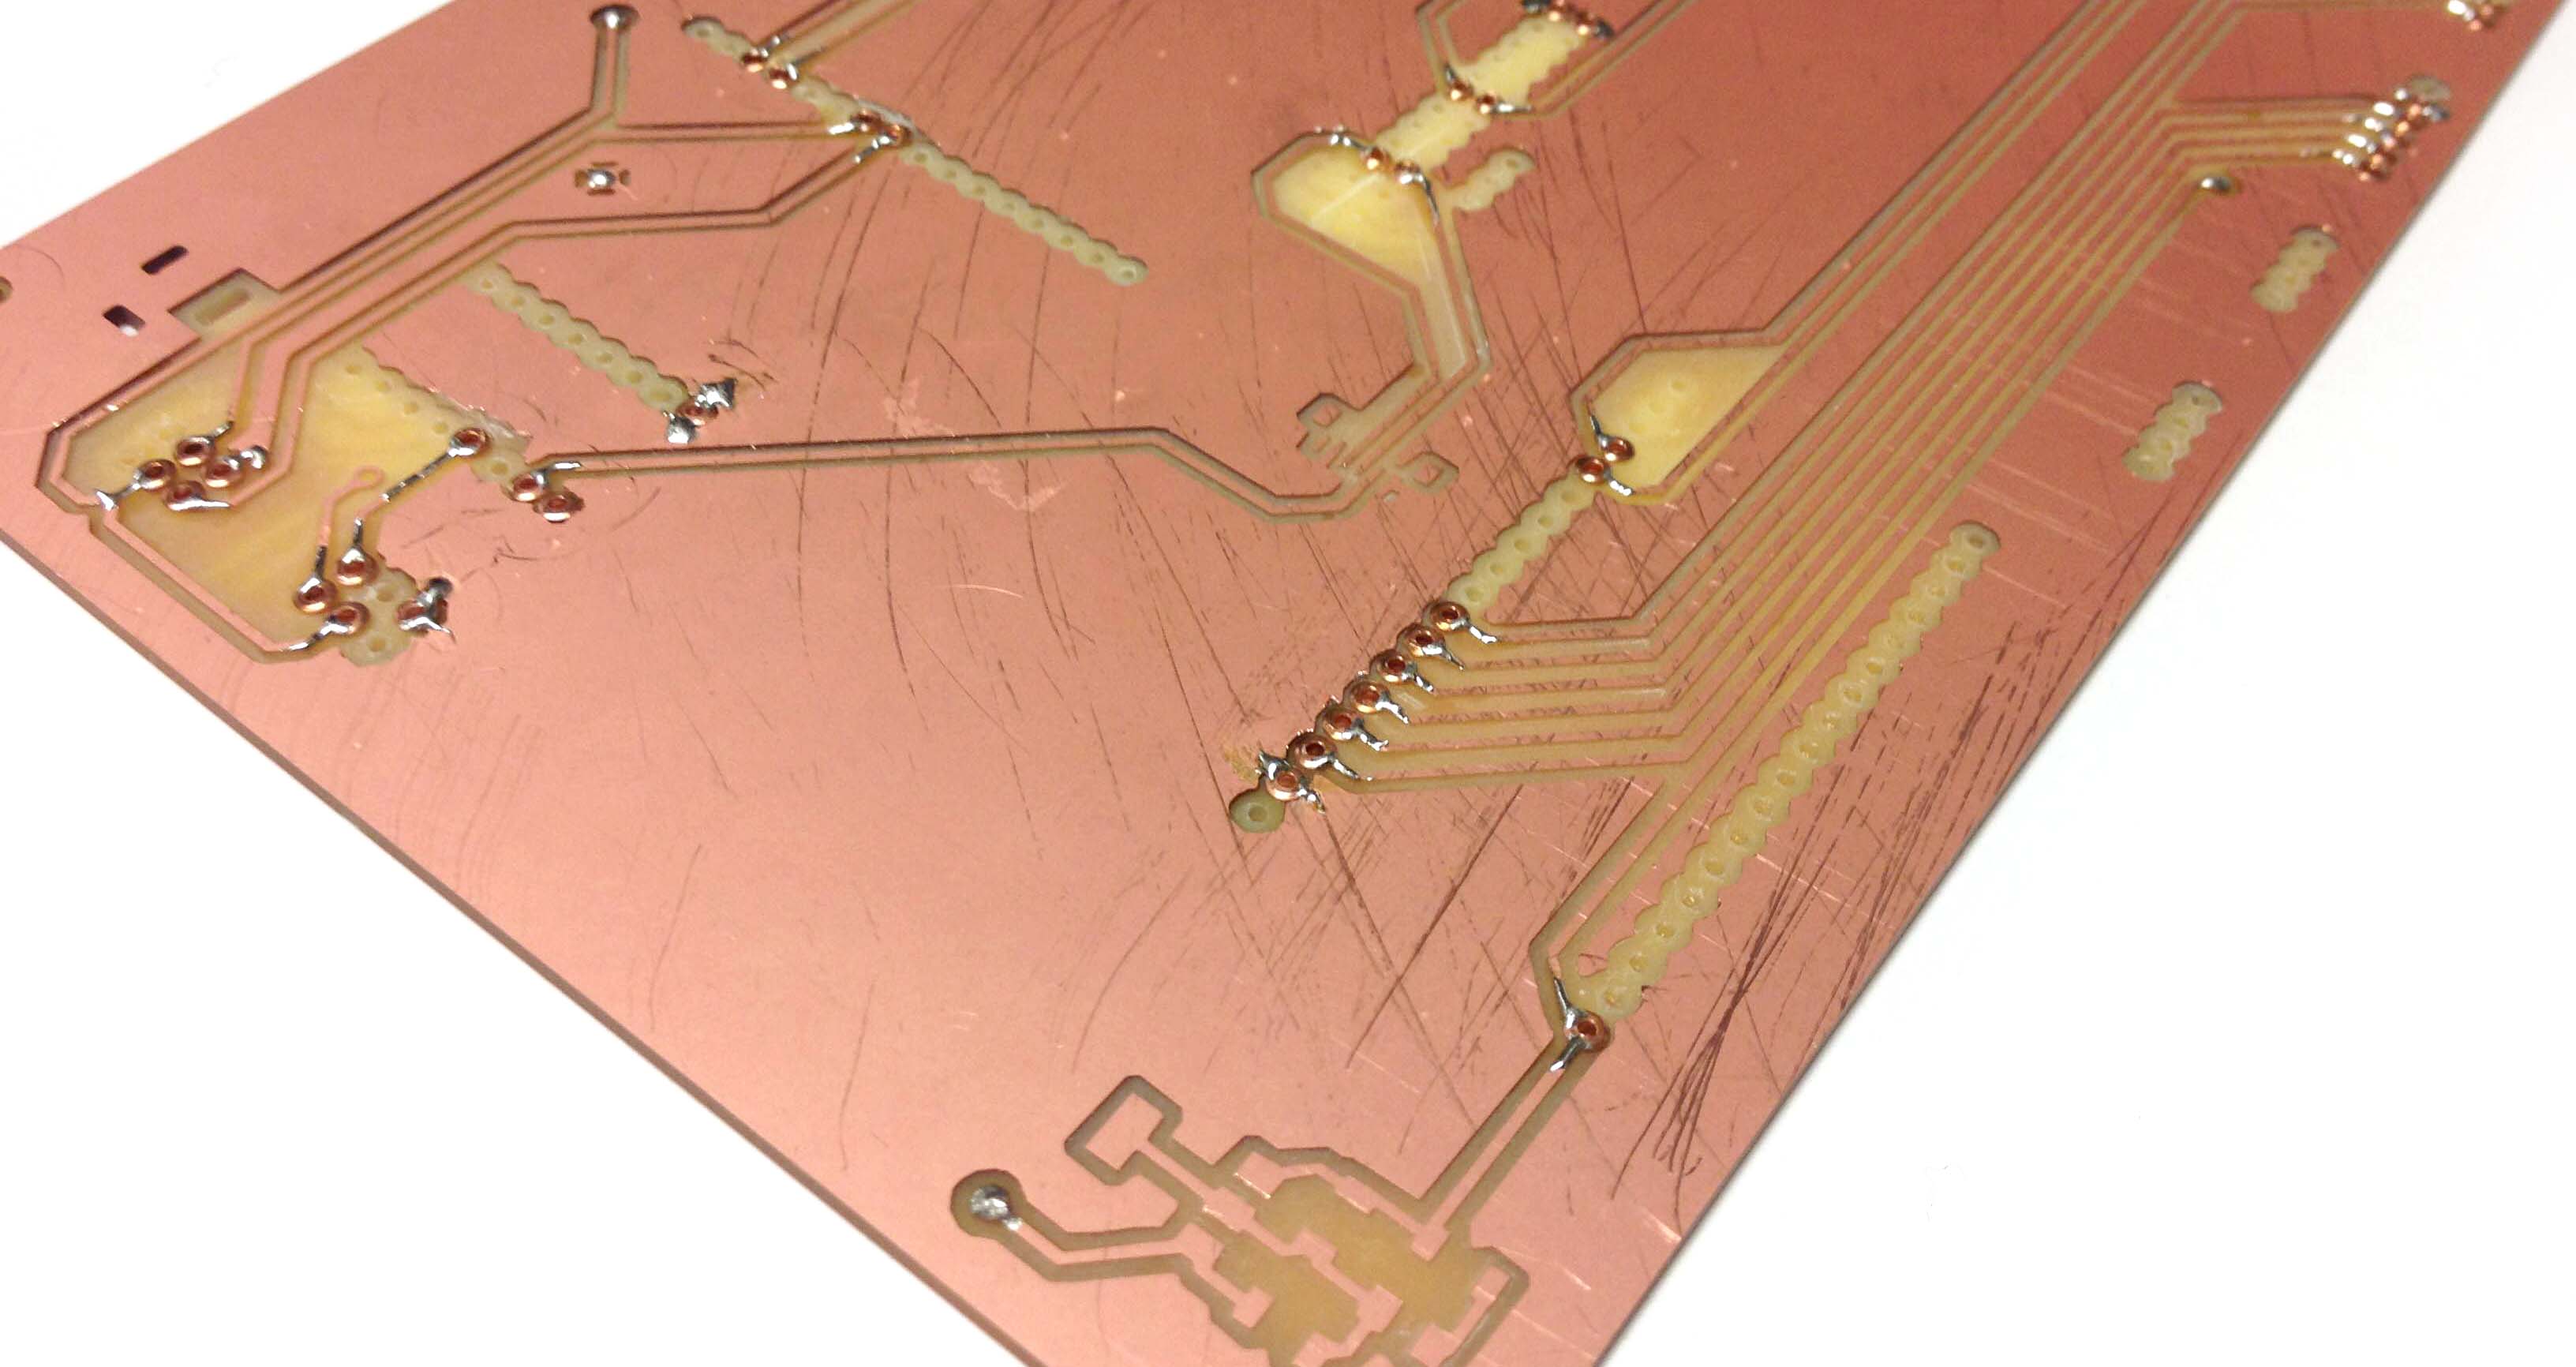
Recently, we started using copper rivets as vias in double-sided fabbed pcbs. Here's what it looks like:
This document gives some info about hole sizes and use of the rivets.
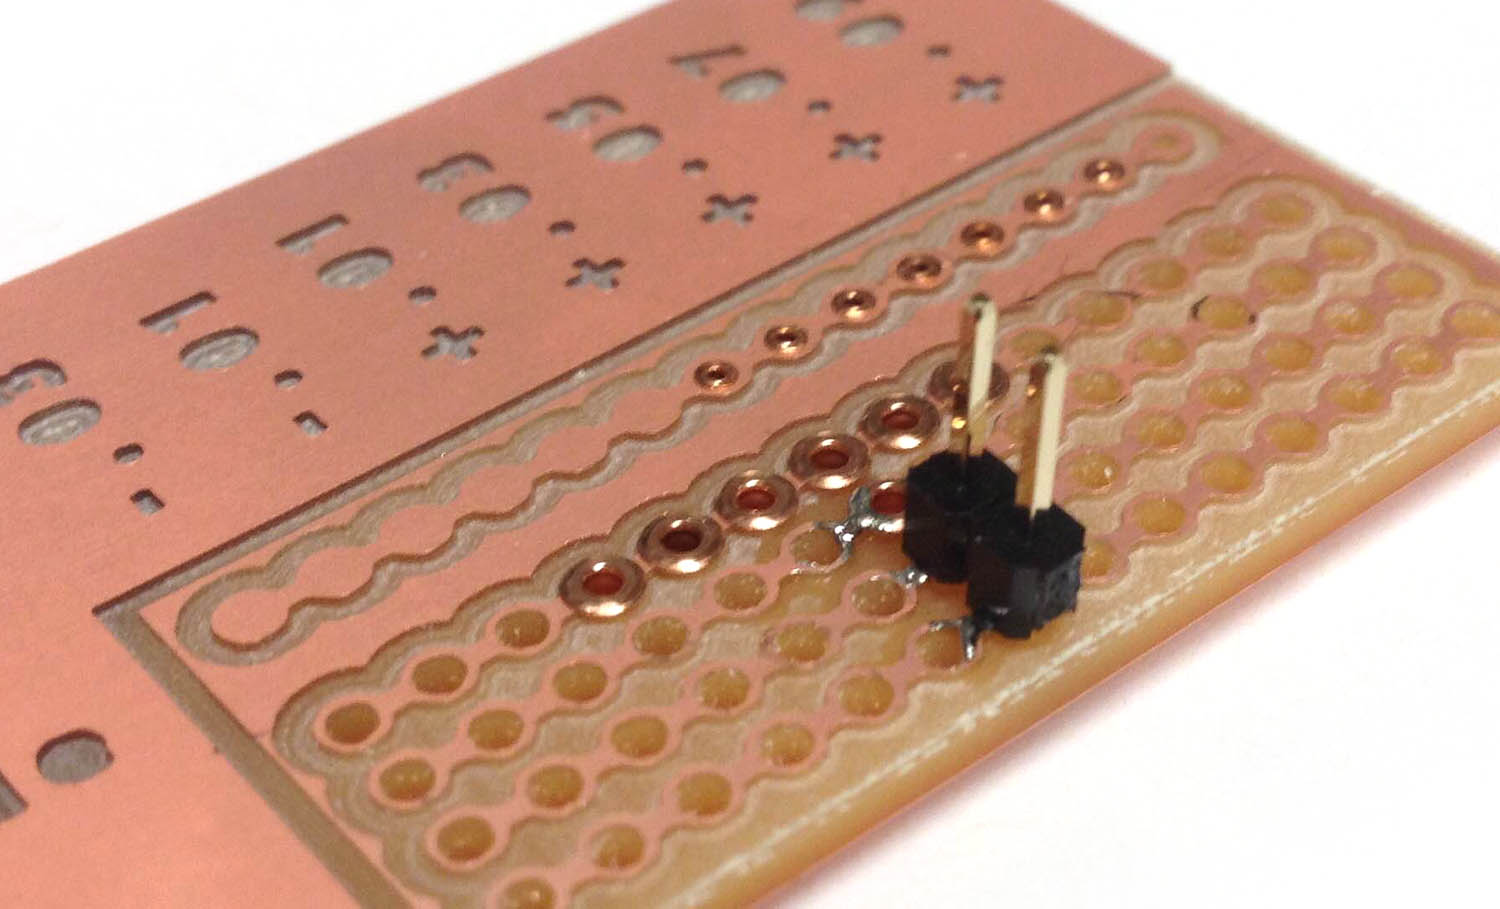
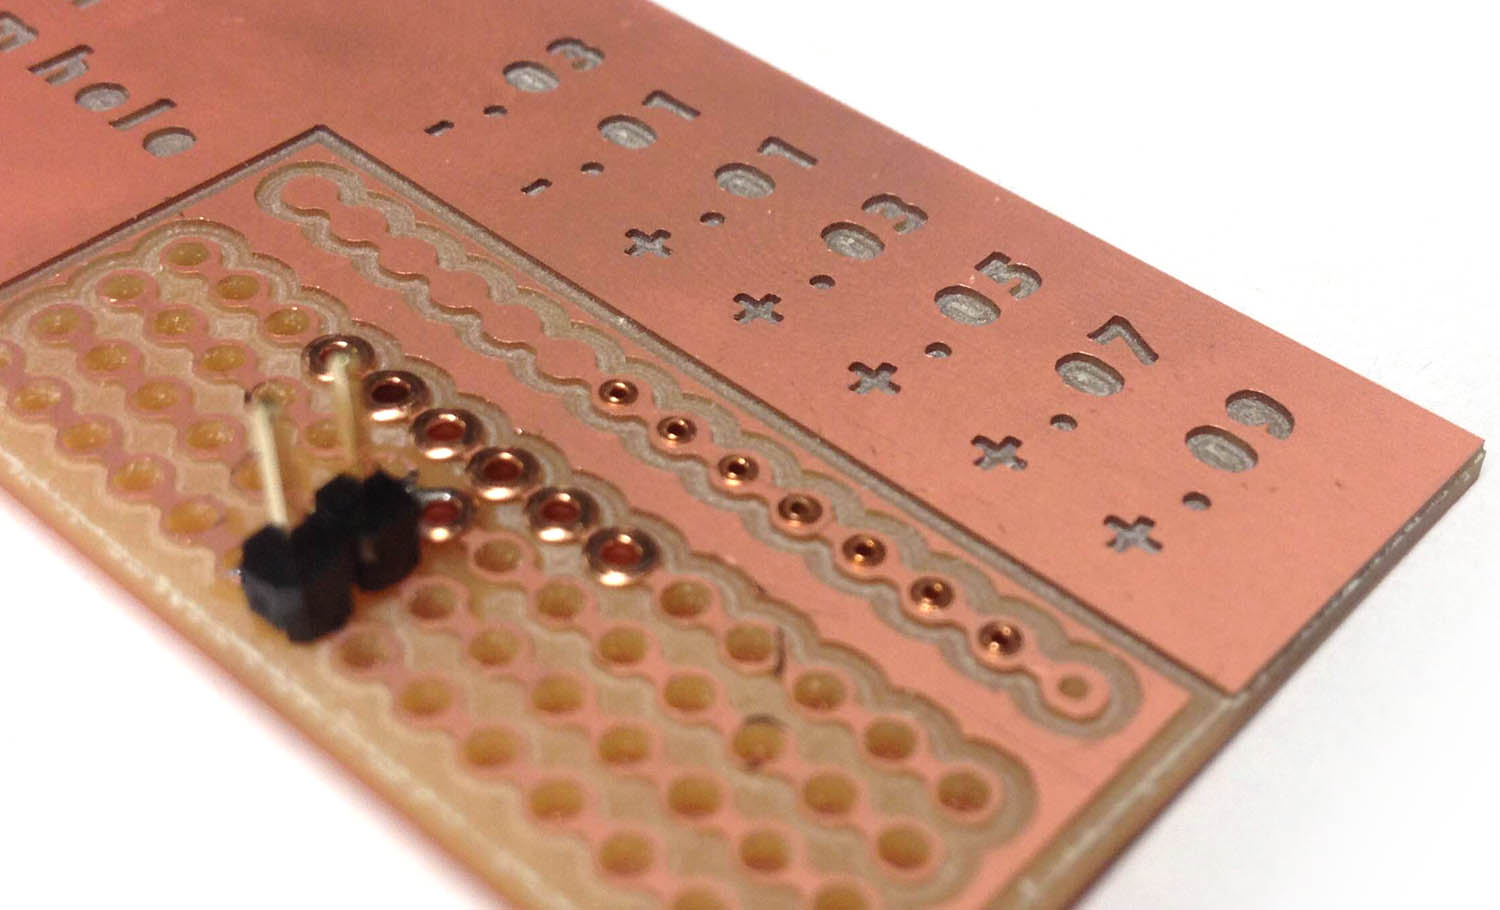
The shop is stocked with two sizes of hollow rivets - 0.6mm and 1.0mm. 0.6mm are good general purpose vias, and 1.0mm are wide enough to fit a standard header pin (male, female), so your through-hole headers can be electrically connected to both sides of your board without an extra via. Remember, you must still solder to these rivets to ensure a good electrical connection.
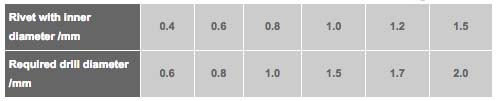
The specs of the rivets and recommended drill sizes are given here, reproduced in the image below:
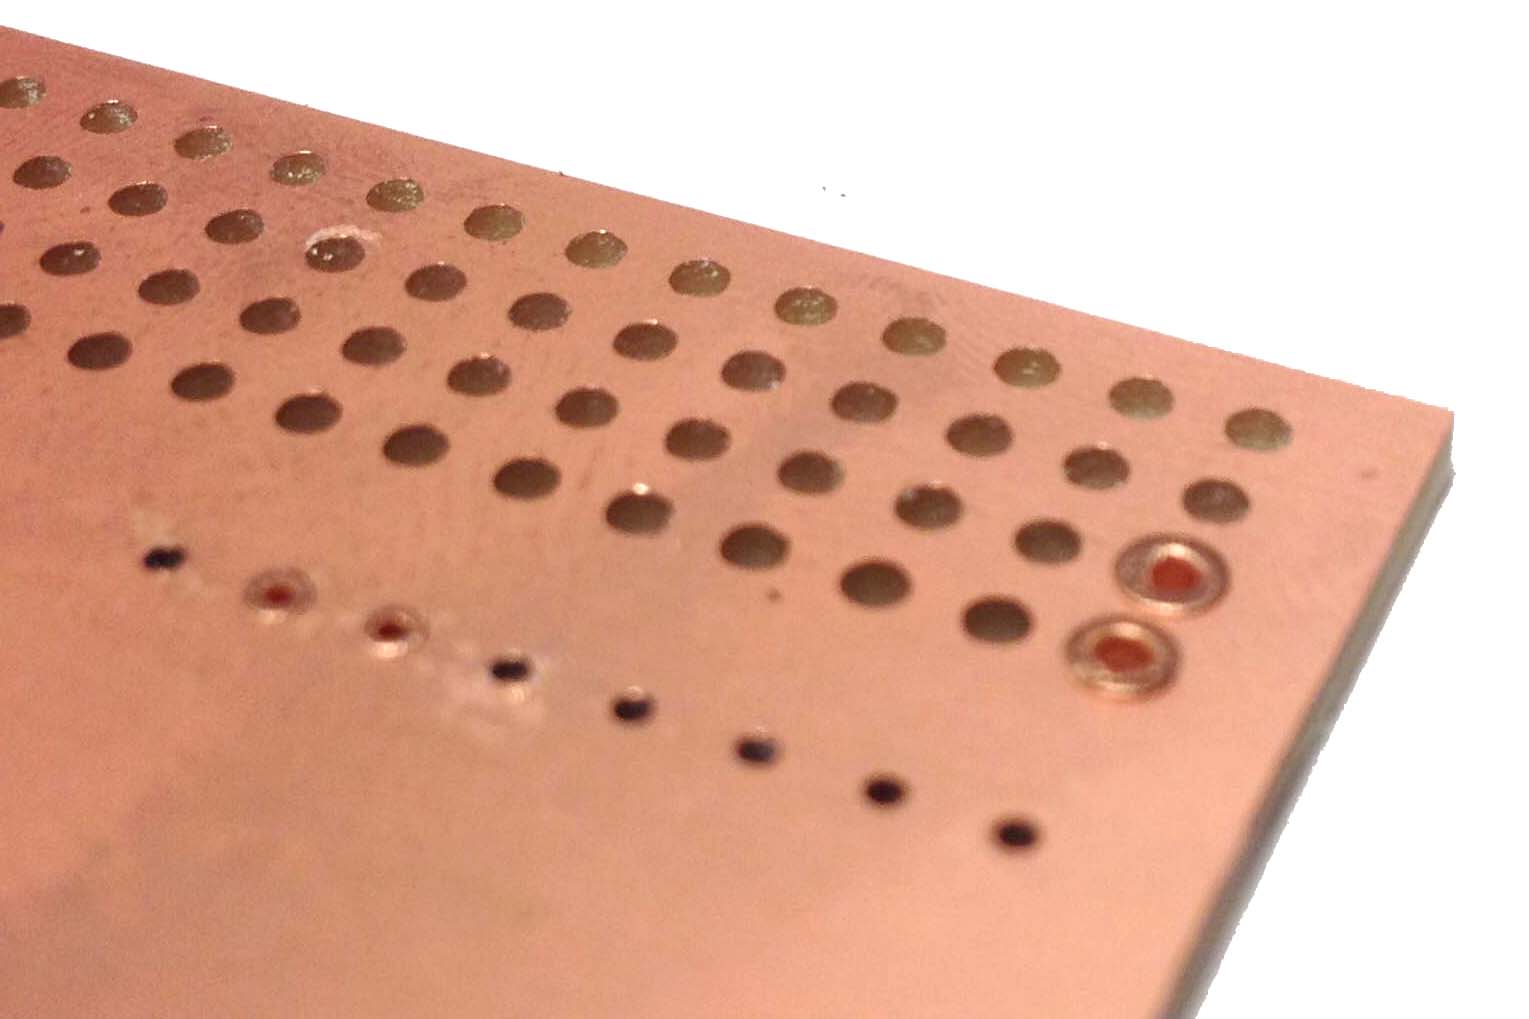
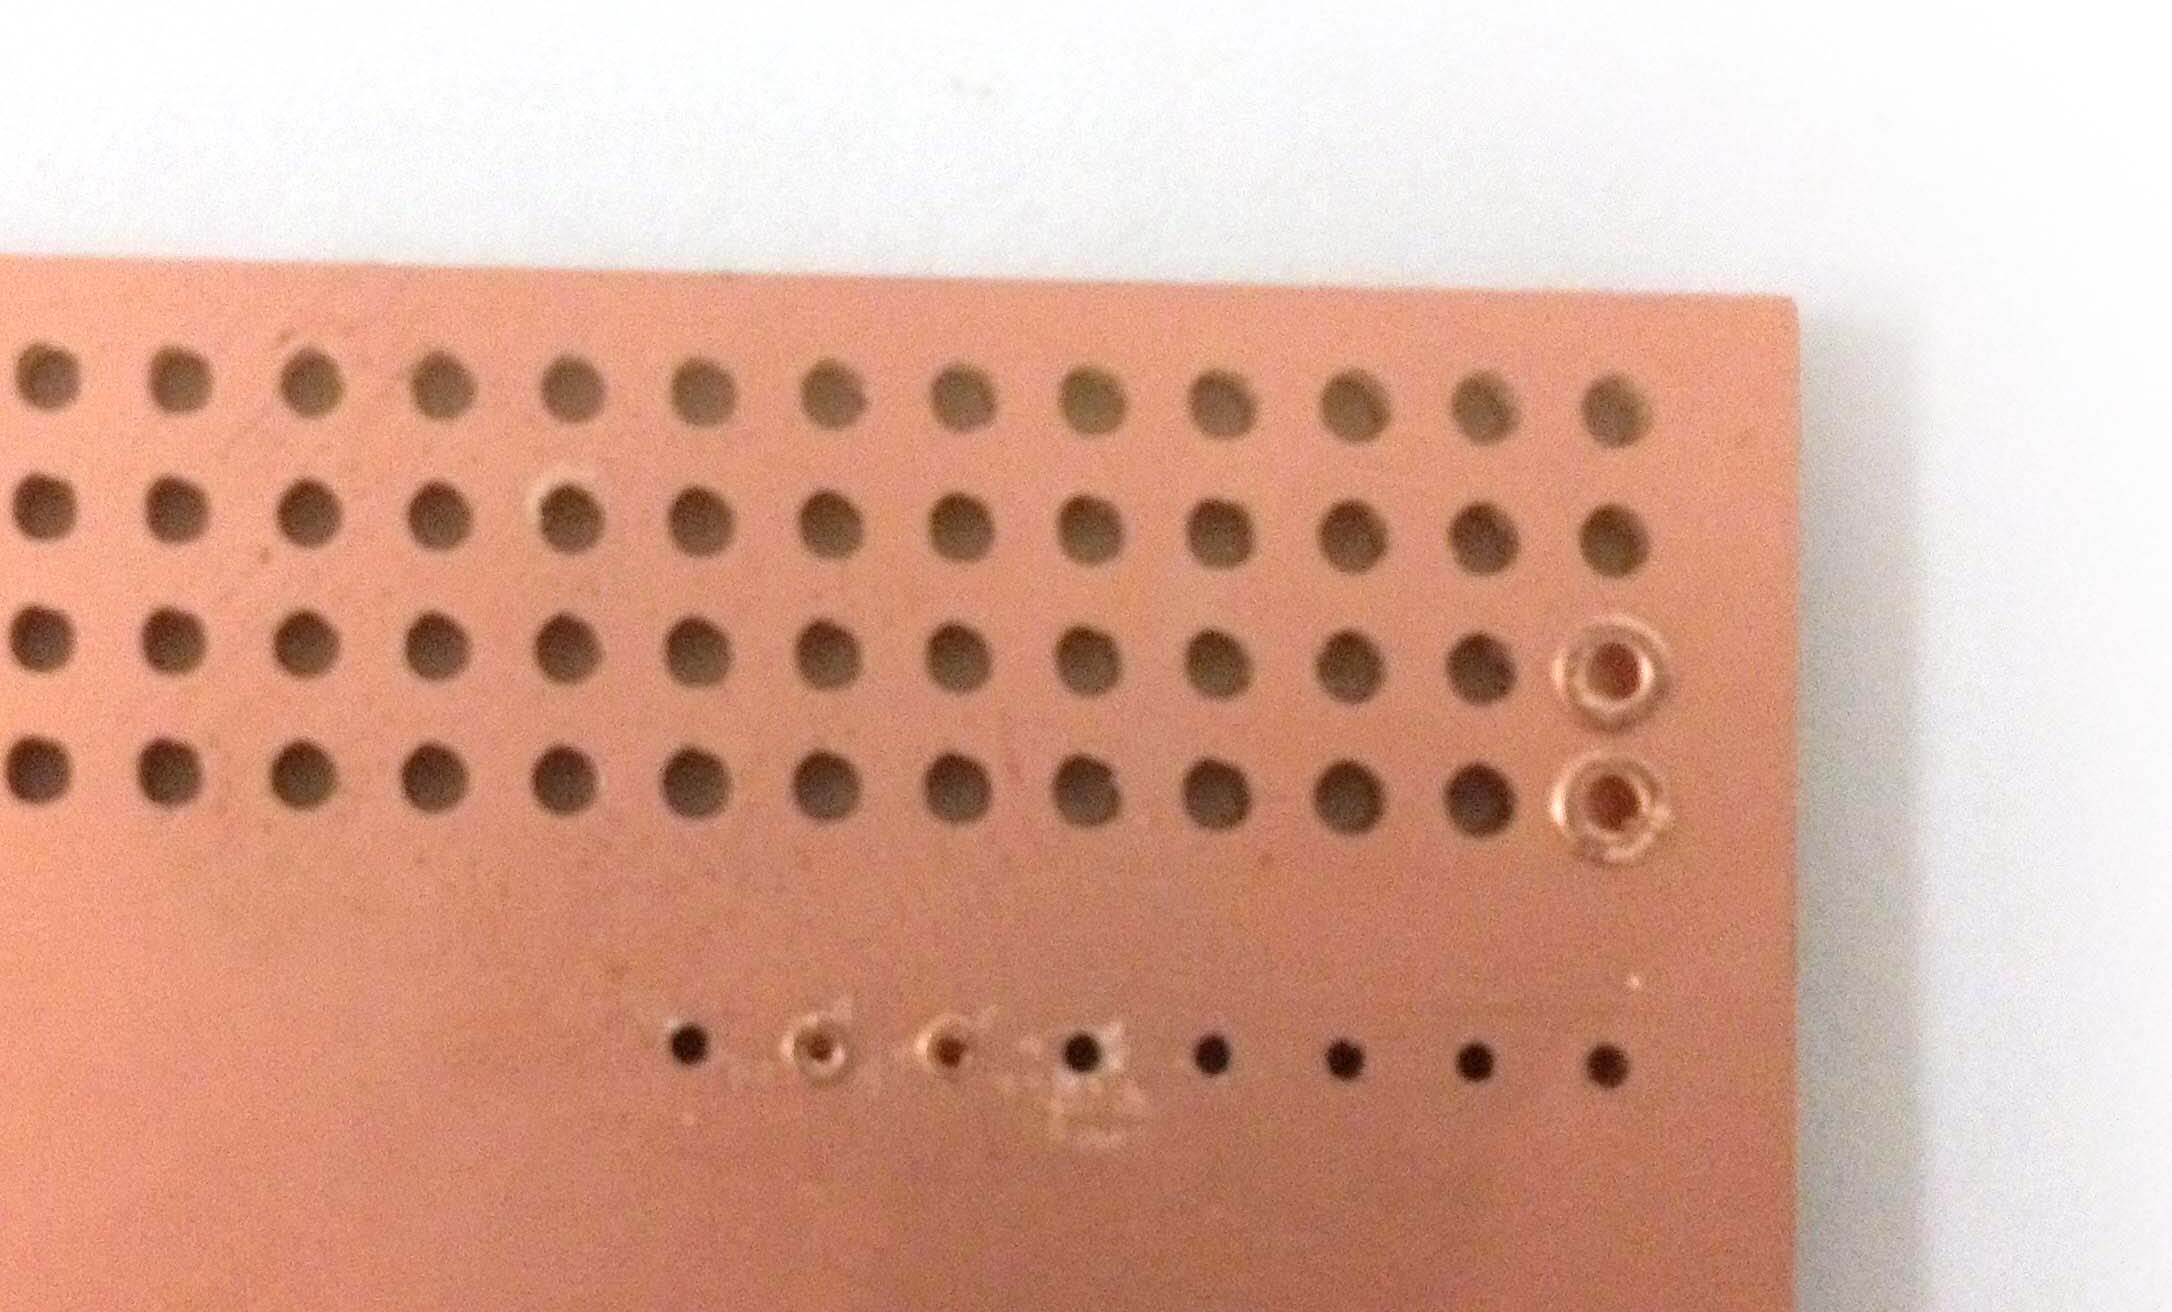
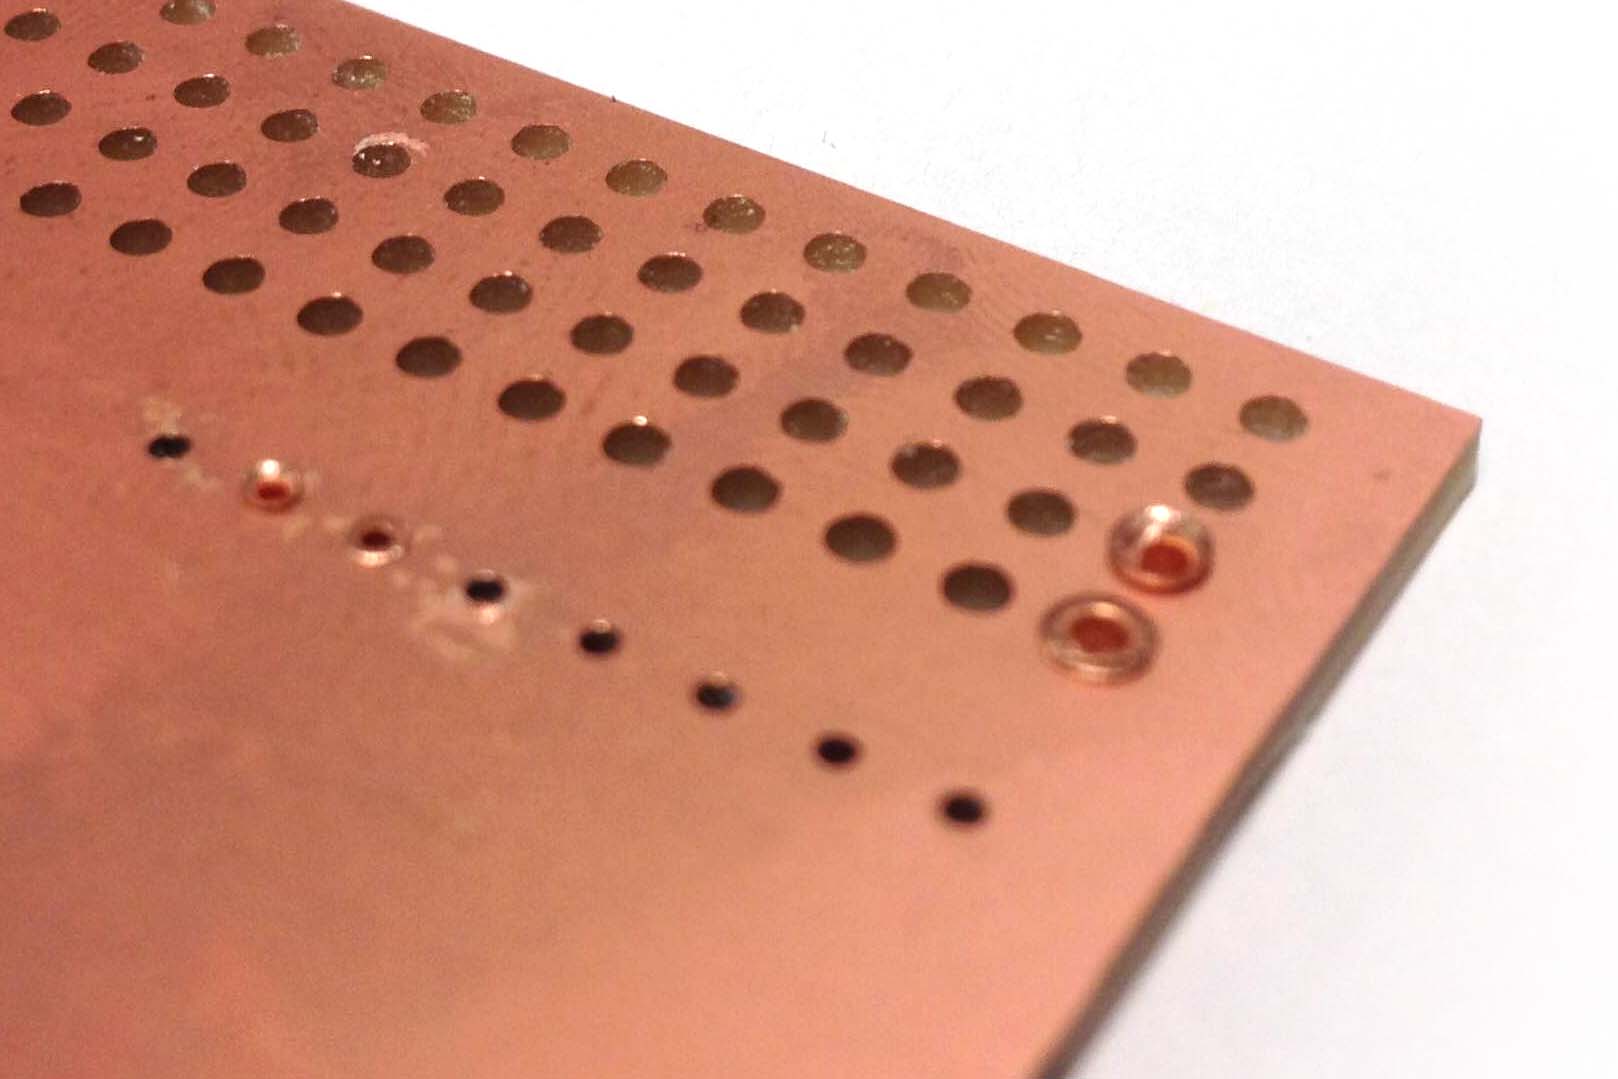
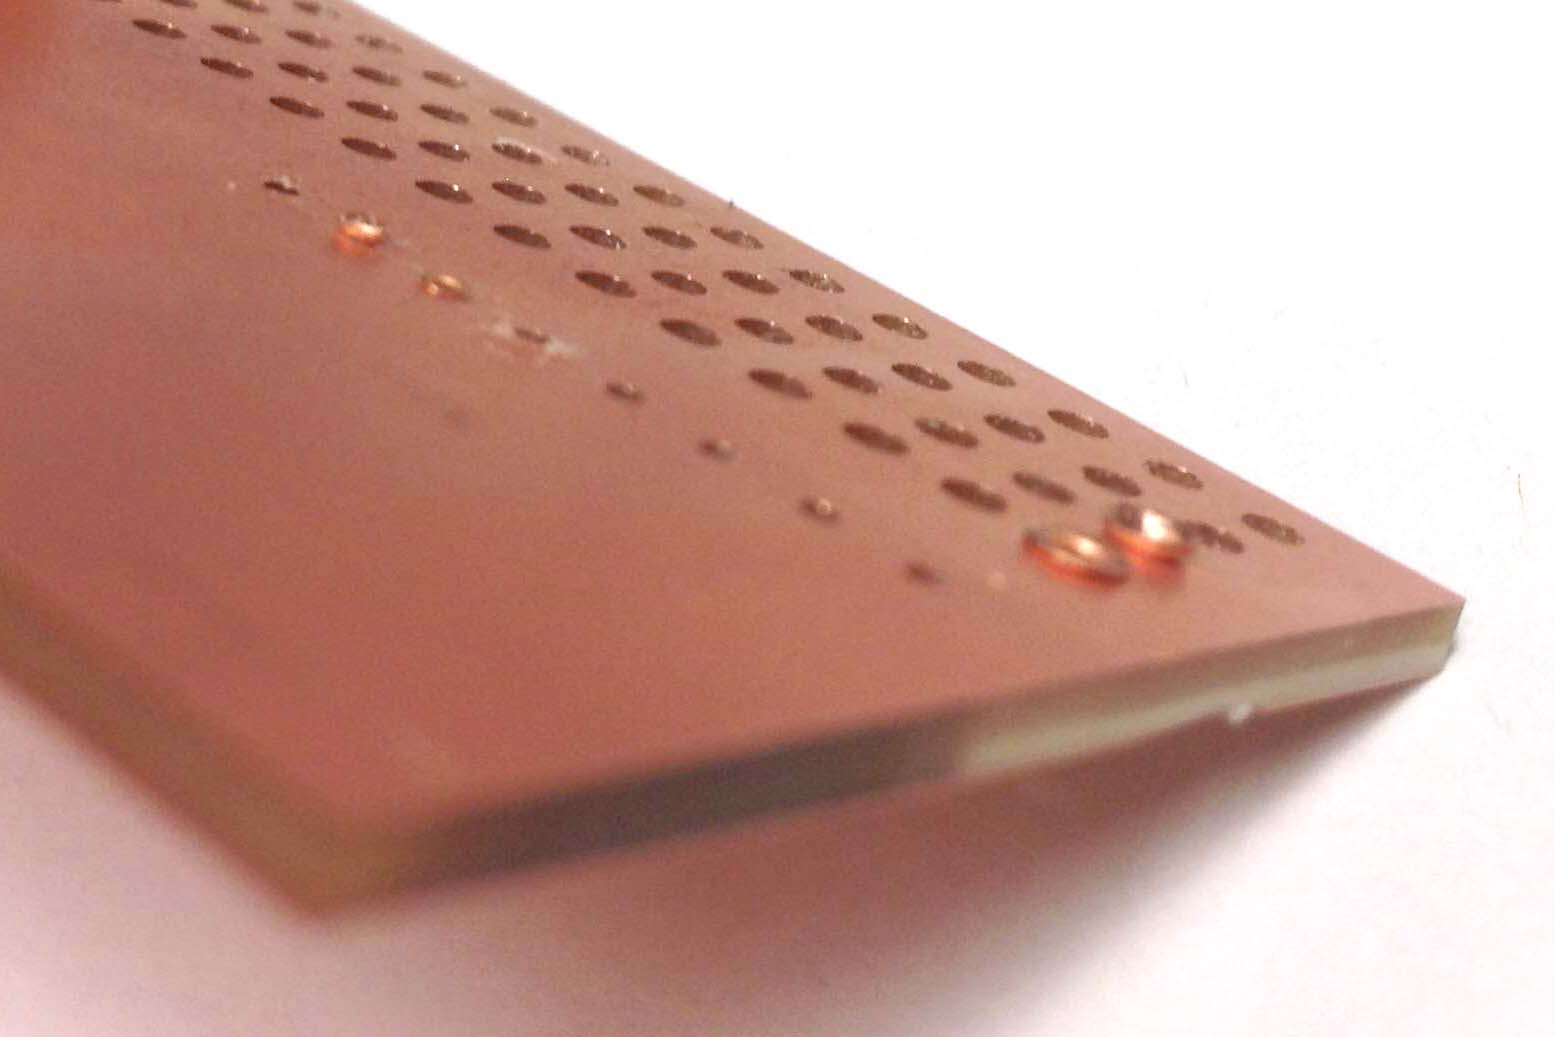
I made some test pcbs to find the best hole sizes for the 0.6mm and 1.0mm rivets. The sets of holes range from 0.77-0.9mm in diameter for the 0.6mm rivets and 1.47-1.6mm for the 1mm rivet tests. Pad diameters are 1.9mm, but I would probably use 2mm next time for the 1mm rivets. You could get away with shrinking the pads for the 0.6mm rivets.
Holes:

Traces:

Outline:

Design Files (zipped with a .ai and .psd as well)

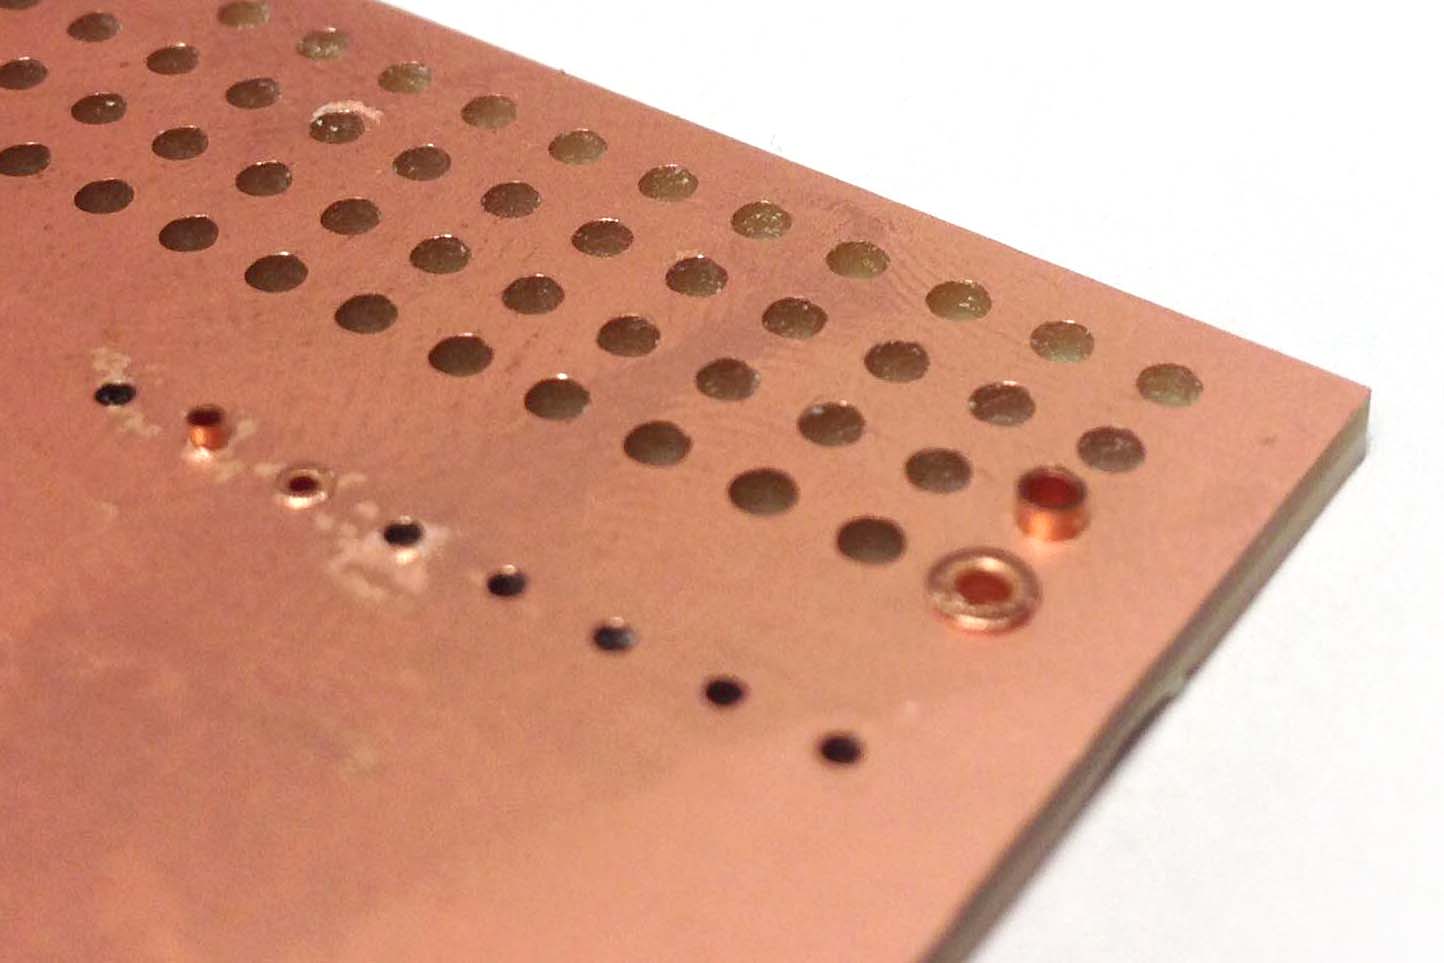
For the 0.6mm rivets, the best hole sizes fell in the range diameter = 0.83-0.89mm. 0.83mm to 0.86mm gave a snugger pressfit, up to 0.89mm still gave a close enough fit that I could move the board around and flip it over without the rivets falling out. Anything above 0.89 was so loose that the rivets easily fell out of place.
For the 1.0mm rivets, the best hole sizes fell in the range diameter = 1.5-1.55mm. 1.5mm to 1.54mm gave a snugger pressfit, with 1.53 being the optimal hole size - not too snug, not too loose.
Here are some pics of the process of securing (flanging) a rivet to the board:
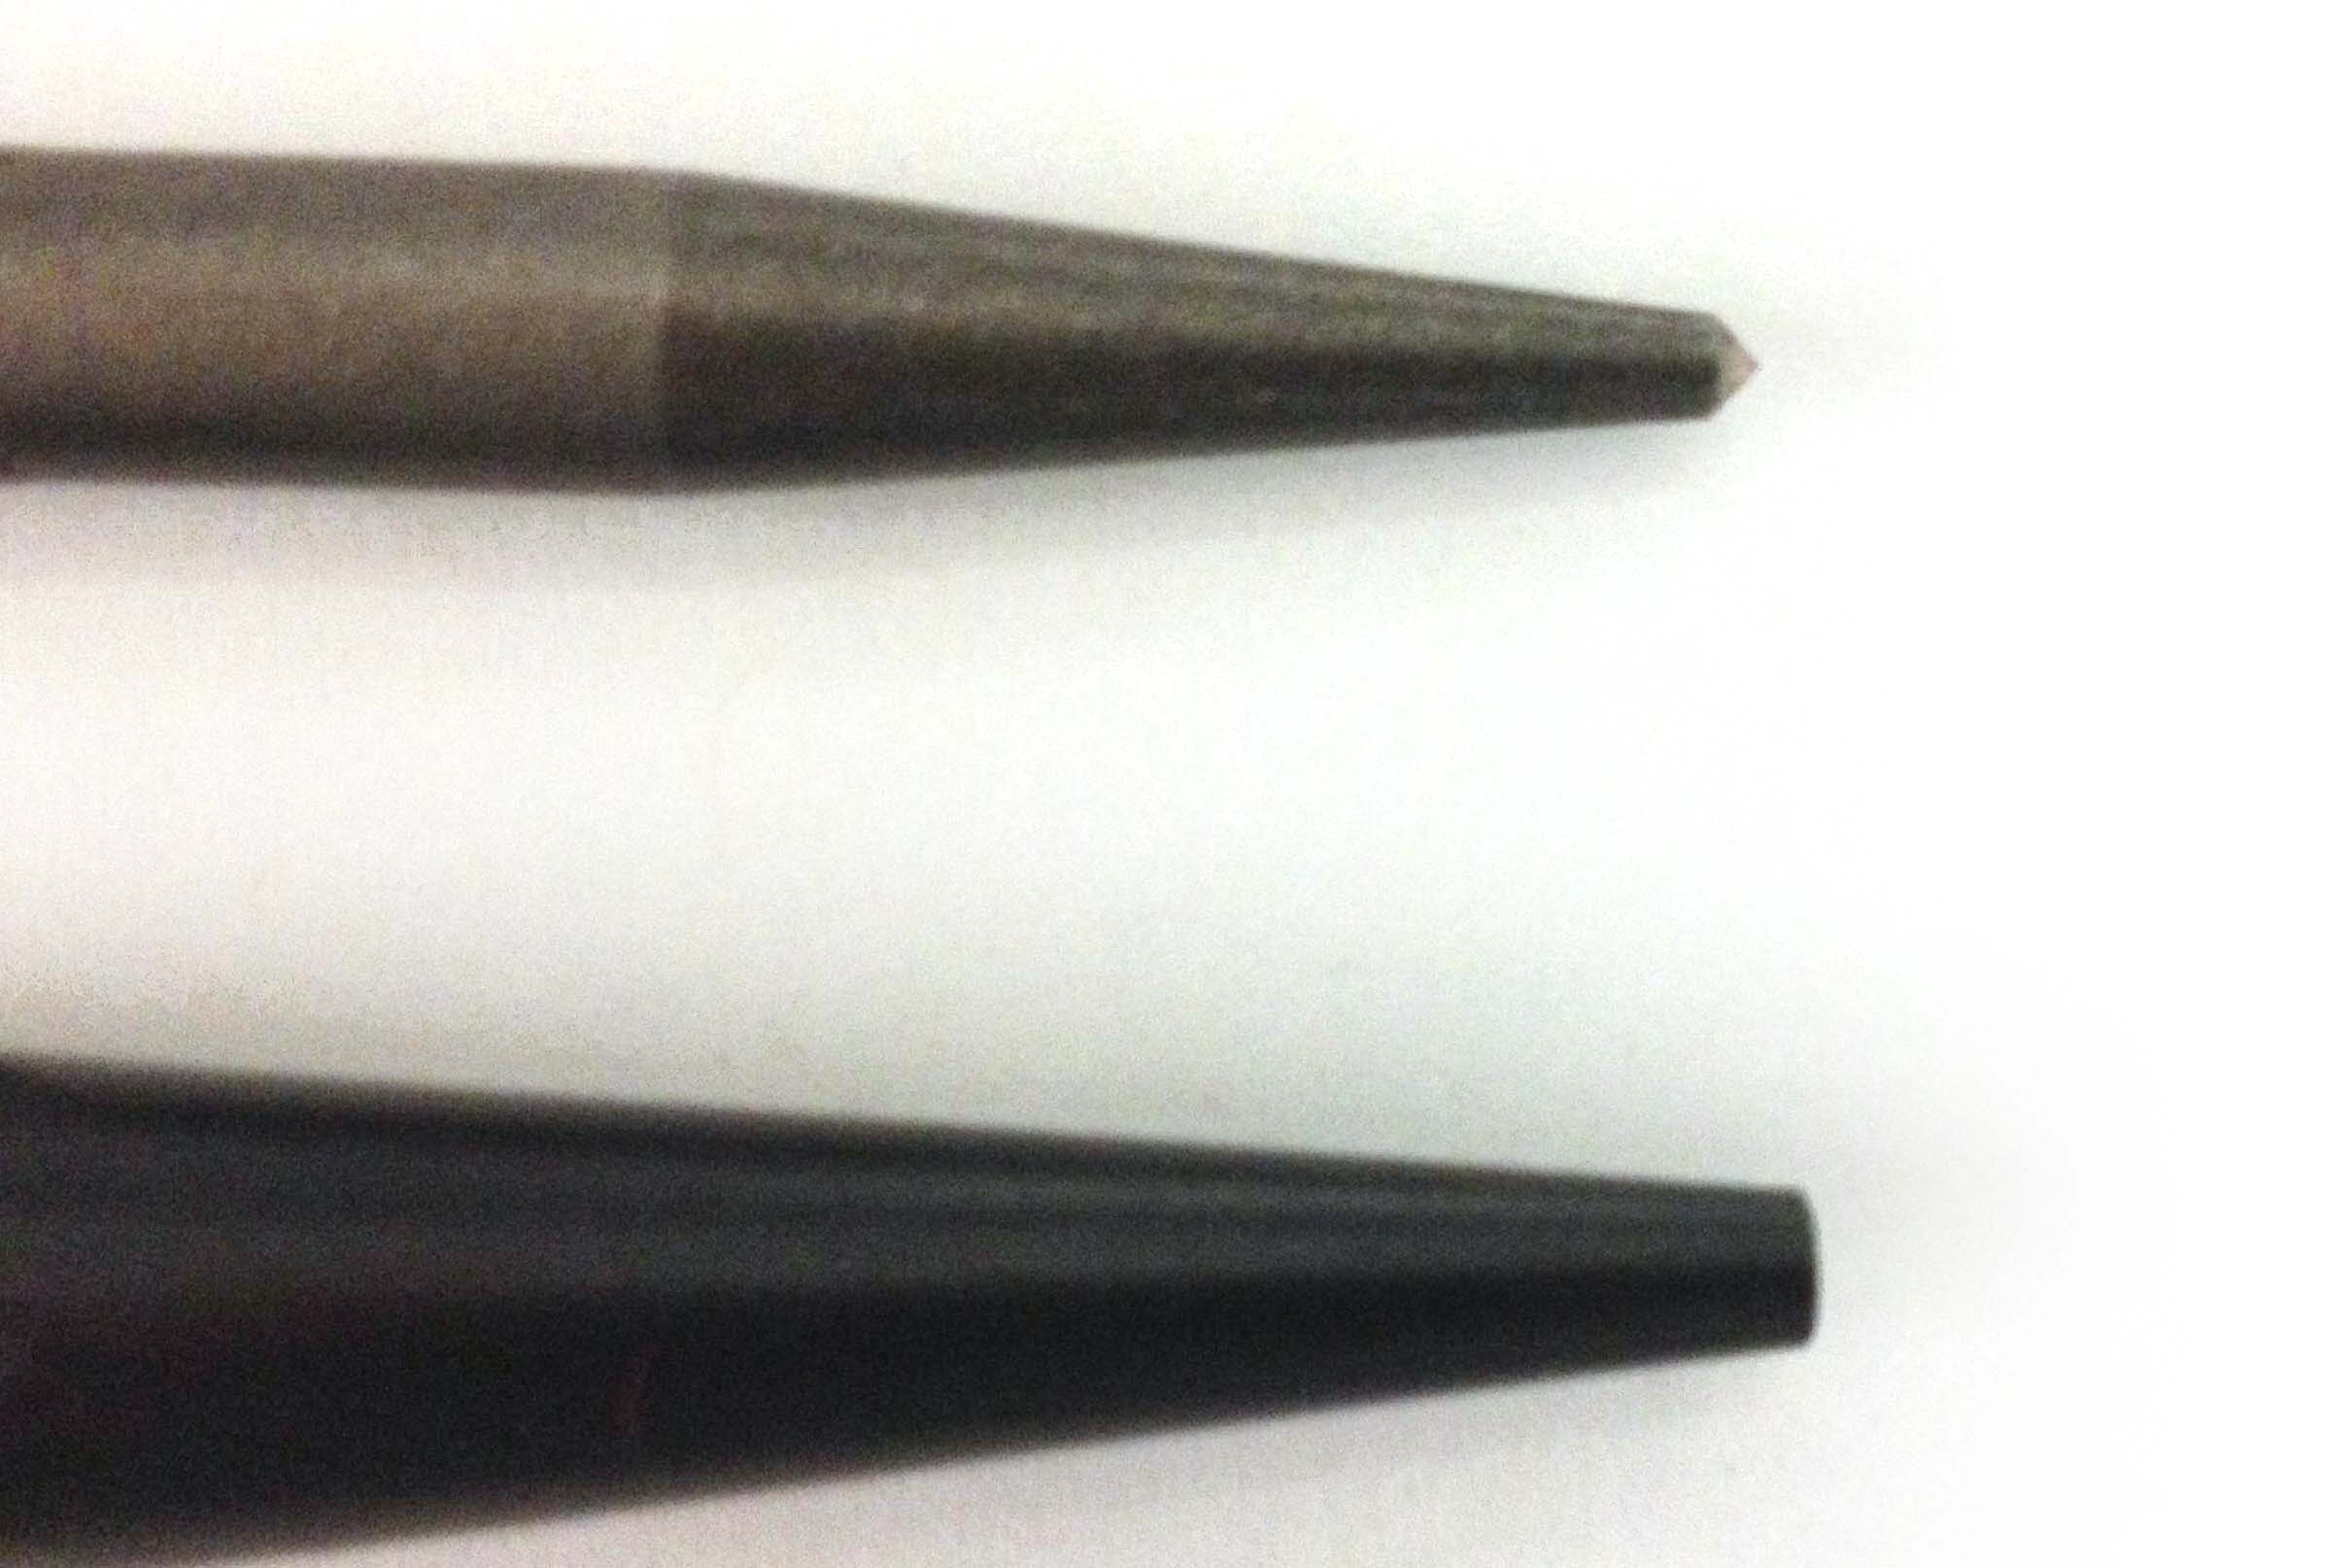
In the lab you will find two tools for flanging these tiny rivets. One is a center punch with a sharply tapered, pointed end (McMaster), and another punch with a more rounded end (McMaster).
First thread the rivet through the hole and flip the board over to the un-flanged rivet side:
Then, using the sharply tapered tool, get the rivet flange started by holding it above the rivet and gently tapping the tool with a hammer. The start of the flange should look like this:
Then finish the flange with the rounded tool, again, by gently tapping it with a hammer: