Week 3: Electronics Production
Tools and Techniques: Solder, Stuffing, Desoldering
Given that I generally have very bad luck with technology (victim of several broken external hard drives and computers, it was very empowering to create my own programmer.
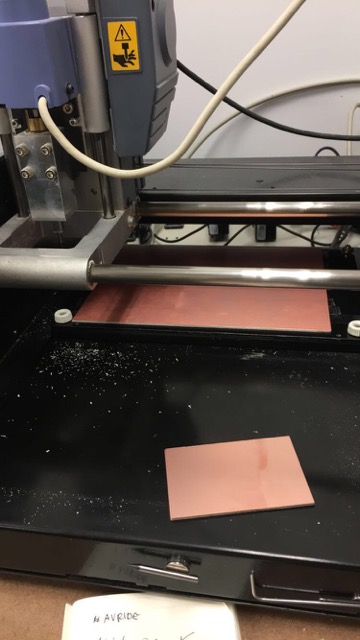
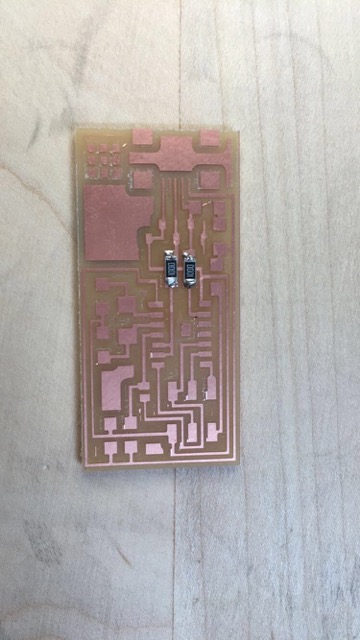
I first began by etching into this beautiful rose copper slab. It took a few tries to get the origin positioning correctly. For the circuit traces, I used a 1/64" end mill. I didn't set it at "0,0" because I couldn't get the endmill to touch the copper slab to know how much pressure was being set on the copper. So I started the first cut at "2,6". The first cut was too rough and created abrasive edges. This may be due to the way the copper was taped down if there were bubbles), perhaps the pressure onto the copper was too rough, or the end mill was dirty. After readjusting the end mill to more lightly touch the copper, the cut was much nicer. Next, getting the outline right would have been easier if I remembered my origin points. But since I didn't, I just eyed where the end mill touched the copper.
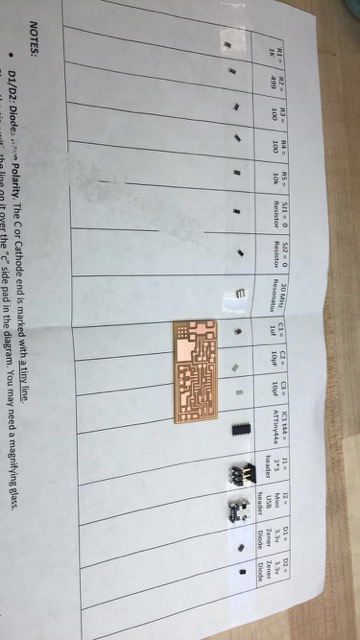
Here are all the parts I used for my circuit board. I replaced the 20MHZ resonator with a crystal 20MHZ resonator.
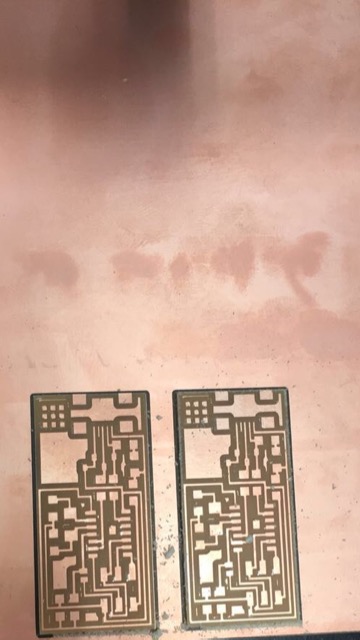
Stuffing the board: Soldering was very gratifying though I burned a few pieces of my hair off (consequences of having emo bangs). I started from the center than moved outwards.
I stuffed two boards, because soldering was a very gratifying experience, and who knows what happens when I spill milk tea on one of my boards at 2AM and need another board? When plugged into the USBtiny, the green light turned on which meant all the circuits were working correctly.
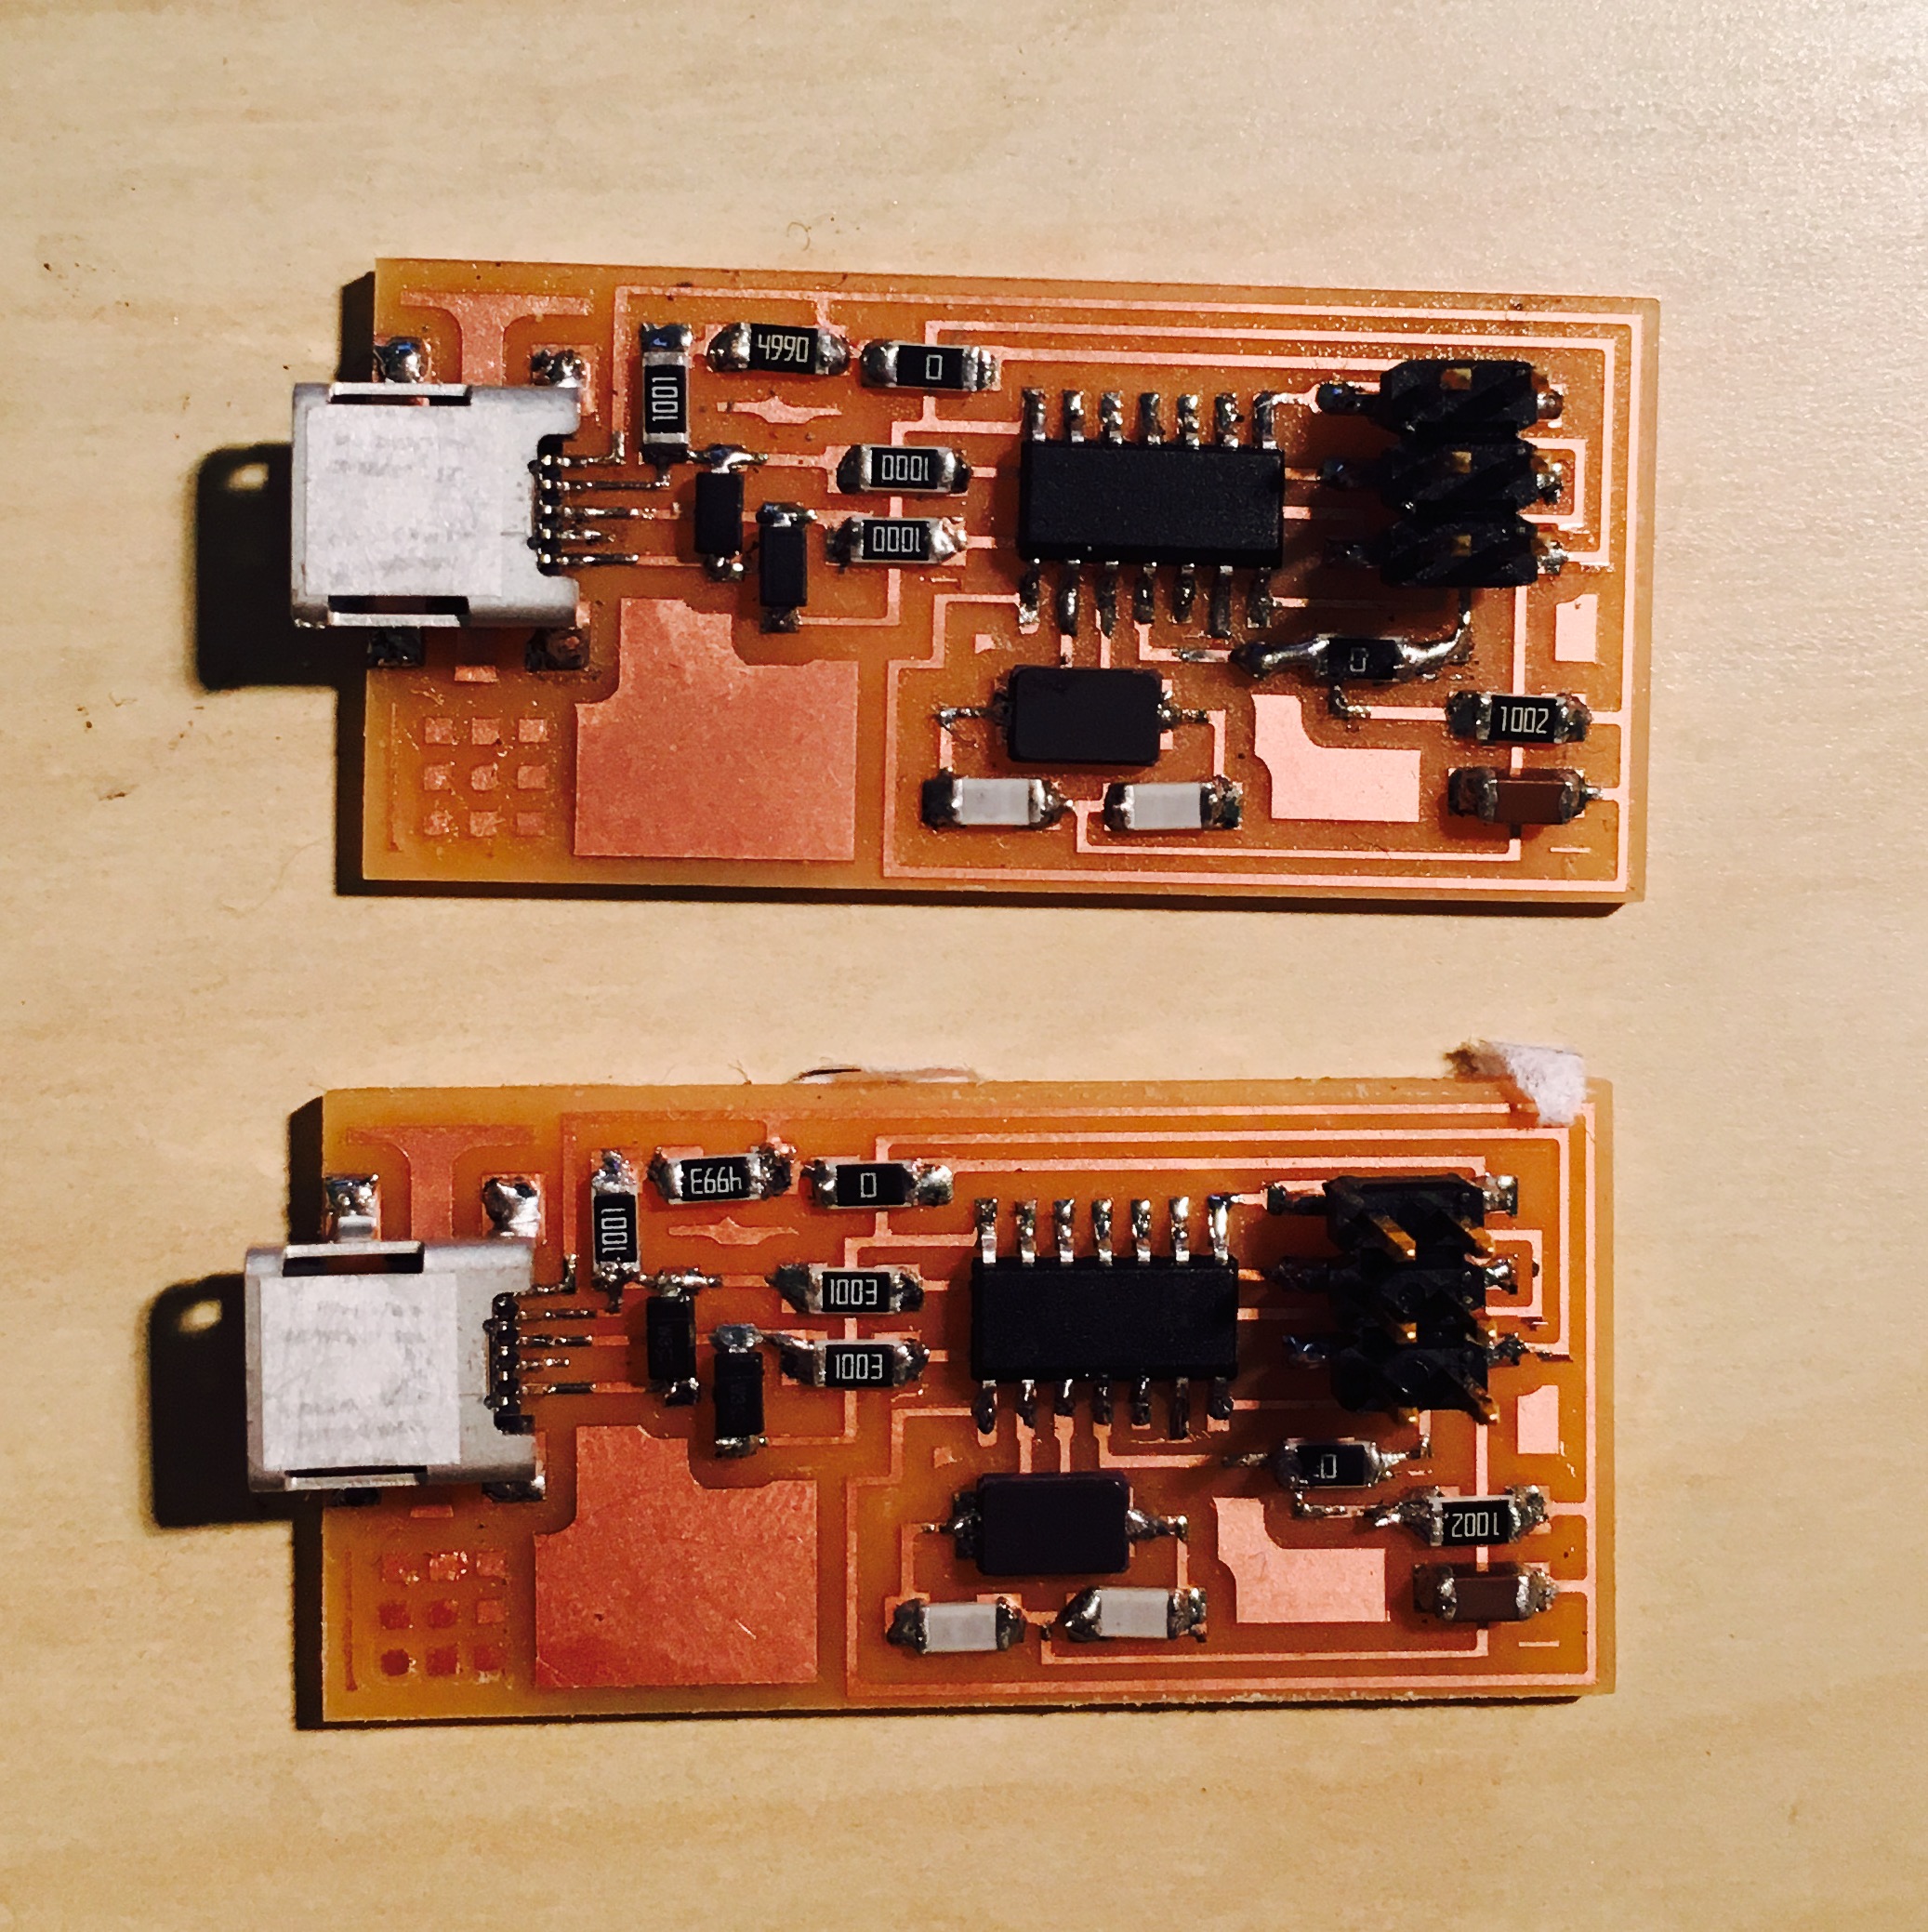
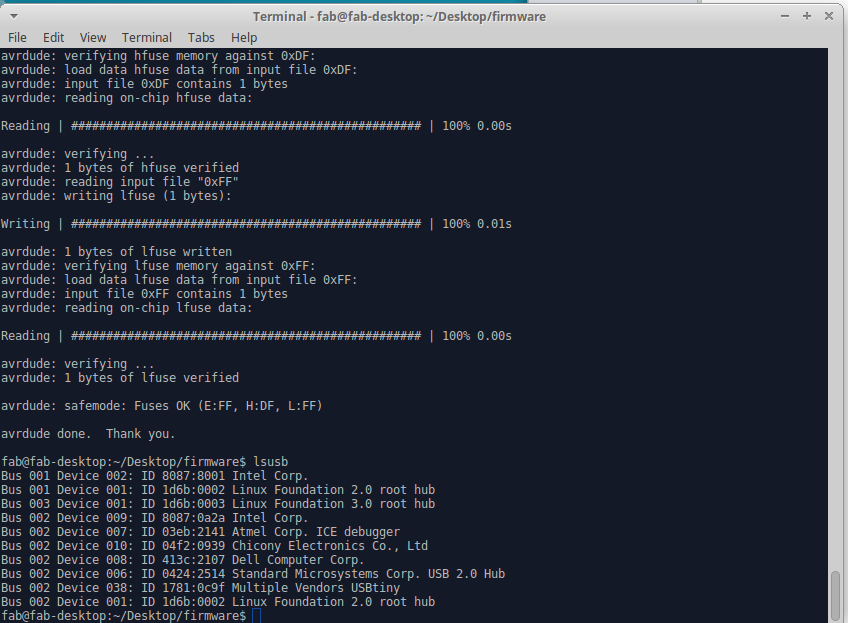
After programming "make clean, make hex, sudo make fuse, sudo make program", I was able to get both boards to work. When searching "lsusb" which asks the computer to list all connected USB parts, for one board it notices the USBtiny, but unfortunately for the other board it did not notice it.