Week 6: Computer Controlled Machining
This week was the most ambitious lesson in making yet. We were tasked with making something big, with pure assembly from press fit. I learned how to take a design into MasterCam and machine it using a CNC mill. But beyond that, it was a lesson in how the combination of materiality, scale, tolerance, and path directionality affects craft.
Since I have no furniture in my living room I decided to build a coffee table. Again amongst my favorite designs are inspired by indo-arabian geometric patterning. So I first began by doing some literature review.
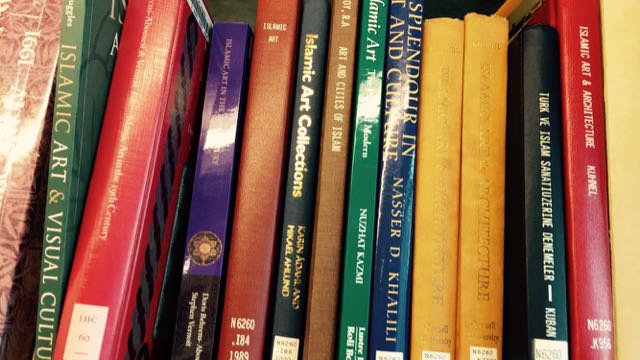
In my travels I was always drawn by Indo-Syro friezes. I always liked the fractal geometries and decided to base my design off of this pattern, from Keith Critchlow's book "Islamic Patterns".

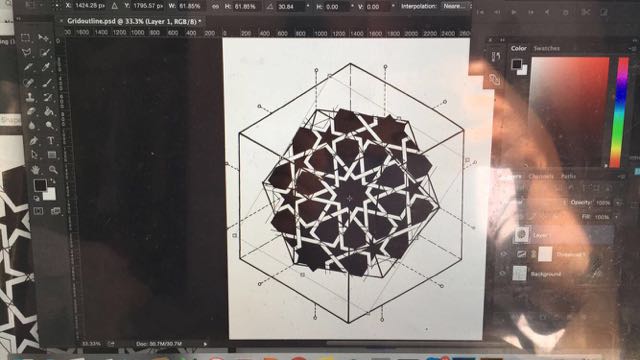
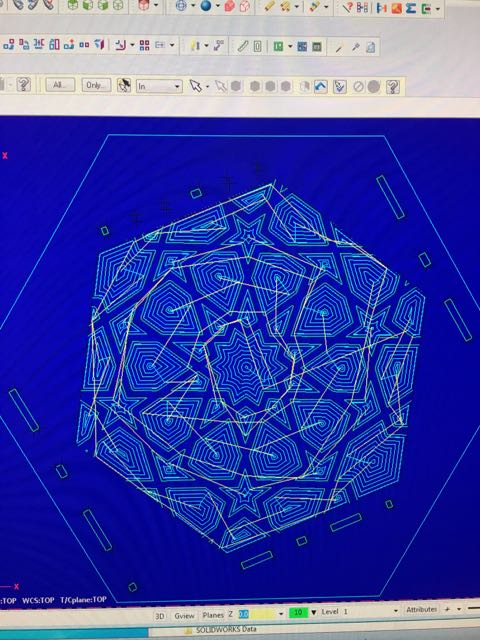
I scanned a fractal in I thought could fit nicely as a coffee table, redrew it in illustrator, and image traced it. Live trace was not a good option; in hind sight I should have traced it in rhino by hand. I also had to account for the widths to make sure that it would not fall apart and it would provide sufficient tolerance for the wood
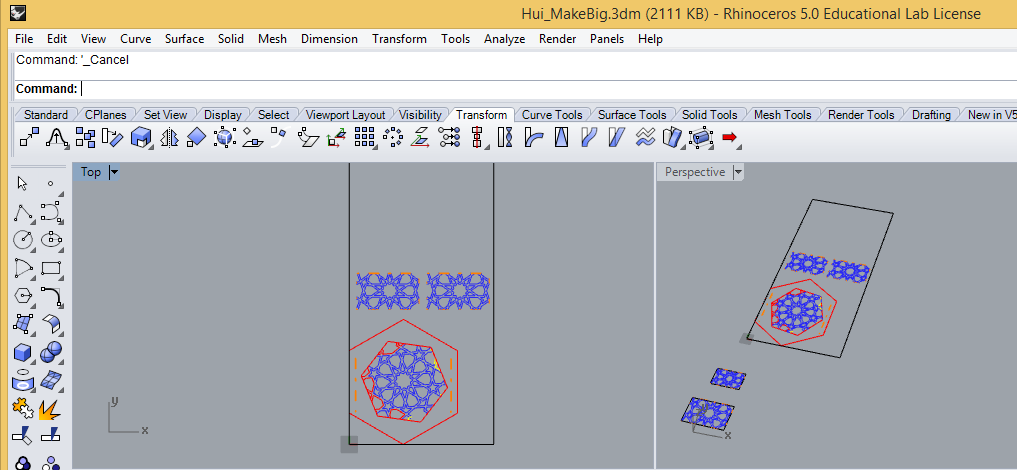
After smoothening out the geometries, I scaled up the pieces in Rhino. I gave a 1/4" joint for the press fit. Exporting it into mastercam was also a good lesson in how path directionality plays a large part in the production process.
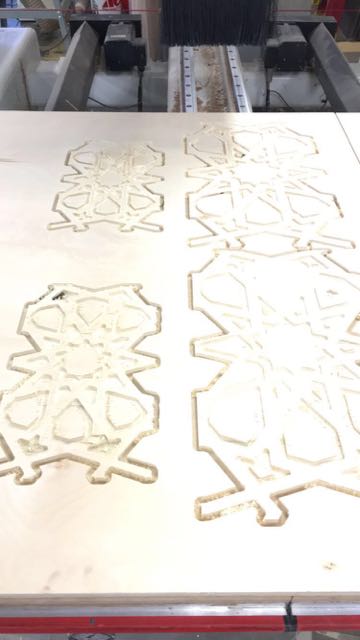
At first, the pieces were cut out in a way that left the edges ragged. Also, during the first cut the design was not pocketed through, rendering one of the pieces of wood not usable. When I bought the 4x8' sheet, it wouldn't fit into the zip car so we had to cut it into three smaller pieces. These cuts also restricted how we would place the designs onto the board
There were also a few lessons in preparing the wood. In hindsight, a 1" piece of wood would have probably been more relevant for a coffee table. Moreover, I wanted to create a 1/4" pocket that a piece of plexi glass could sit on top of the fractal hatch, not realizing that some of the uglier wood was inside (versus the surface was much nicer). Also, the measurements for the plexi glass were wrong and as a result will not fit snug onto the hatch. Moreover, attempting to laser cut the https://www.facebook.com/?ref=logo1/4" plexi glass on Epilog60W was also tough and took several passes. I will re-visit cutting on the Epilog 120W.
At a second run, the tool path on mastercam was changed to first cut through the slots from a circular motion, then the 1/4" pocket was cut through. Some parts of it broke during the production process because there was either not enough vacuum to hold it down, or there were holes inside the birch plywood.
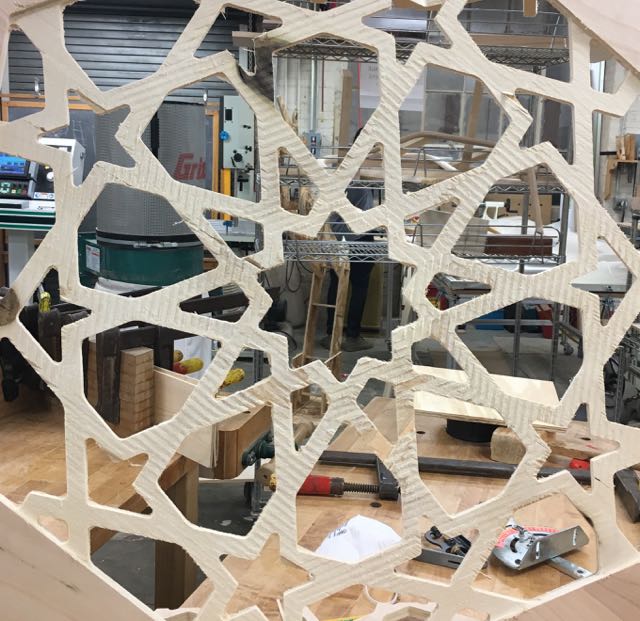
As you can see, here are the striations from the pocket cut that required a good amount of sanding down
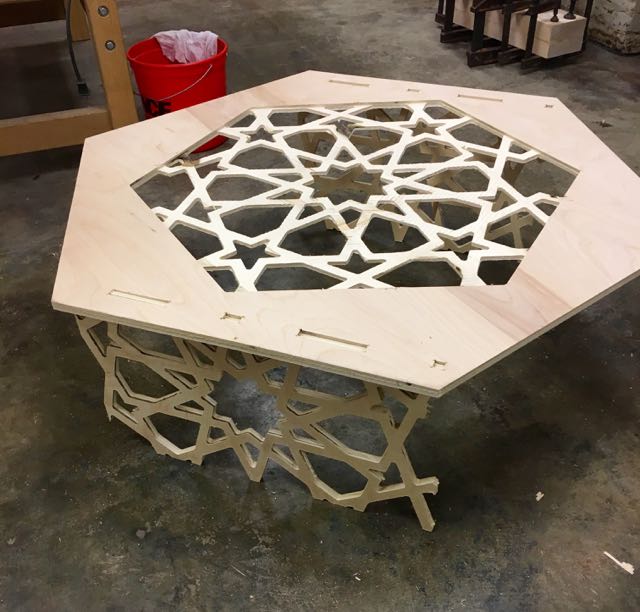
I really wanted to avoid having the press fit cuts show on the edge of the table, but the advice I was given was that it would have been structurally unintegral to have only a 1/4" cut where the joints meet. Moreover, given the wood restraints I wasn't able to cut all four sides of the wood