HOW TO MAKE [ALMOST] ANYTHING_MAS.863
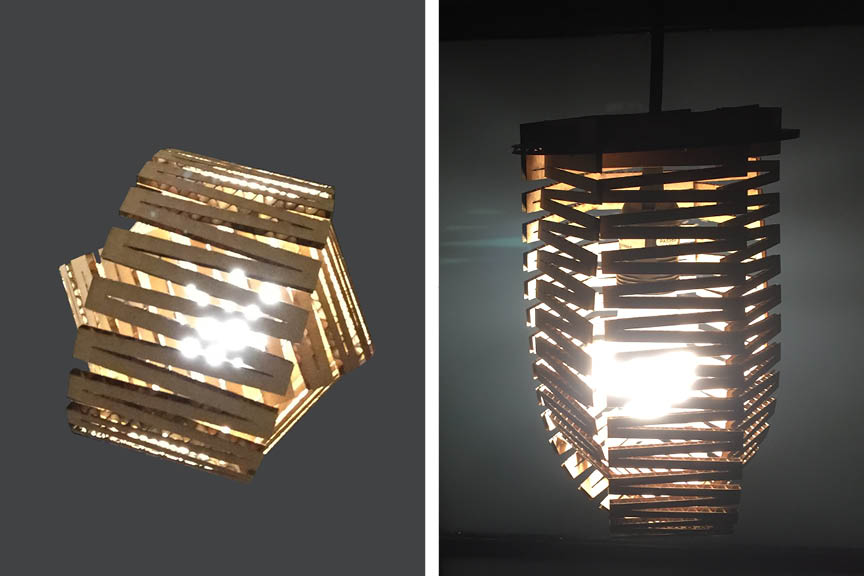
(left) lamp from below, (right) lamp from side
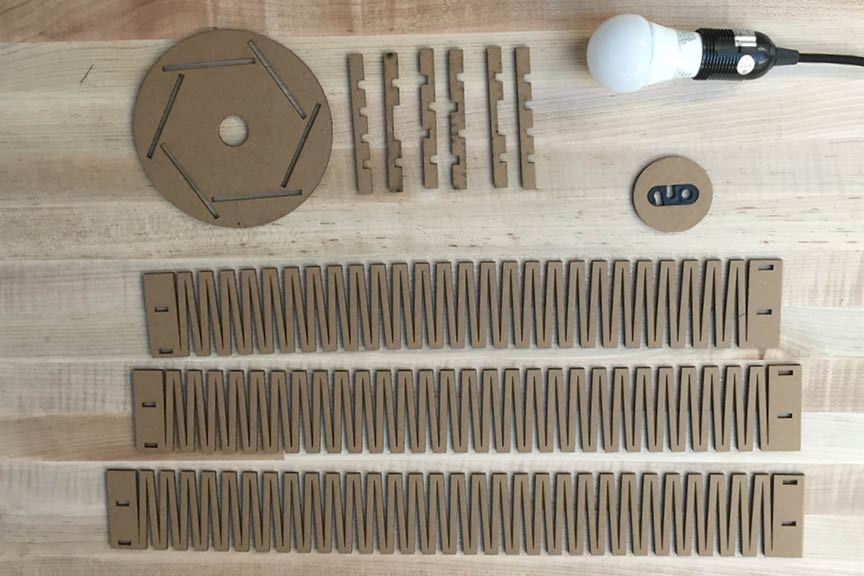
assembly kit
This weeks assignment was to design, make, and document a parametric press-fit construction kit, which can be assembled in multiple ways. I had no idea what to build or where to begin, so I just started cutting.
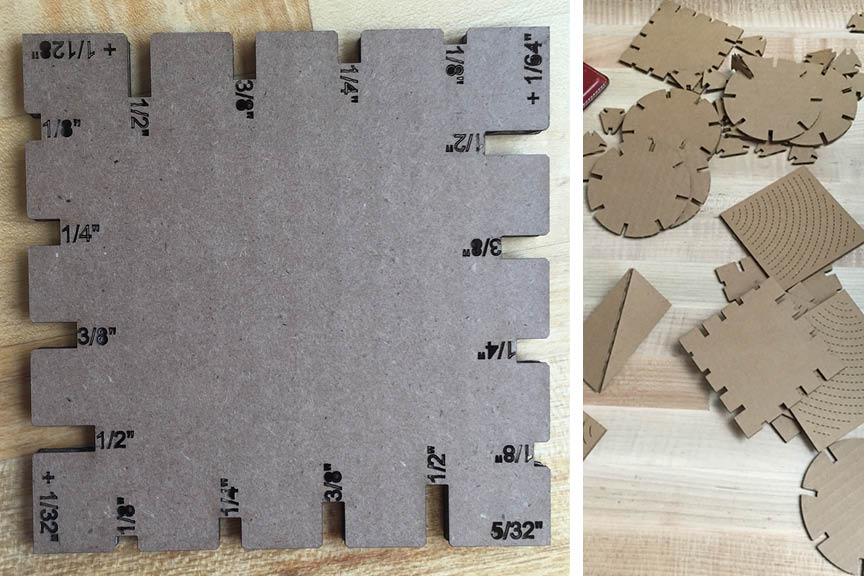
A few members from our section met to discuss various joint sizes, cutting settings and project ideas. Everyone in the group has a different skill level and many have never laser cut. I have lots and lots of laser cutting experience, so I was looking forward to this task.
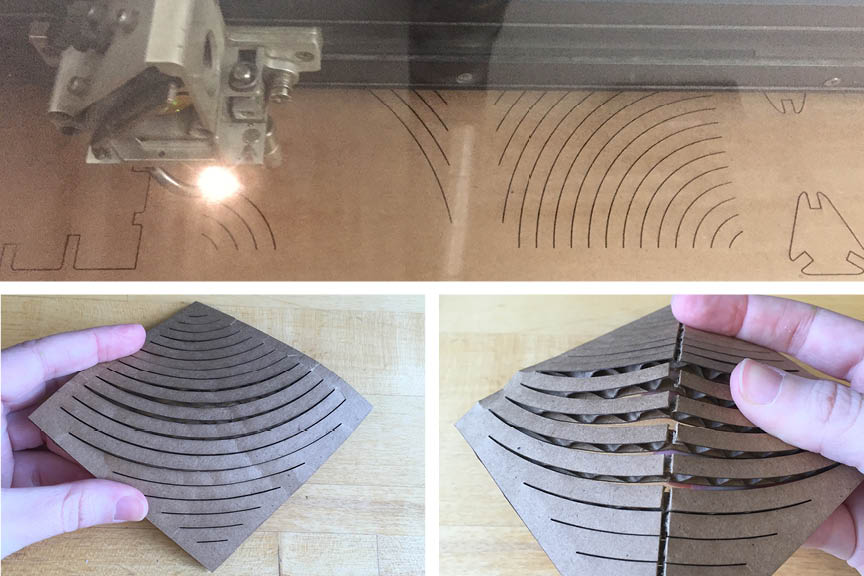
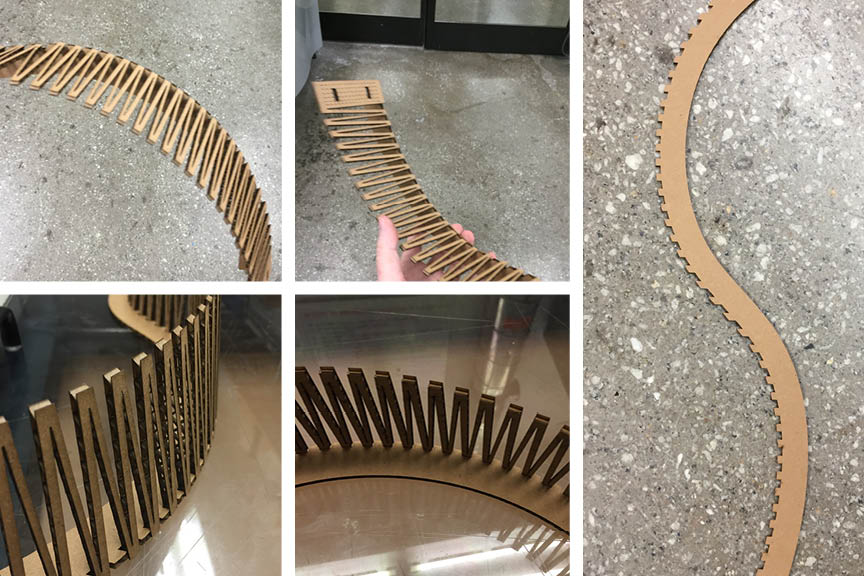
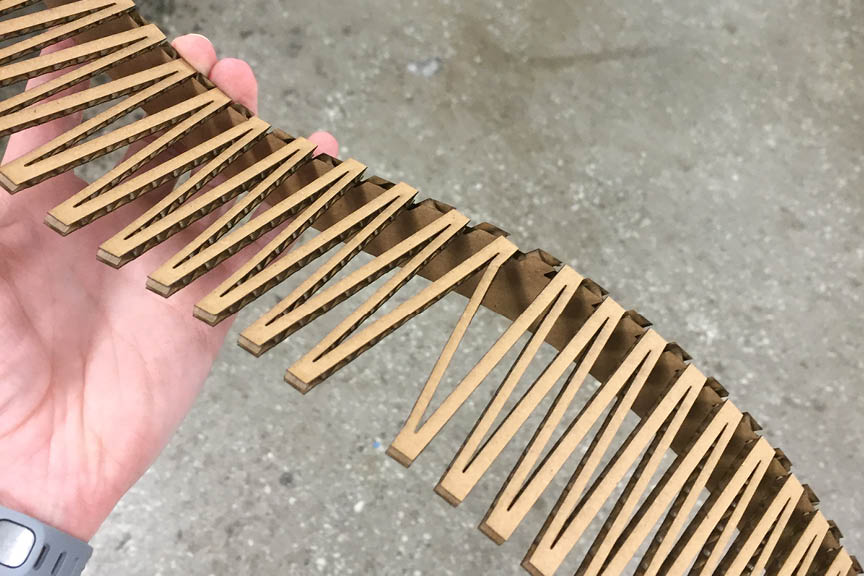
Two of my favorite tests involved curving manipulating the cardboard to create semi-curved surfaces.
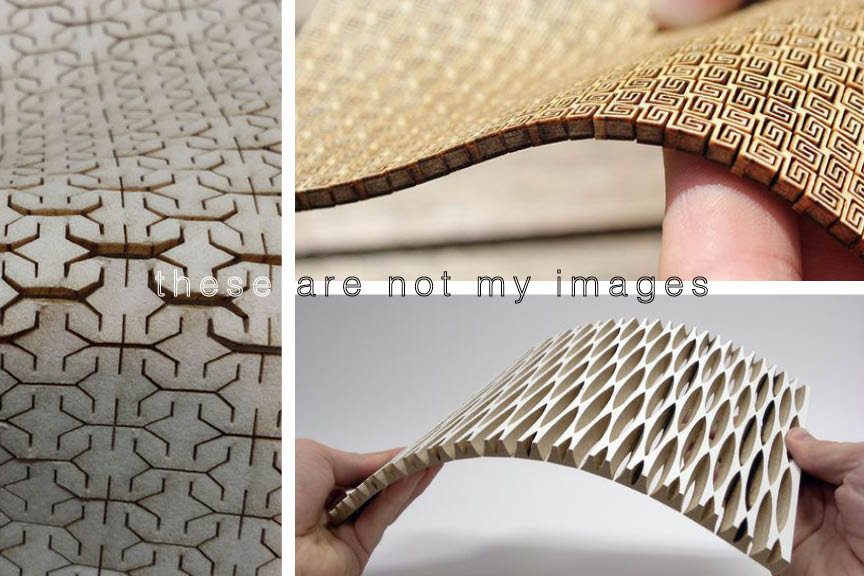
I'm incredibly fascinated by giving hard planar surfaces a fabric-like quality. From there, I took to google and started looking at what other people were doing this method, also known as "kerfing"
and then came the idea for a pendant lamp...
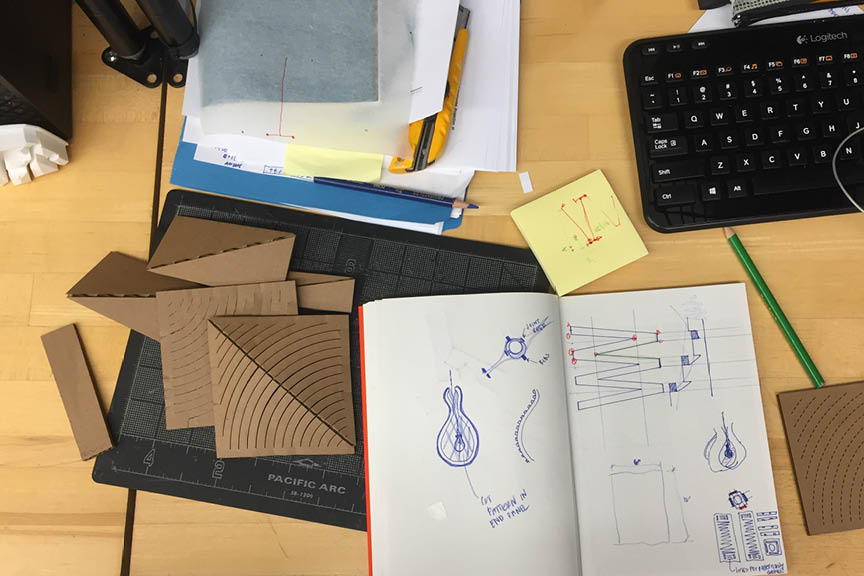
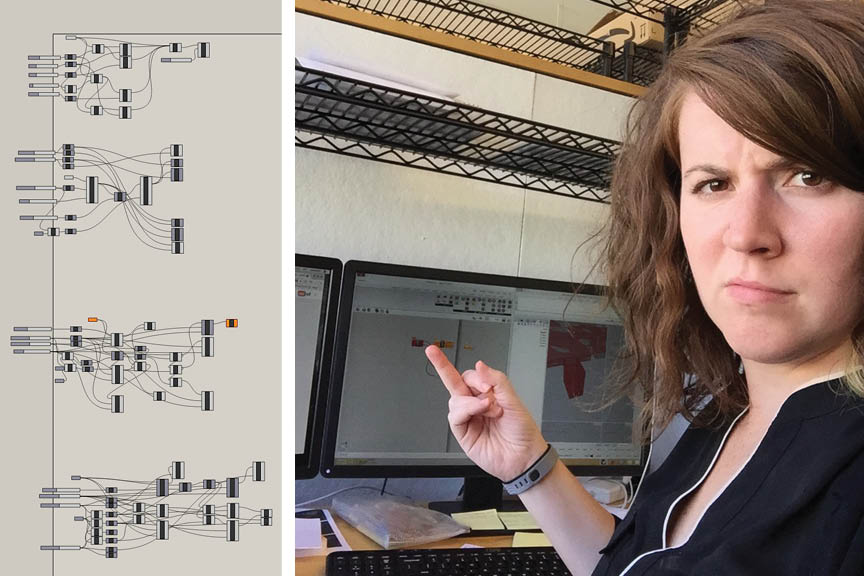
I've never really scripted before. In fact, you could say that I was somewhat scripting averse. I spent almost the entire weekend doing grasshopper tutorials in order to build my curved surface parametrically - I knew that I would want to test a few different options. In the image on the left, you can see four different iterations of the same idea. Each time I did it, I kept thinking of ways to make the script more efficient.
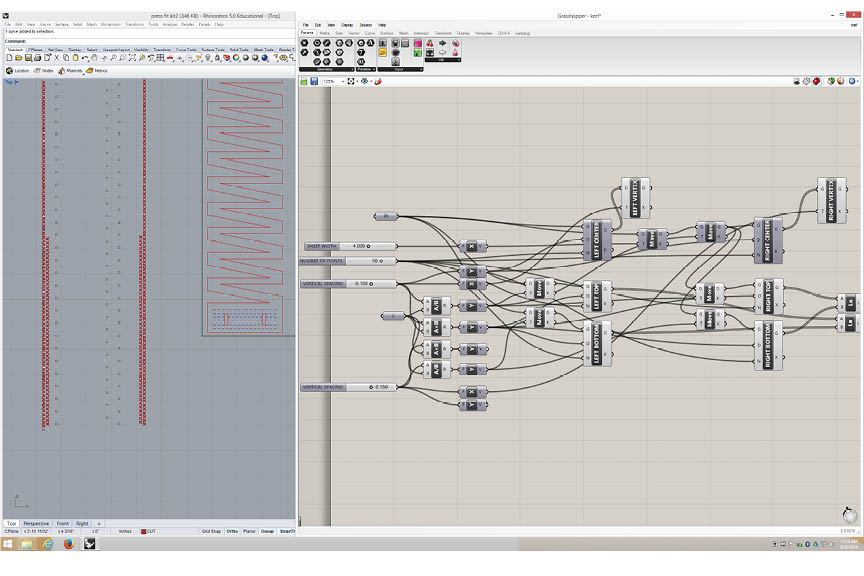
At first I thought all this parametric modeling for such a simple shape was a waste of time… and then my test print didn’t work. I went through several iterations and it was great to simply input the changes.
Parameters: panel width, material width, and centerpoint spacing
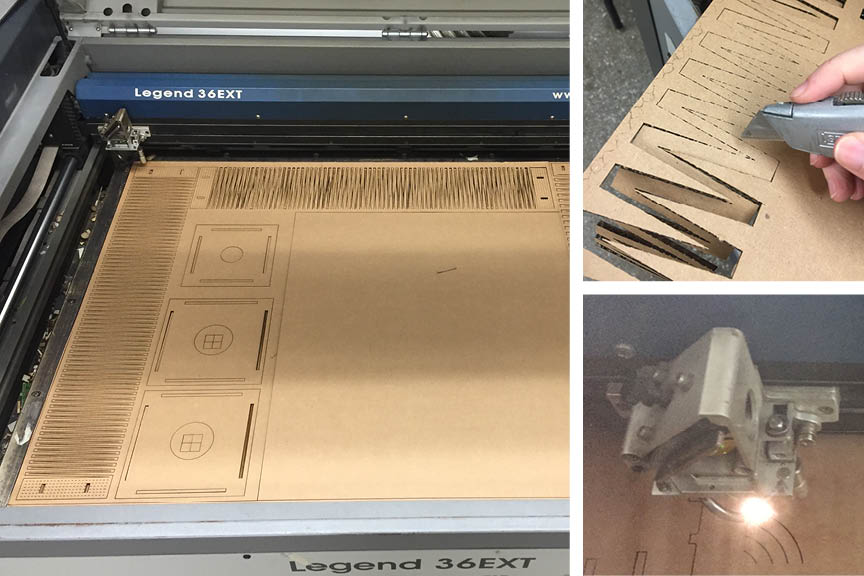
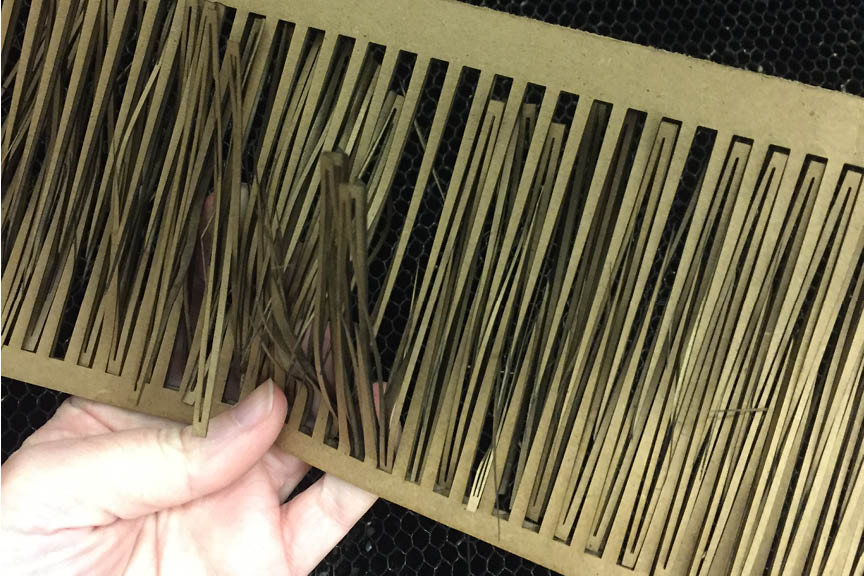
My first test didn't quite go as planned. I tested two panels in different orientations to see how the curve would react with the grain of the cardboard. The material width was way too small, and the piece cut (at top of bed) essentially shredded (see below) since the zig zags were cut essentially parallel to the cardboard grain. I also was a bit impatient and did not run two passes, so I had to spend a bit of time cleaning up the cut.
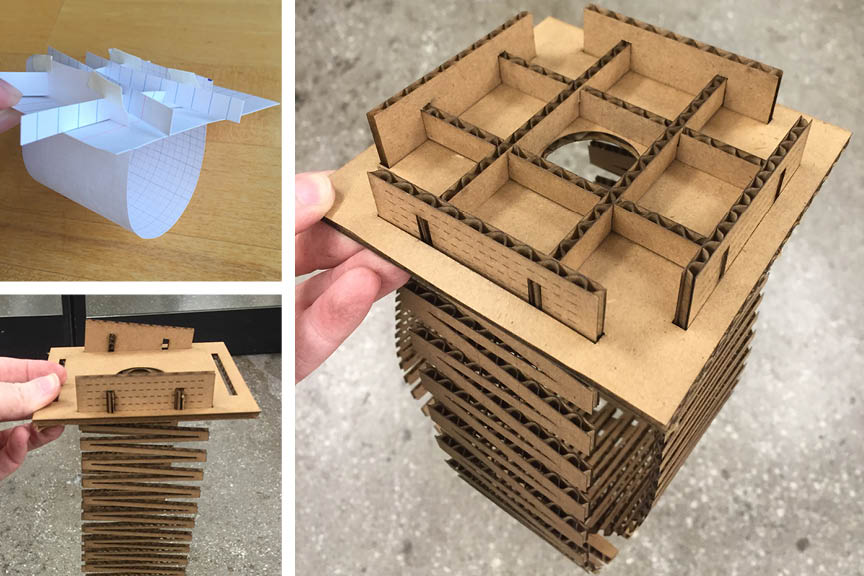
I first tested the lamp on a square base, and the joints were pretty straightforward since they only had one intersection. The joints are completely gravity dependent - so if the lamp is not hanging, it looses most of its stability and will probably fall apart.
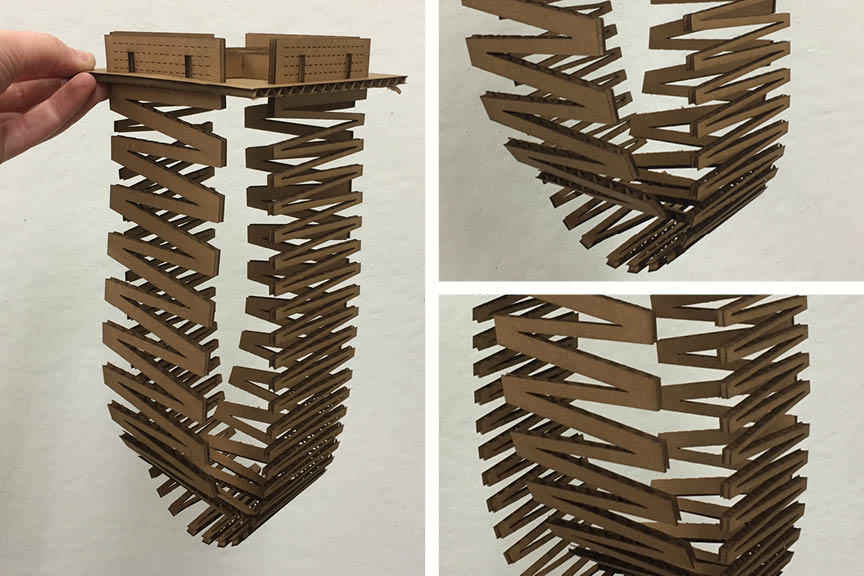
I tested a few more thicknesses - I liked the thicker pieces because they had more rigidity and didn't just 'hang', but they were also really chunky looking, so I had to find a balance between form and function. I wasn't loving the square base and decided to move forward with a little more complexity.
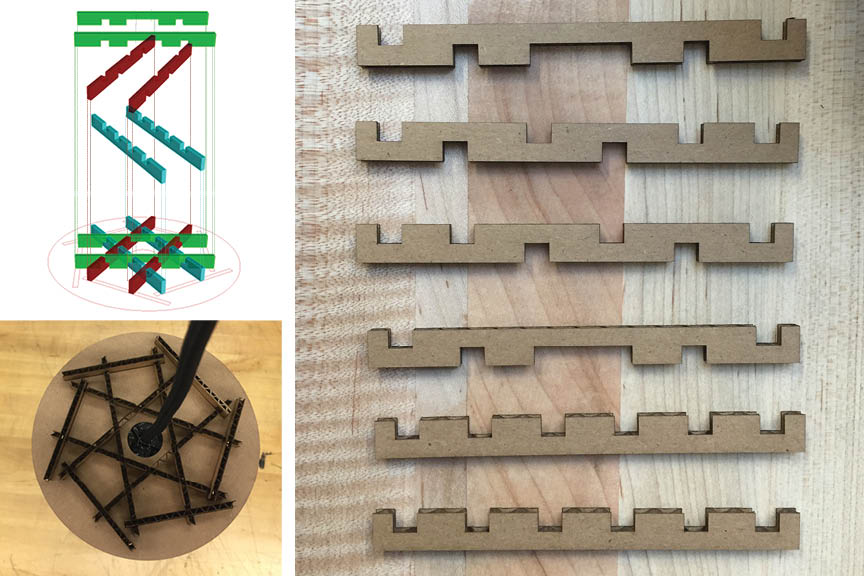
The final base has 6 sides, and required 3 sheets of kerf. The joints got a little more complicated, but were really fun to figure out. I had to model it in rhino to make sure everything was aligning. When I was putting everything together, I wished these pieces were cut out of a harder material, as they were just a little too flimsy.
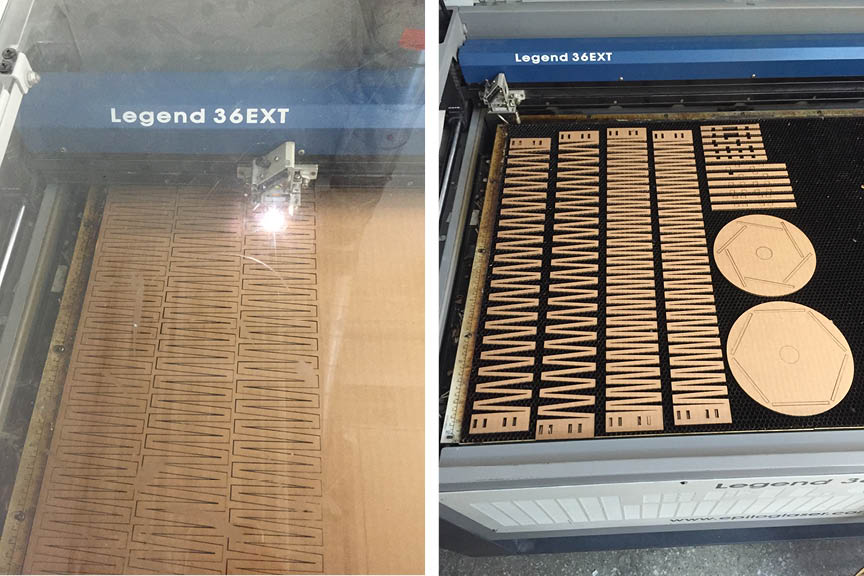
Since I had issues with my laser settings the last time, I upped the power last time and ran two passes. My pieces came right out, and it was amazing - I love when that happens!
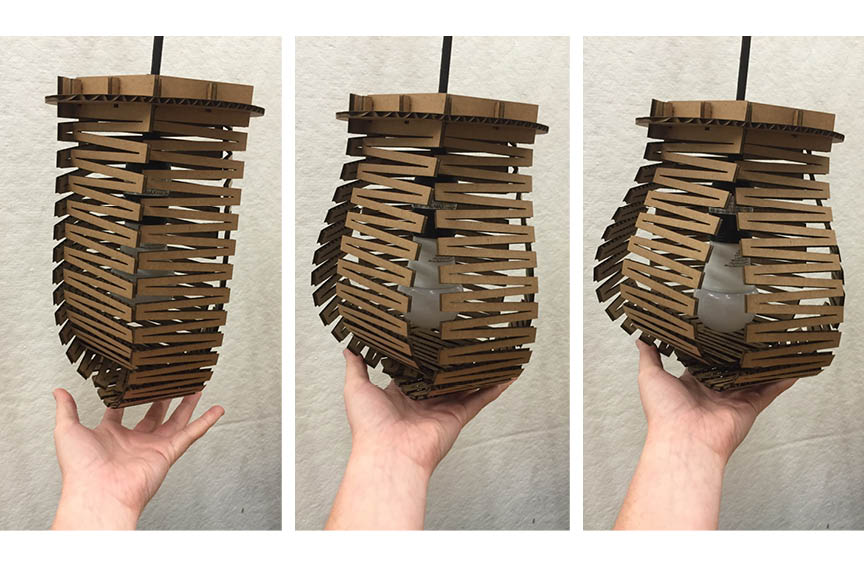
I really wanted the form to have a little more structure. That would be a really great addition to this "kit". I toyed around a bit with ribbing, but just wasn't able to integrate it into this version of the lamp
Another improvement to this project would be to create parameters to change the kerf patterns. I really didn't experiment too much here and would love to explore this further.


