I made a doghouse for my puppy, Dwight. The project included large format machining, parametrically designed joinery, an input and output PCB that detects the dog's motion and illuminates an LED strip when he enters the house. The electronics are housed in a lasercut acrylic model of the house.
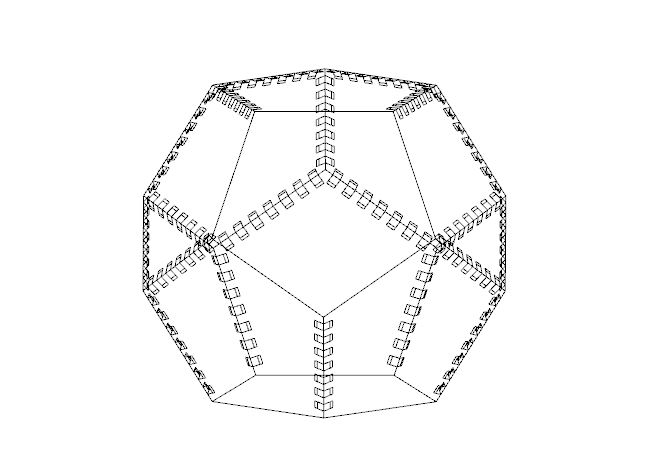
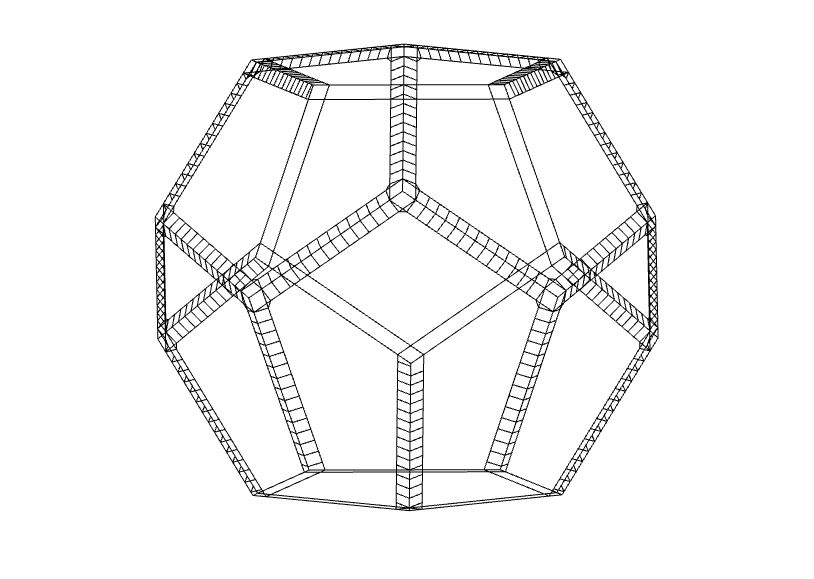
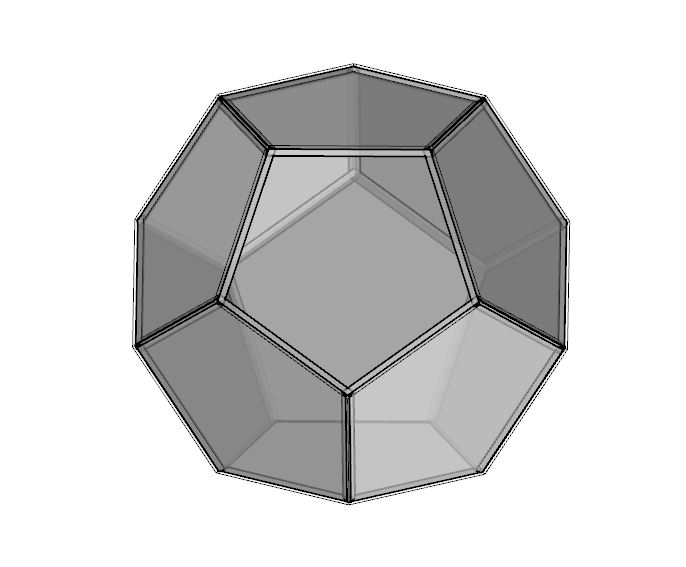
Below are some images of initial designs I played with over the semester using Grasshopper and modeled with the laser cutter and chipboard. In the end I decided to make a dodecahedron structure, so that I could construct with planar stock and design finger joints to press-fit the structure. I found many images of wooden dodecahedrons online, but they typically have mitered joints which would require biscuits or some other internal fixture. My design is held together with finger joints of my own design- machining box joints with a ball endmill was tricky but it came together!
The materials I used are: birch plywood, purchased at Boulter Plywood for $150; 6"x36" sheet of acrylic purchased at Artist & Craftsman for $12; the electrical components are almost entirely supplied at RPL, with a couple exceptions (connectors, LED strip) purchased at Microcenter.
The client
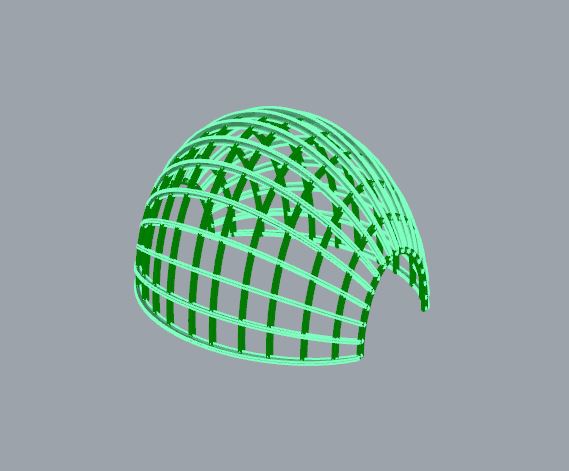
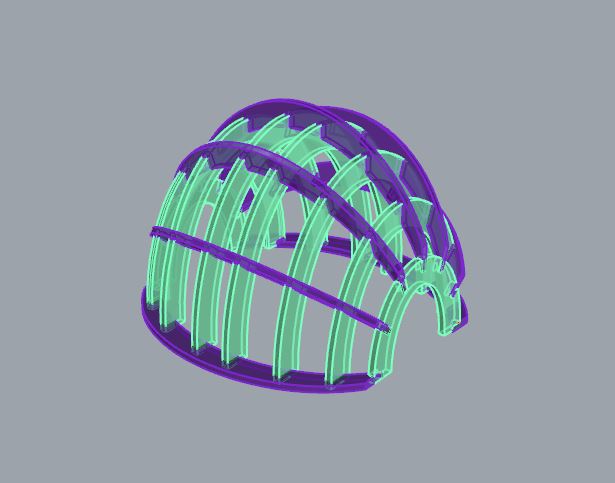
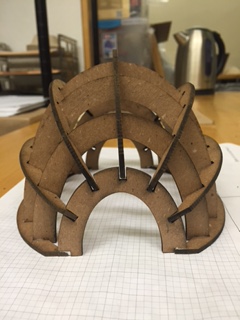
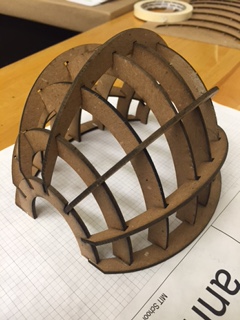
Initial designs using Grasshopper. Exploring scripted surfaces.
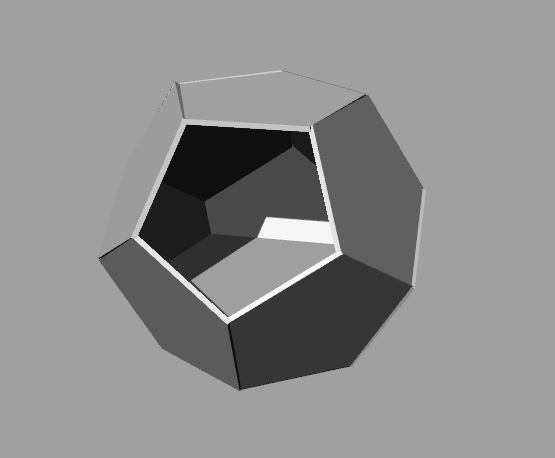

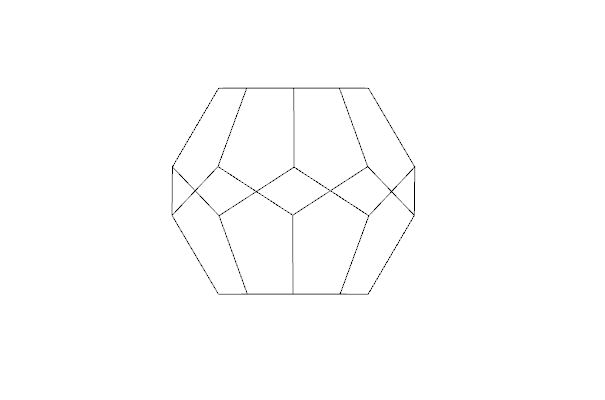
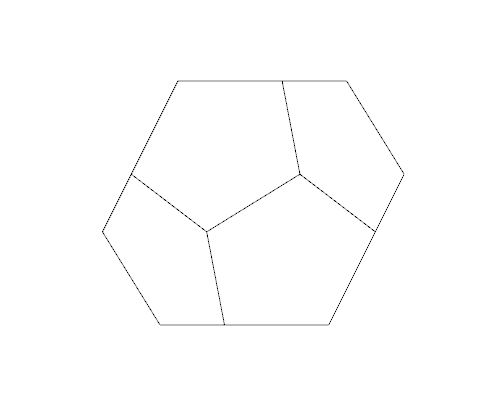
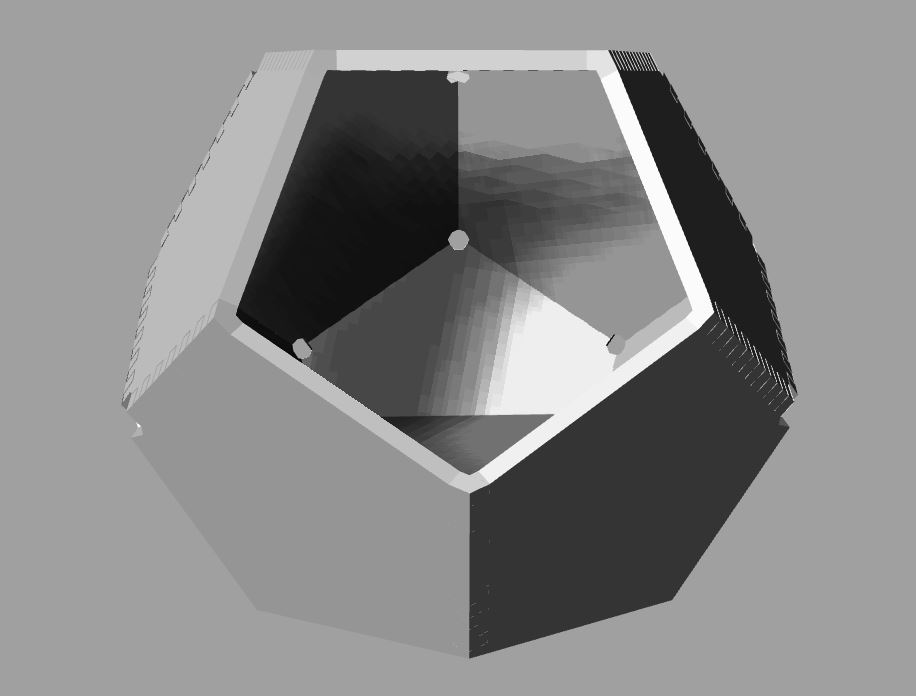
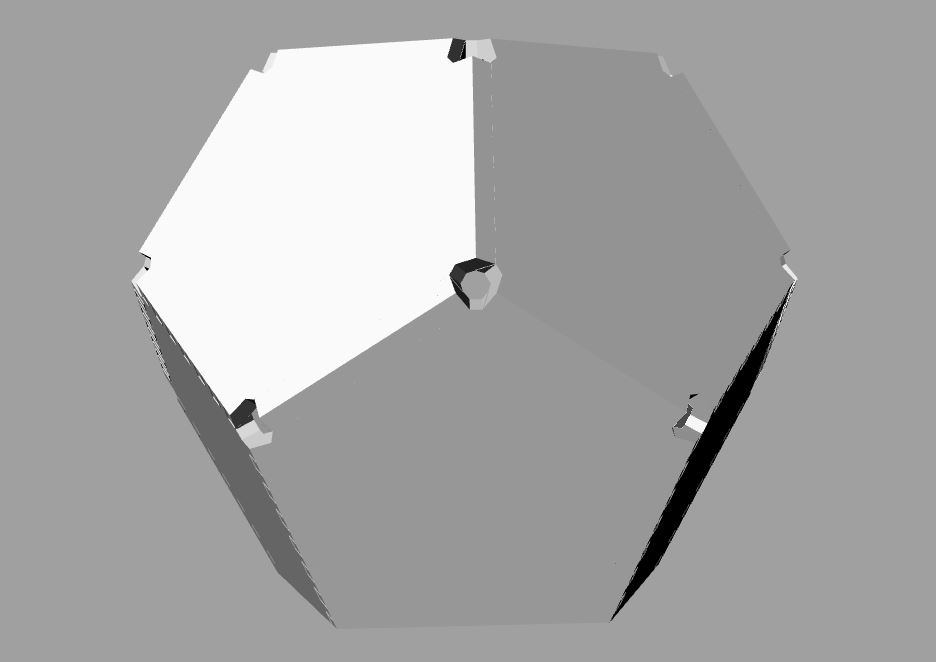
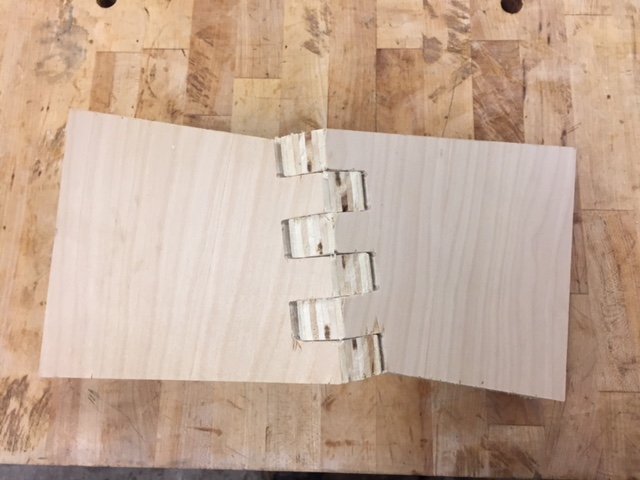
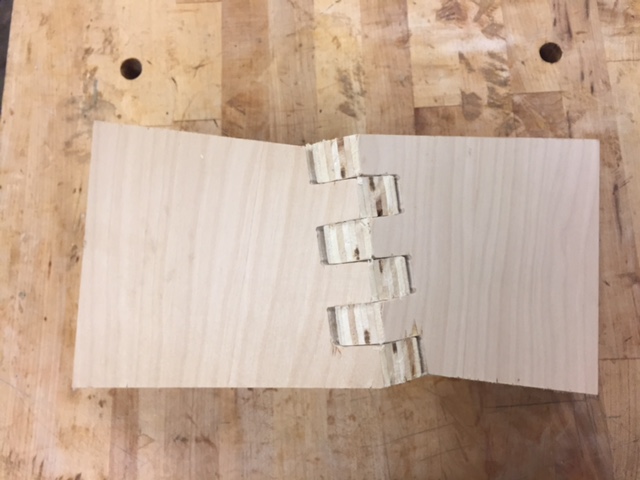
It's very easy to make a dodecahedron in Rhino, not so easy to design the joints. I drew finger joints along the long edges of the pentagons, and eliminated the corners.
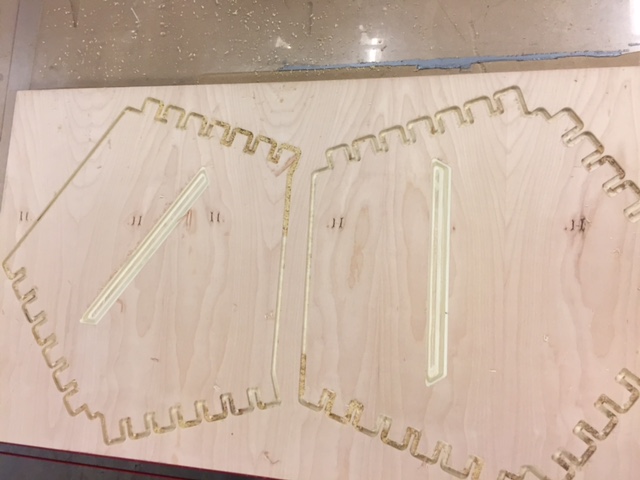
I spent days in Mastercam. The mill job is pretty complex- I needed scallops for the surfaces, contours for the cutout, which are straightforward, but the diagonal curves to eliminate stock in the inner corners of each joint was very challenging due to the contraints of the tools. The 1/8th bit is not long enough to reach all the way down into the 1" of stock, and collided with the walls of the piece. I ended up breaking the endmill and subsequently deleting that toolpath, and offset the diagonal line to clean up the edges.
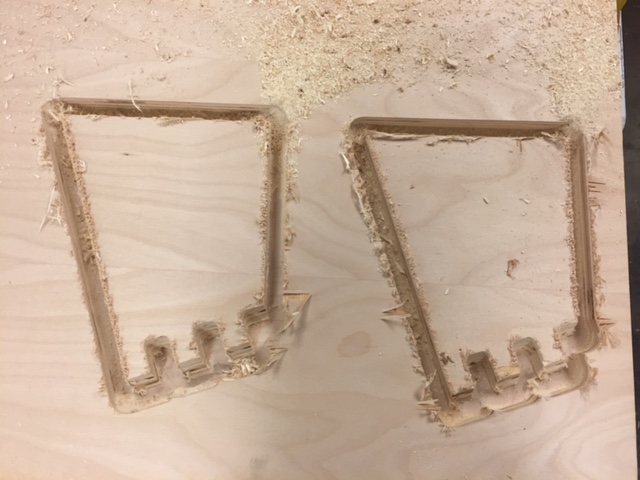
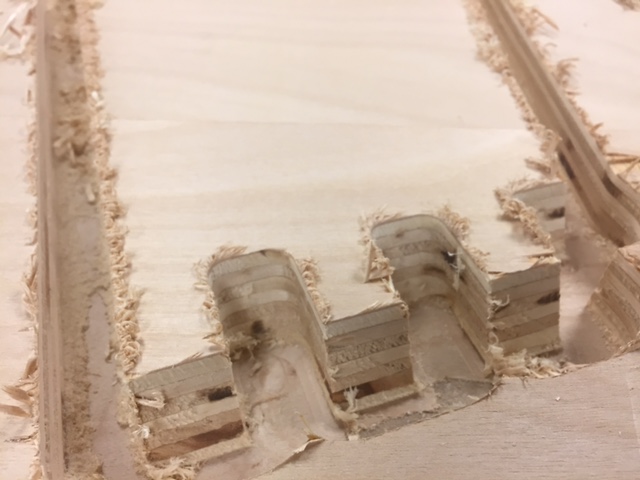
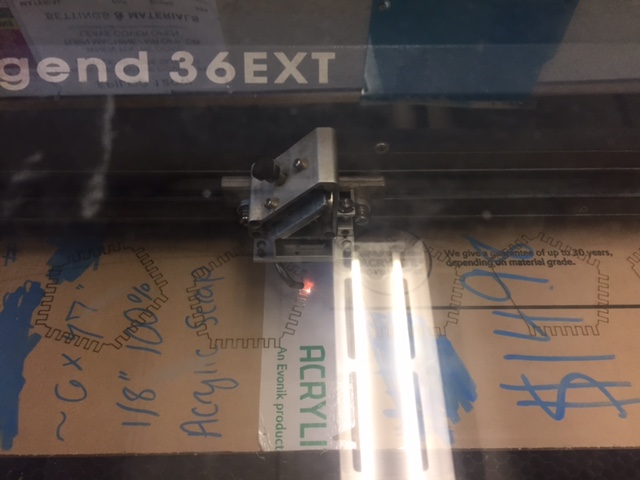
I first milled a test piece to test the offset I had chosen and to figure out where all the problem areas are.

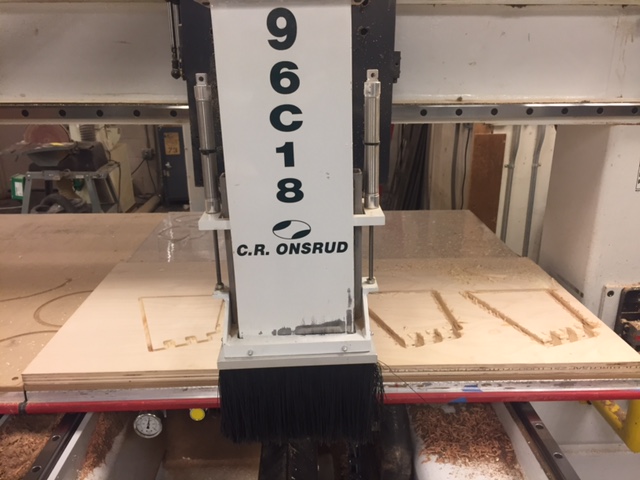
I bit the bullet and moved on to the actual pieces with an offset of 0.01". I flip-milled the five bottom pieces to create a trench to accept a shelf of the doghouse, but one of the flips went badly enough to prevent the shelf from fitting.

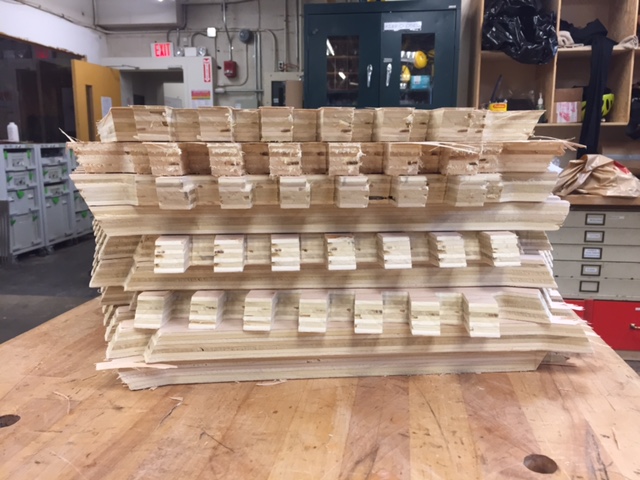
All the pieces milled and in need of a bit of sanding to clean up. Early tests showed that the 0.01" offset worked well and the inside walls of the joints did not need to be sanded at all.
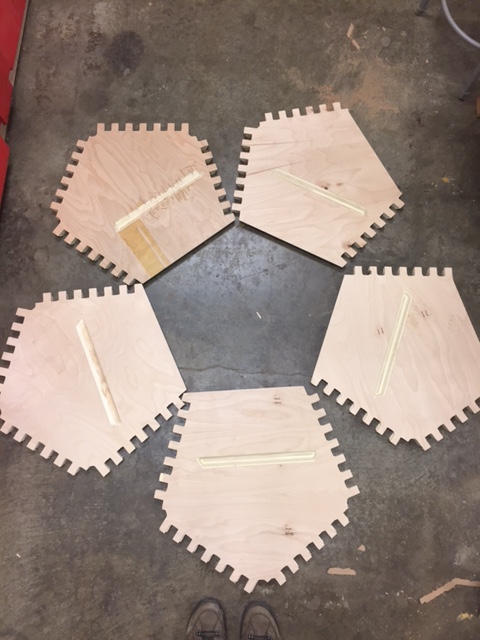
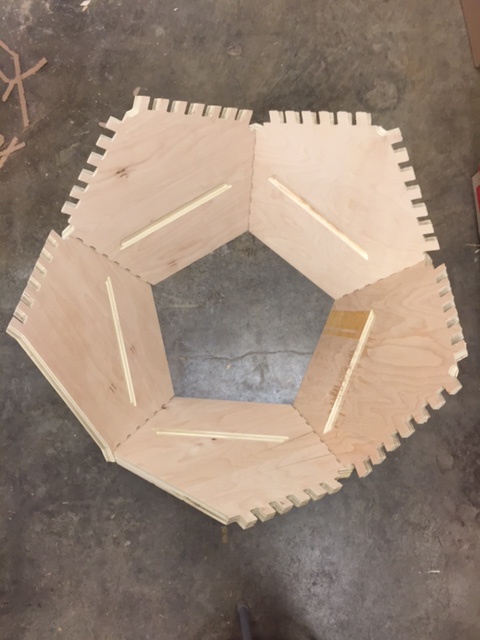
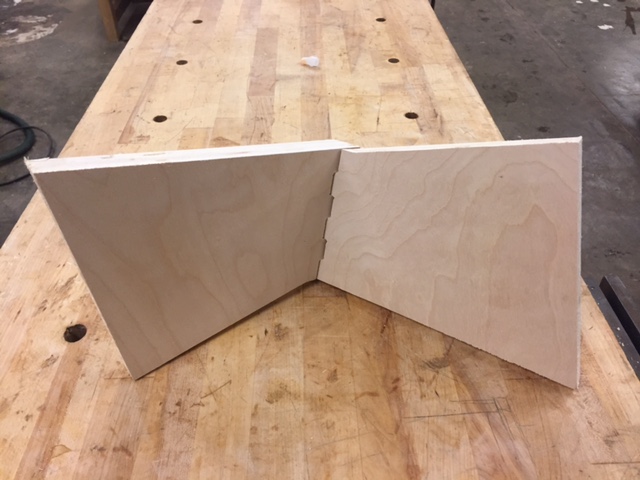
Beginning to assemble!
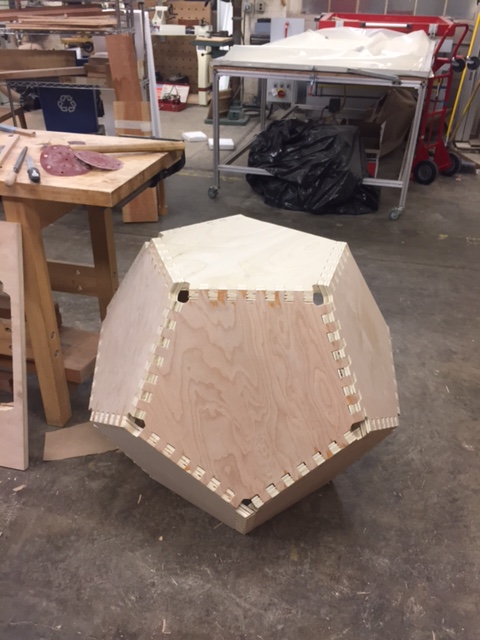
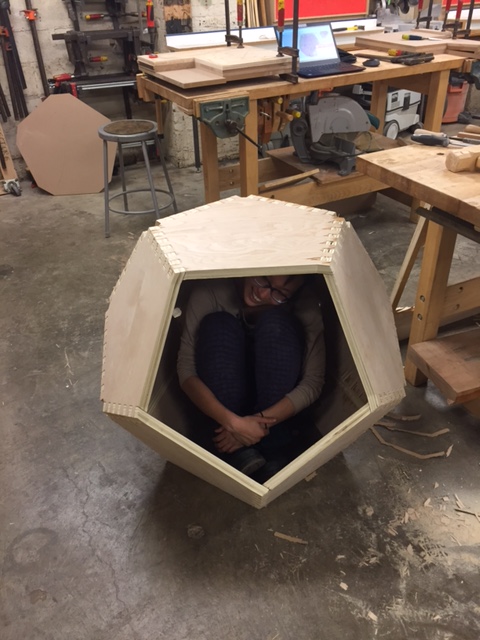
The assembly went incredibly smoothly. I had a couple friends around to help align the joints, and it was complete in a matter of minutes with their help (and a mallet).
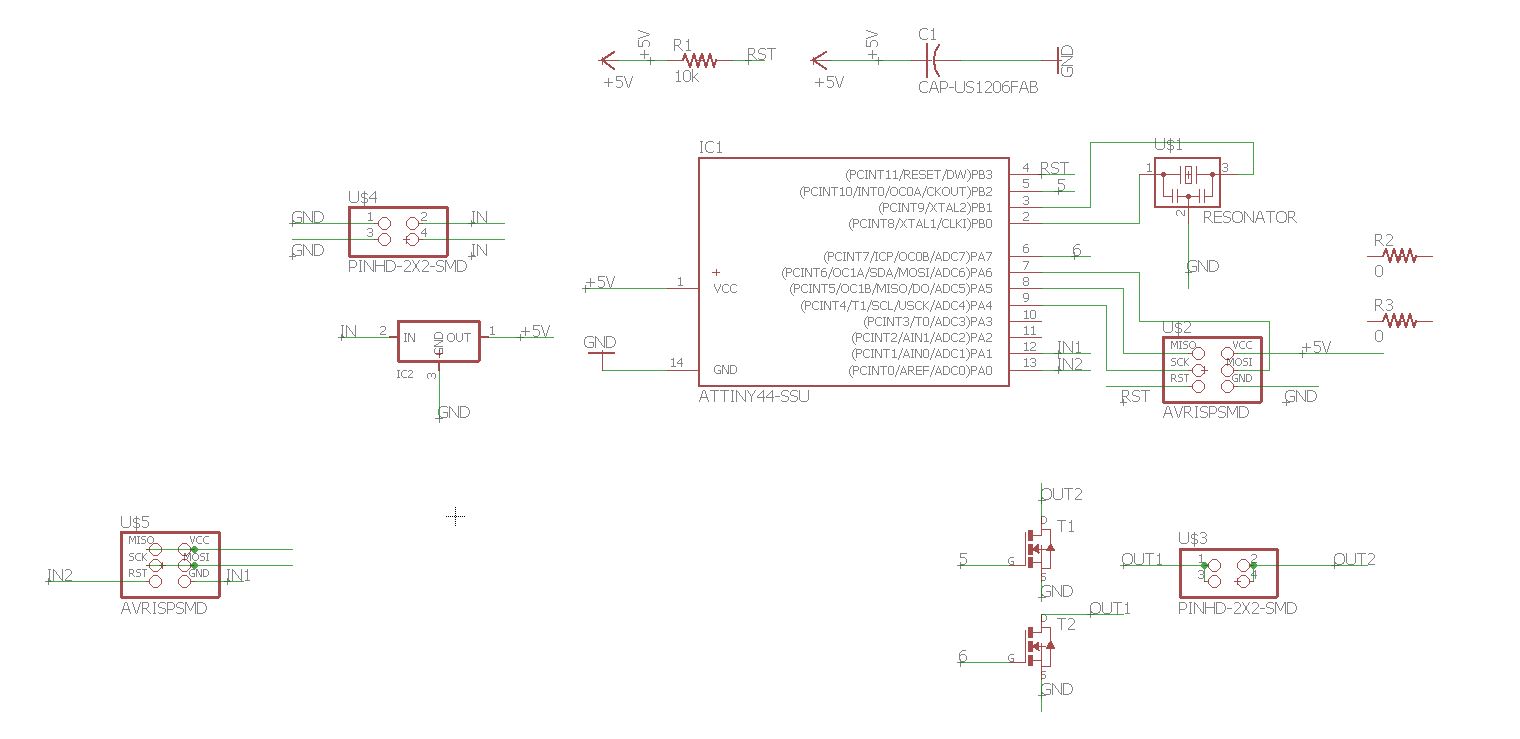
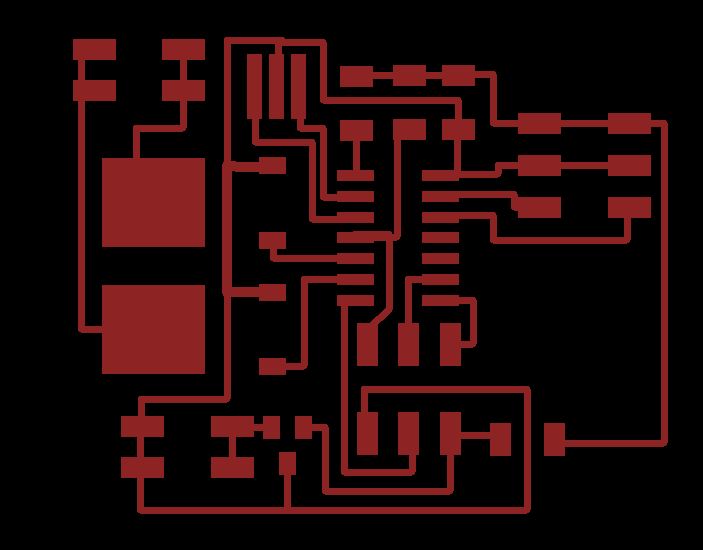
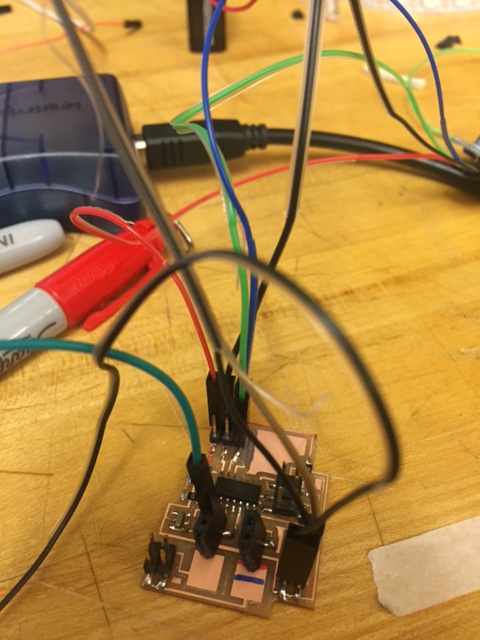
The electrical component of this project is a board that detects motion and lights an LED when the sensor detects movement. The final functioning board is a frankenstein version of this board and schematic in Eagle- I ended up removing the mosfets as they had no real function on the board. Thanks to Yasi, Hunmin and Calvin for their hacking abilities!
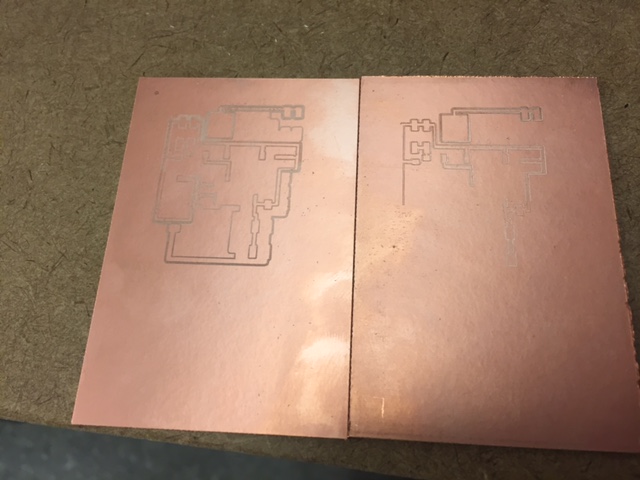
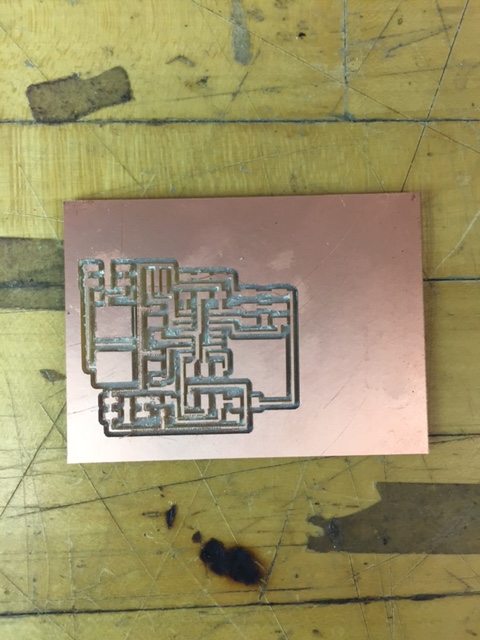
The modela, at this point in the semester, has a nearly destroyed sacrificial board. I tried too many times to mill my boards and ended up setting the depth cut to 0.5mm.
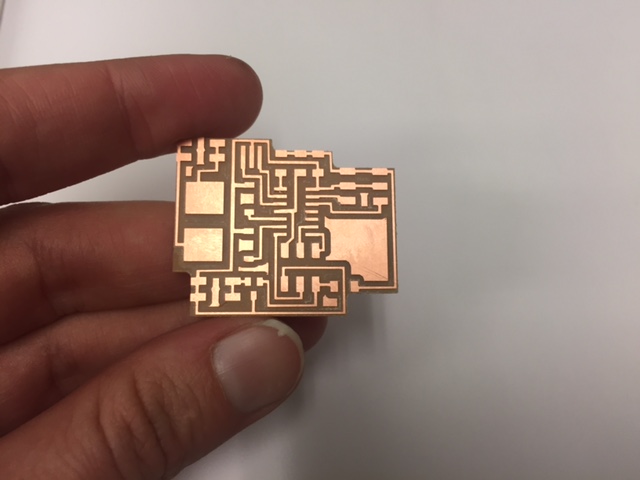
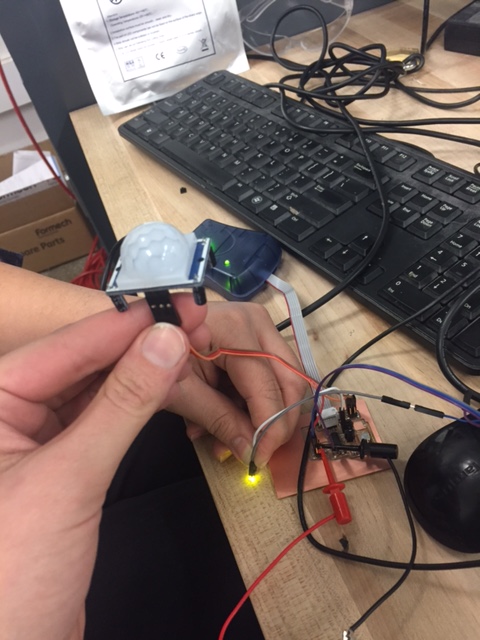
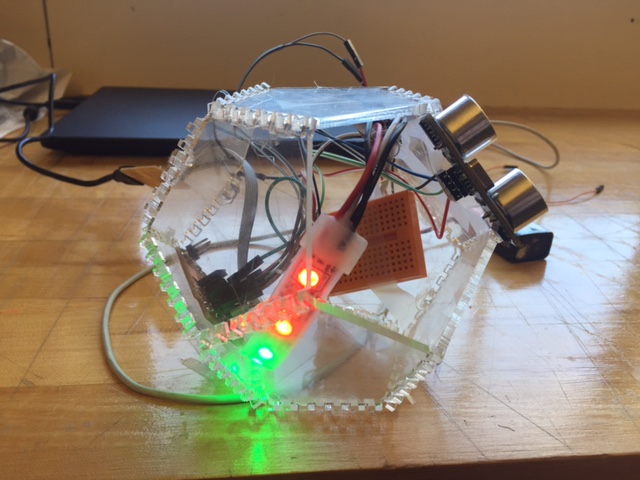
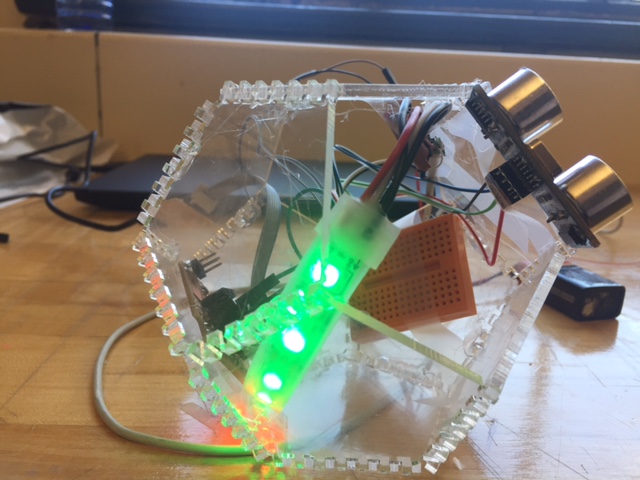
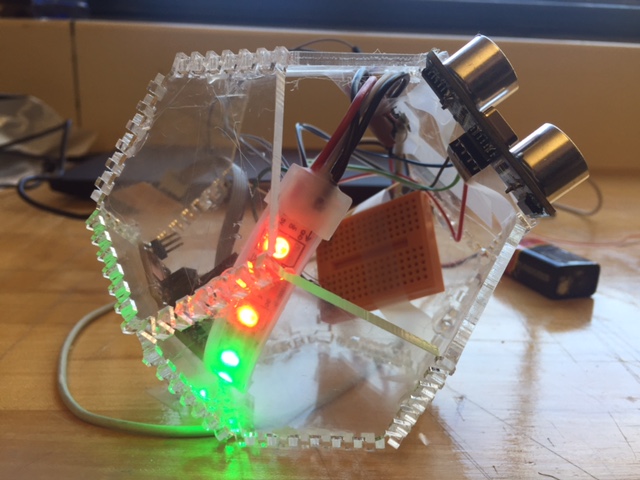
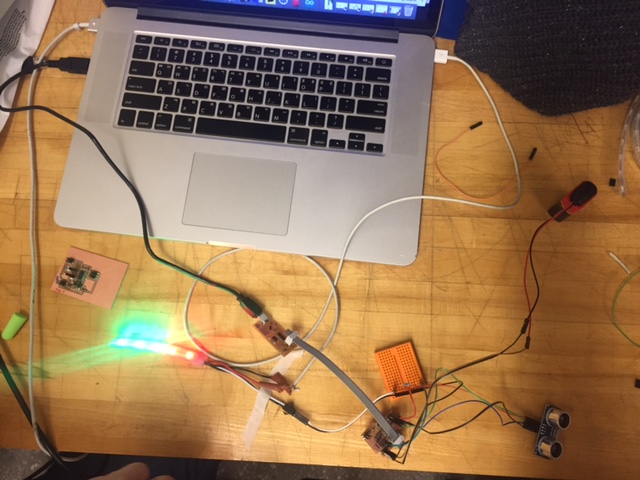
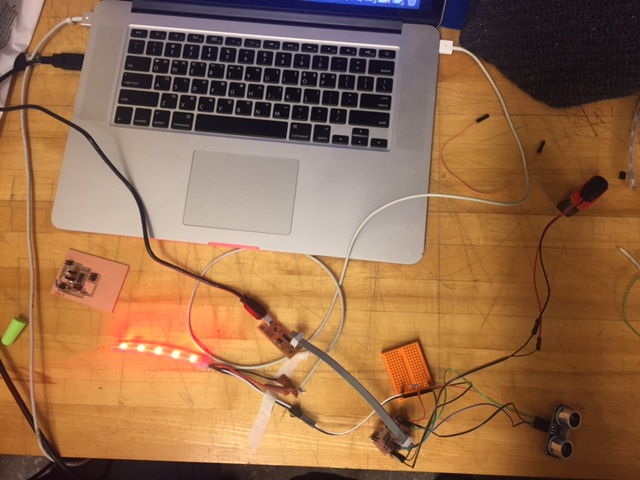
The milled and stuffed board programmed immediately with Arduino, but the programmed board refused to be programmed because all the pins were high and would not be programmed low. I got no error messages in Arduino for this. We got it to work with a small LED and once I switched to using a 9 volt battery for the power source and replaced the 20 megahurtz resonator with a 16 megahertz resonator, the board finally began to program. I struggled with the pyroelectric motion sensor (HC-SR501) for ages before switching to the ultrasonic distance measuring module for Arduino (HC-Sr04) which worked much better. I programmed the LED to glow red and then switch to green when detecting motion.
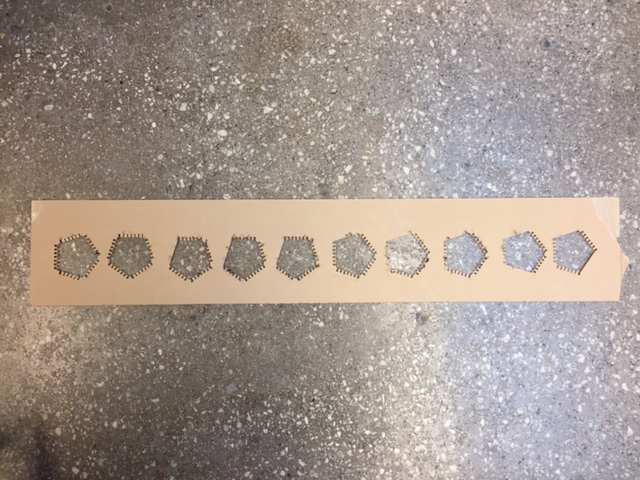

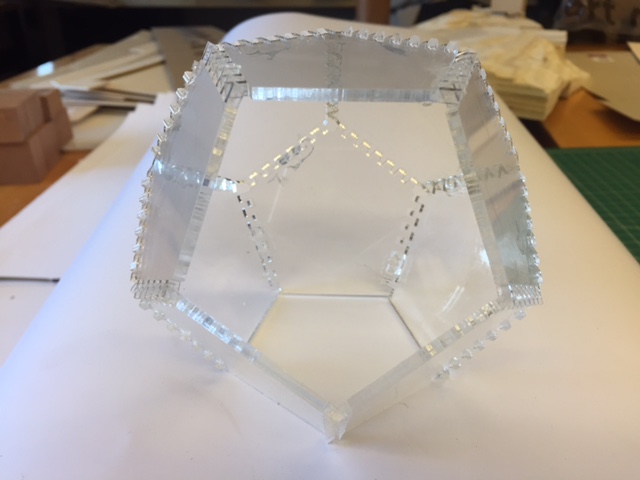
To house the electronics, I scaled down the Rhino file of the doghouse from 1" thickness (the depth of the plywood) to 1/8" (the acylic sheet). I lasercut the plexi model and assembled, finding that this time I had overshot the tolerance, so it doesn't press fit together. I used dabs of hot glue to hold it together. (I should have purchased acrylic glue in advance, which would have looked seamless.) The plexi dodecahedron will sit inside the wooden dodecahedron and illuminate inside the doghouse when activated.