Assignment 11: Interface and Application Programming
Vpython
This week I used my board with a phototransistor sensor to generate an interactive application. In Arduino, the serial port can reading the mearing data from the phototransistor. I used Vpython to connect the serial reading and the interface. Vpython is a python-based 3D programming platform to create 3D displays and animation.
A video tutorial for Vpython: 3D objects.
Vpython official website: Vpython tutorial.
For windows, procedures to set up Vpython environment:
- Install Anaconda with python 3.5.
- In CMD run "pip install Vpython"
- Create a Jupyter notebook. It is a web-based application to create code, equation and visualization.
- Then started programming.
 |
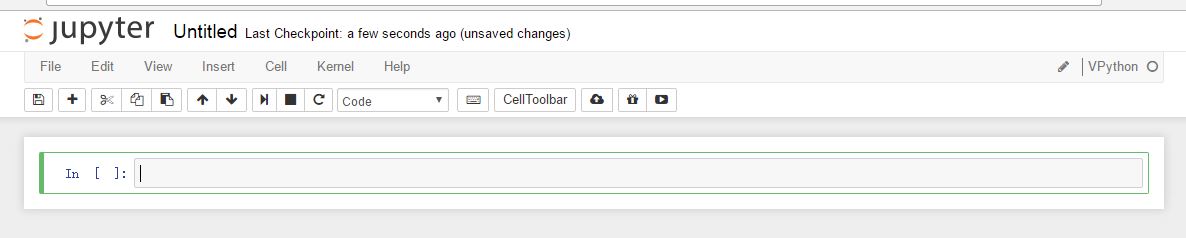
Programming interface:
 |
 |
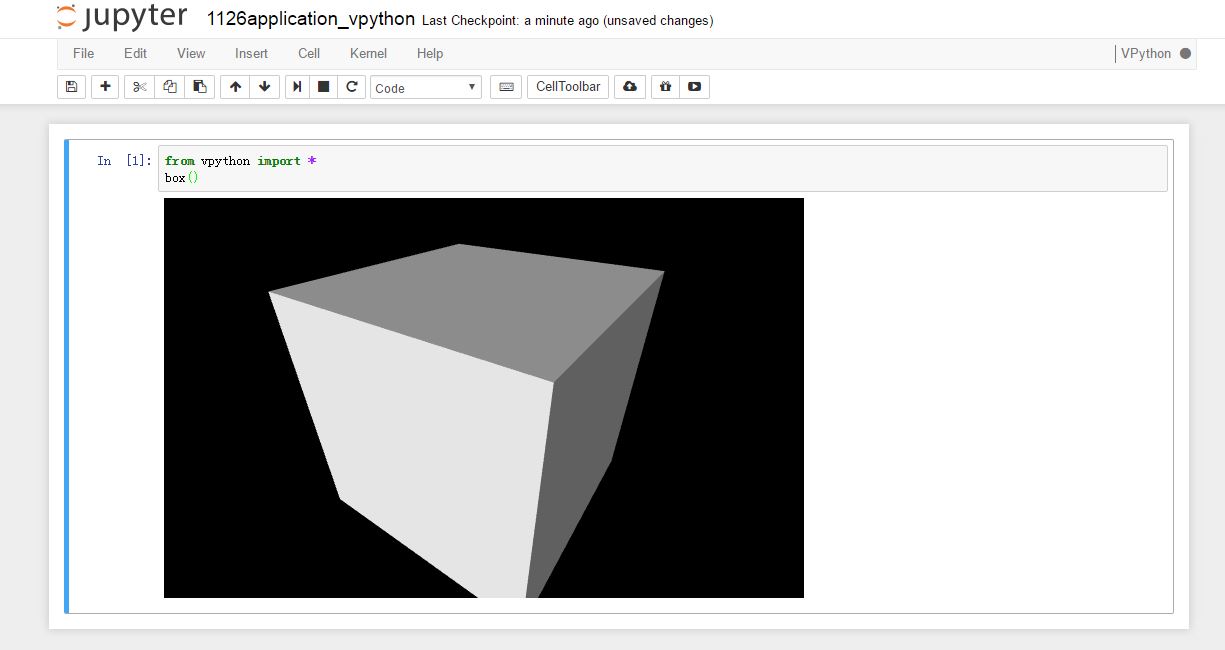
I first tried several functions in Vpython.
 |
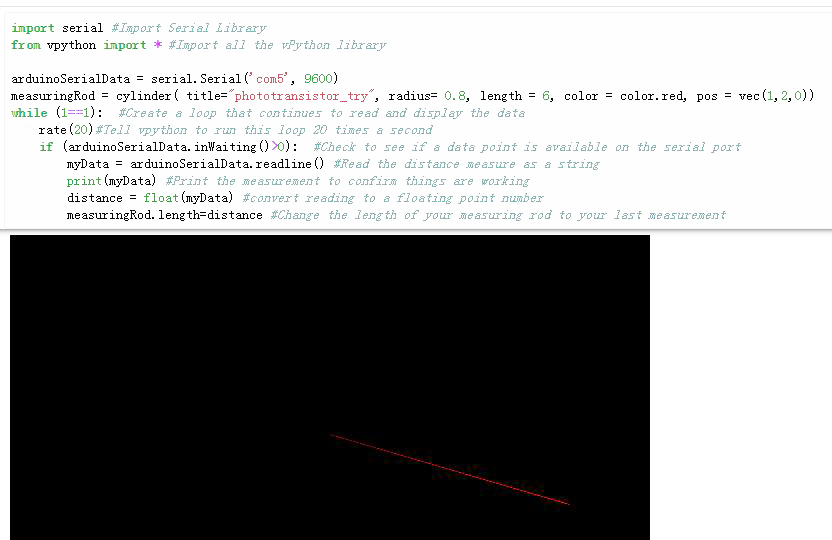
Then I reprogrammed my board and let the phototransistor worked. Then I wrote the code in Jupyter to generate an interactive cynlinder:
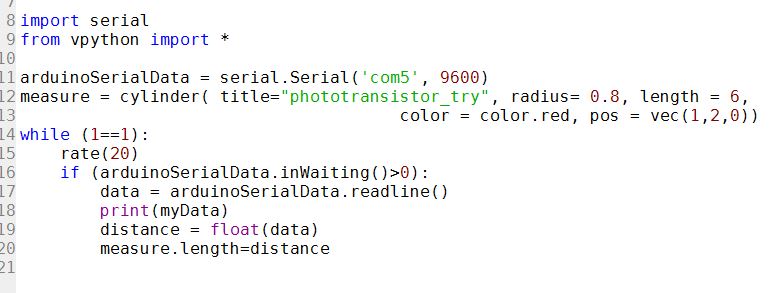 |
After several trials of debugging, it worked pretty well!
 |
| |
Then I tried a sphere with the code below:
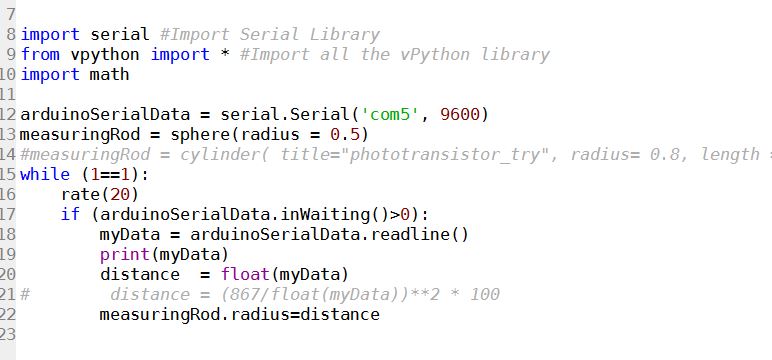 |
It worked as below. When the environment is brighter, the sphere went smaller, when the environment is darker, the sphere went bigger.
| |
Then I revised my code, as "distance = 2200 - 2 * float(myData)"
It worked more intuitively.
| |
New Servo Motor
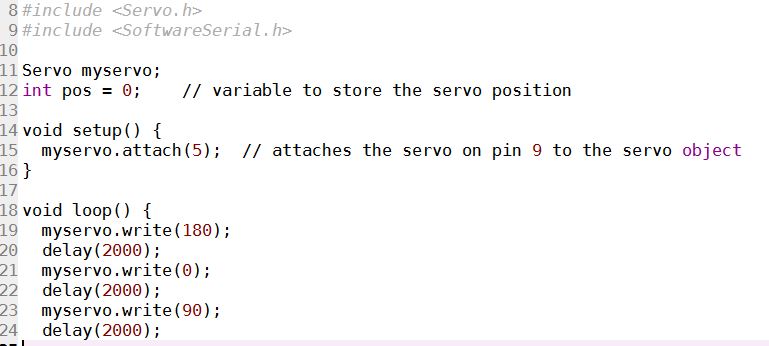
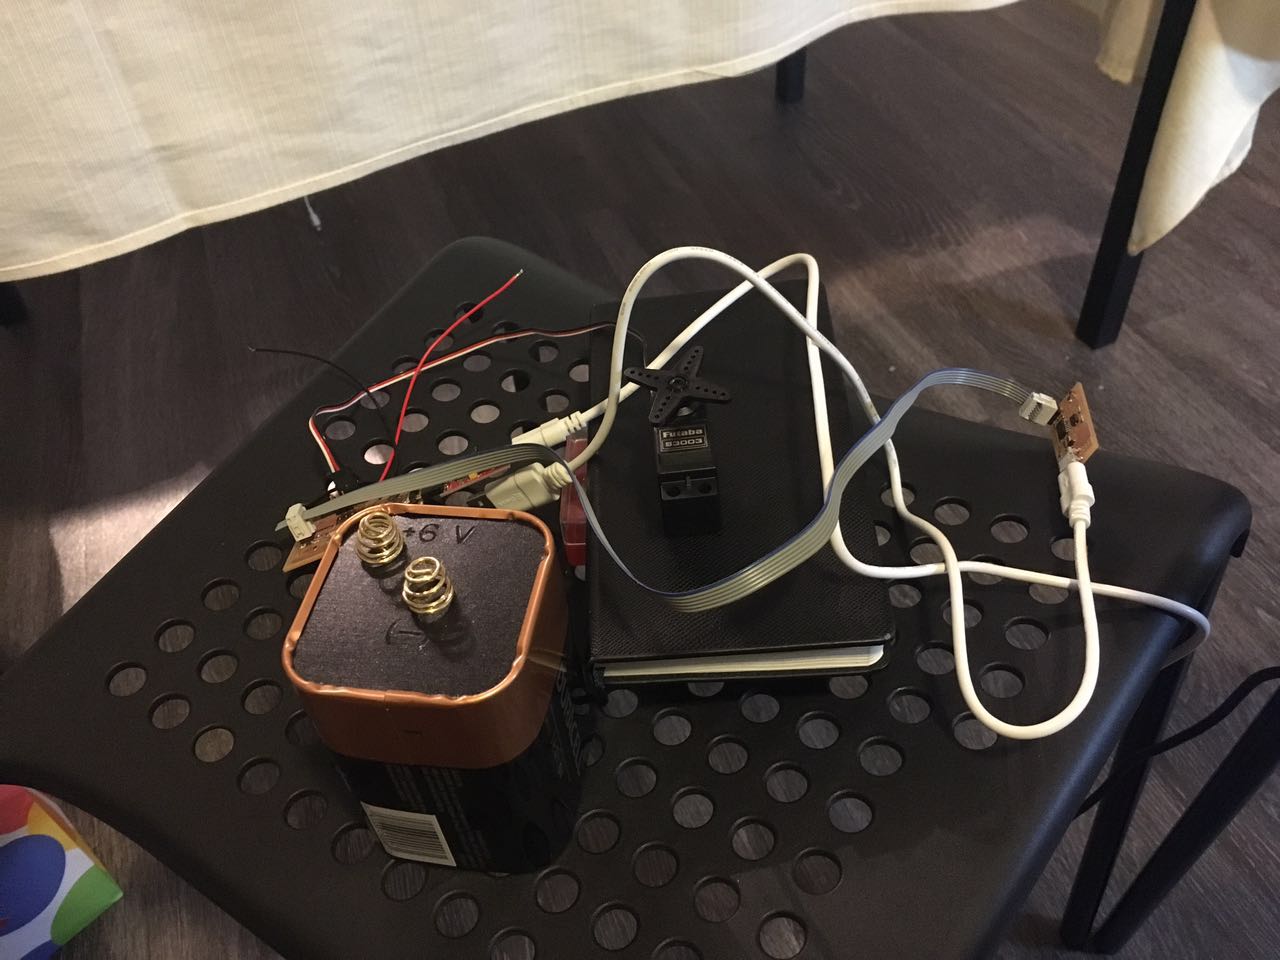
Since I want to study the system demo for my project, so this week I kept working on motors. Last week in output devices, my motor can’t be fully controlled because it is a continuous motor. So I bought another servo motor, which is Futaba S3003 standard servo, a common one. This time I cleared my mind and wired them up as steps below:
- Get one 6 volts battery and connect the positive red wire to the positive of the battery. I bought a 6V lantern battery which is very big.
- Plug the negative wire of the servo to the GND of my board and the negative of the battery.
- Then plug the signal wire to the pin 5 (a PWM pin) of my board. Then I tested it.
 |
It worked pretty well! I could not take a photo because I am busy wiring them up by hand. Now after figuring the phototransistor and servo motor, I modified my board scheme and got ready to do a demo.
 |