Assignment 6: Embedded Programming
Embedded programming is more about learning and testing, rather than making. I started from datasheet, google and Youtube tutorials.
Datasheet & programming learning
AVR chip is like a computer, containing a CPU, some flash storage, RAM for temporary storage, EEPROM for long time storage. The chip runs when the program is uploaded in the flash.
Steps to make a board do something:
1) Write a program and tell the board what to do.
2) Compile: turn the program into machine code.
3) Using the programmer to transfer the machine code to the board. The programmer is like the flash card reading for retrieving or storing data. It does the hard work to verify and transform data.
4) Debug and test.
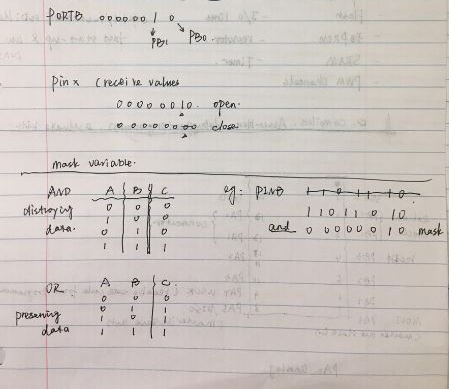
Notes of pinout configuration:
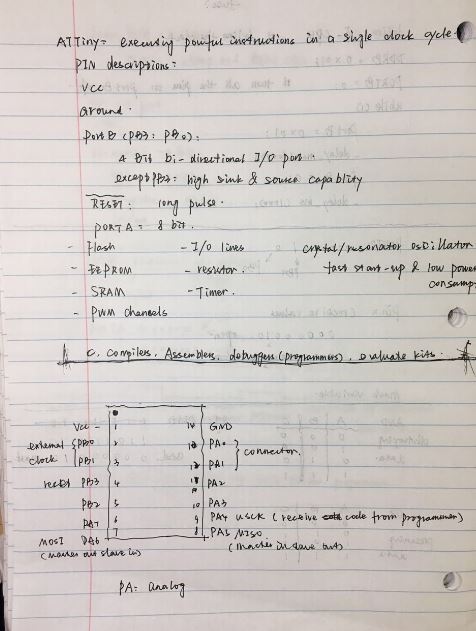 |
Important references:
1) AVR
Attiny summary (pdf): it is a short version of the 286-page datasheet. Very helpful for me to understand the basic structure.
AVR tutorial: an old tutorial but very easy to understand. More importantly, it has very detailed explanation of the concept of “fuse”.
Guide for microcontrollers: Microcontrollers - A Beginner's Guide - Intro and How to Use the AVR Atmega32. This tutorial for Atmega32 is very helpful for me to understand the environment for AVR.
2) Programming in Arduino&C++
Fab Academy: This is for C programming. It contains another link for programming in Arduino.
For windows user like me:
Learning AVR-C : a nice tutorial from the introduction to the process of burning the .hex file into the board.
winAVR : introduction for how to program in programmer notepad (win AVR).
3) Python environment
Python environment set up : It is a step by step tutorial for how to set up python environment for programming a board.
4) Previous works (C language) useful for me
Embeded C programming in Mac : It is a reference for programming using C.
5) Drivers & packages
Several different kinds of drivers: for USBtiny ISP. For me, if I use winAVR in my cmd, I need this driver to initialize. This website is also a thorough tutorial and has listed several kinds of common bugs.
My notes towards programming:
 |
Programming
After lots of reading, watching and installing software and drivers, I started programming. I tried several different programming methods and environments.
1) Arduino
The pinout chart for Arduino:
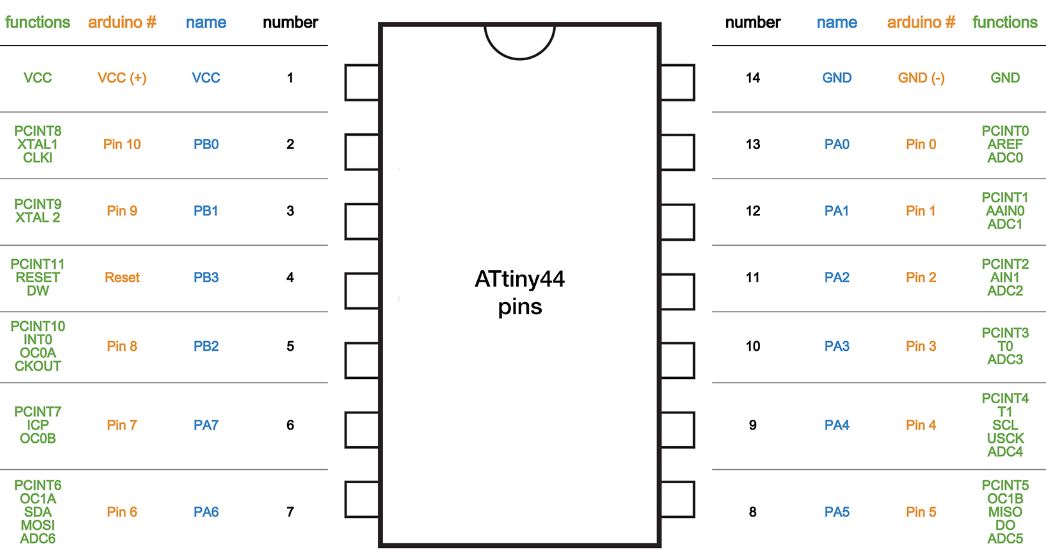 |
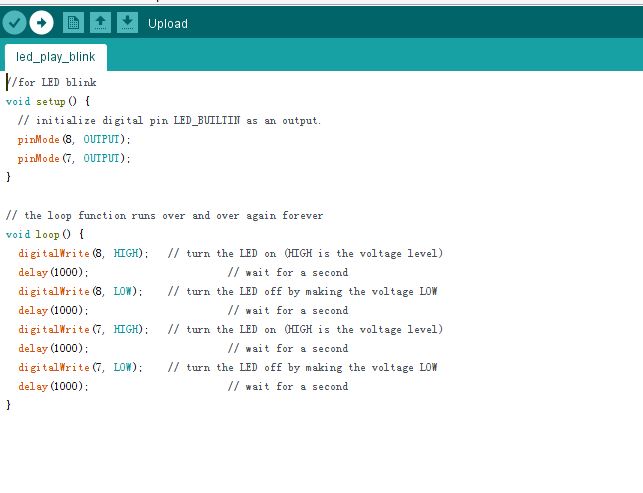
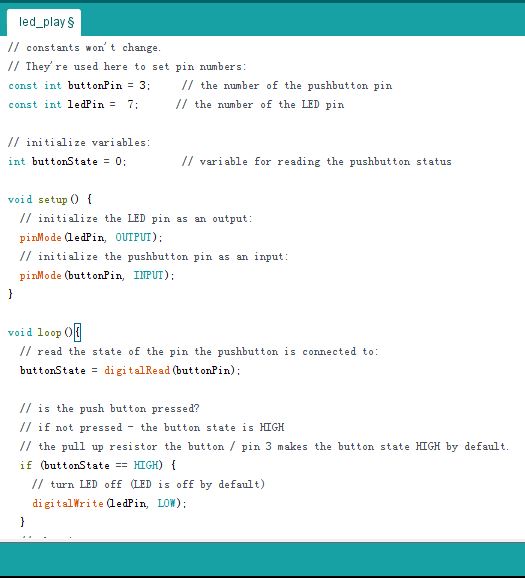
Programming in Arduino is relatively easy because there are lots of samples which can be used. I first tried blink, choose my board and programmer, as well as the port:
 |
When uploading, the error message come and showed “can’t compile”. After a few time of struggling, I found the solution is to move the Arduino file to my desktop, instead of E:/. Then the second error message said “can’t uploading the sketch”. Hunmin helped me to debug, I changed my own programmer into his commercial programmer, but still could not uploading!
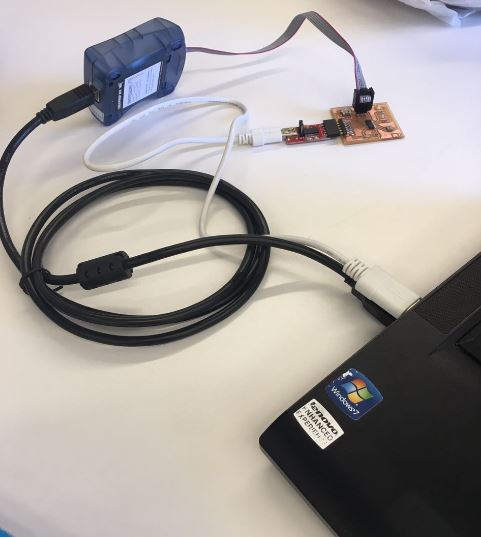 |
Then hunmin suggested that I could try on his Mac system and use other code to control button and led. Then the magic happened! It passed! When I pushed the button, the LED was on!
 |
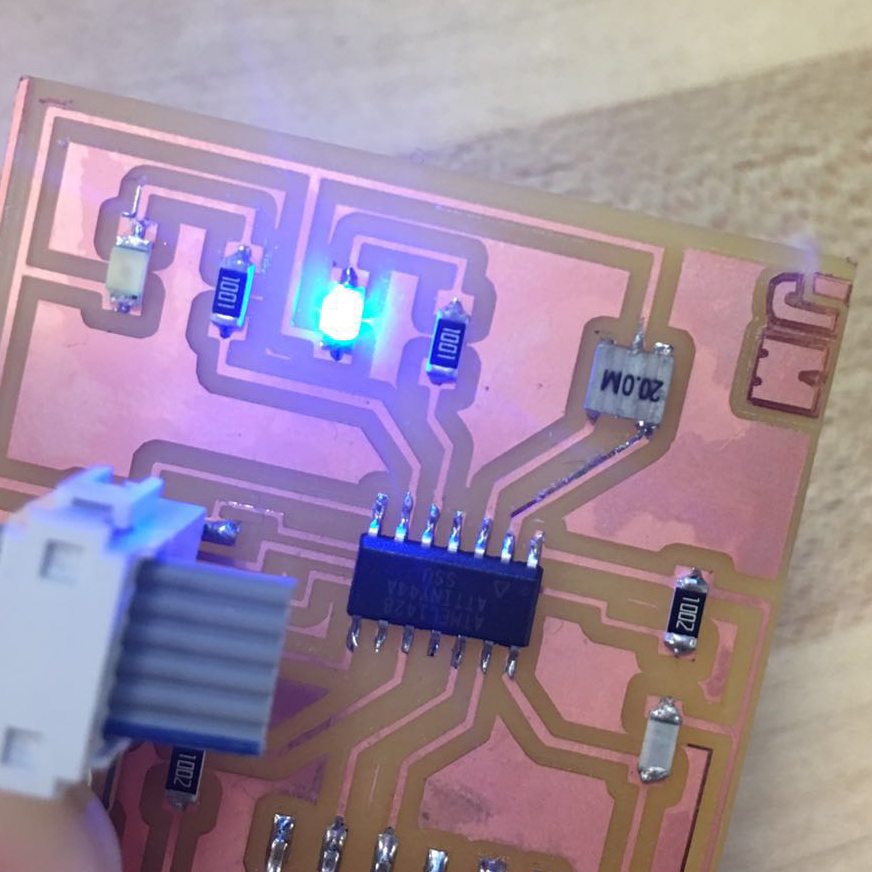
I added two LEDs before, so I changed the pin number in the program, another LED was on.
 |
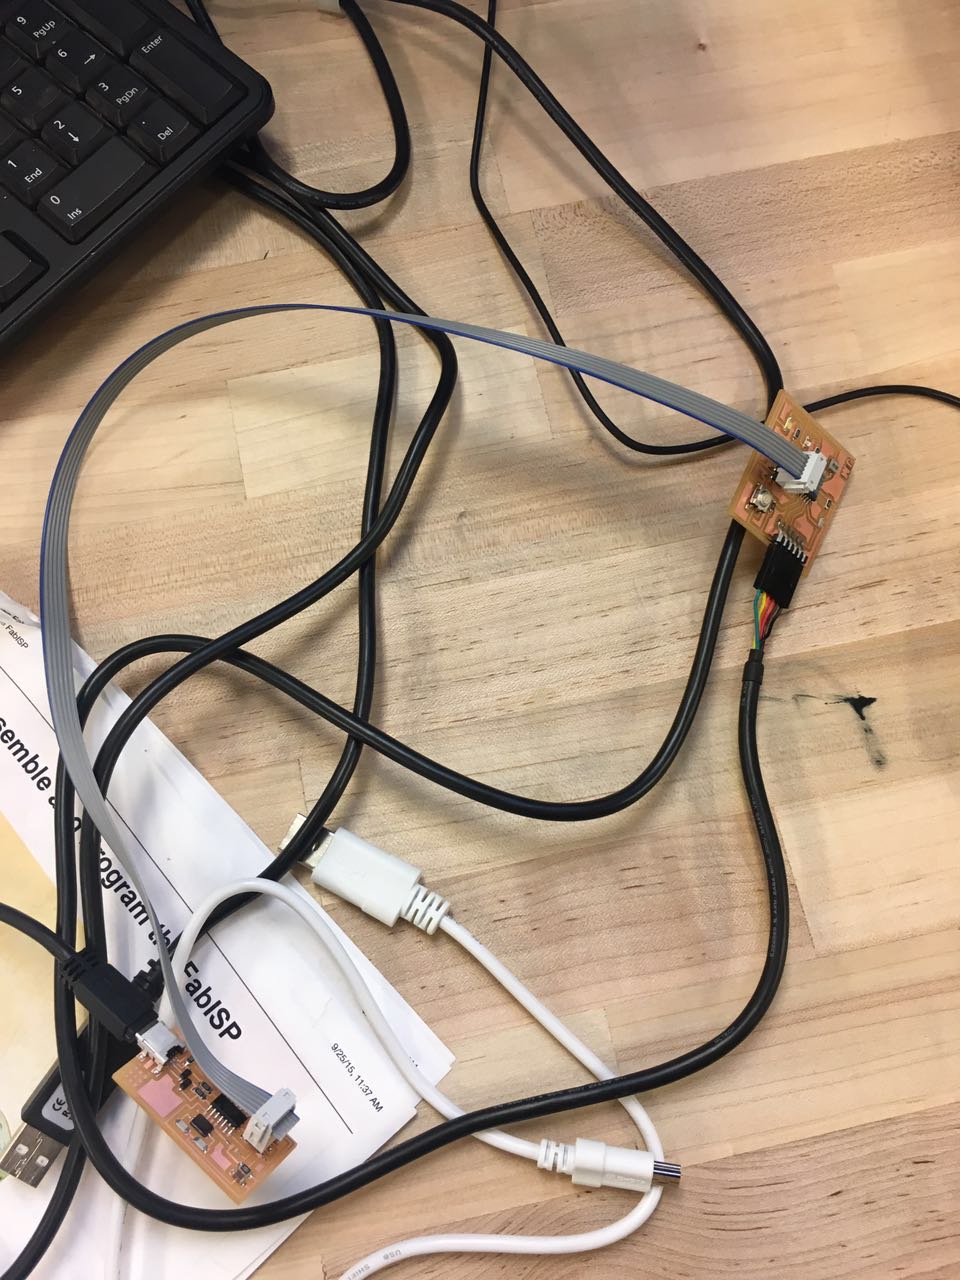
Then Hunmin tried my own programmer within shop’s computer and his Mac system, both worked!
 |
 |
2) Atmel studio
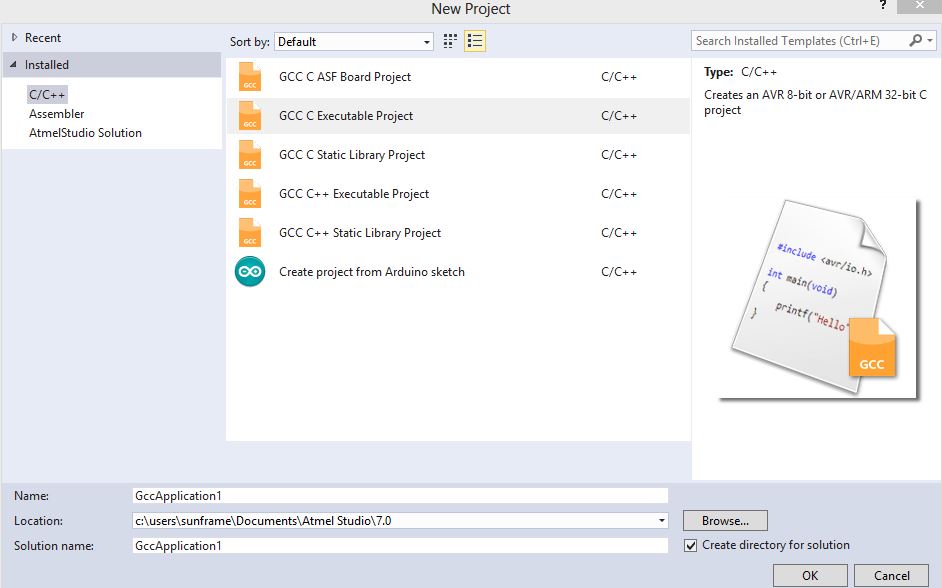
I tried to make Arduino work in my windows system. After lots and lots of failures, I tried to clear my mind and use other environments. I programmed in Atmel studio, and in a tutorial by using a small program called AVRdude assistant (https://sourceforge.net/projects/avrdudeassist/), I don’t need the .make file separately to set the fuse of my board. My steps:
Created a GCC C Executable Project:
 |
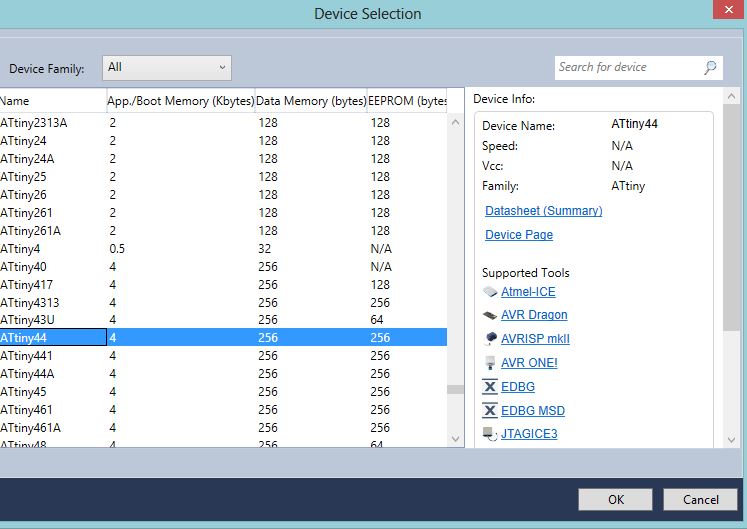
Selected device:
 |
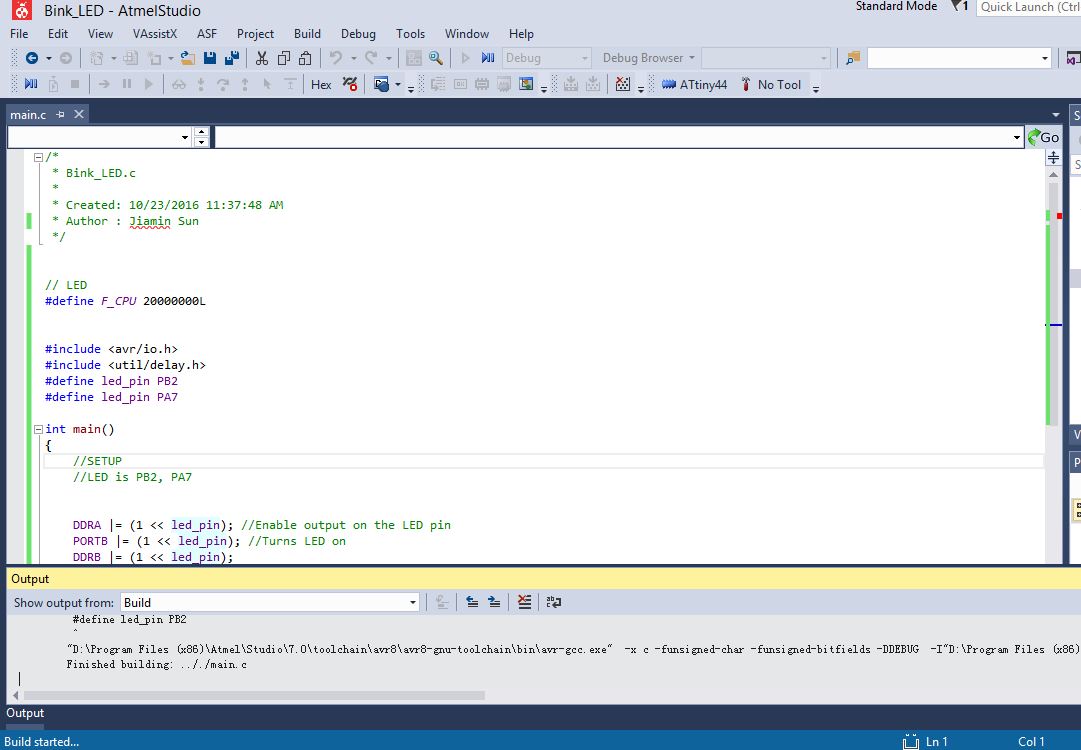
Then write my program using C. Then hit build, which has the same function as compiling. Also this process created the .hex file the board needing.
 |
 |
Then open the AVRdude assistant, choose the board and my programmer:
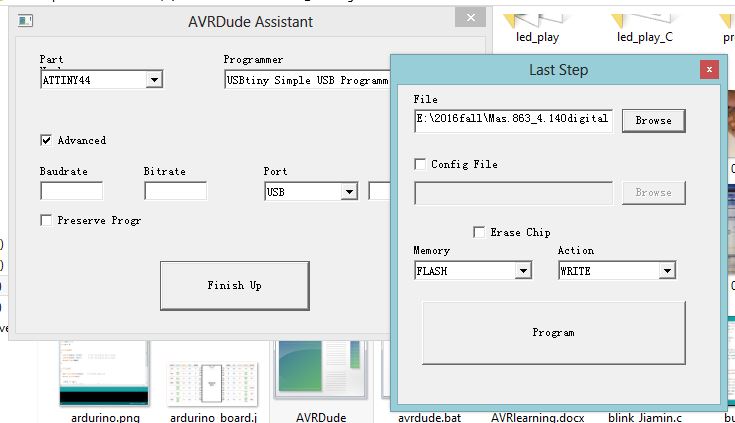 |
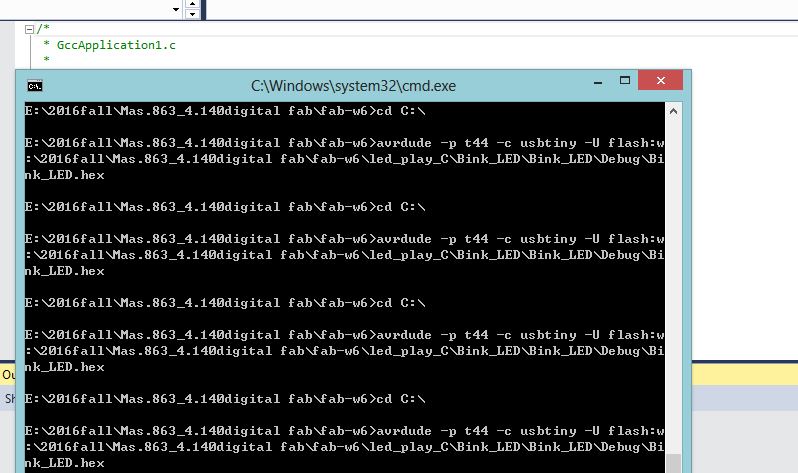
Then I uploaded my .hex file, hit erase and program. The mess happened, cmd kept rolling and rolling. I could not figure out the bug. This was a failure, I started to try in command line and to see if I can initialize my board and programmer.
 |
3) cmd
I opened cmd through “run” in windows.
First I typed avrdude to review the basic command of it. Then I typed “avrdude –p t44 –P usb –c usbtiny”. It said “could not fine my USBtiny”! For me the driver in Fab academy didn’t work well. After a few time of debugging and searching, I tried adafruit driver (https://learn.adafruit.com/usbtinyisp/drivers).
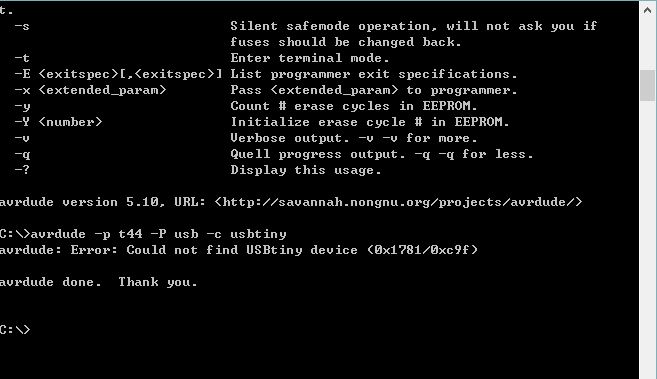 |
Then I typed the same command and it worked! My board was initialized.
 |
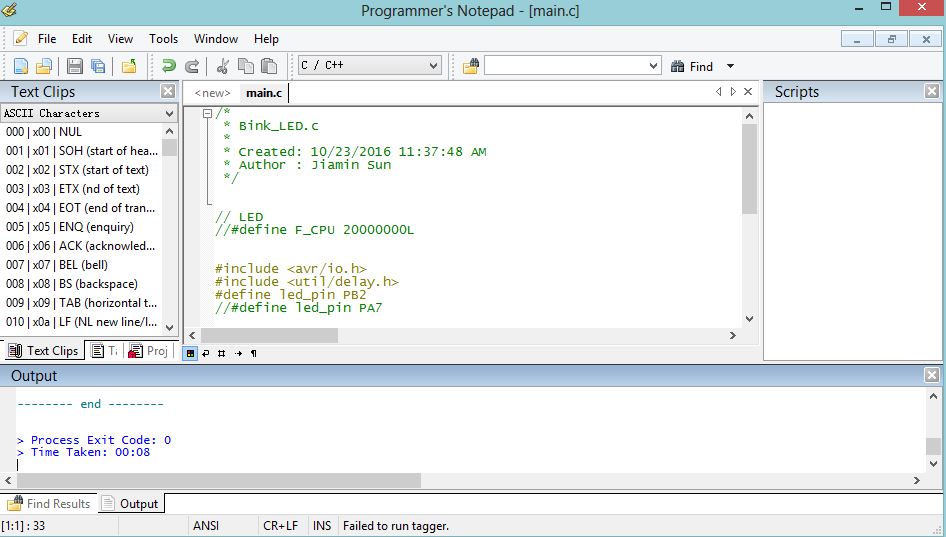
4) Programmer notepad
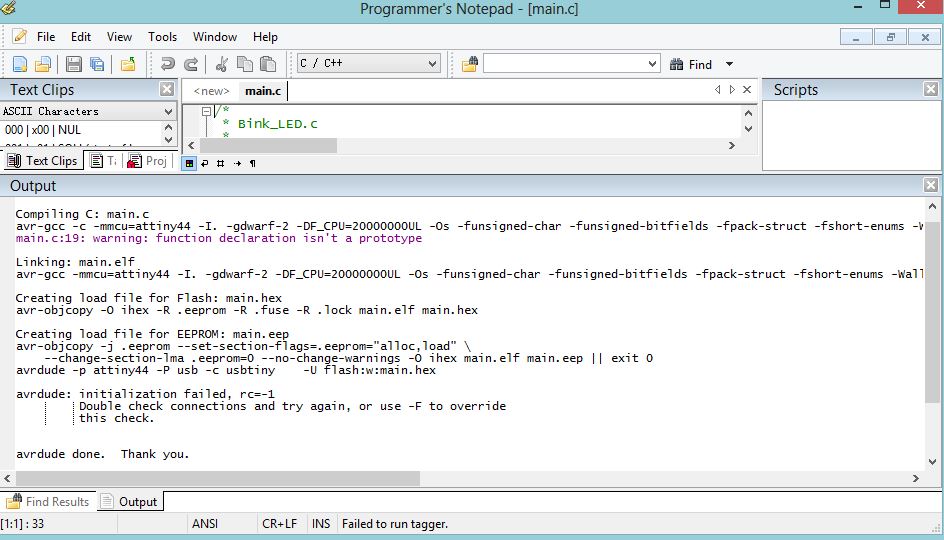
Then I used the programmer notepad (winAVR) and tried to upload the .c program. First I created my .c file and wrote my code:
 |
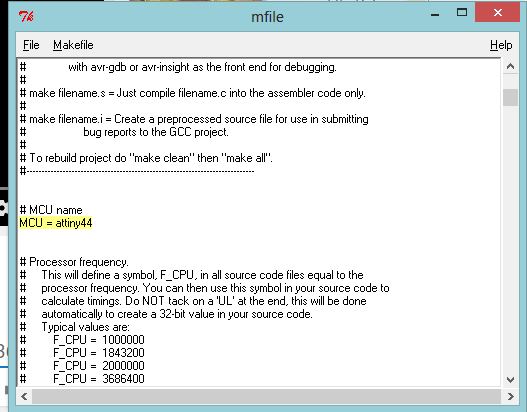
Then I used Mfile(winAVR) to created .make file, by changing several parameters including F_cpu and the title of my file. The .make file and the .c file should be in the same directory.
 |
I first connected Xiaoyan's board, changed the pin numbers and we wanted to make it work. Then I hit "tools", hit [winAVR] makeall, [winAVR] make clean, [winAVR] program. The initialization failed. After a while she figured out that two pins on her cooper board were connected accidently.
 |