Back to Home
Assignment 7: Molding and Casting
Molding and casting are harder than I expected. I only had one casting experience: when undergraduate I casted a mental gear with the mold made by sand. This week I experienced the whole process of this craft.
Mold design
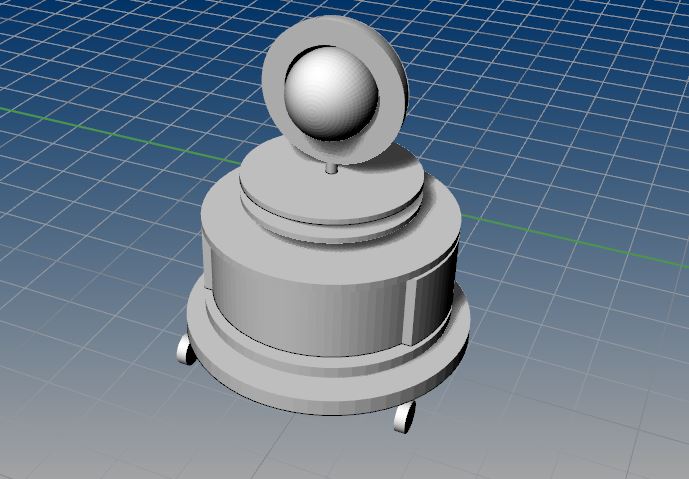
Because I want to do a small table droid with an eye, I decided to design the movable eyelids and fabricate them. I designed two pieces of eyelids which can be connected and assembled.
Final project sketch:
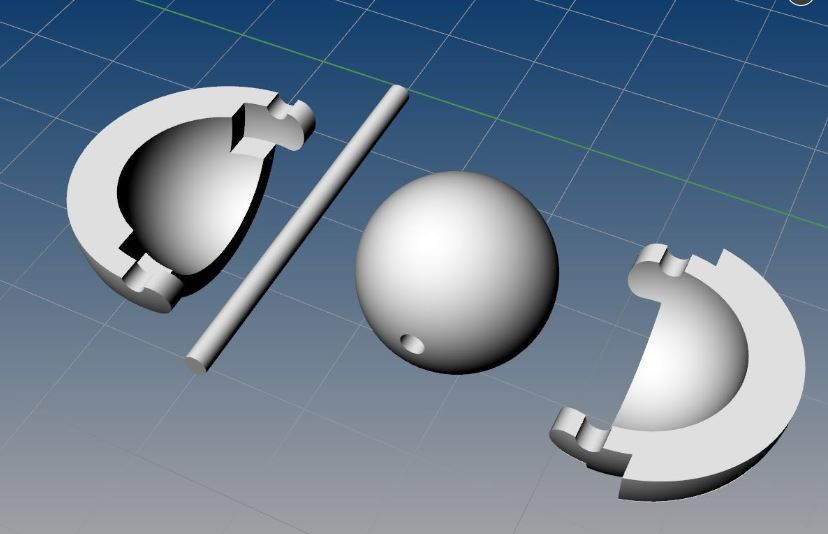
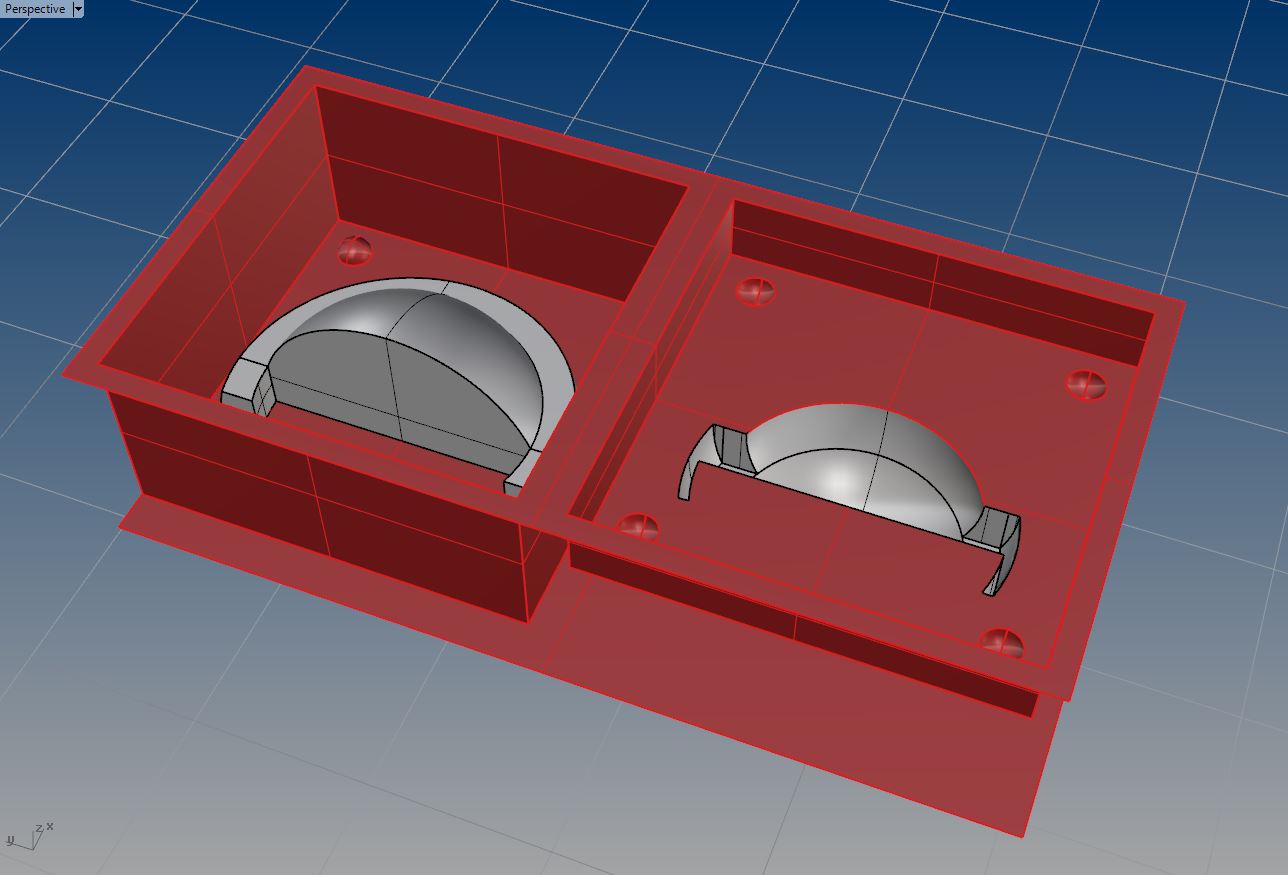
Then I tried to place them into positive mold. I got super confused in this step. My geometry seemed to be hard to mill because the bottom was narrower than the top. Then I realized I was going to cast something with a thickness instead of a volume. When I am doing something with thickness I need to make a two part mold for that piece so I can cast the shape in between. Because of that I will actually need to produce multiple molds for each part. Taking one piece of eyelids as an example, I would need to mill the underside of the part so I can cast the spherical part. Then I will need to mill the top portion for the other spherical part.
Trying different molds:
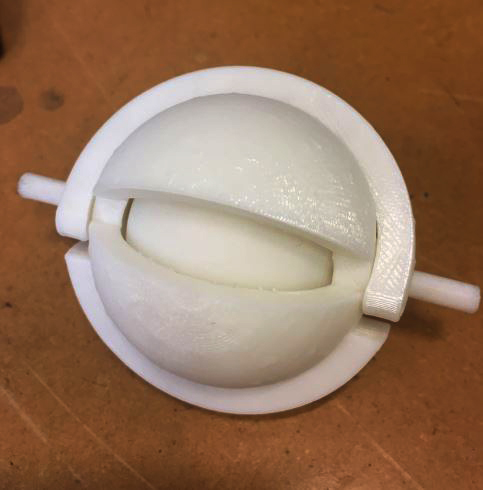
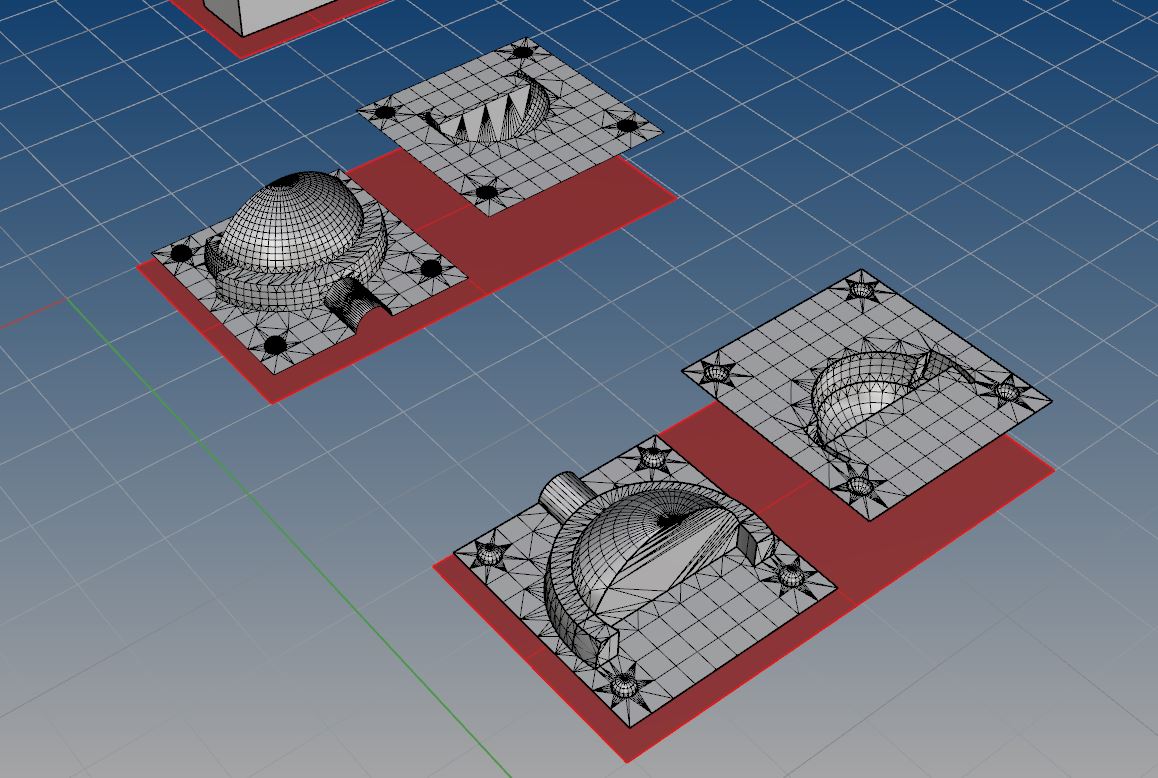
In order to make the geometry clearer in my mind, I 3D printed the eye structure. That helped me a lot in molding placing. Finally, after adjusting some details, I made my mold in rhino and got ready to machine.
Mold dmachine
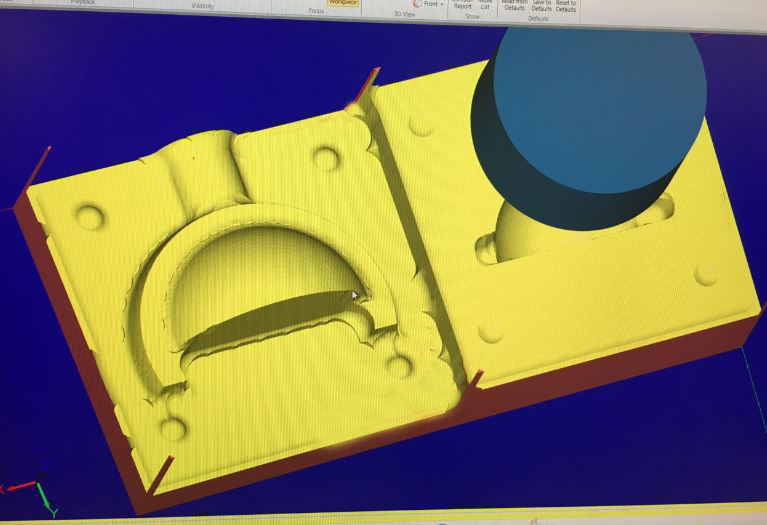
I used mastercam to set up my file, and CNC to mill. In "make something big" week, I learned to use mastercam to cut 2D geometry. However I was not that confident with the complicated mastercam at that time. This week, to set up the mastercam file took me half a day. Now I am comfortable with this software:
Important notes when setting up:
- For rough path, usually #6 endmill is used. When changing and choosing endmills, plane surface needs to be reset (into 1.75 in my case).
- For final path, I divided it into two parts. For raised part, I chose from inside to outside. For indented part, I chose from outside to inside. This method was very useful for preventing collision. In my case, I need #5 endmill to fulfill the depth of my mold.
- I also added one layer leftover path. Because I used #6 and #5, I lost some details in final path, so I used #3 in this path to adjust my mold.
- After setting up, different tools need to be exported separately.
- For registration holes, cylinder works better than sphere. It turned out to be very important when I finished my silica mold. Cylinders were much easier for registration.
- When collision happened, a little offset in the tool path may help. It worked in my case. Also, walls are easily to cause collision
When the g-code from master is ready, machine set up is easier. Important notes:
- The first thing is to “go home” and select the tools.
- Set up xy positions. Then set up z position: it is important to use one piece of paper to test if the endmill is close to z surface. After setting position, note down the coordinates of x and y in case the machine stops when running g-code.
- Changing endmills for each different tools. Machine will have notifications when running file.
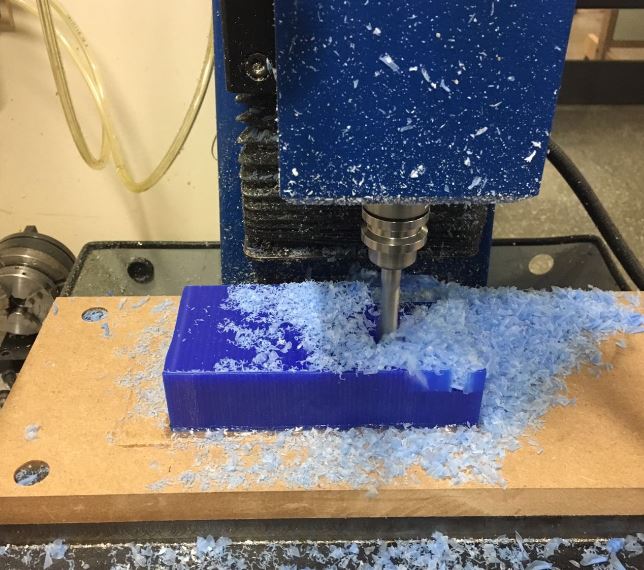
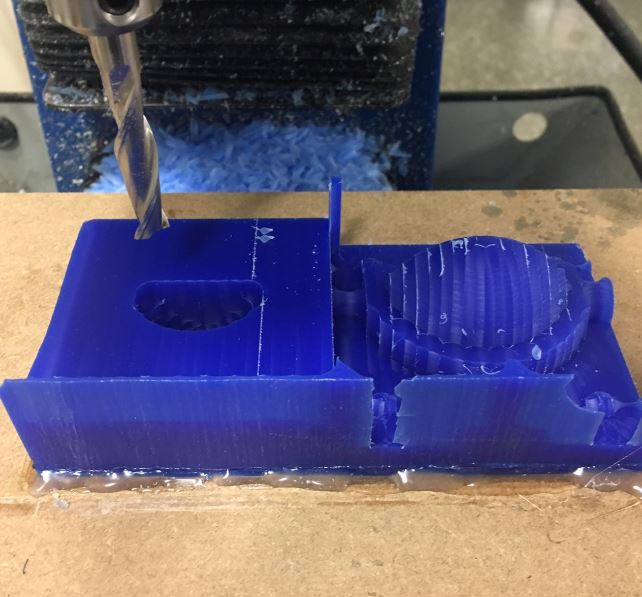
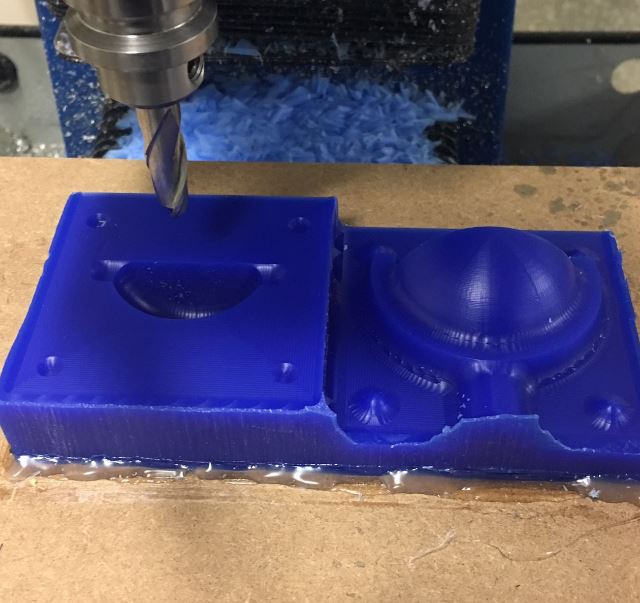
Machining my file took one and half an hour. My wax mold turned out to be smooth!
Casting
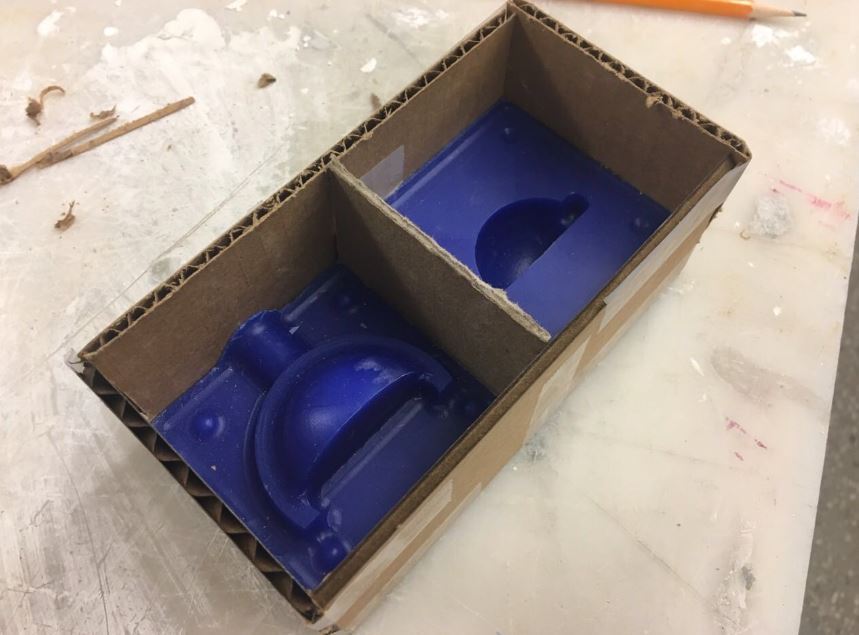
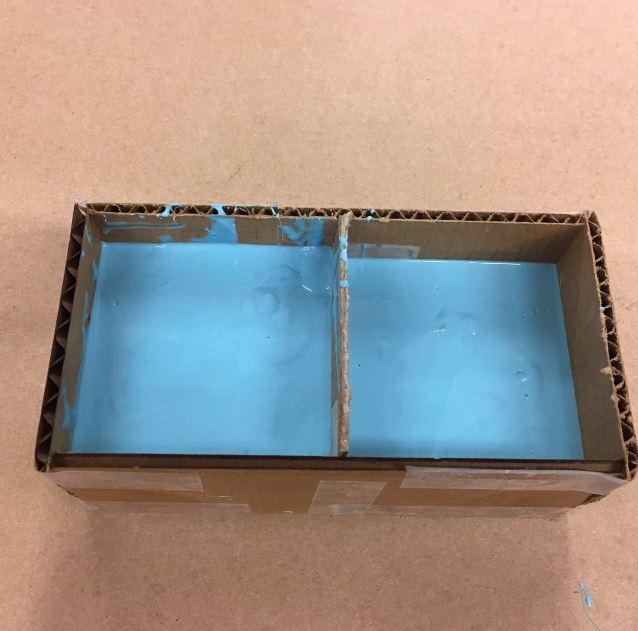
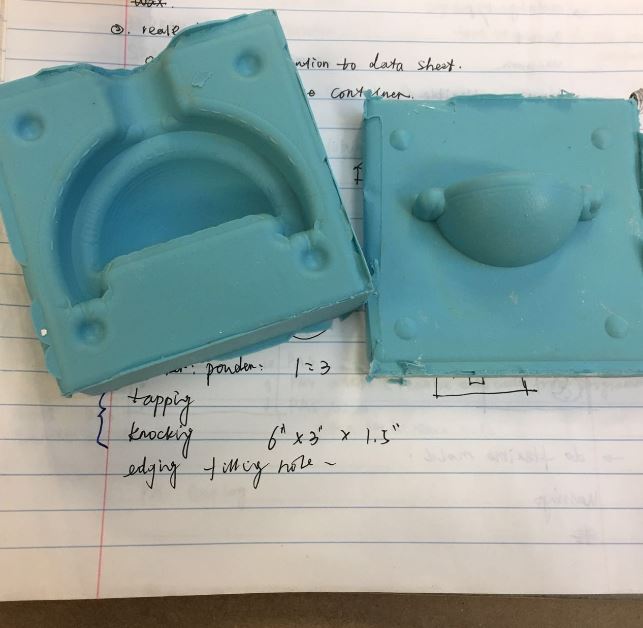
There are two steps for casting. First, making negative by silica. I built a paper box for my mold, mix up the oomo, tapped them Then I used release on my mold, and then poured the oomo into the mold. I left them for one night. Actually, 60-90 minutes are enough for oomo to become solid.
The second step is gypsum. I chose the grey one. The proportion of water and gypsum is 1:3. Actually, for my project I only used a little gypsum. Before pouring, two important steps:
1) Applying release. Otherwise the gypsum would be hard to remove.
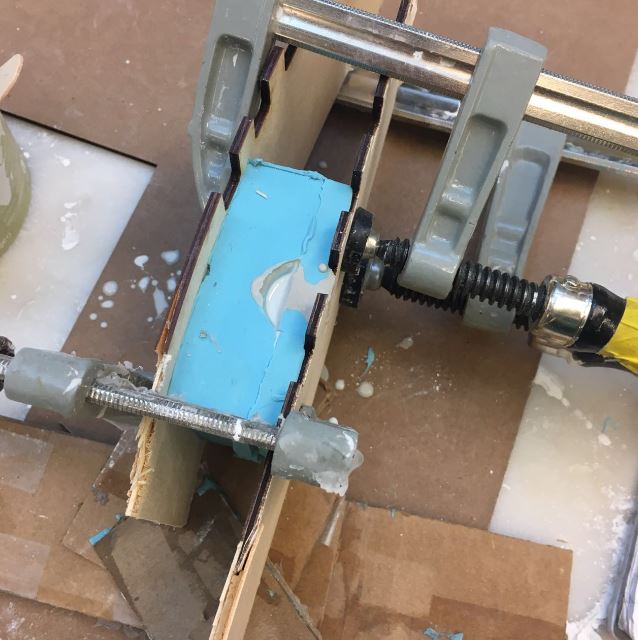
2) Tapping the mixed gypsum. After pouring, knock the mold for preventing bubble.
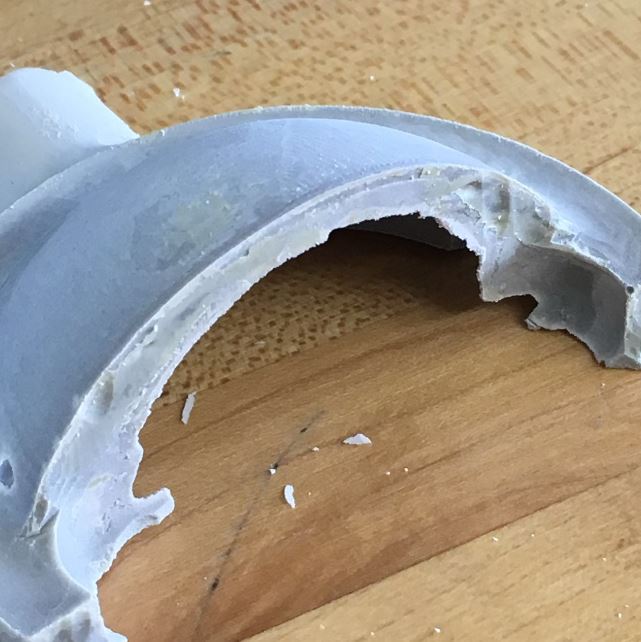
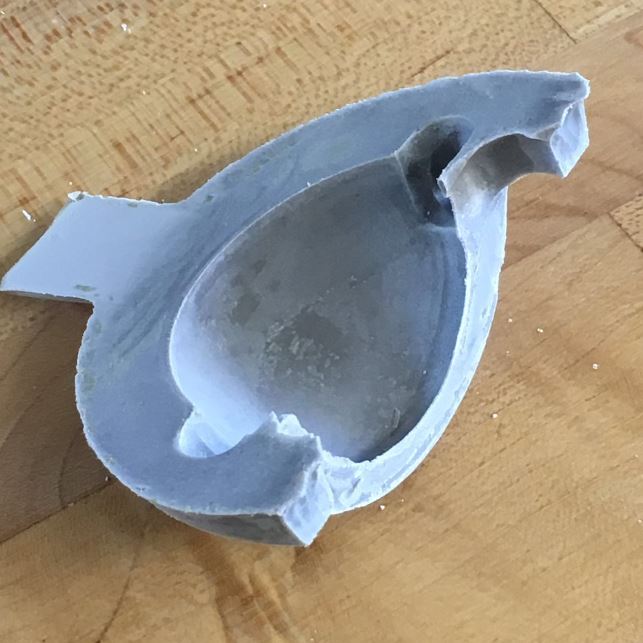
I left them for one afternoon. My final work:
The angles and curves are perfect! Compared with 3D print model, it lost some details, but I enjoyed the process of casting! Also, special thanks to Liz and Justin, they gave me a lot of very useful advices when setting up mastercam!