Back to Home
Assignment 9: Composites
This week is my first time to know composite. Composite material is a material made from two or more constituent materials with significantly different physical or chemical properties. Even sensing, actuation, computation and communication can be compounded. Among the composite materials, thin fibers can have high strength, and are typically used in compression moulding. Glass fibers, carbon fibers, wood/paper fibers are commonly used.
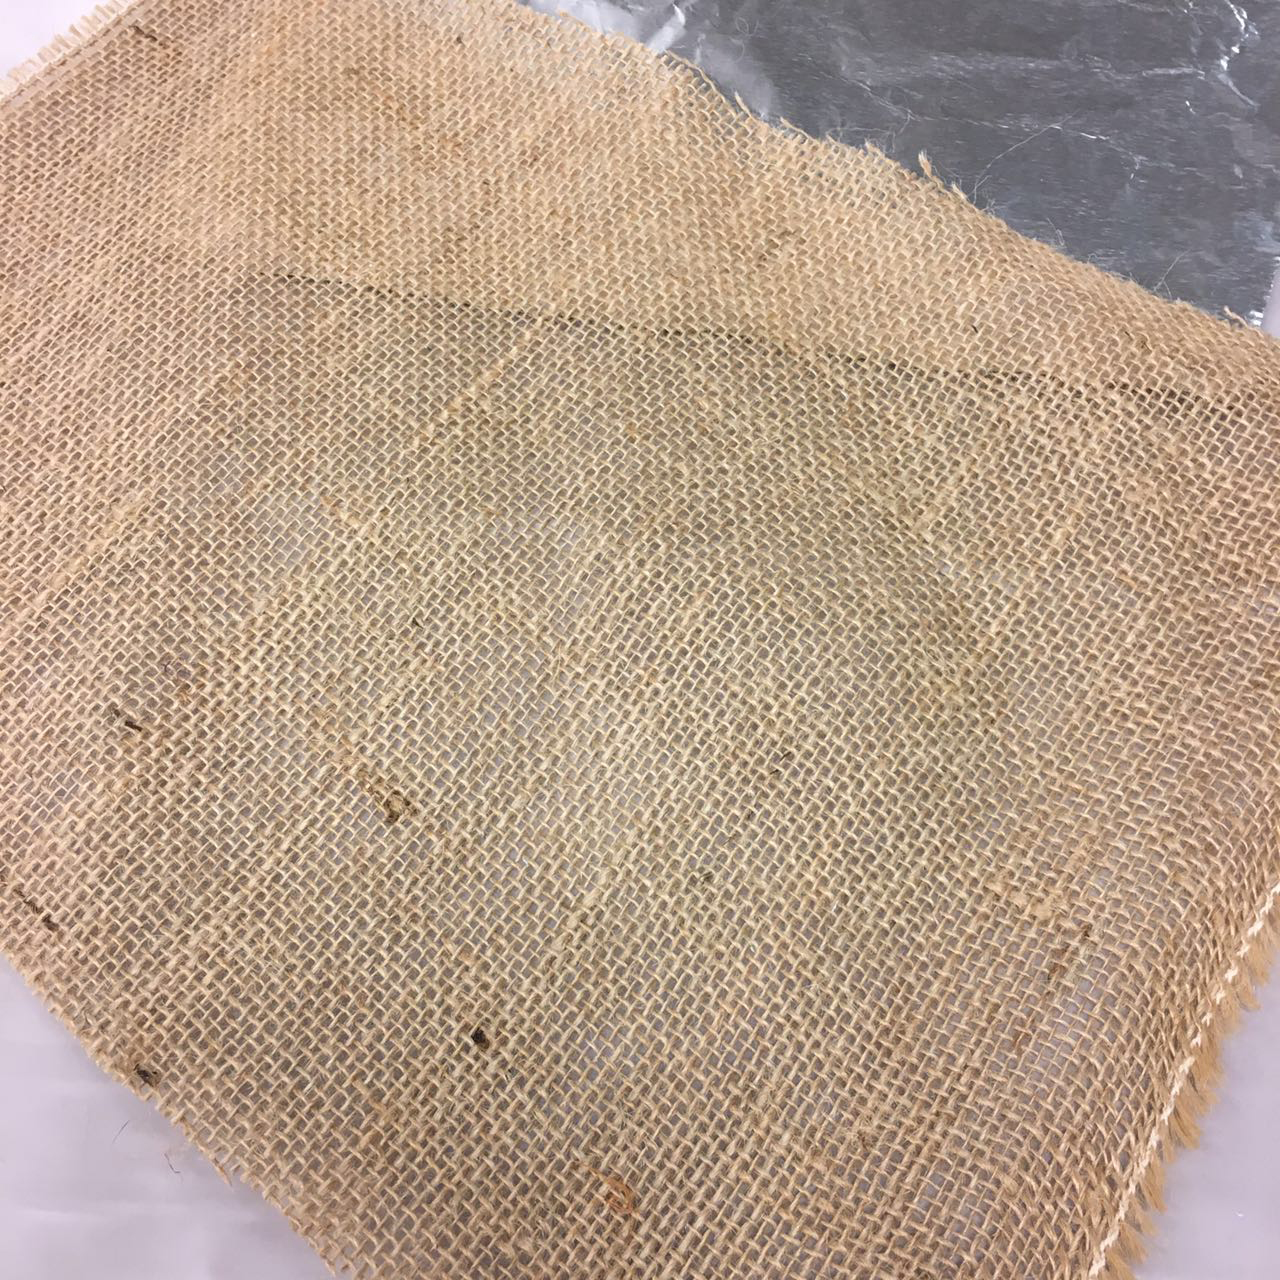
As beginners, we learned to use burlap as the fiber material, and epoxy as the resin. I first went through the design rules for composite. Exothermic epoxy reaction means a very thick chunk is not practical. Reinforced concrete can be molded into thick shape, but for fiberglass & carbon fiber, the point is to have a strong thin layer.
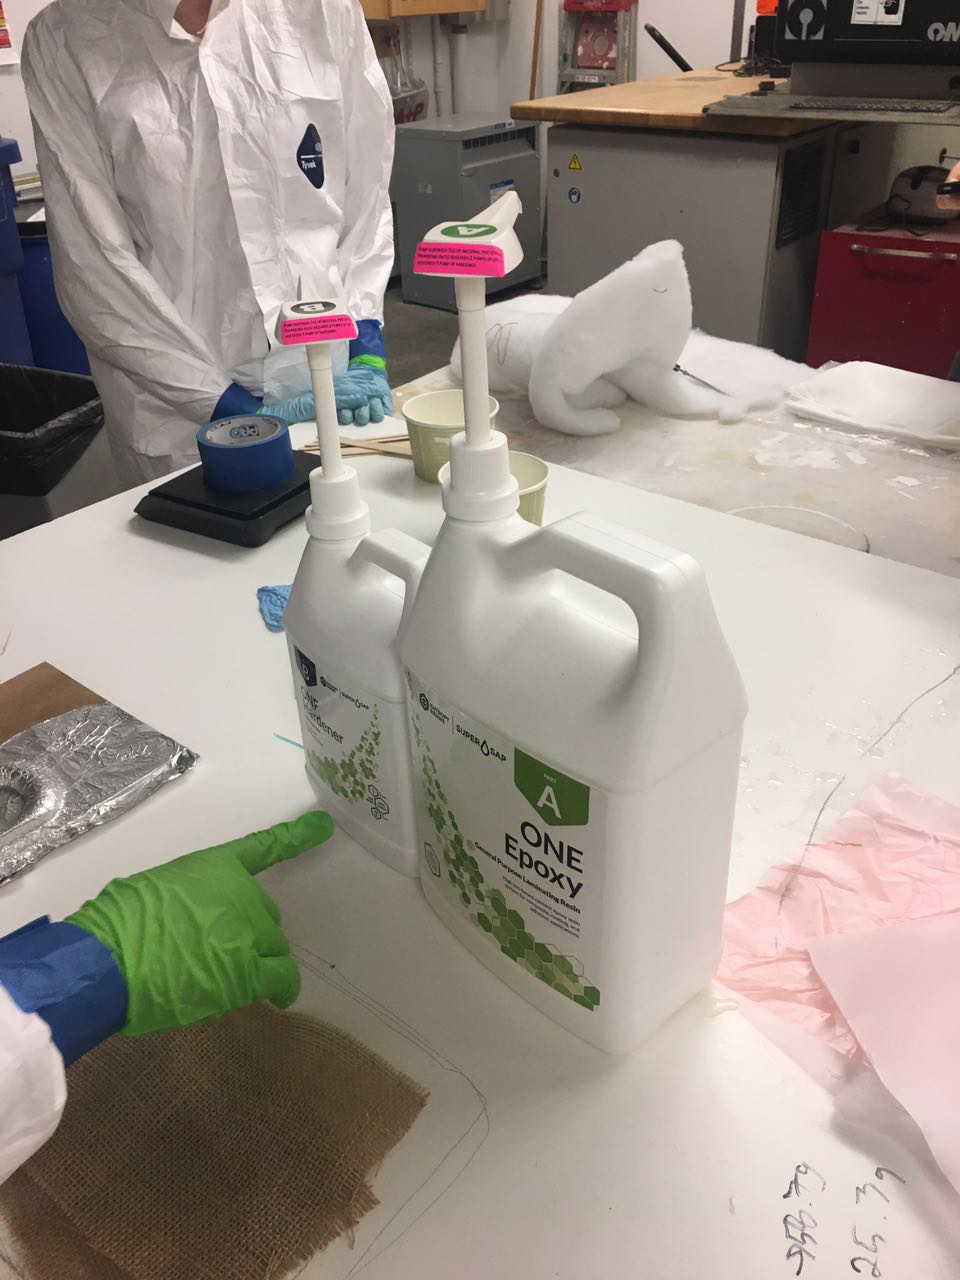
With Calvin, we went through the process of composite lay-up. The necessary reagents include adhesive & release, epoxy A Resin & BHardener. Among them, resinA and hardnerB, are very dangerous and can’t touch skin. In the safety data sheet it is said "Do not get in eye, on skin, on clothing. Wear protective gloves and goggles. Do not take internally or breathe vapor, mist or spray. Use only with adequate ventilation. Wash thoroughly with soap and water after handling." By reading the data sheet and practice by myself later, I understand this process better.
Design and mould machine
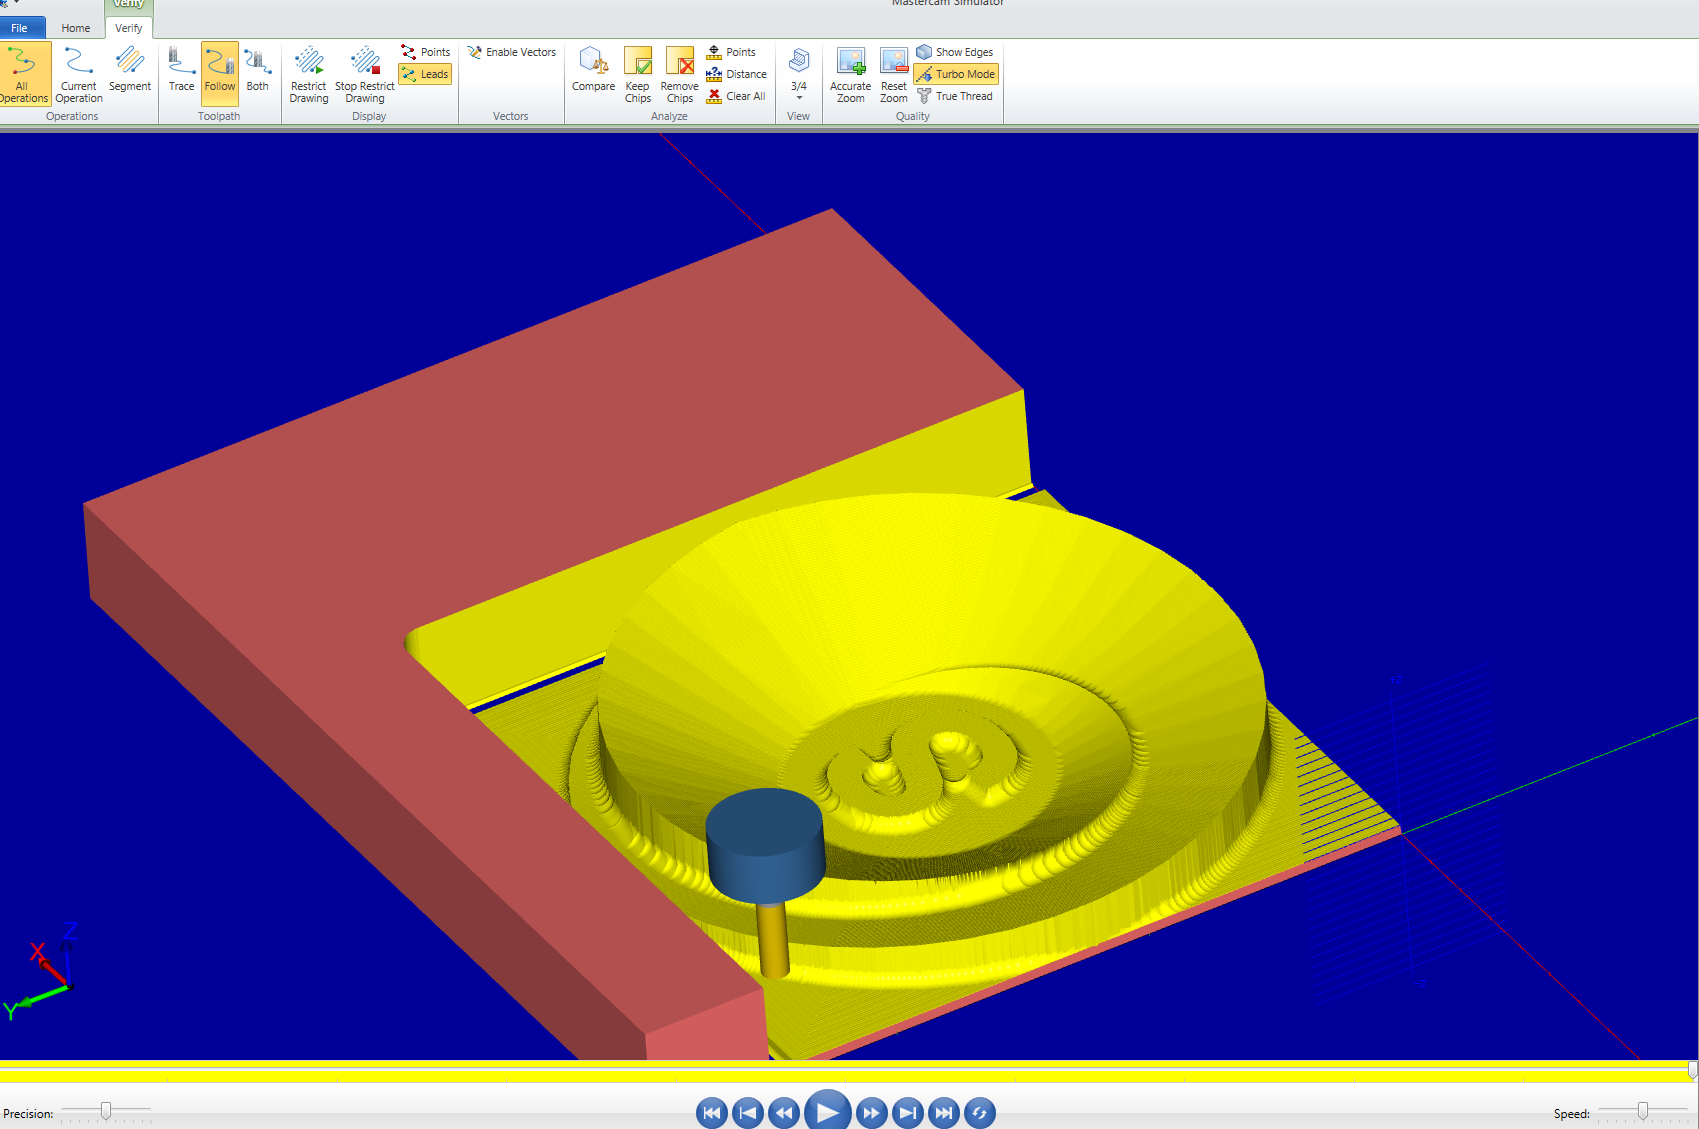
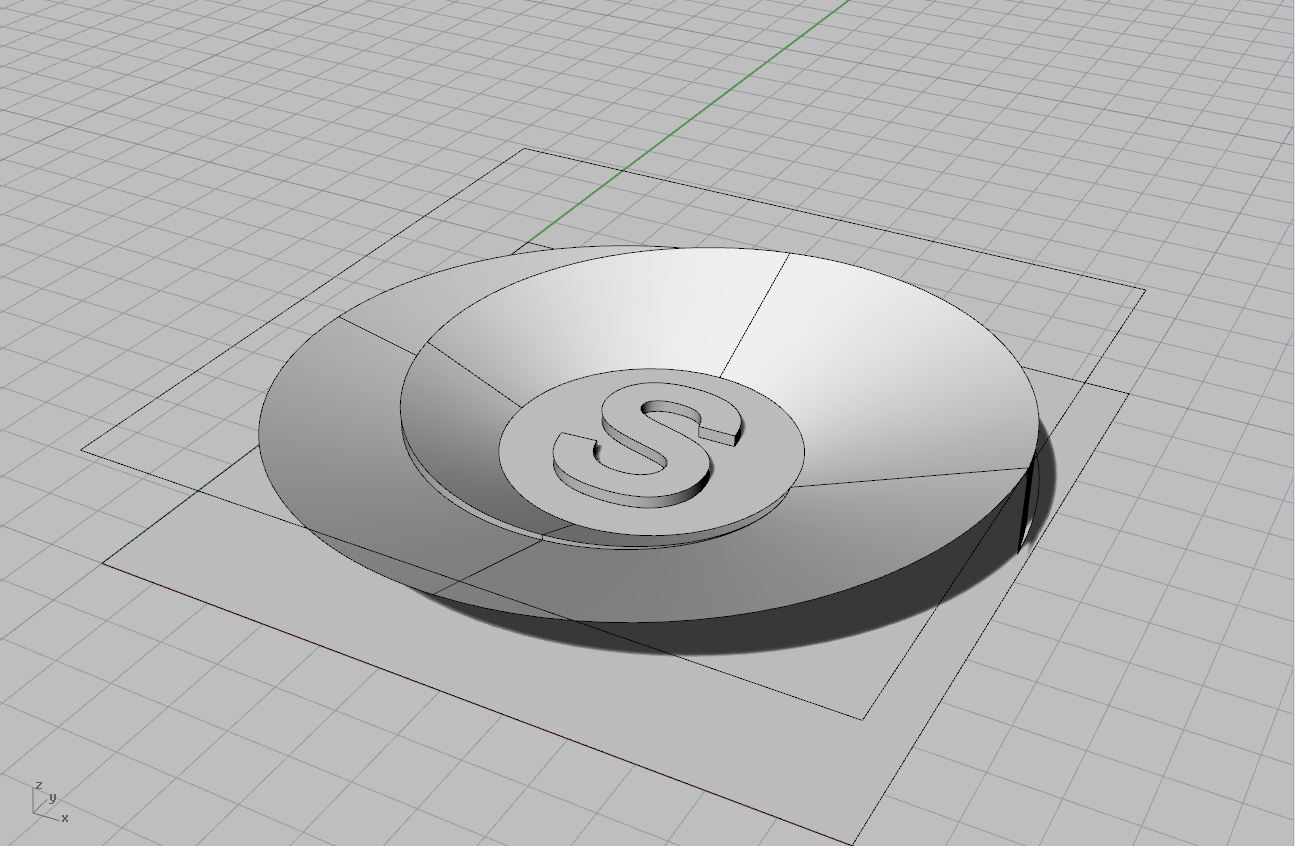
After learning the design rules, I decided to design and make a plate. I designed a spiral shape, and adjusted its size, fit it into the 2” height foam. Then I used mastercam to set up the machining file. According to the template Max provided, I used the spherical endmill for surface finish (Flat endmill will cause grooves on my curve surfaces) and a flat endmill for contour.
|

|
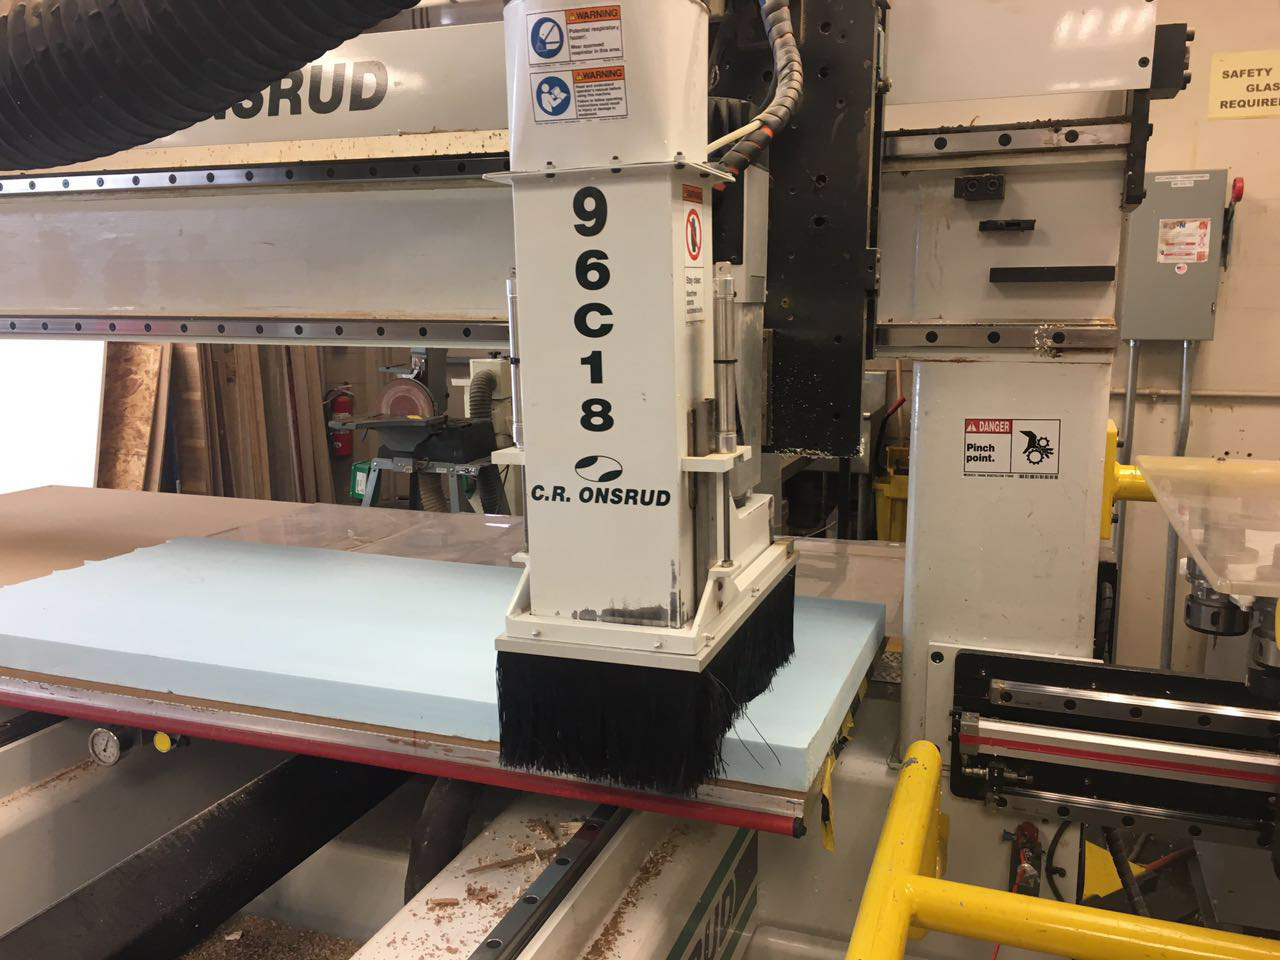
Unfortunately, although the simulation went well, my first try of Machining failed. The endmill just cut through the foam. It was the first time I failed on 3D machining. We pulsed the machine and went back to check my mastercam file. In the simulation everything went right, Calvin and Max didn't find the problem, and I even had a check surface to ensure the endmill would not cut through. After checking all the parameters and didn't find anything wrong, I decided to make my plate shallower. I decreased the depth of the plate by 0.2", and set up the mastercam file again. After carefully checked the collisions in simulation, we started the machine process again.
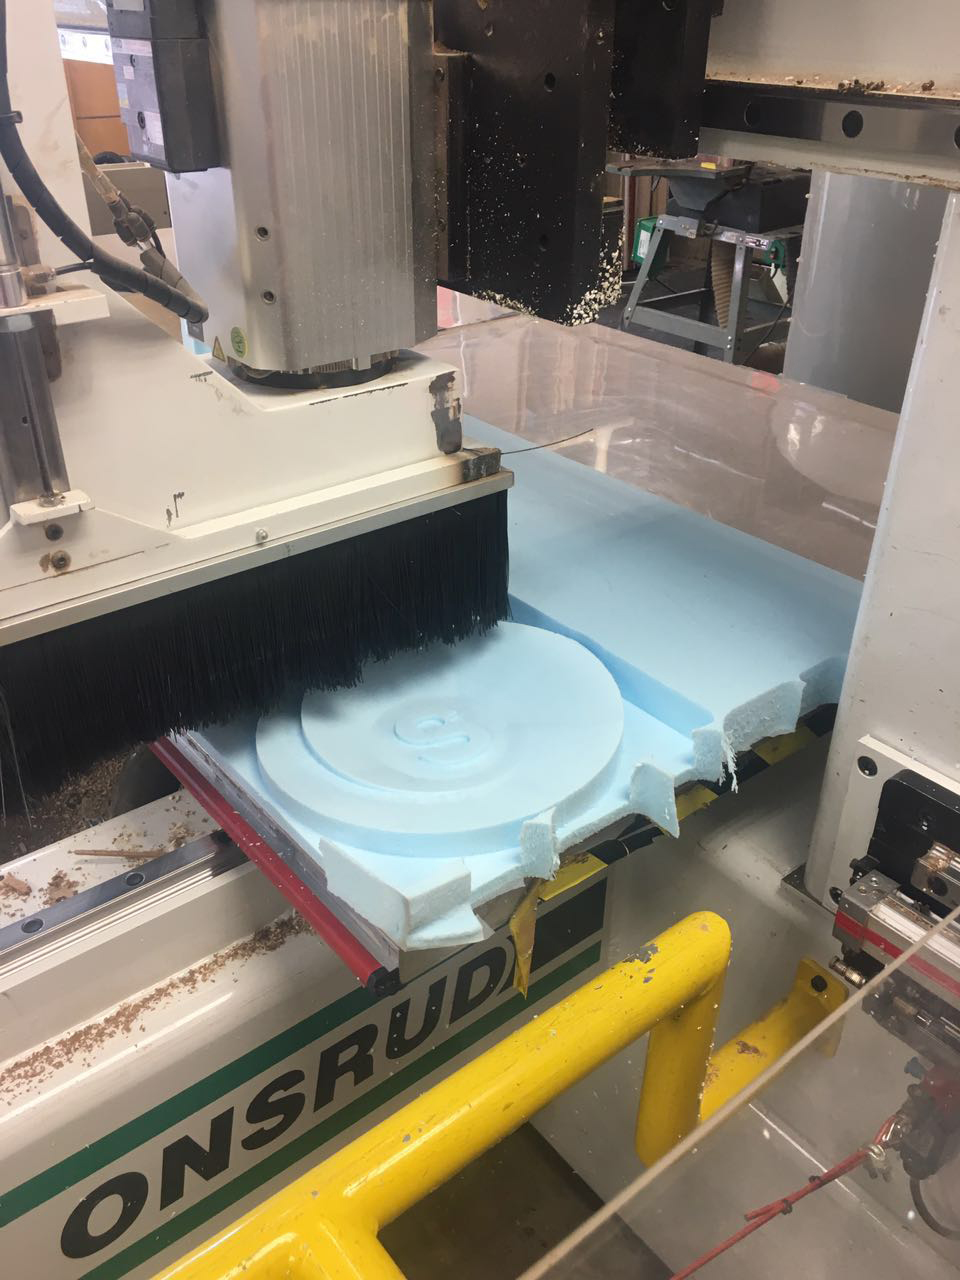
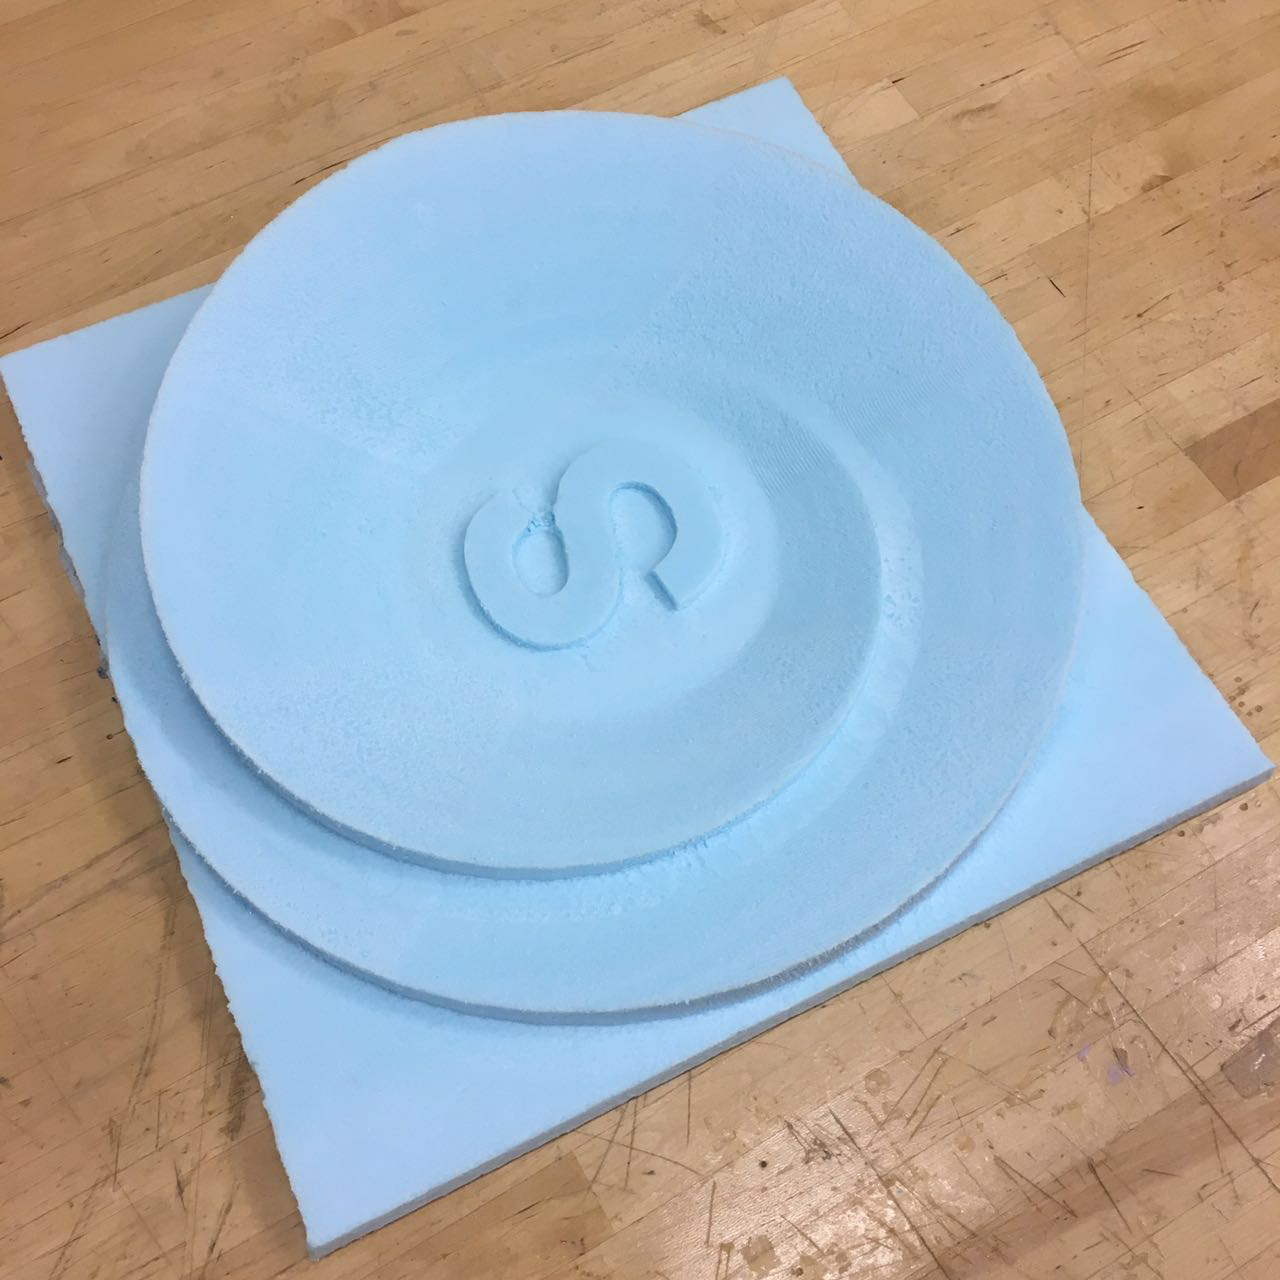
This time the machining went well! It took nearly 20 minutes, and the cutting edges were clean, it was very easy for me to pick off my mould.
Lesson I learned: before machining, I should carefully consider the depth of cutting and the height of the original material. Simulation is not always comprehensive.
Lay up
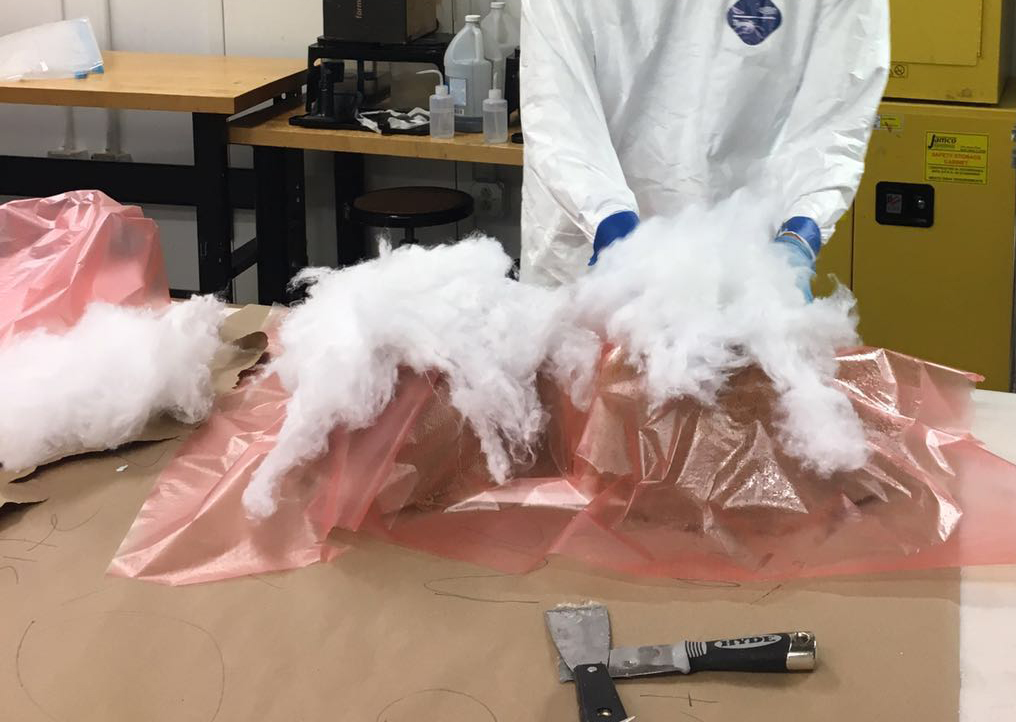
This process is quite dangerous, we should not doing lay-up alone. Although Calvin already did a demo for us, this time I did my composite lay-up with Max's help. The first step is to ensure safety and preparation. I put on the suit and two gloves, put one foil layer on the top of my mould. Then I prepared the cotton and three fiber layers (make my composite stronger), as well as the plastic layer.
Then I mixed up resin and hardner. The ratio of A and B is 100g to 43g. And the ratio of epoxy and fiber is 3 to 1. Then I applied the mixed epoxy to the fiber. All this process were done under air vent. After putting three fiber layers on the top of my mold, I put one plastic layer and put cotton on the top. The purpose of cotton is to absorb extra epoxy.
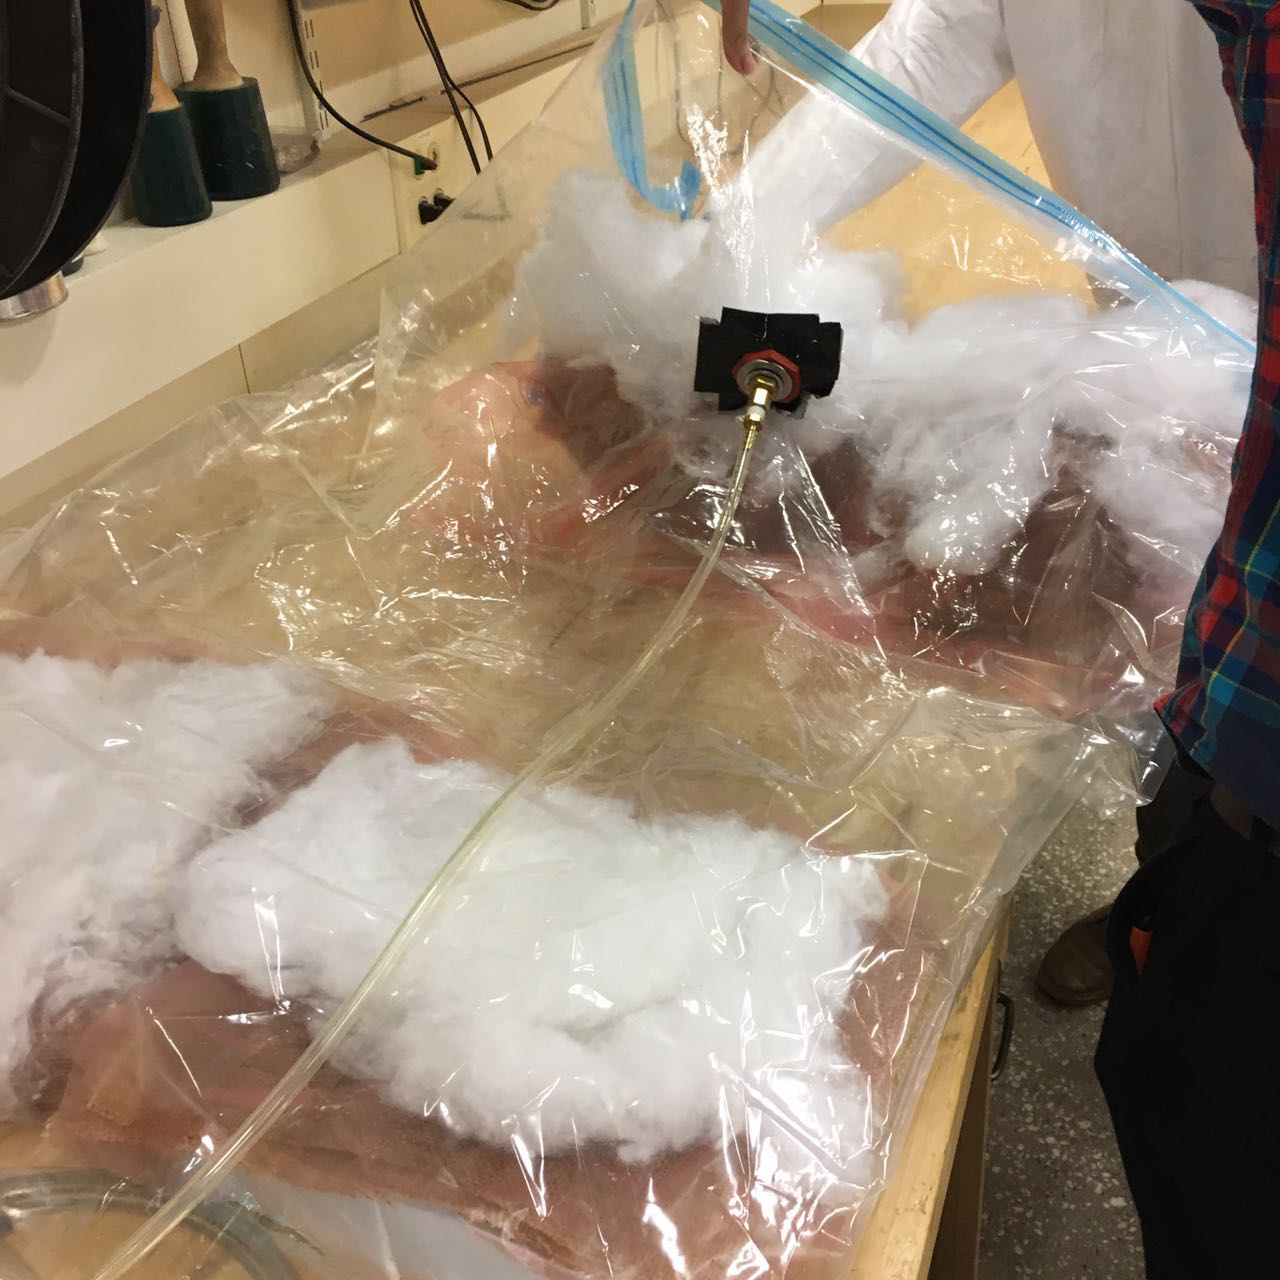
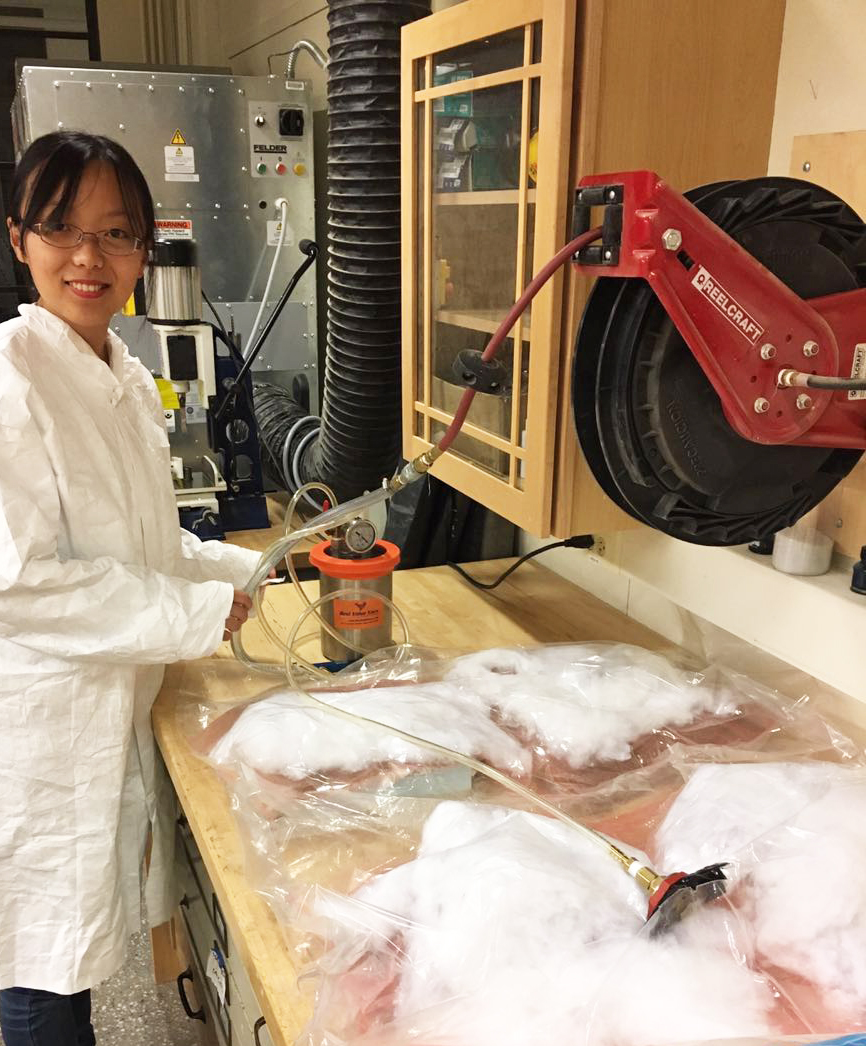
Then the final step is to put the wet layers into the vacuum bag. We used the air pump to eliminate the air inside the bag.
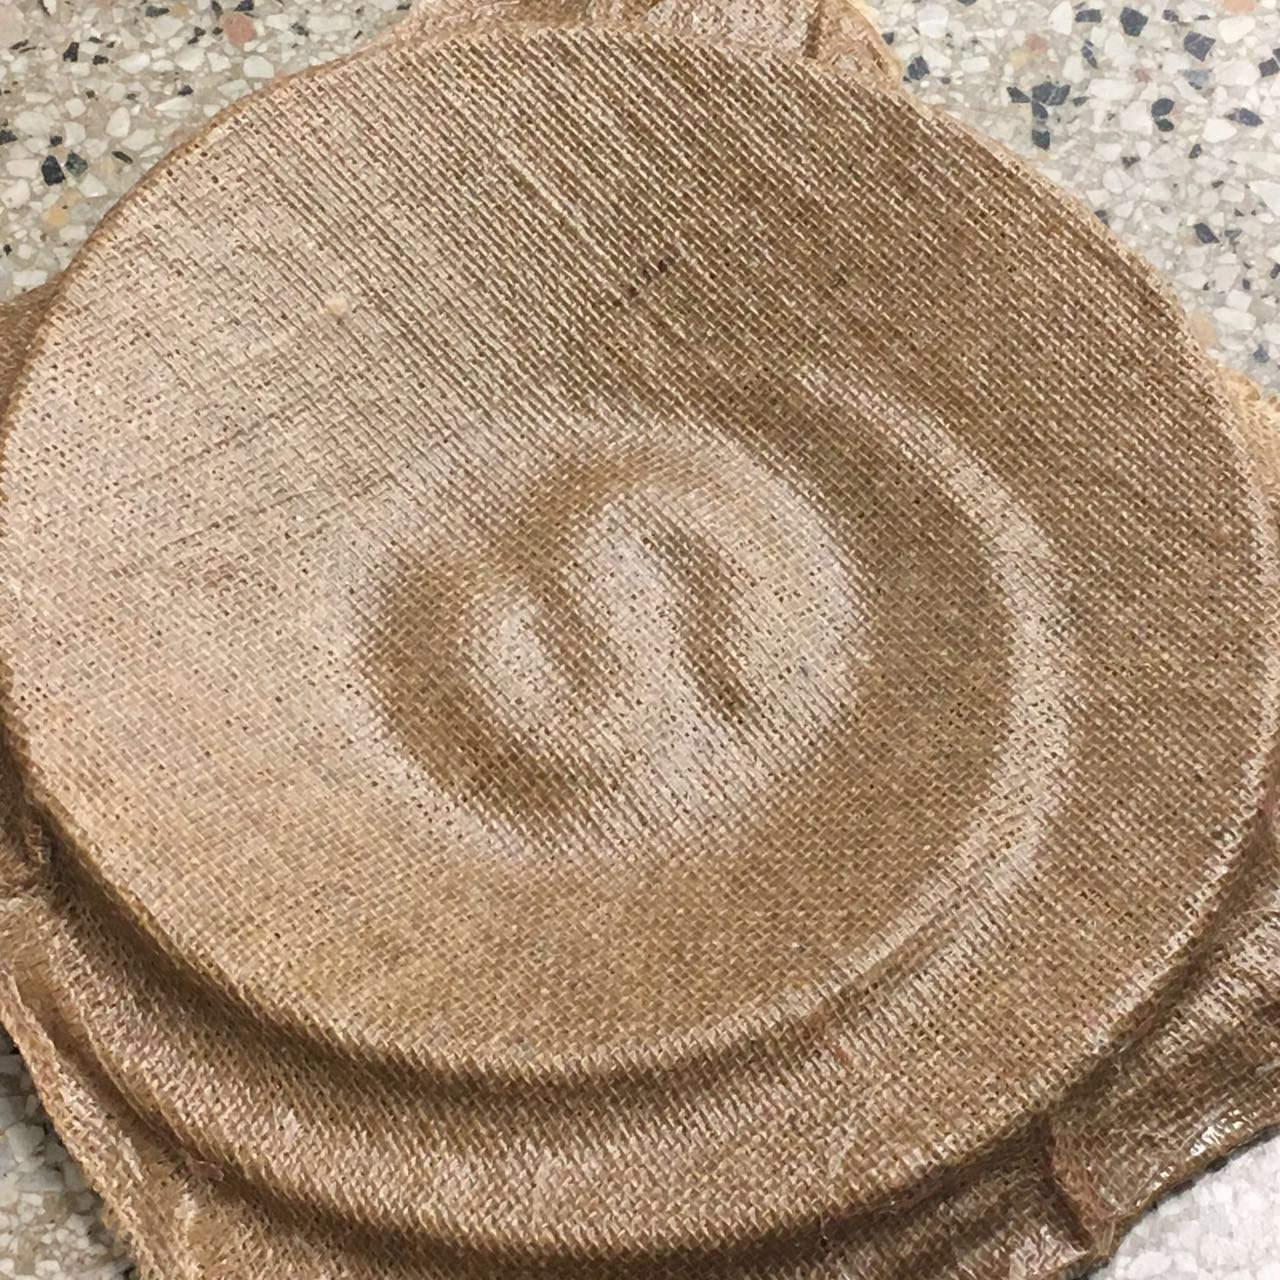
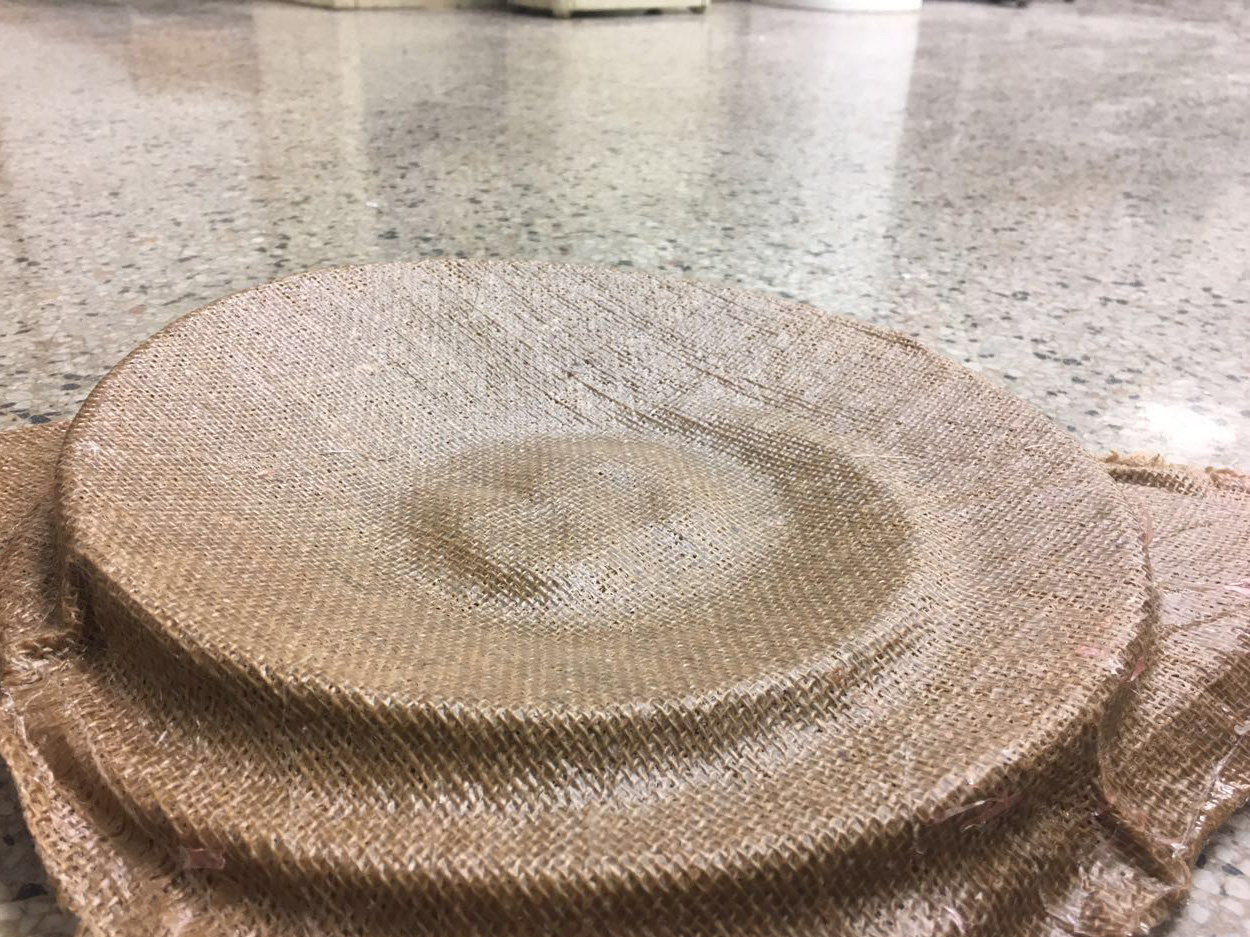
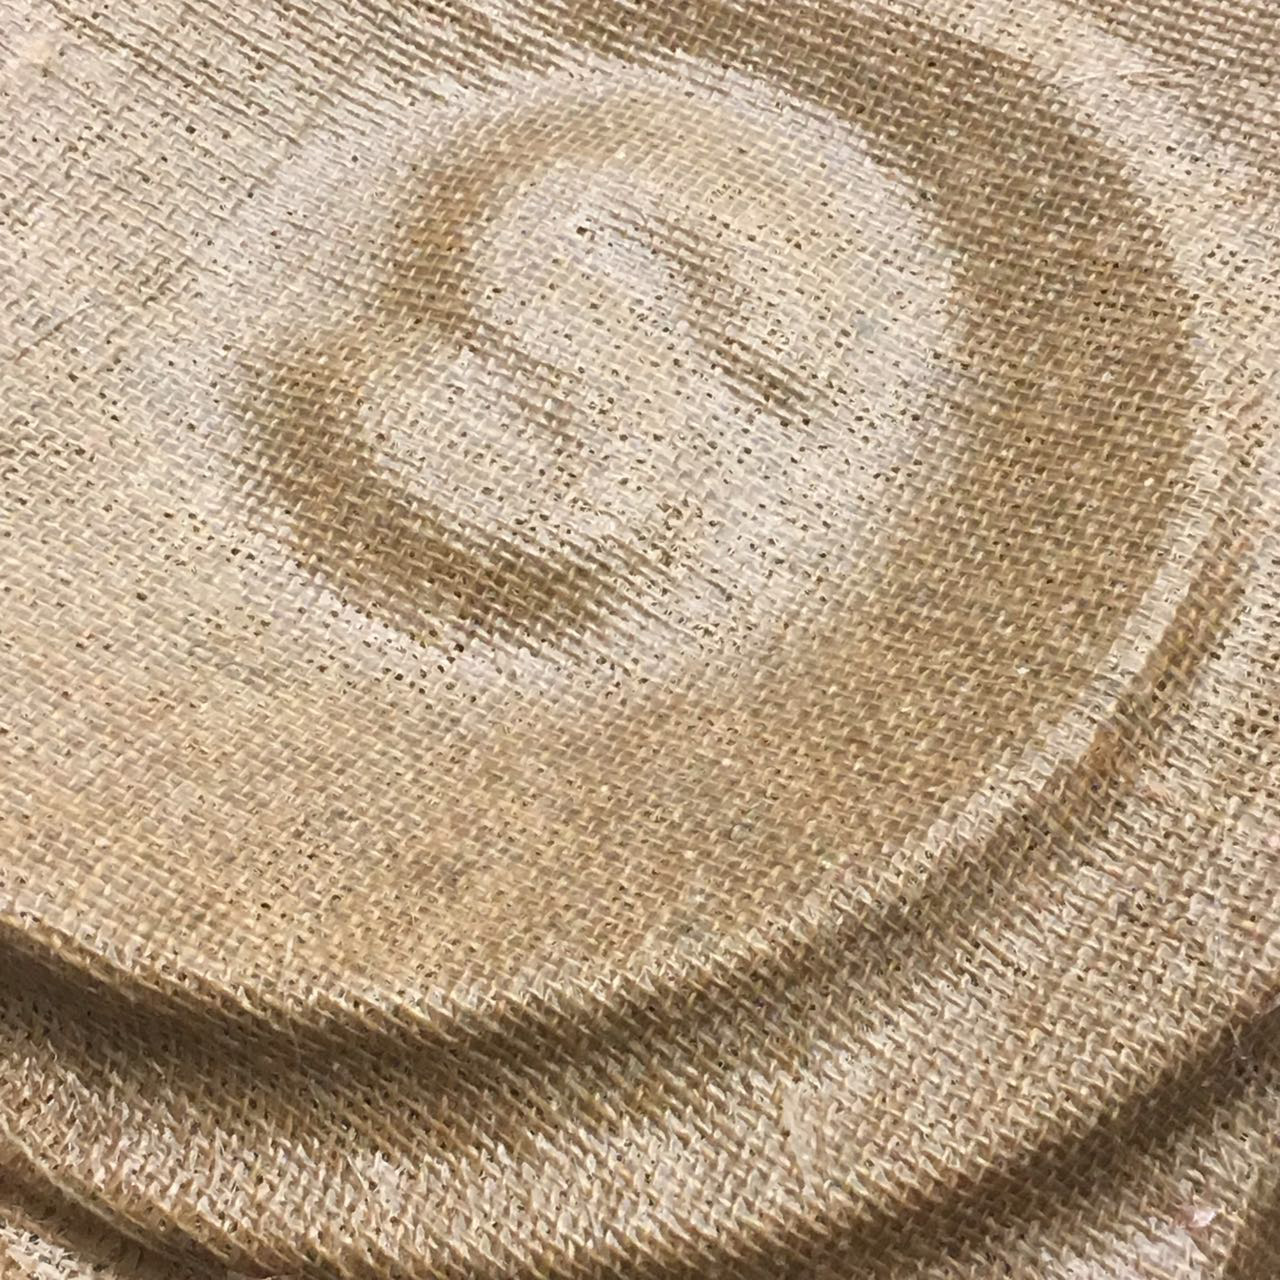
After the whole night, I opened the bag and got my plate!