Week One
Modeling for final projectSadly, I haven't had time to do any extra modeling since my laptop was broken last week-- and,since I cannot obtain any of my lost files without that computer being fixed, here are some sketches and ideas for my project for the time being!
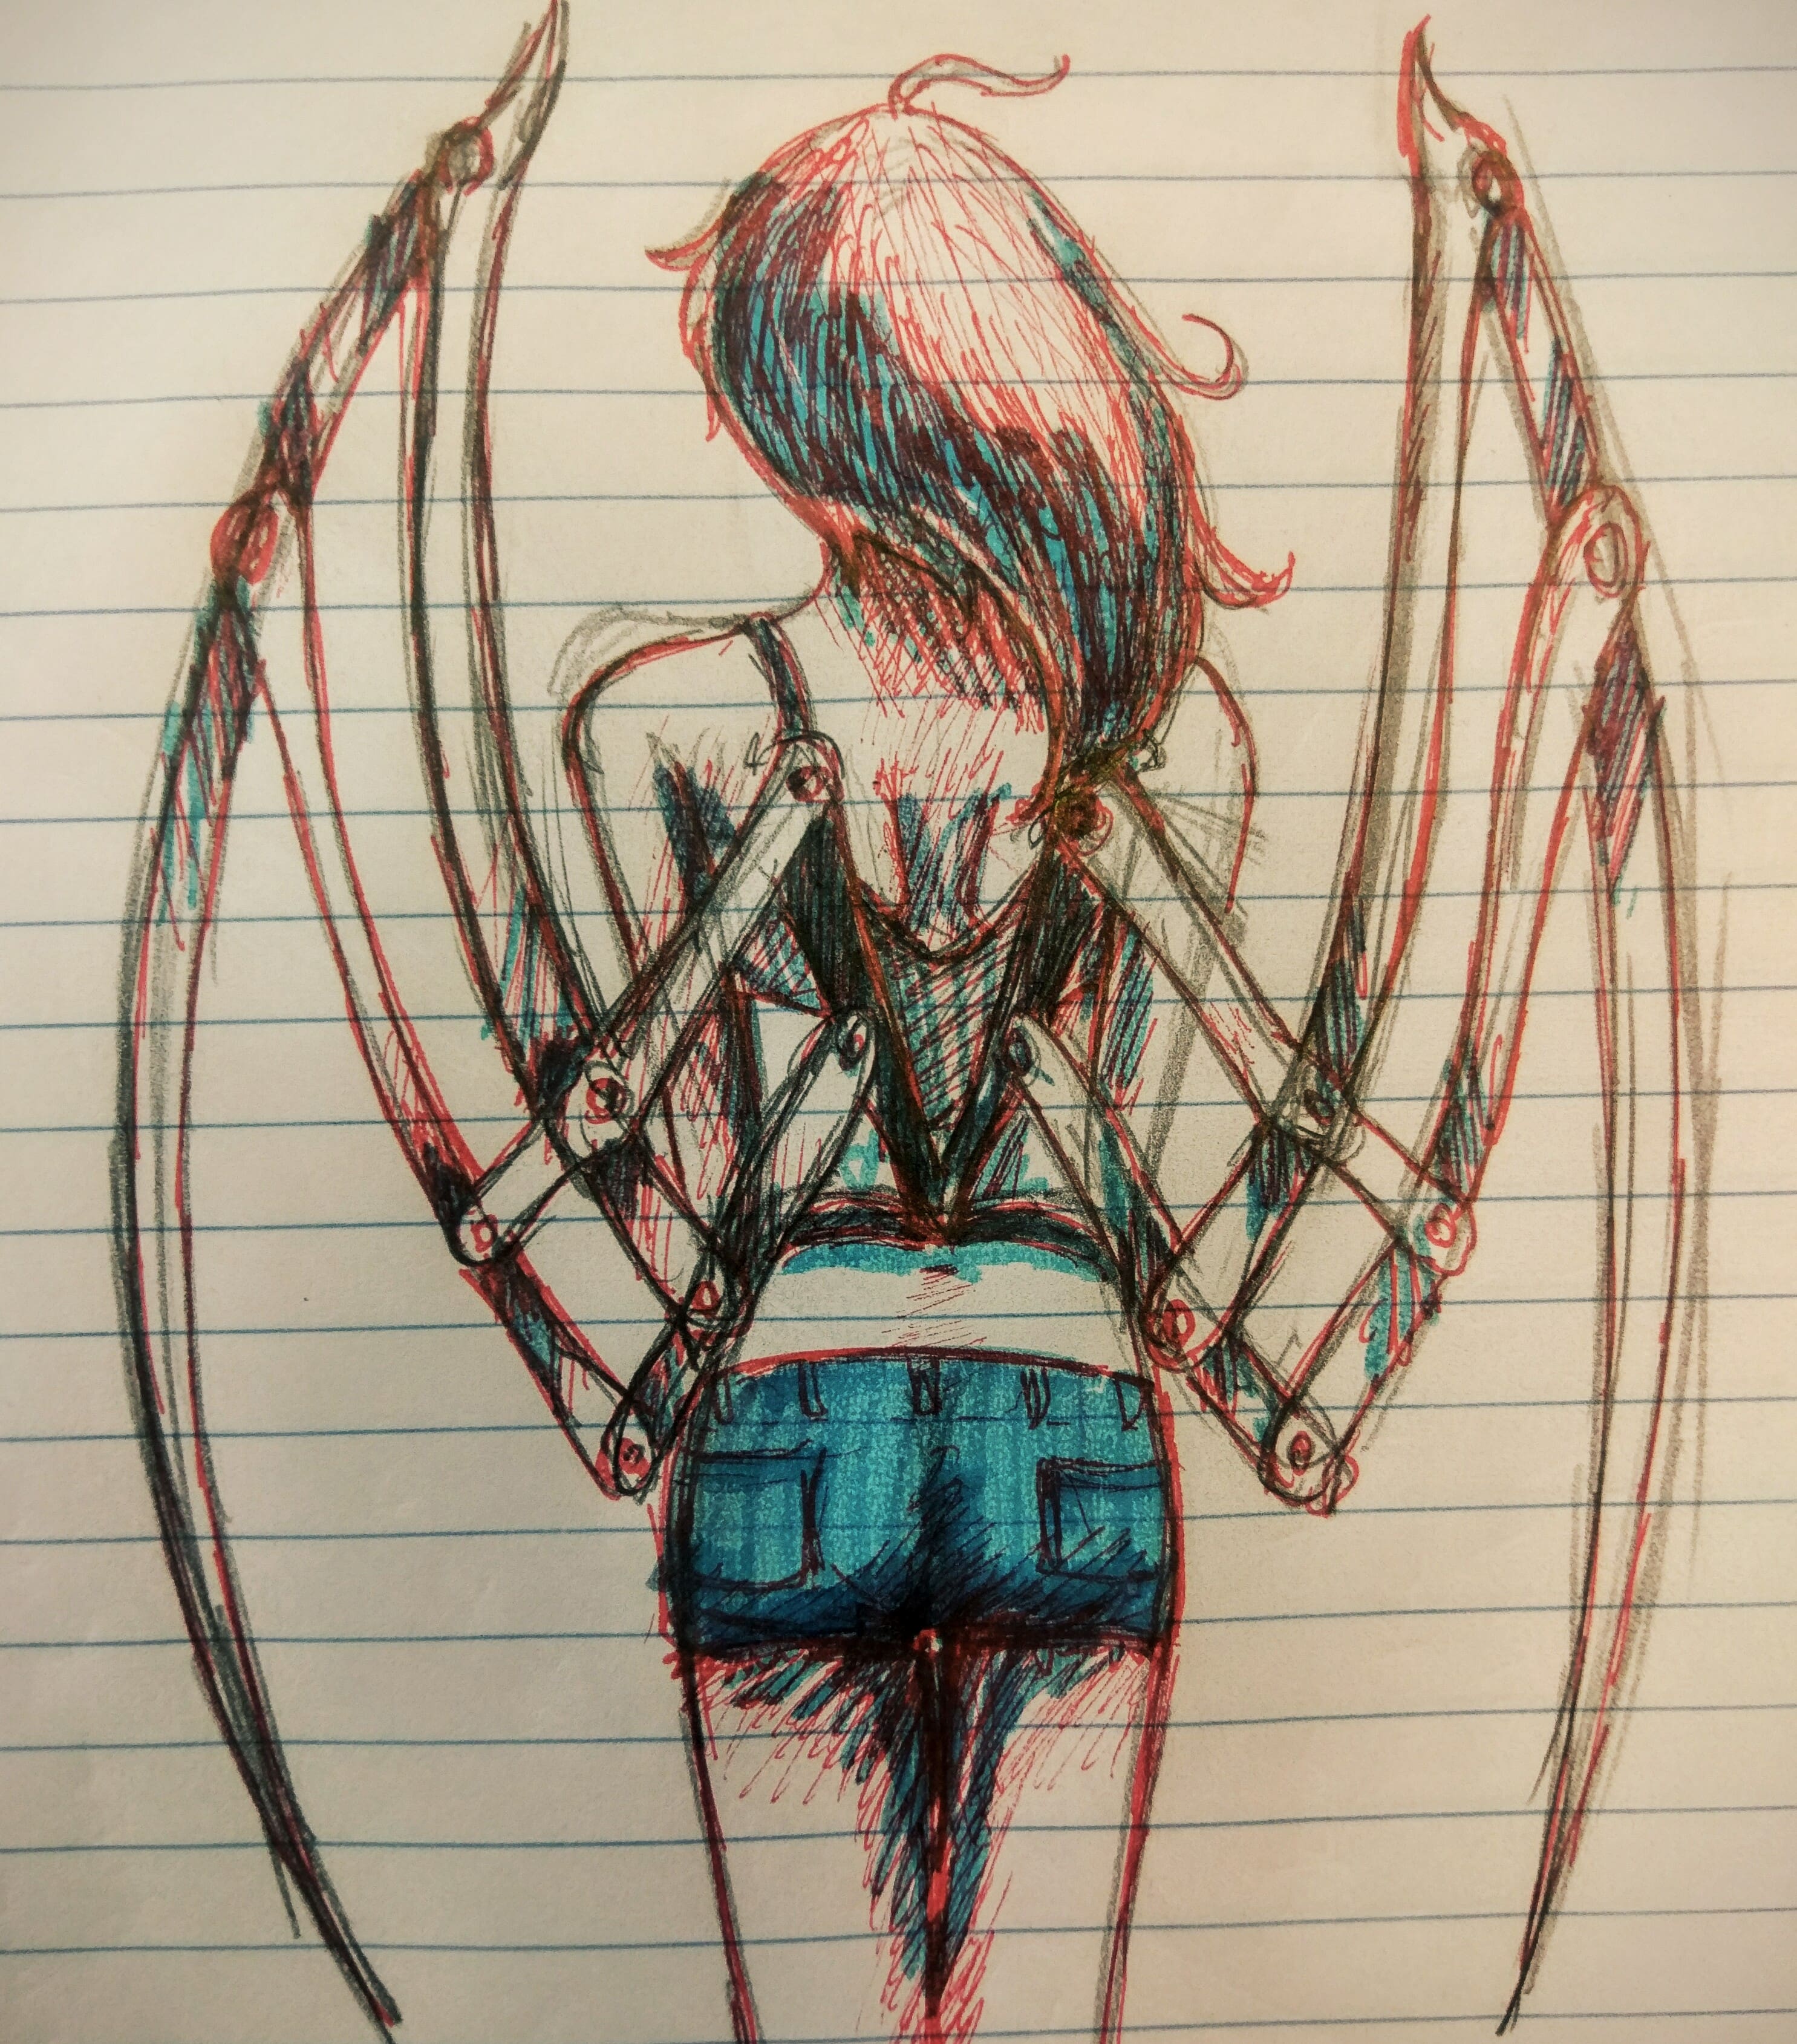
I am hoping to make wearable wings, either Dragon or Phoenix, that move based off of heartrate or a variable resistor on a bracelet or glove. I want them to be able to move both up and down and forward and back just like real wings. I may look more into how wings are held together by muscles and try to recreate it using rubber bands. They will need to be light so I will need to be very specific about my choice of materials.
There are lots of people who have made moving wings before for cosplay.I found a few that ran off of pneumatics--which I considered until I saw the cost (which was 100$ at least) Here are some websites of people who have made similar things: most without electronics but I digress: http://makezine.com/2007/11/02/how-to-build-articulated/ https://www.youtube.com/watch?v=gSlKZwl75p4 http://www.dailydot.com/parsec/articulating-pneumatic-wings-costume-cosplay/


I finally was able to put my designs into Solidworks and was very happy to see how smoothly it seemed to move. With a total of 18 parts (9 per wing), I am sure this is going to turn out great!

I decided to laser cut the bones out of cardboard to assure that they would move smoothly once pinned together. I used brass pins to see how they moved and, just like in the solidworkss design, they seemed to work very well. I thought about different materials I could make the final out of and what kind of motors to use. After doing some research into things I could laser cut and get in sizes that I needed for relatively cheap and with some amount of ease, I opted on 1/8" acrylic. Despite being brittle I thought it would work well enough for me to justify using. The main dilemma that might come rom this is the weight of the wings and the torque from when they are fully open. In order to decrease weight, I has my pieces designed with slots in them.

The acrylic wings ended up being slightly heavy, so I'm looking into using a string or rope of some sort to help with the weight of the wings on the servos. They are a little wobbly and I'm worried that, despite everything, they might snap. The wobbliness, however, may be a side effect of the temporary brass pins that I'm using. I ordered chicago screws and high-torque servos and they should be in tomorrow (Wednesday the 14th).
During the composites week I made a mount for the wings that fits me perfectly and I am looking forward to attaching all the components together and possibly painting it a nice red/orange colour. It may cause problems with the motormounting but I may try to neaten up the electronics with some nice fabric or paper feathers.
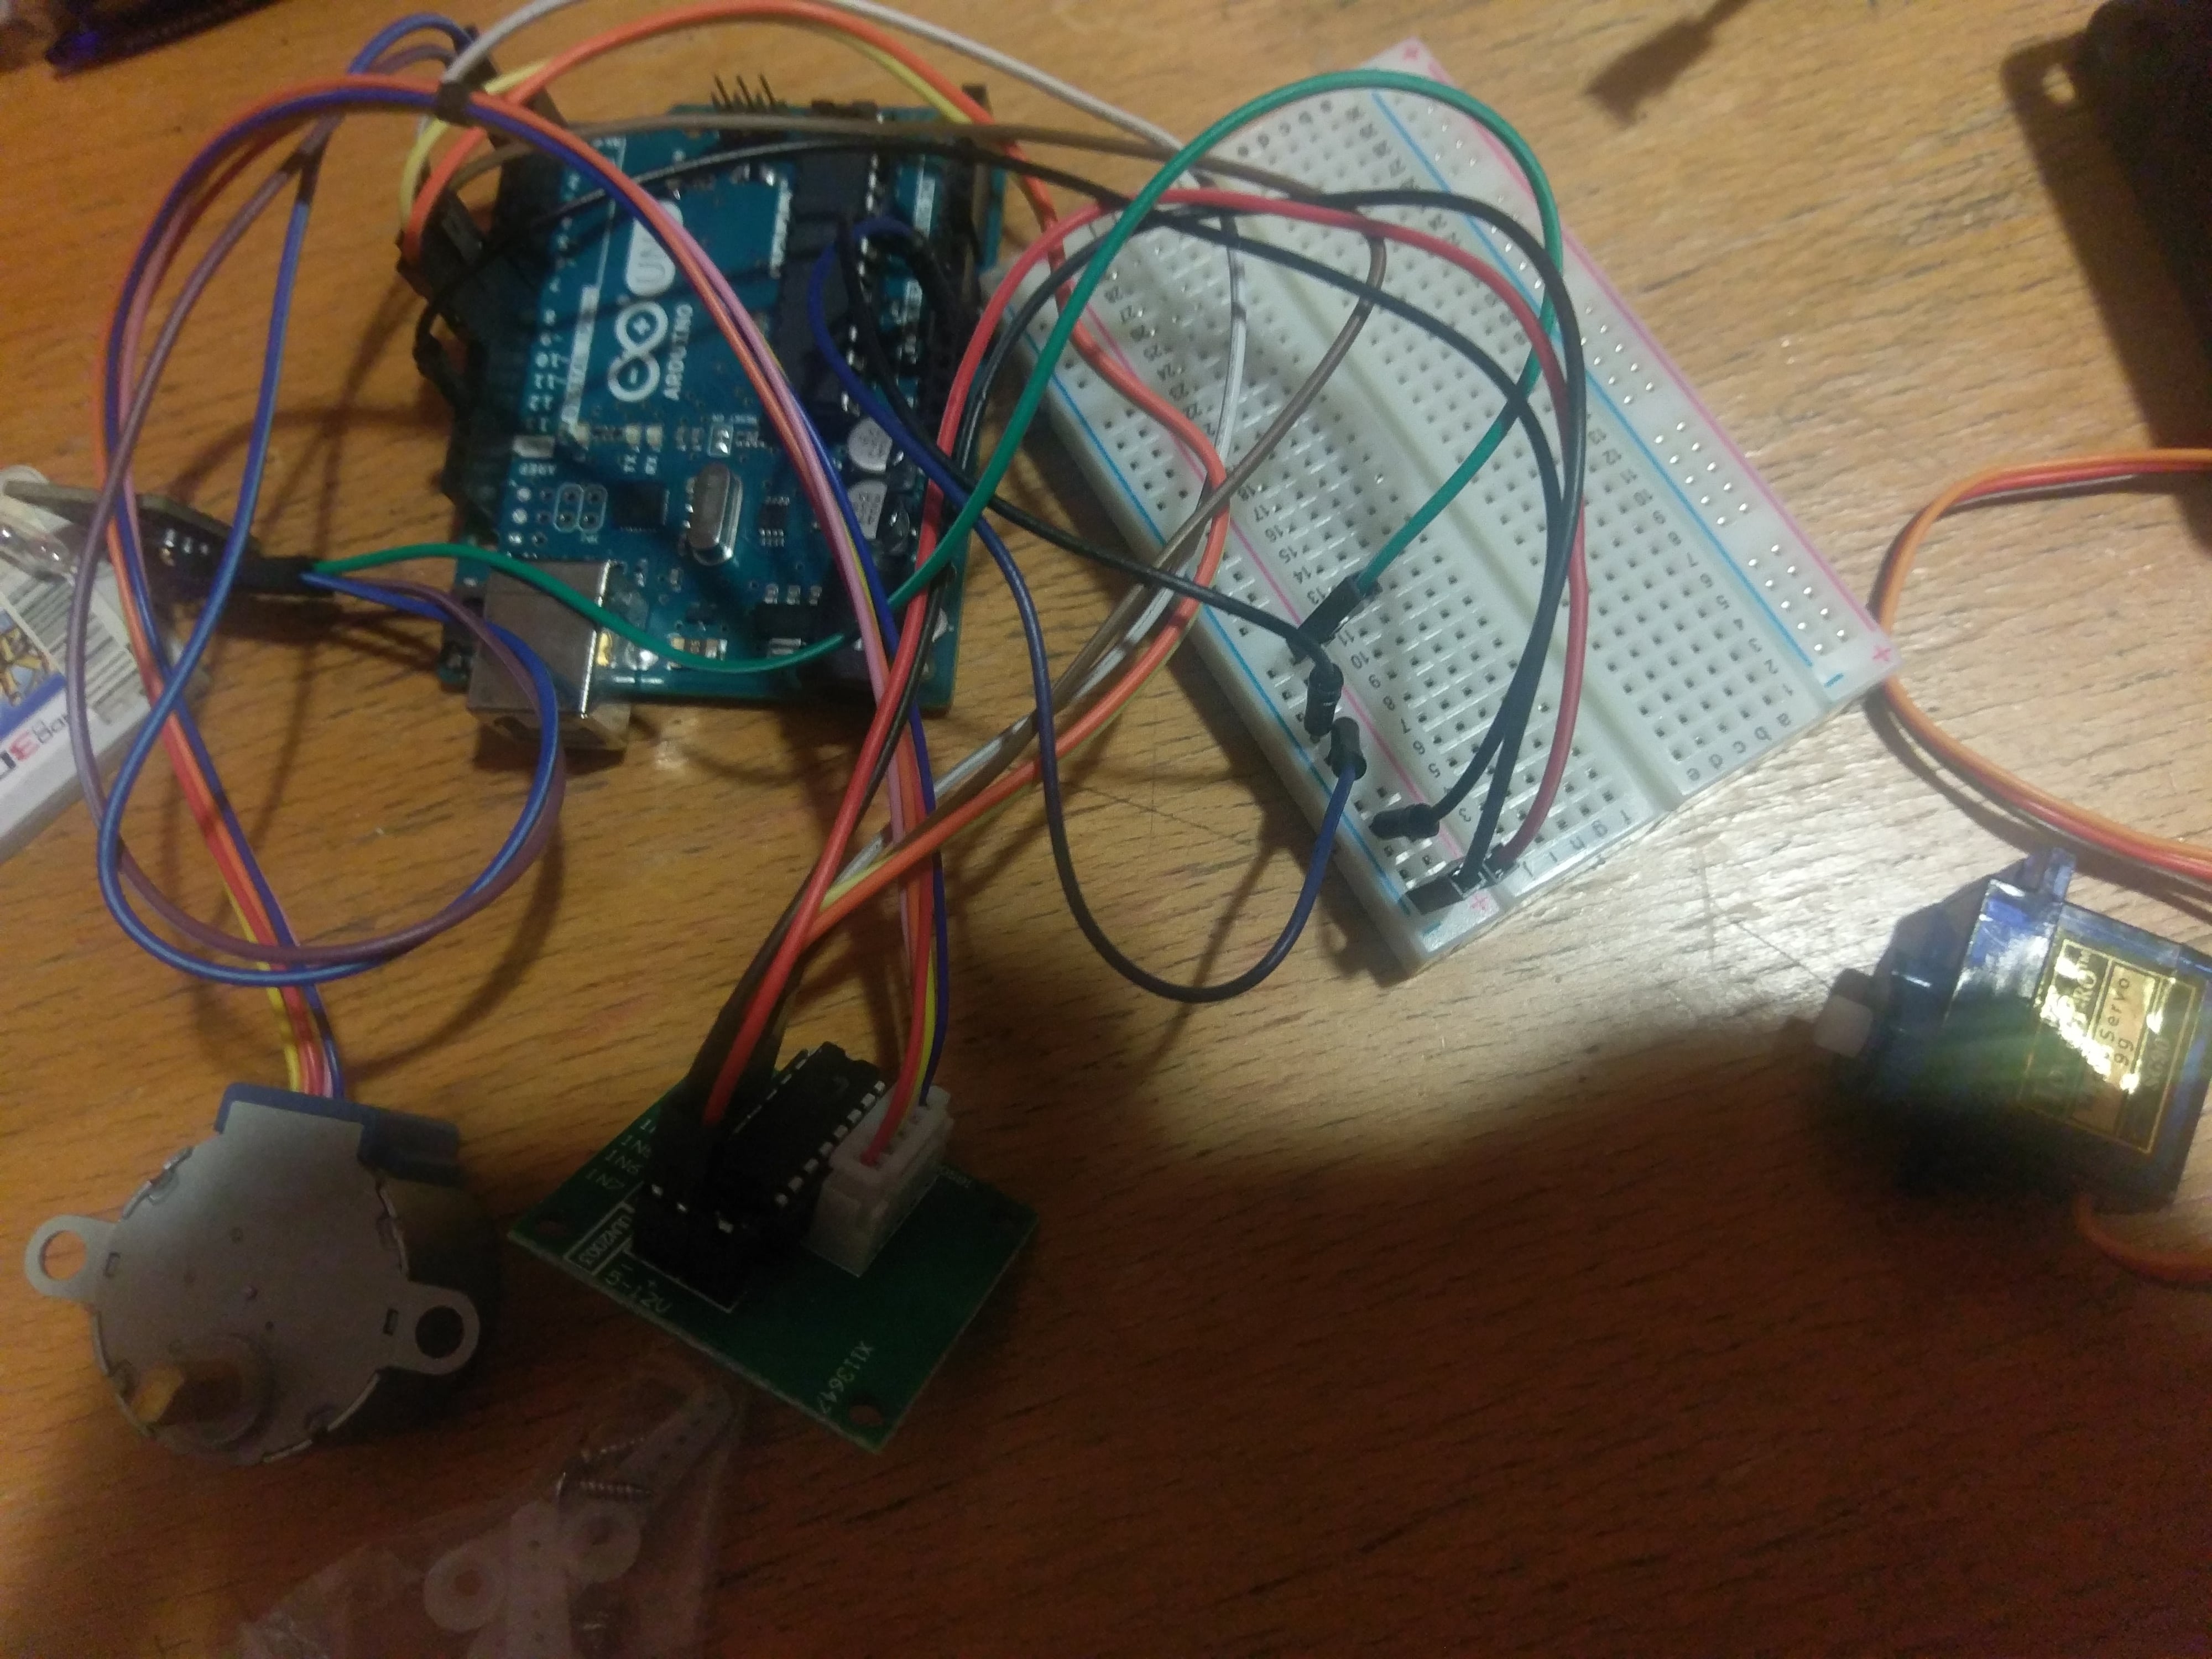
I started working on the wiring and coding for the movement patterna dn am still struggling to pcik between a slide button, a potentiometer or the small joystick I bought. The joystick seems to have some detection issues with position so I'm slightly hesitant to rely on it as my main input.

I decided to use the fabduino to run my system because the input/output board that I designed has yet to connect to a computer, which is just frustrating. By accidentally shorting my fabisp, however, I have killed the attiny44 in it and it refuses to connect to the computer as well. I have gone to lab several times this week in hopes to make a new one, but everytime so far, without fail, there have been no 1/64th mill bits. This means that I cannot actually make another board. So for the time being I will test all of my code on an arduino uno that I own. I did some research into battery power for arduino sand have designed a board that I can use two batteries to power my servos adn my arduino seperately.

I was planning on having two diretions for my wings to move, Forward/Back and Up/Down so I spray painted the composite I made and then JB welded two hollow aluminum rods to the back so that the wings could rotate.

While the paint was drying I bent two aluminum rods to go into the holes.

Sadly, when the glue dried I put the wings on and the glue didn't hold up and one of the rods broke off. So I scrapped the idea and decided to do one direction; just Up and Down.

After I tested my servos with the Acrylic wings I ran into problem after problem. The weight of the Acrylic when the wings were entirely open was too much torque for the servos to handle. I needed to lighten the load more than I already had. I started switching out pieces of acrylic for cardboard. I replaced 3 of the bones and then it could open and close a lot more smoothly. I spray painted the pieces of the cardboard to match the colour of the acrylic.

I started assembling the wings and was trying to figure out the most effective way to attach them to the back support. I decided to tape them because the glue failed last time.

I finally managed to assemble it all, next step was to attatch the servos. At first I thought that I would puse the small stepped motors that I own, but they were too weak to handle the weight so I got some High torque servos instead. I mounted them directly on the bottom hinge and then struggled to find a way to make them move the wings instead of just having the entire motor turn. I grabbed one of my unused acrylic cuts and glued both motors to it so that the wings would move instead of servos.

I used two butttons to control the up and down features of my wings and hotglued them to the left shoulder so that it is compact and I can just reach up and control the wings very easily.

This is the final electronics setup of my wings and I think it looks pretty good.


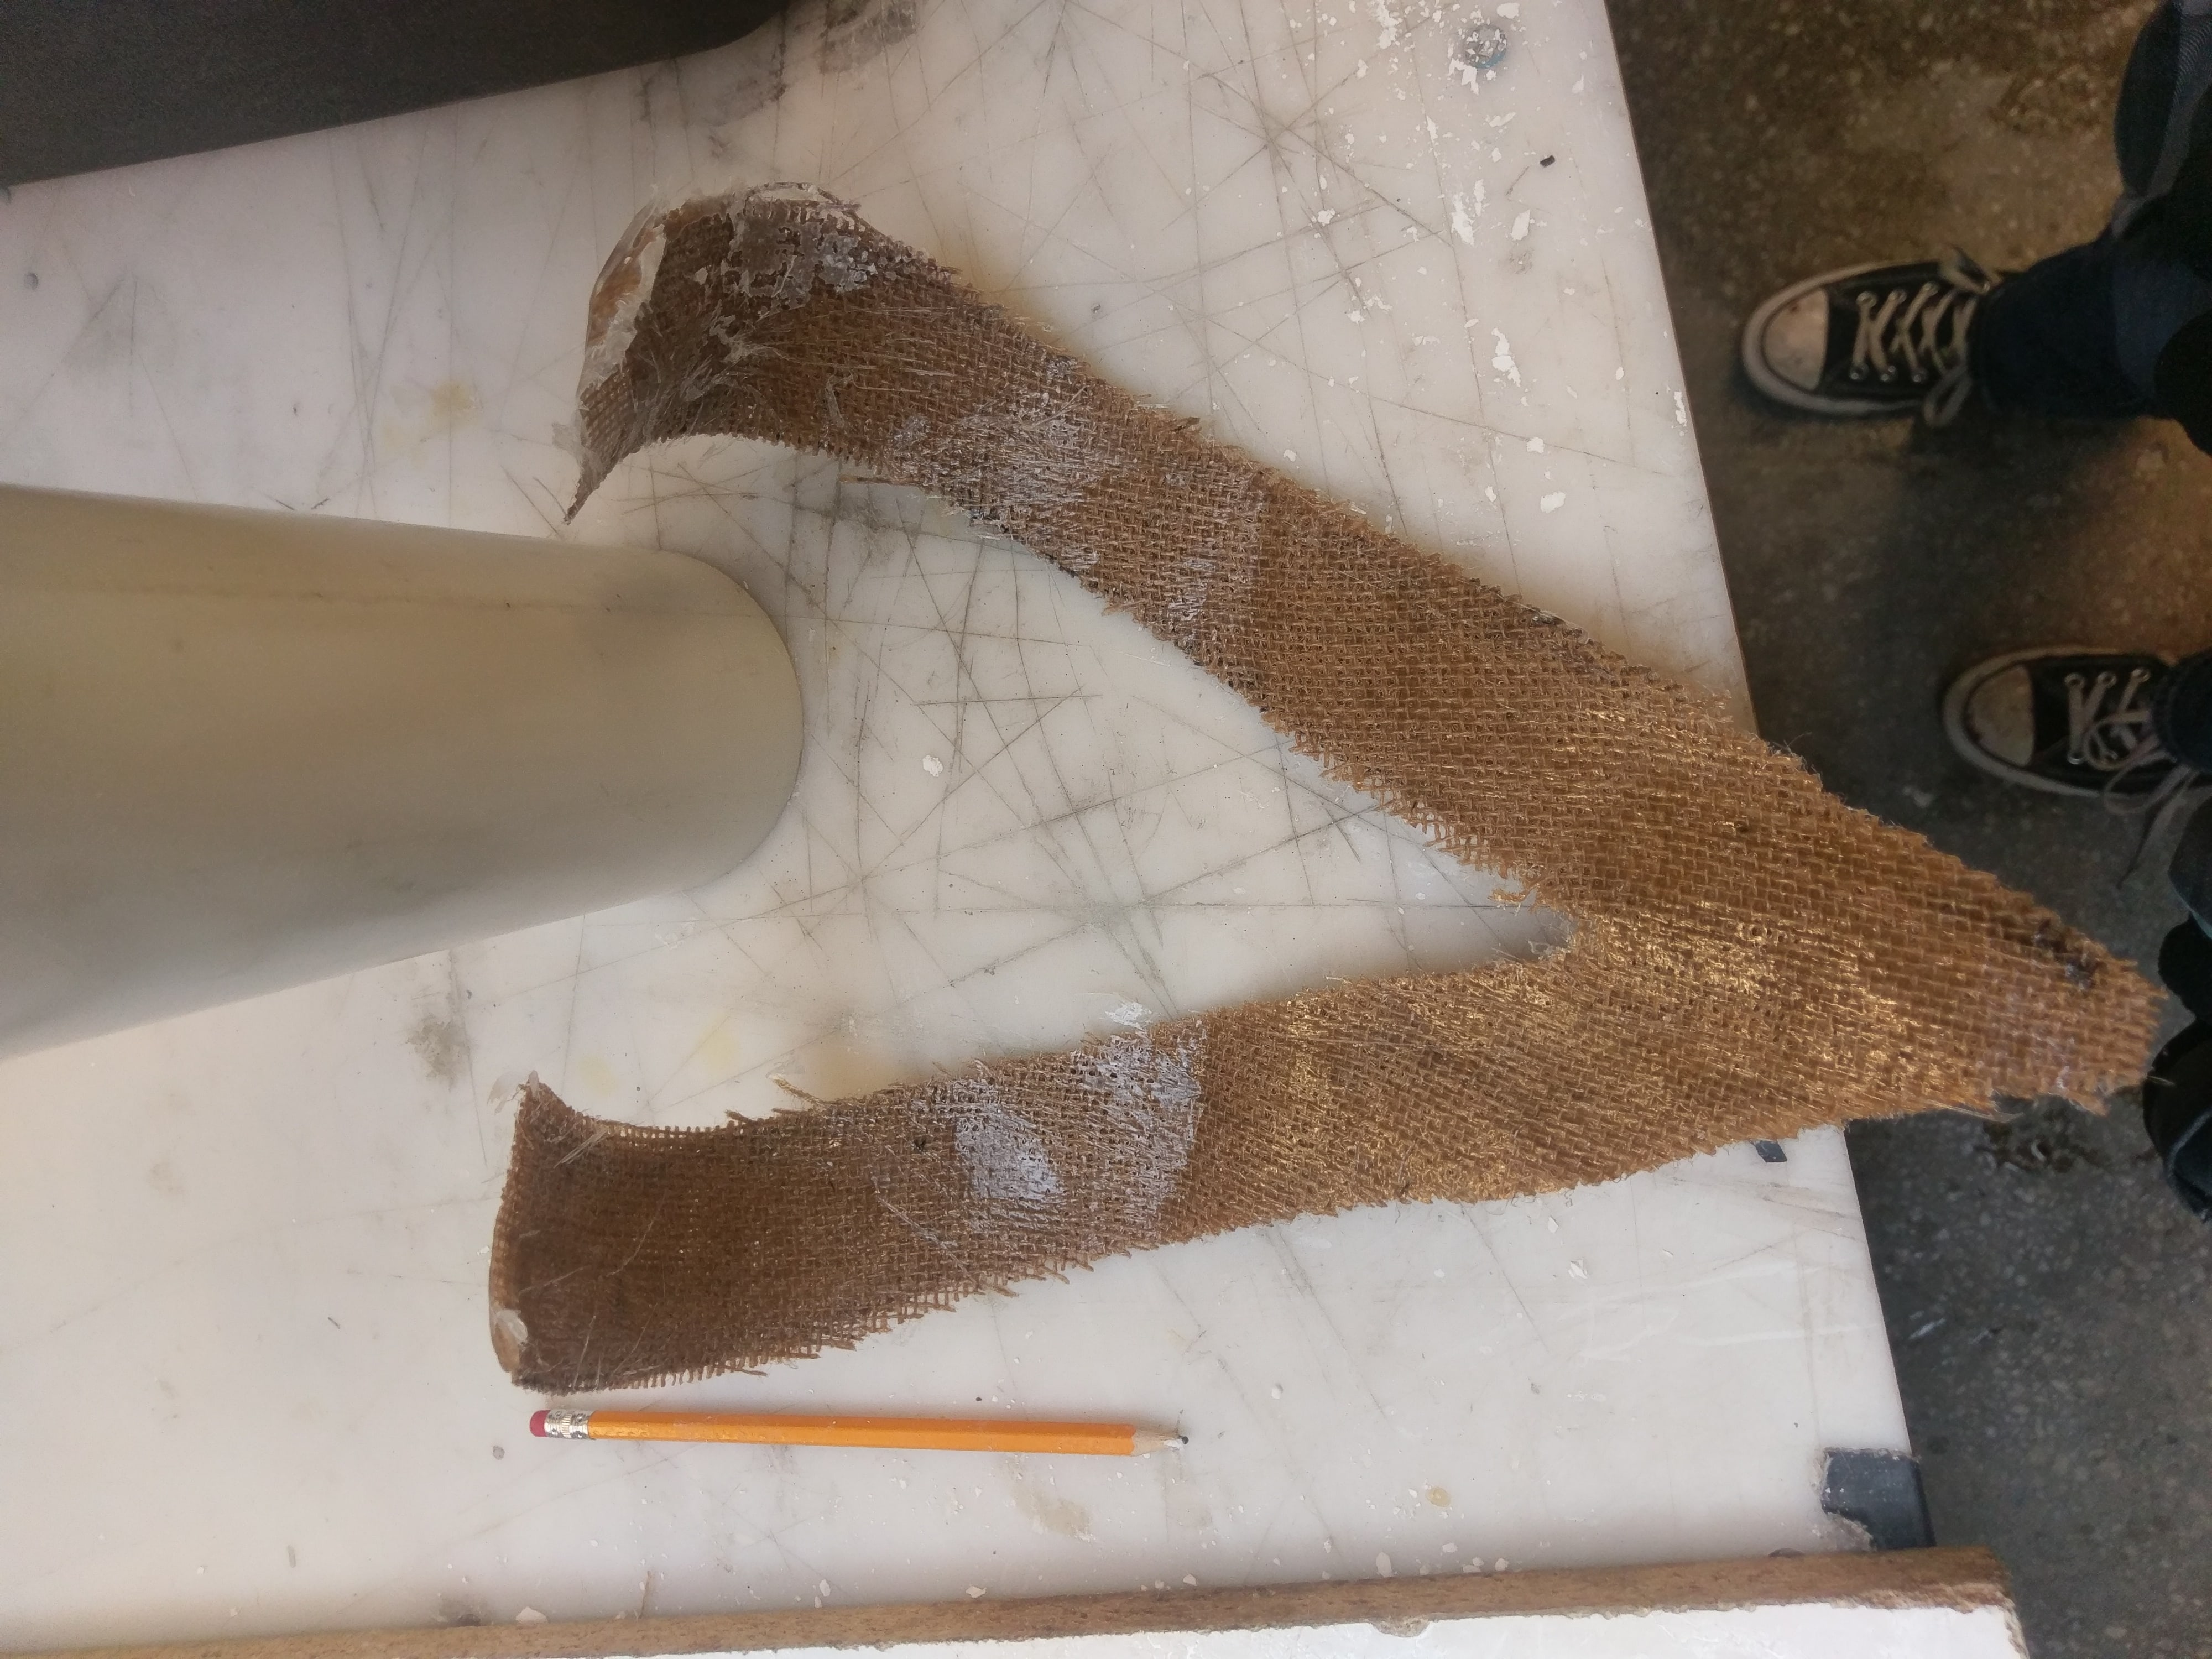
I decided to use mylar to make the skin of the wings. I cut it out with an olfa knife and spray painted both sides.

I glued the mylar onto the wings, part of it was getting in the way of the servos so I cut it to keep it out of the way.

The mylar weighed down the wings alot so I added elastic to two points so that the servos didn't have to lift as much of the weight.


I pulled out my knitted and ring scale mail that I made earlier this year to go with the wings, and the hand-sewn harlem pants.


I cadded some horns in solidworks. And then I drilled some holes into the horns and pulled string through them so that I can wear them on my head easily.
Materials and Costs: Acrylic:40$ Cardboard:free(trash) Servos:20$ Arduino uno/buttons:free(I already owned these) Rubber bands/string:free (from friends) mylar: free (my hall found 500 yards in the trash) burlap/epoxy: provided by class super glue:4$ 3D printing materials: free aluminum rods: free (found in trash)