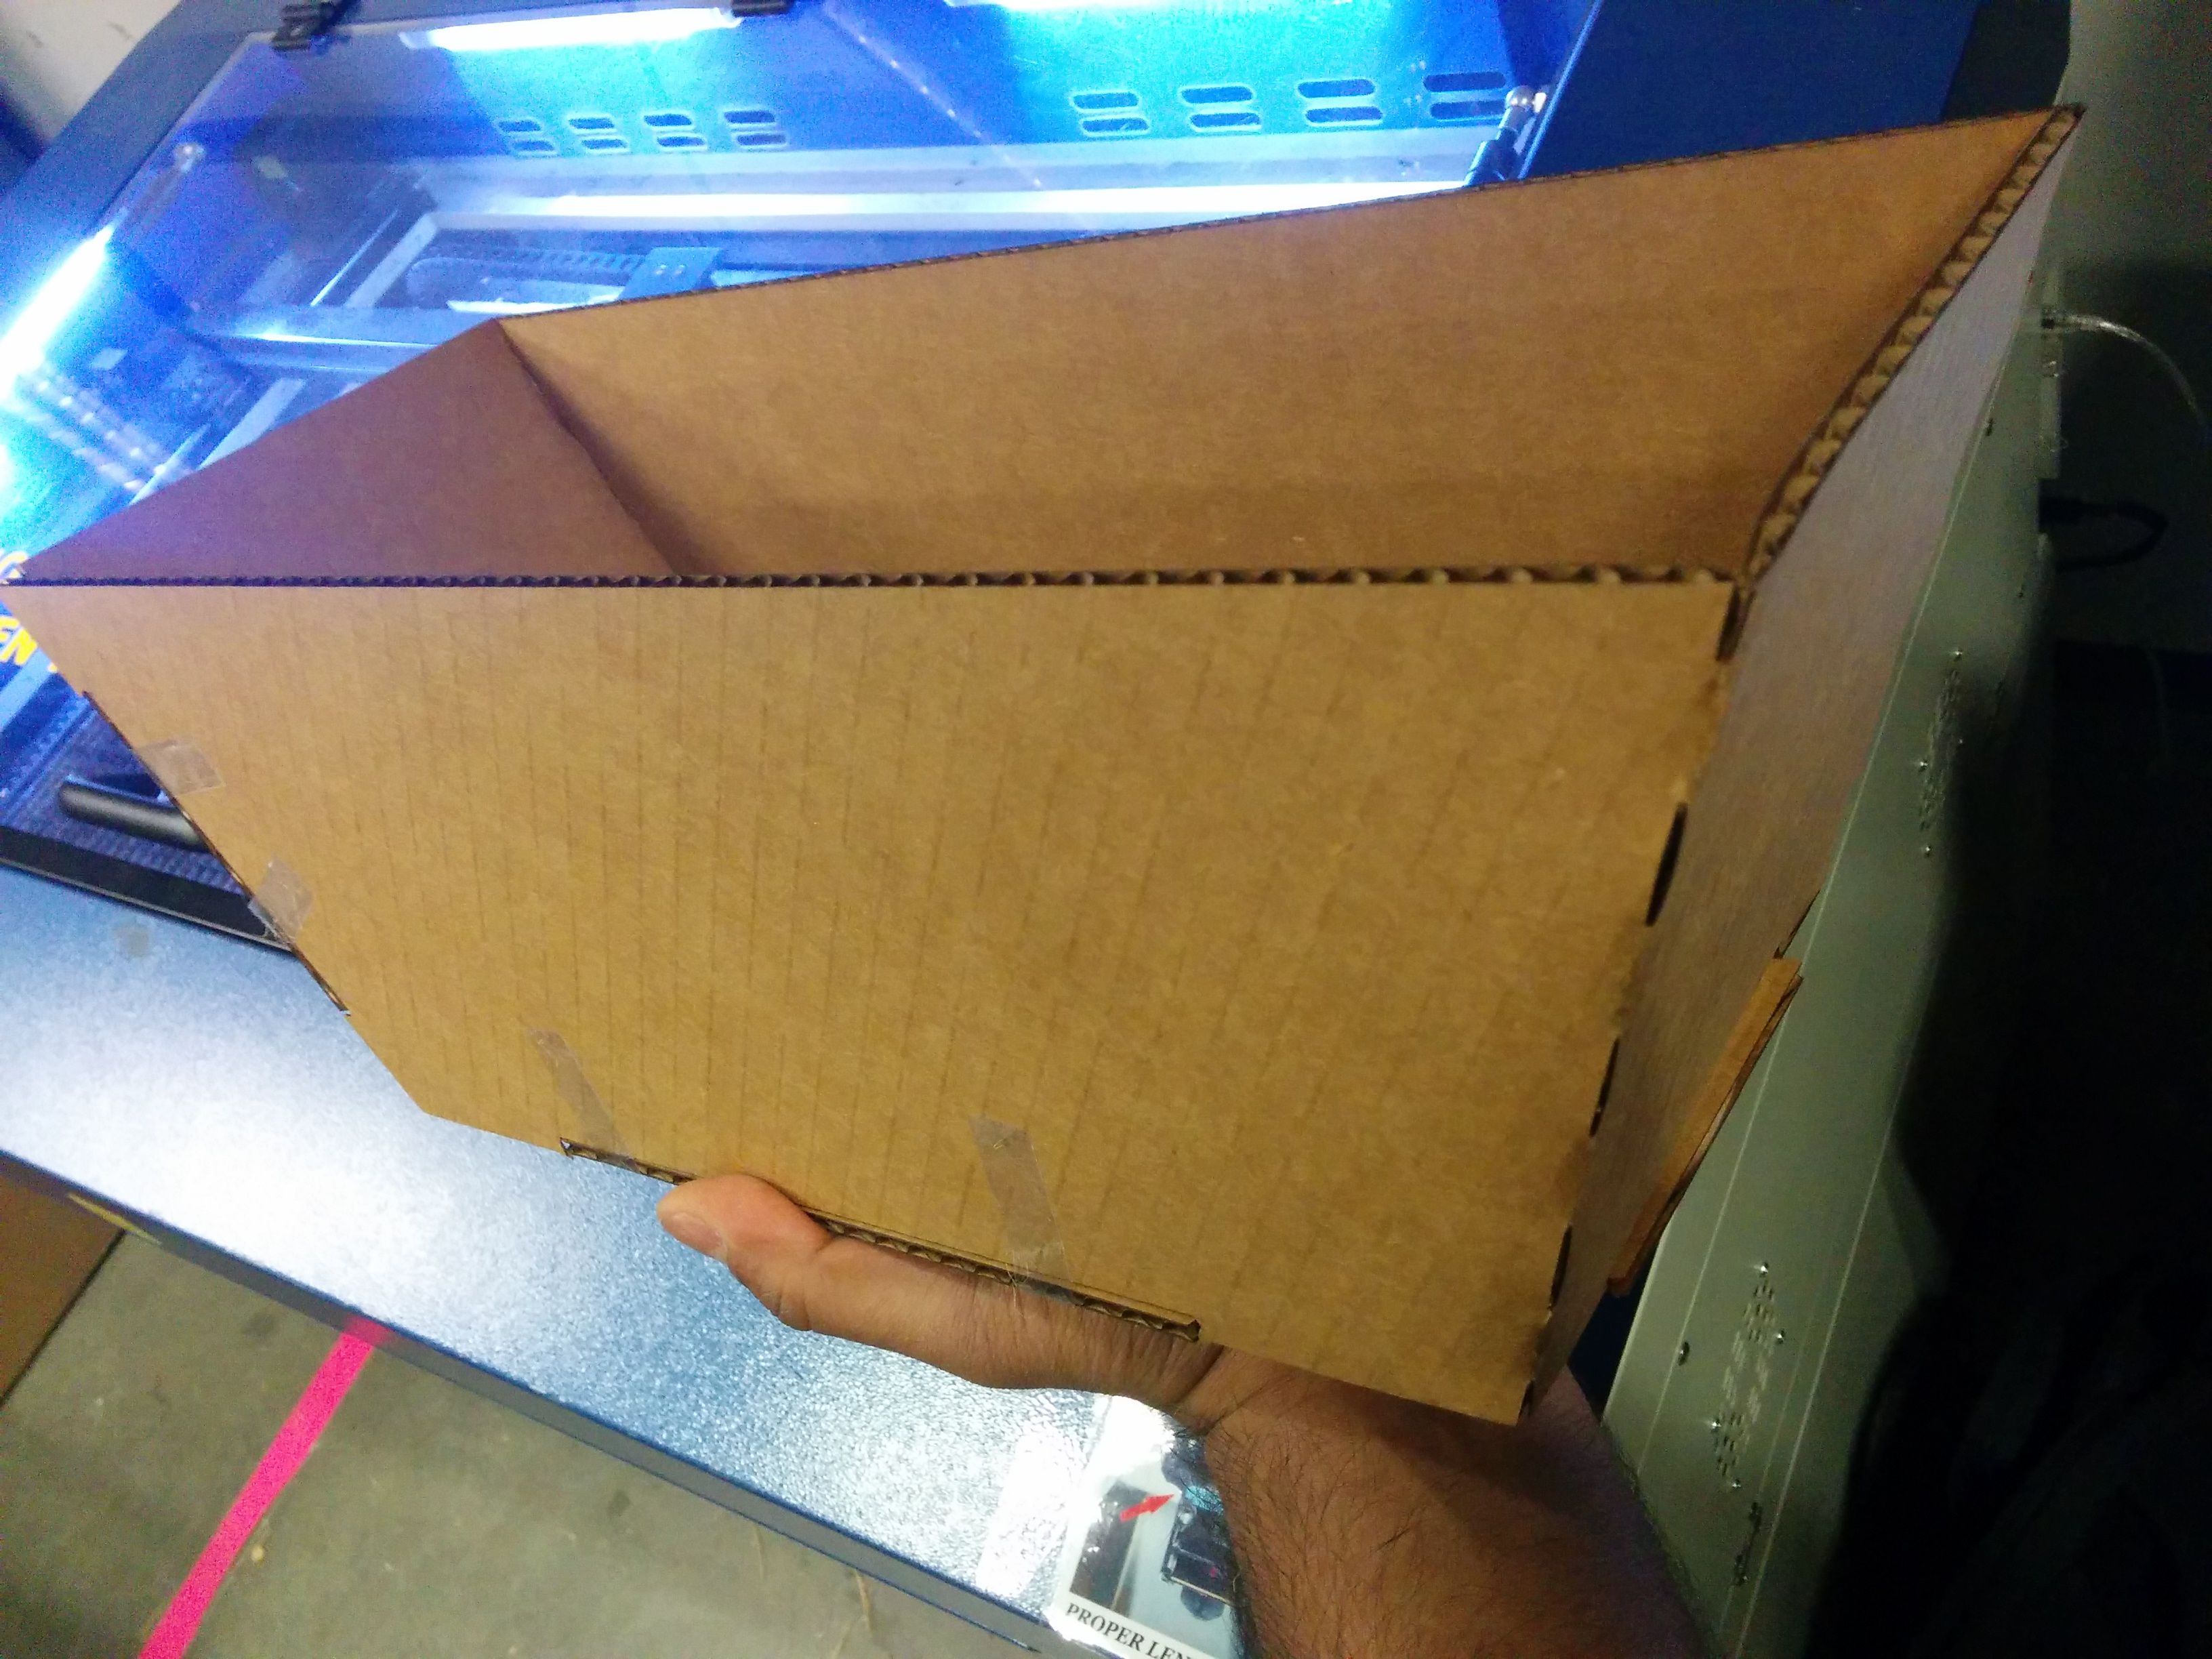
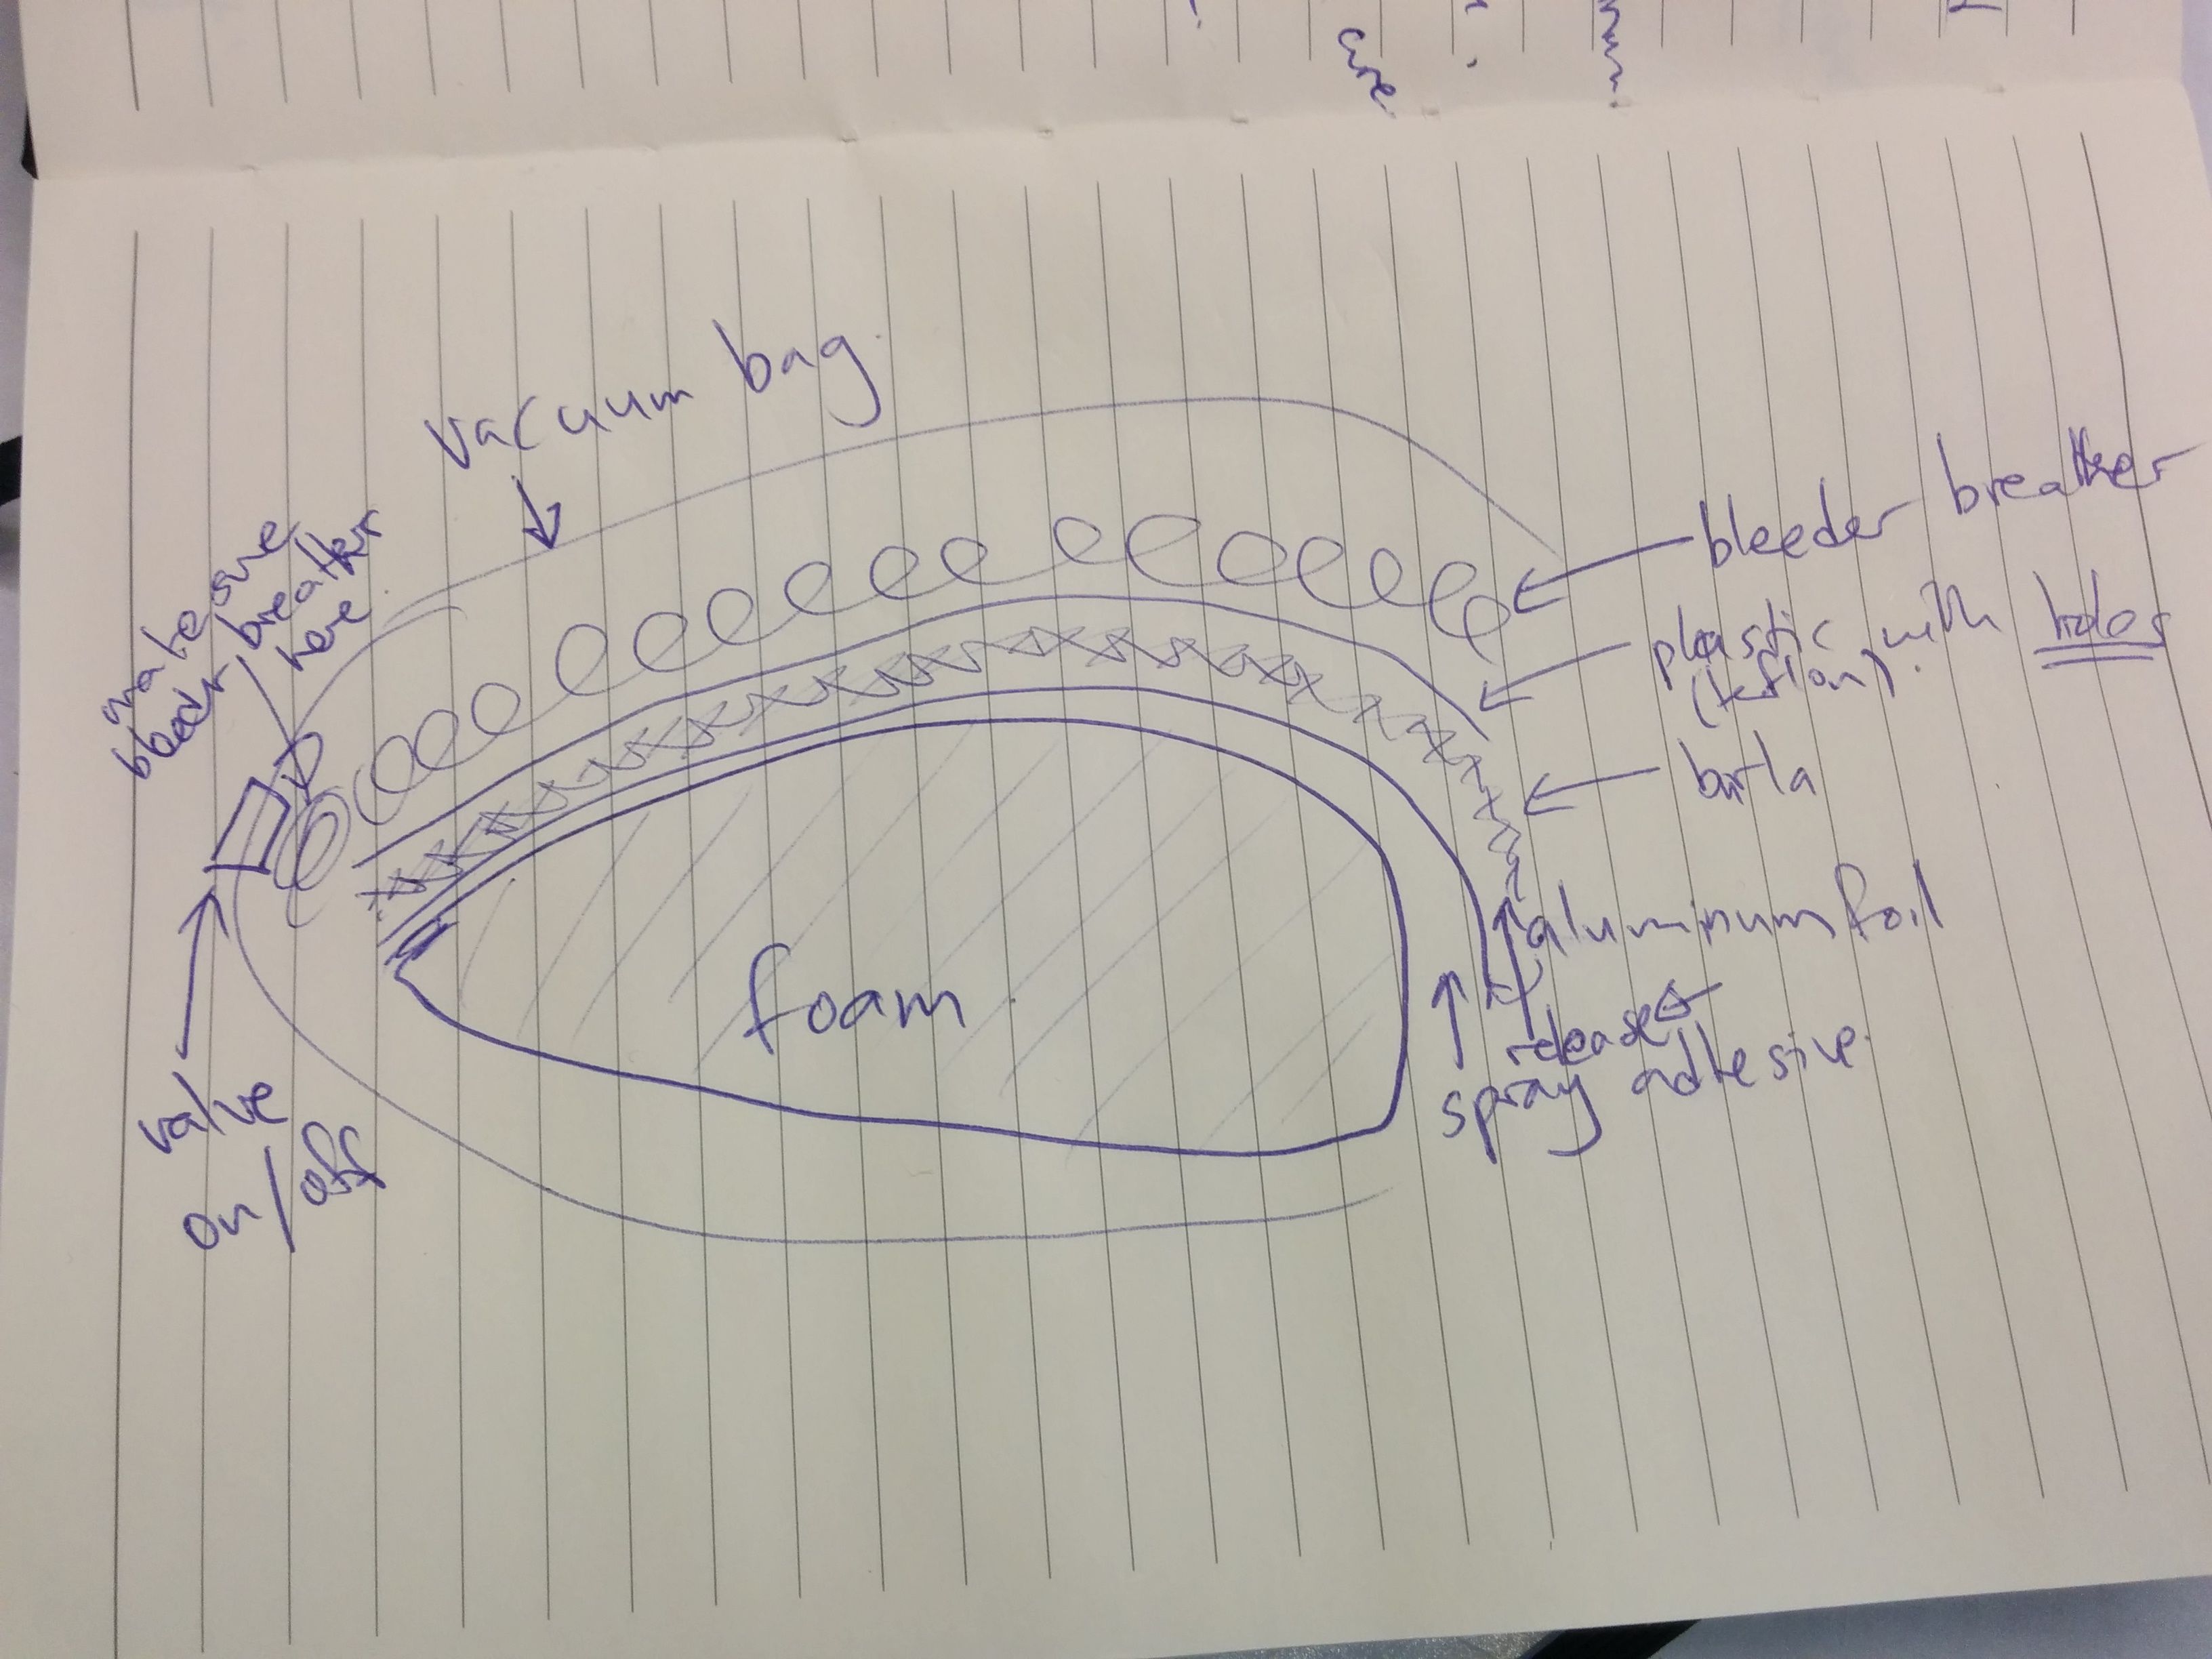
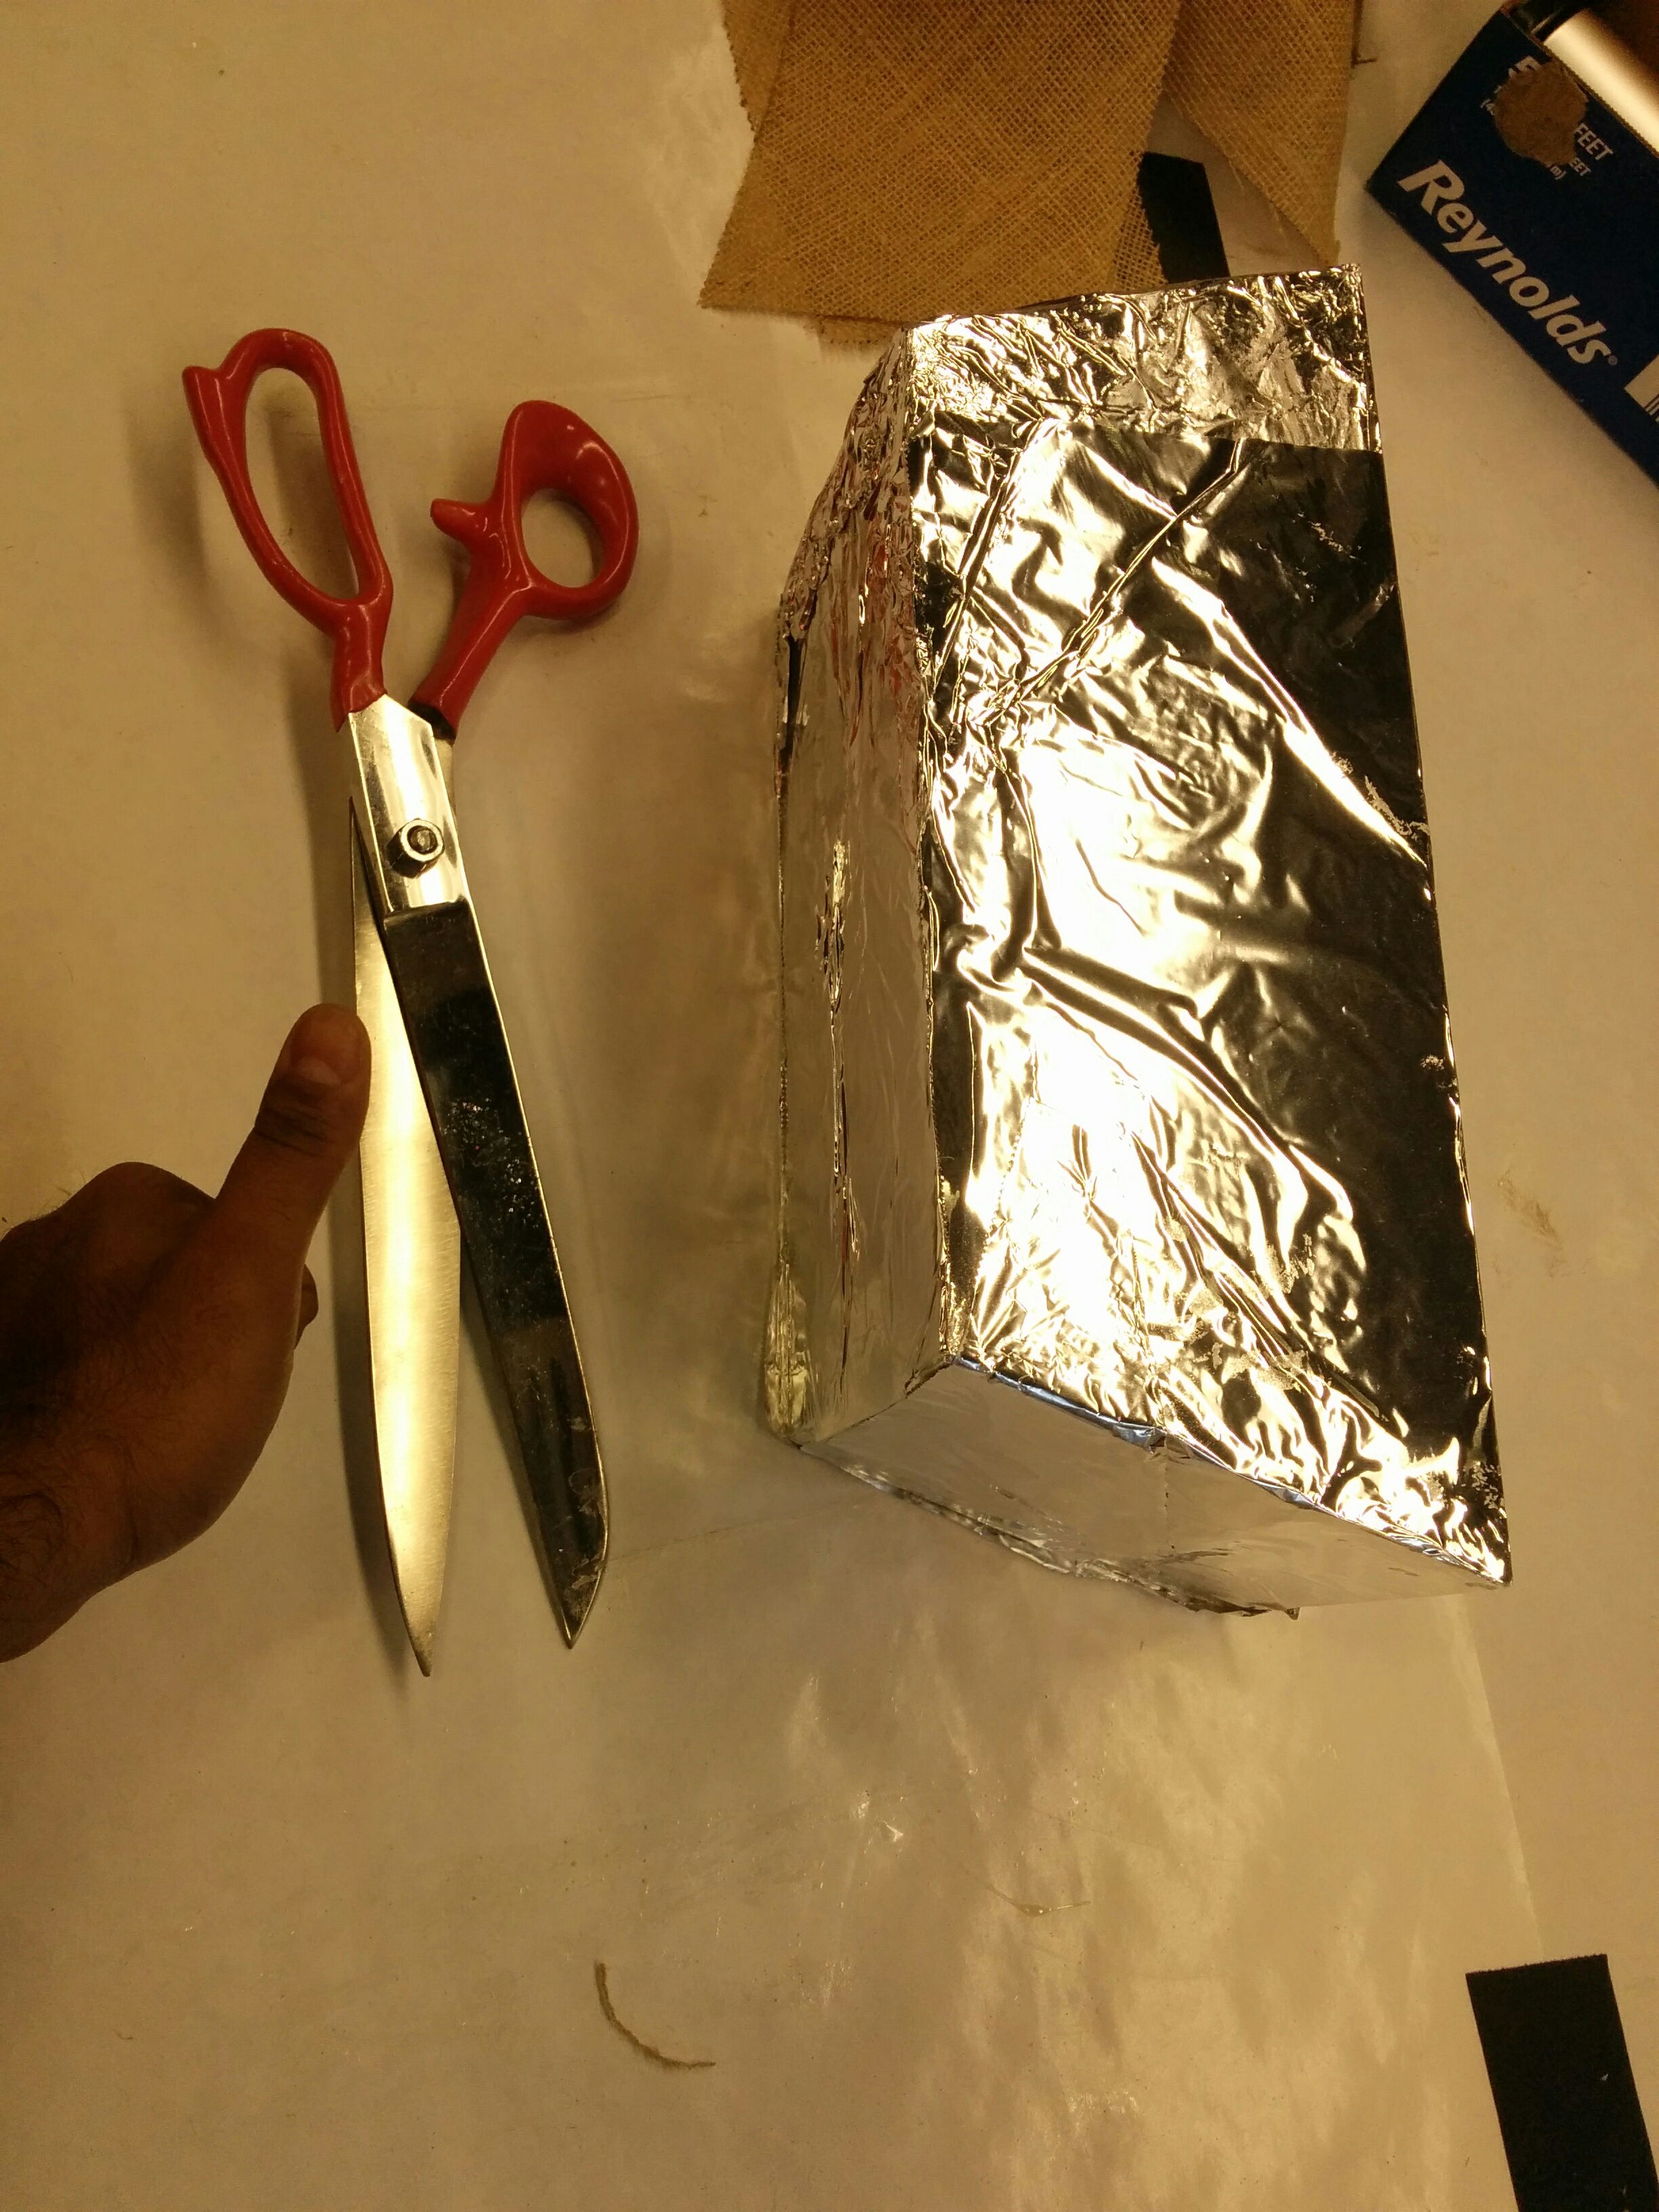
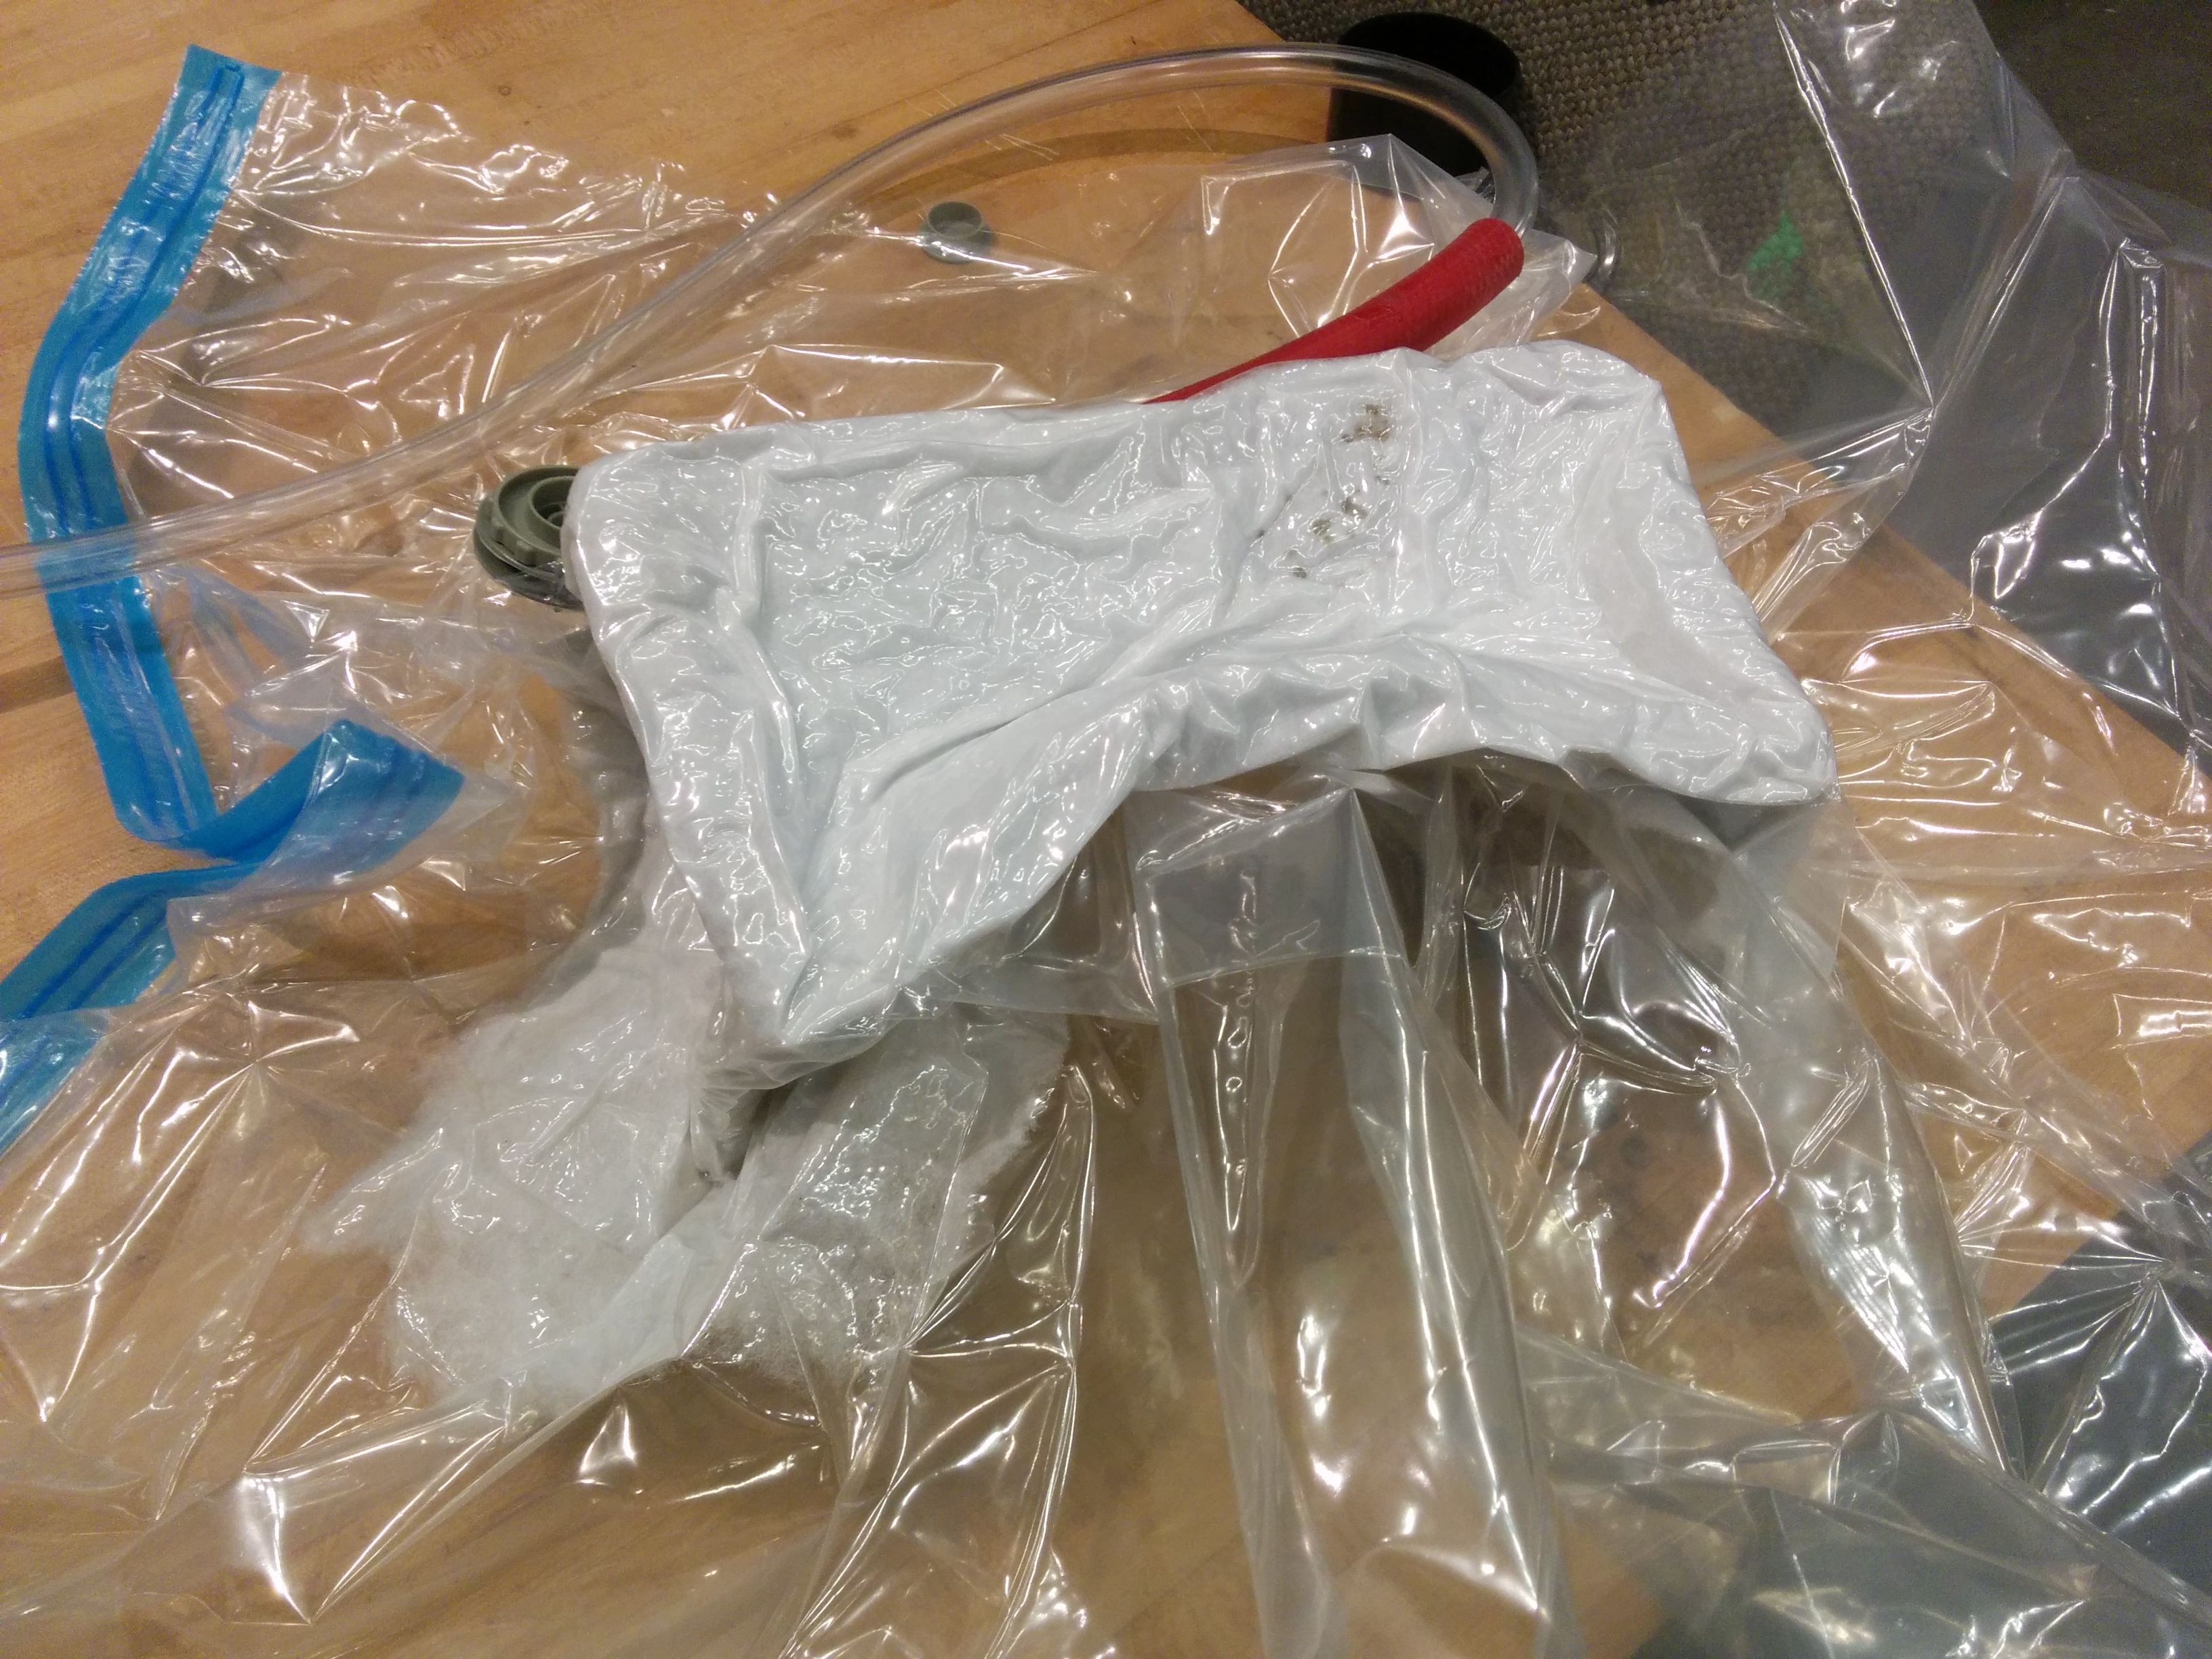
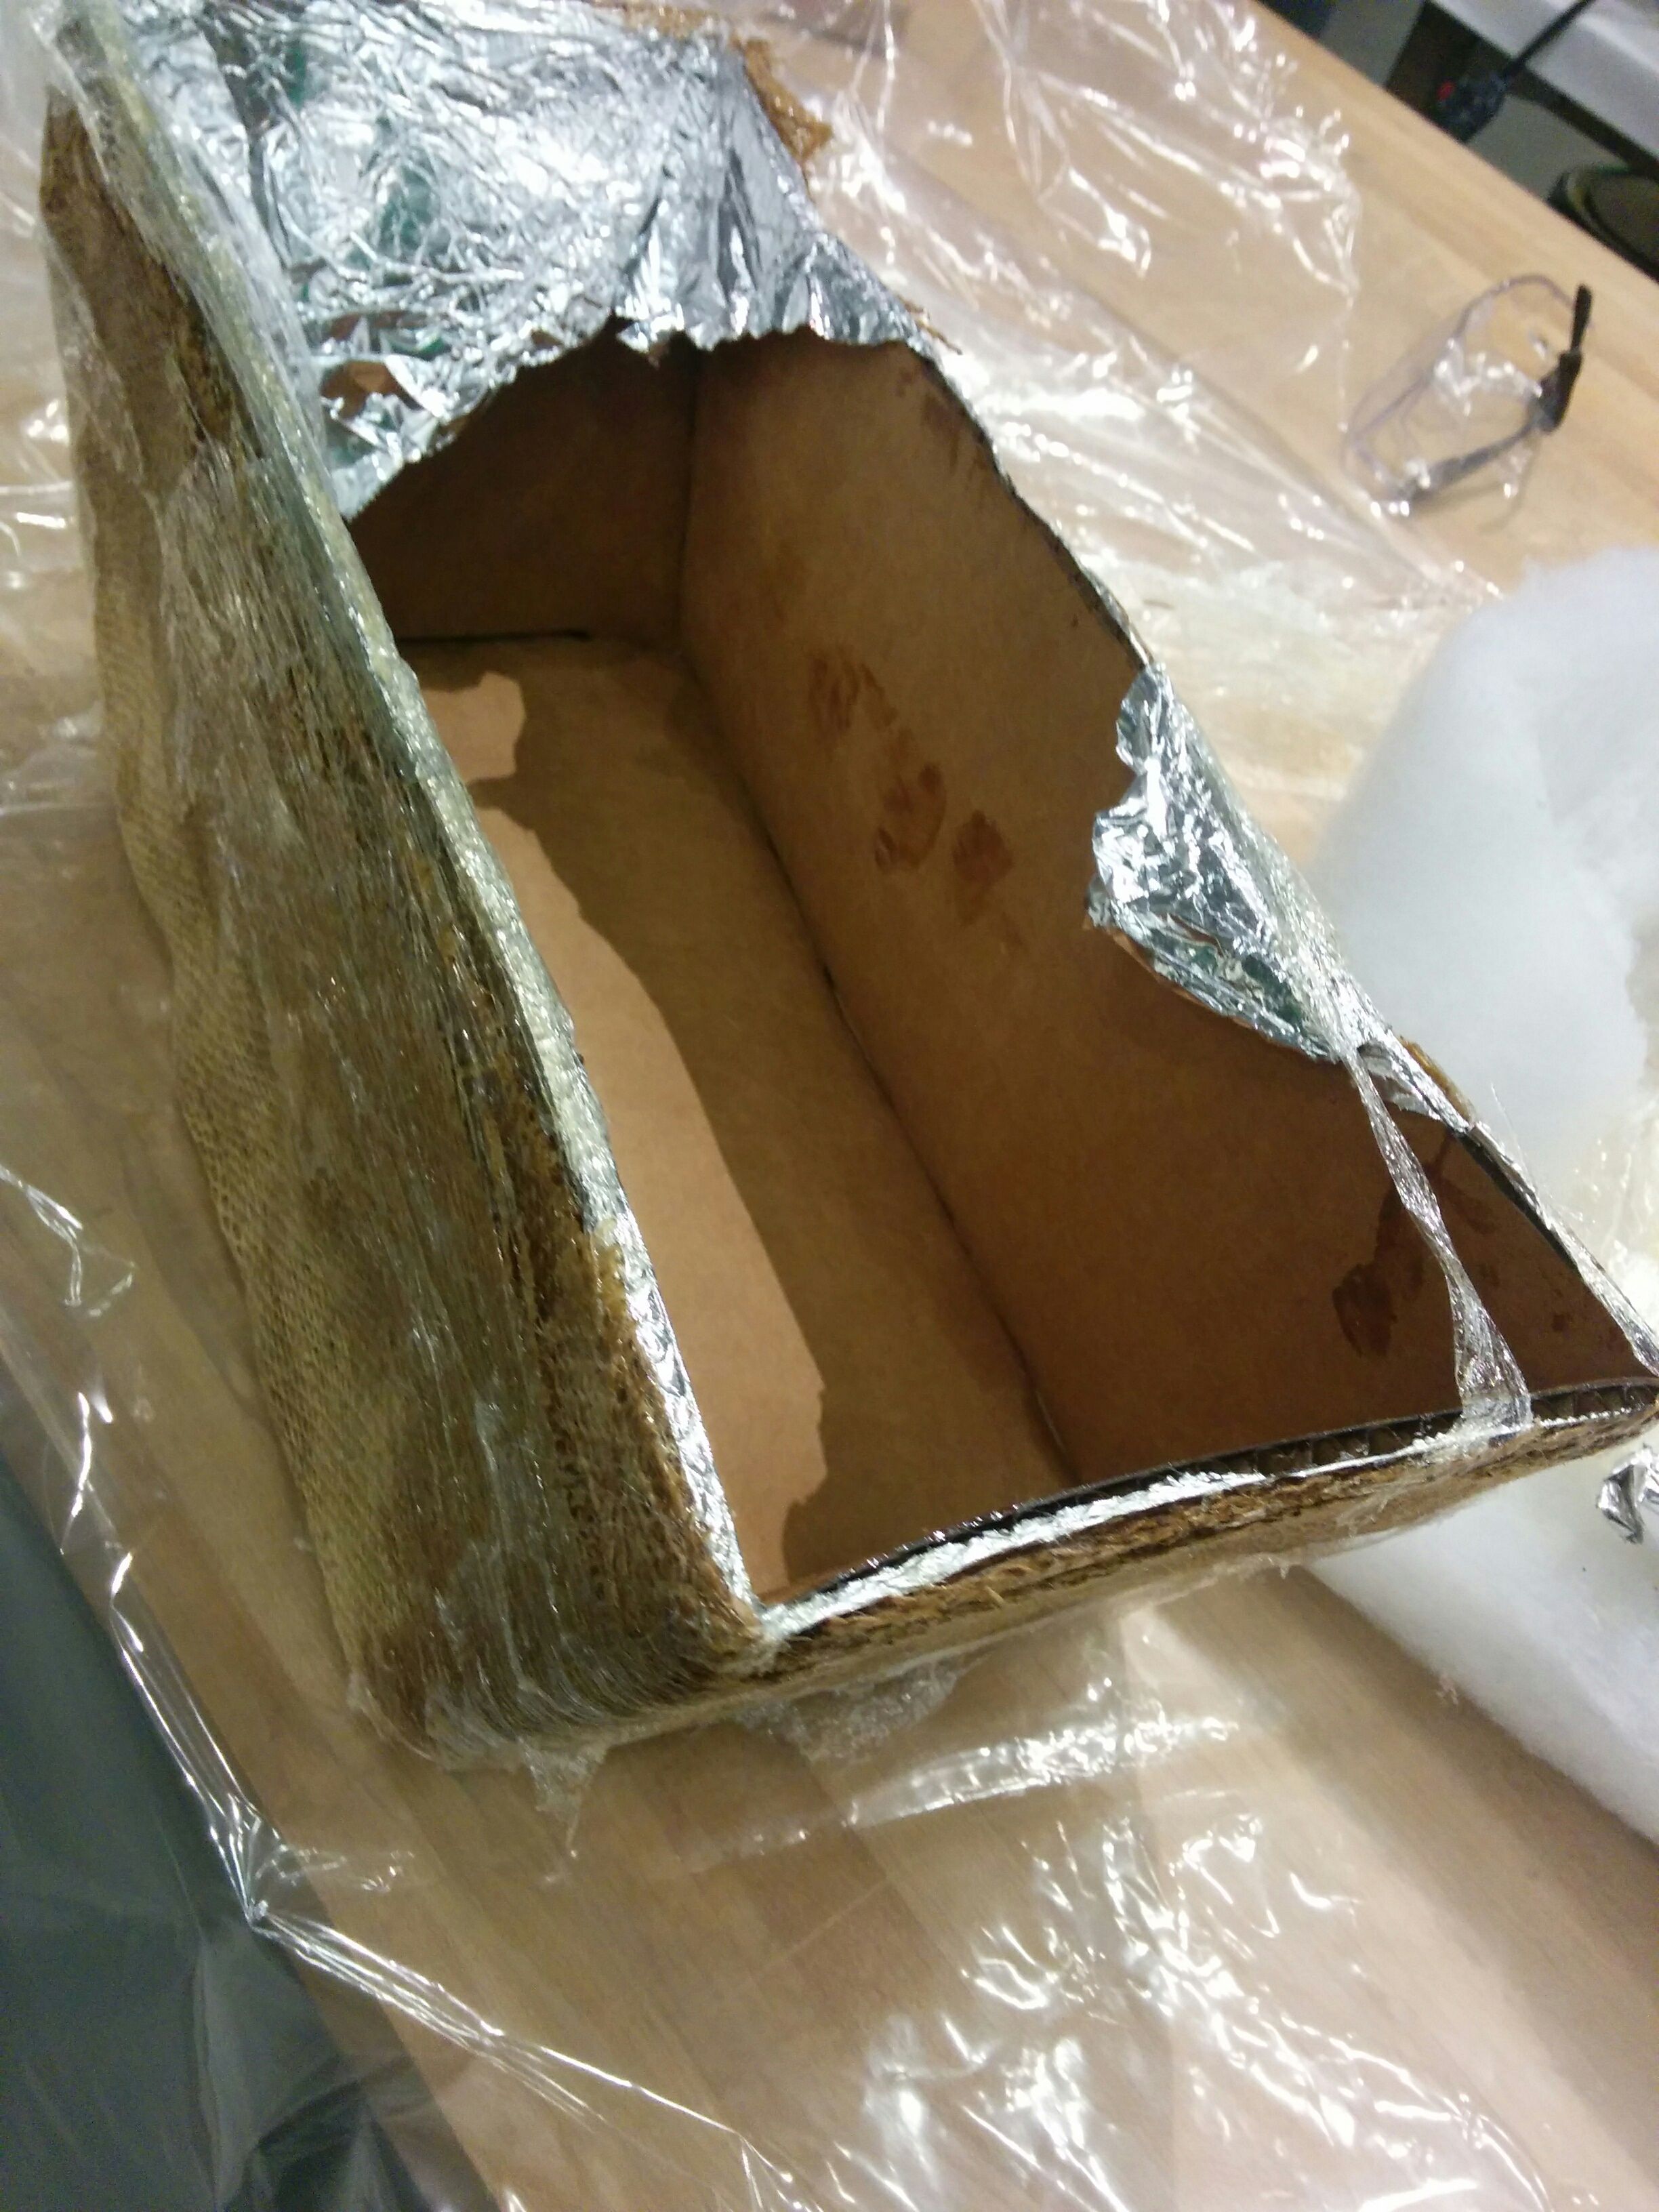
Final Result: Planter Fail

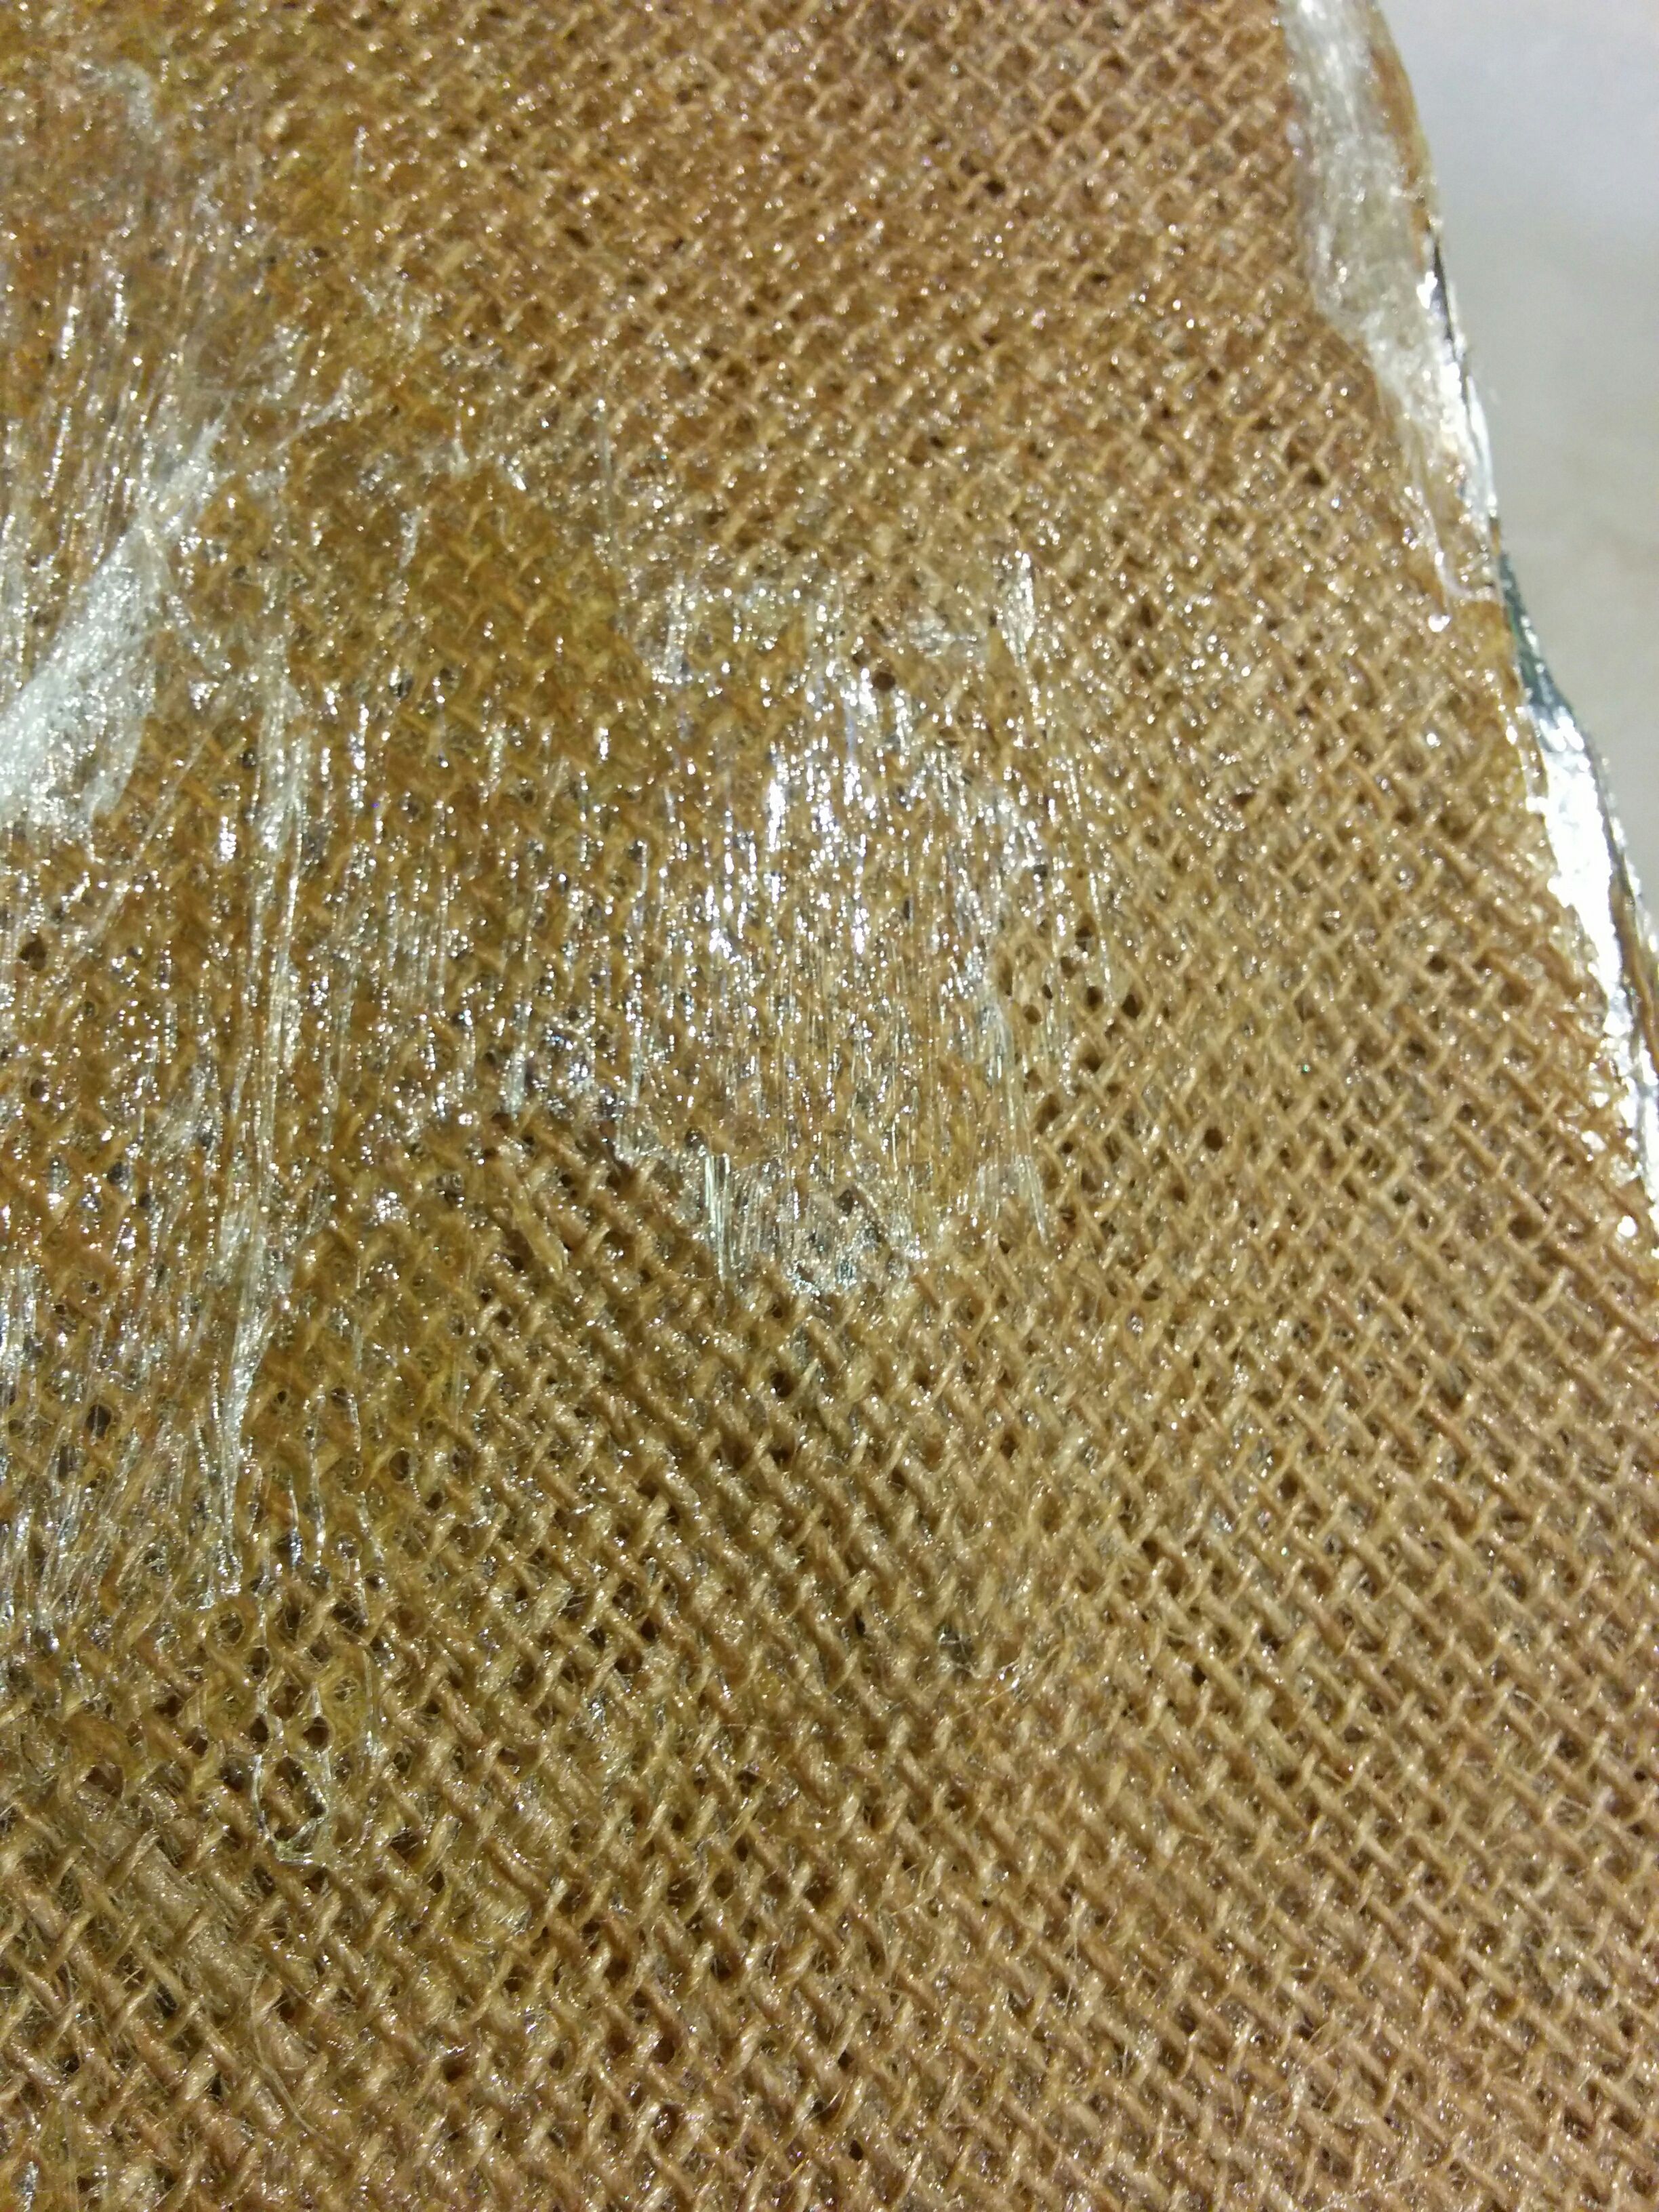
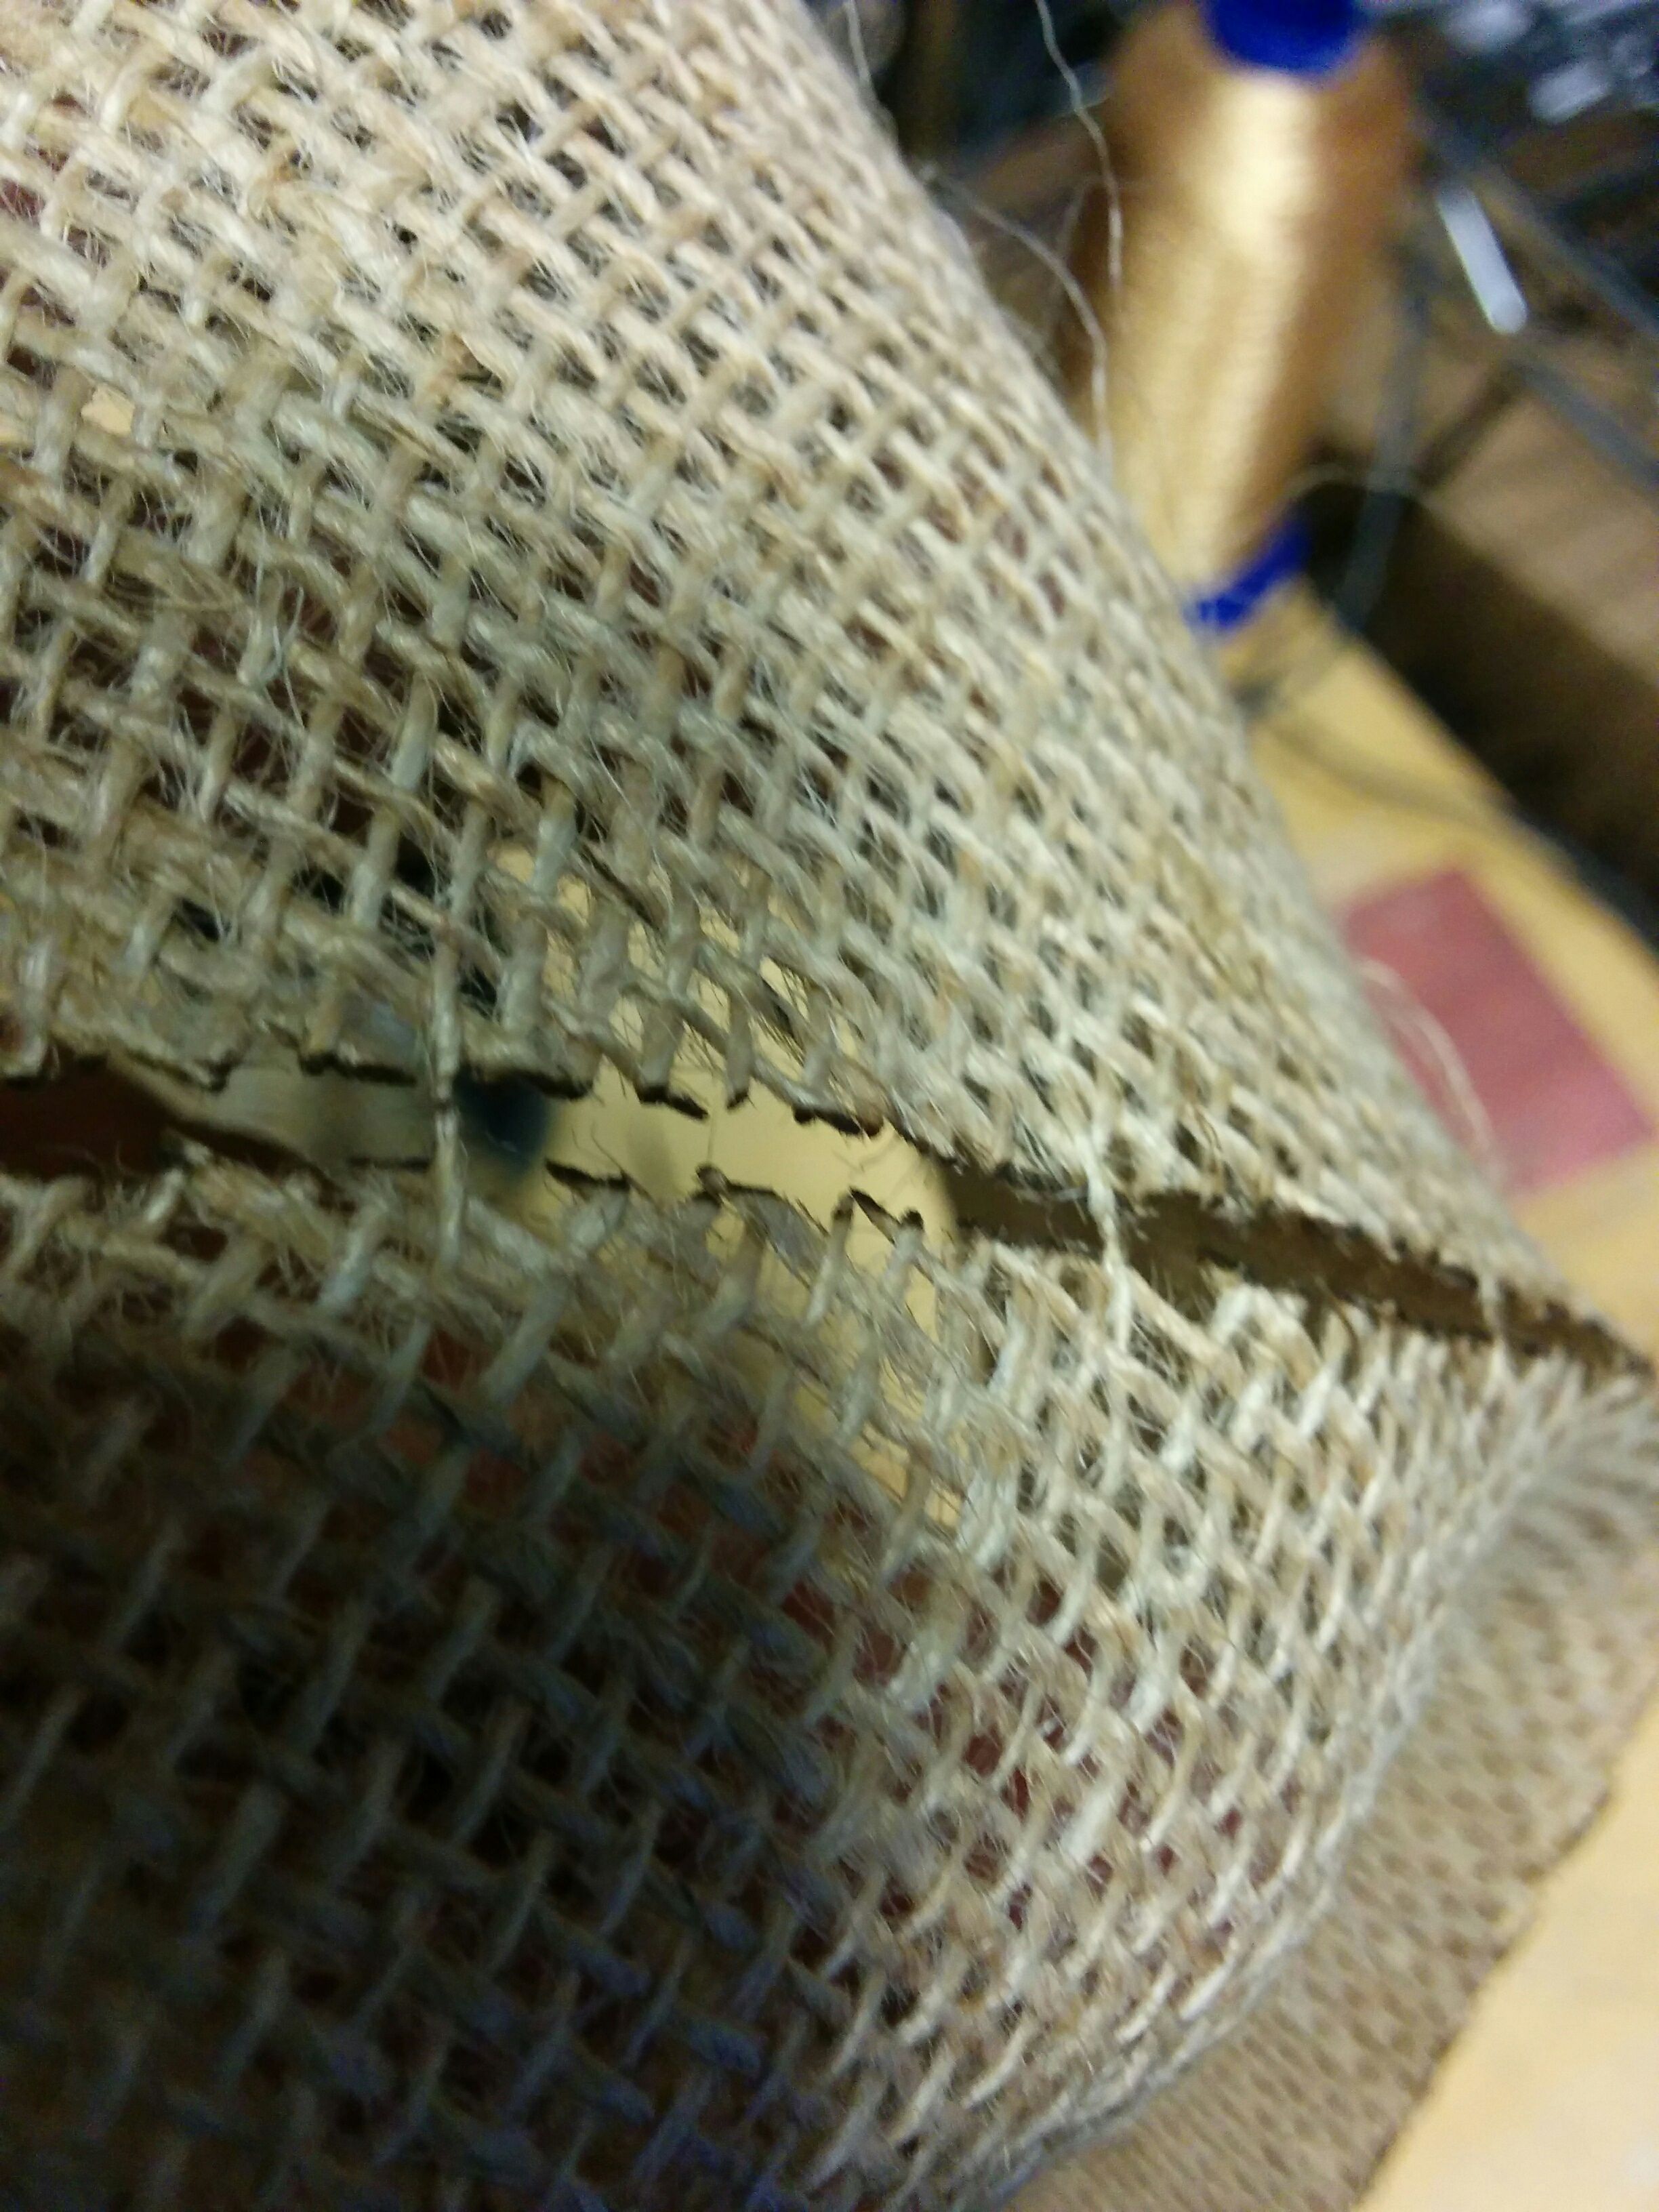
This is the final result. I am happy with the result except for two failures: 1) I was unable to peel off the aluminum from the burlap composite - not sure why? 2) I was unable to peel off the plastic film from the burlab even if I used the release agent spray

Can't remove film from burlap

As you can see the plastic is pretty much fused into the burlap. I used plenty of release so I'm not sure what happened. I even added a last layer of burlap without much epoxy on top for esthetics so that should have prevented too much epoxy from reaching the plastic film

Used a cardboard skeleton

For this week, although milling foam is fun, I decided to make my composite skeleton from cardboard partly because it is the simplest and elegant way to do it, and because I would have required far too many layers of foam to get to the planter height (7 inches)

Pre-cut burlap

Since everything in this planter is folded panels that make 2d into 3d, I decided to also laser cut the burlap. It went well.

Some uncut threads

Every few inches the burlap contains these much thicker threads that were not being cut by the laser. I could have increased the laser PPI/decreased the speed but I decided to cut these threads by hand. I had to throw a few layers of burlap away because I accidentally pulled on the threads a few times while cutting them and it screwed up the material

Health Hazard

I am happy Neil used natural materials for the burlap and epoxy. I was careful to not agitate the burlap more than I needed but this stuff is still so messy! You can see me convered in stray burlap pieces. I also got a rash on my foreram (I was careful and used gloves and a respirator - the stuff smells bad!) and I'm not sure if it was from the burlap or the epoxy.

Layers

Jasmine was a great TA who explained the process. There were so many layers and it was hard to keep track of so I made this sketch. Basically You want to support the burlab using the foam, and then isolate it from the foam using film/release agent on the outside and aluminum on the inside. It's important to position the cotton so it soaks the extra epoxy - make sure to have some cotton under the vacuum pump hose valve so epoxy doesn't get sucked into the pump!

Planter covered in aluminum

I used the spray adhesive to stick the aluminum on the cardboard, and then used the release agent on top of the aluminum where the burlap/epoxy goes

Interweaving

I interweaved the burlap layers so all edges at the bottom have at least 1 closed burlap fold. One place where things might have gone wrong is that as I was applying burlap/epoxy on one horizontal face, things would slide off the vertical face at that time meaning all the release agent would get smeared away from the surface.

Critical problem

One critical problem I did not think about is that as the vacuum was forming and the atmosphere was squeezing the burlap together, the cardboard shell collapsed. I propped it open using little wood trusses