Week 4: 3D Printing and Scanning
For week 4 we had to experiment with 3D printing and scanning. We also had to familiarize ourselves with some of the common constraints of 3D printing such as the angles that can be printed successfully, and the thickness of the space between two borders.
Constraint discovery
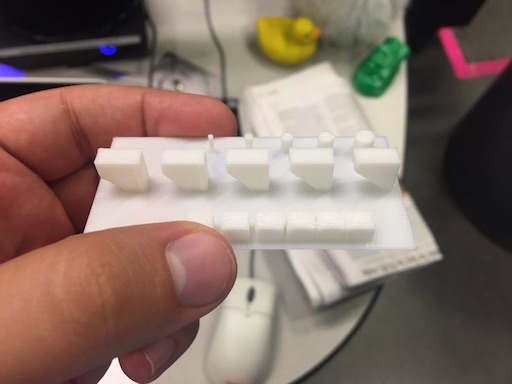
The day after the 3D printer training, we met up in the afternoon to print a piece which had some test cases to see more or less the precision of the 3DWox printer. The piece was made by Grace and contained various angles that could be used in pieces, a test for the measure of how close you can get borders and some cylinders to see more or less the accuracy of the printer.
- It was the first time using the printer,
and the workflow consisted of something similar to the following:
- Create the 3D model in a software like Antimony or Rhino
- Export the model as an STL and convert over into an OBJ file
- (Optional) Import the model into Geomagic and smooth features or spikes
- Import the model into the 3D Wox software
- Scale the model to fit in the bed
- Position the model using the "Lay flat" command
- Add the support locations/material
- Produce the slices and the G-Code
- Save the G-Code into a USB flash drive and connect it to the printer
- In the 3D wox printer, make sure there is nothing on the tray, and load the model in
- Print!
- Wait!
- Profit!
The test piece's main takeaway was the spacing between objects which should be approximately 0.53mm. Other than that, the printer looks to be precise and the angles seem to be fine.
Grace's test piece
3D Printing
My 3D printed masterpiece
We had to print out something that couldn't otherwise (not using a 3D printer) be done. I had a friend over in Lincoln Laboratory who had shown me a 3D printed Gyro. I was jealous of this, so I decided to make my own version of the Gyro using Antimony.
After a couple of rotations, manual adjustments, and some subtractions, I was able to get something that looked relatively like a Gyro.
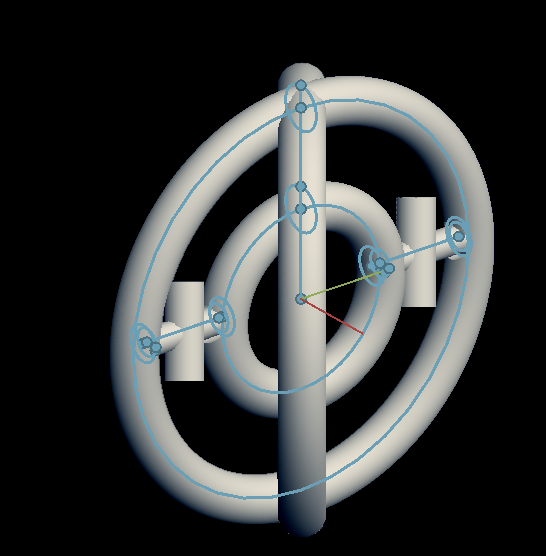
My "Gyro"
I sent the completed piece over to the shop for printing and waited. After a while I went to pick up the piece and had to wash off some of the support material. While washing the material, I realized that I had put in a tube that would hold the spinning ring too short, and it broke off.
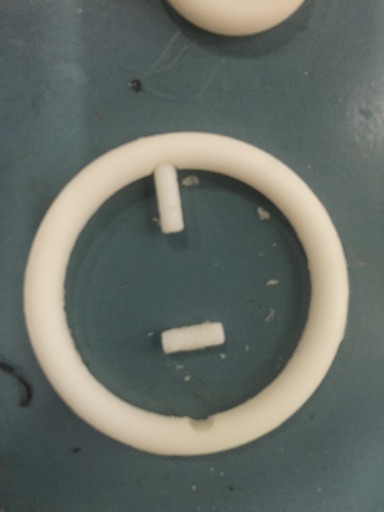
My broken "Gyro"
This was kinda sad, so I took a hot glue gun
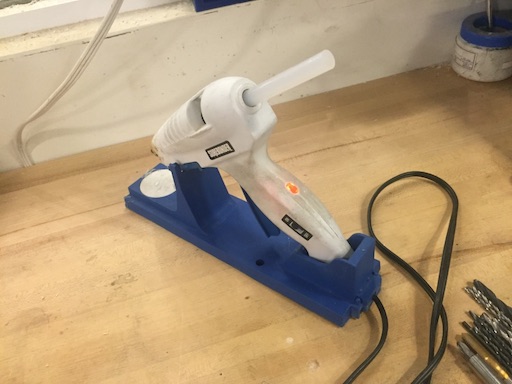
The Solution
And fixed the problem :D
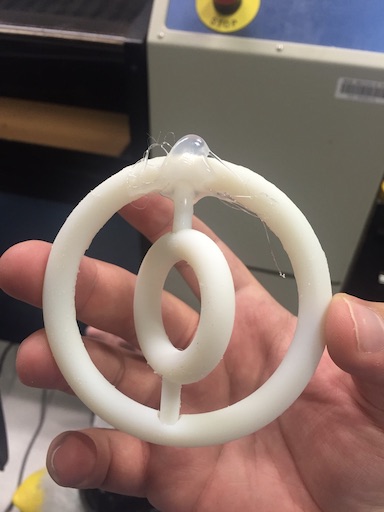
My fixed "Gyro"
3D Scanning
The last thing we had to do was 3D scan an object. I went with Randi and Stefania to do this. They decided to make a totem of heads. I didn't object, and proceeded to scan my, Randi's, Stefanias, and Dan's (who walked in), head. We then imported these into Geomagic and smoothed them and joined them as a single object. To scan the objects, we sat in a chair and slowly rotated so that the Sense scanner would correctly detect us. We utilized the sense scanner's software to create an initial 3D model of our heads.
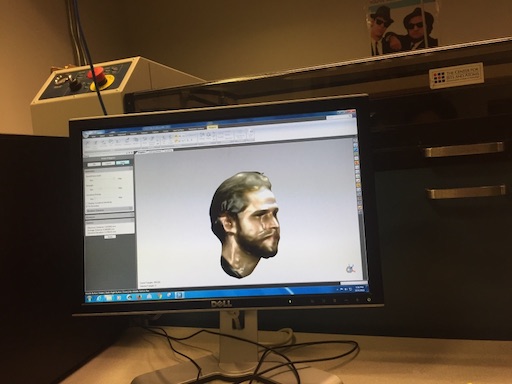
Dan's head
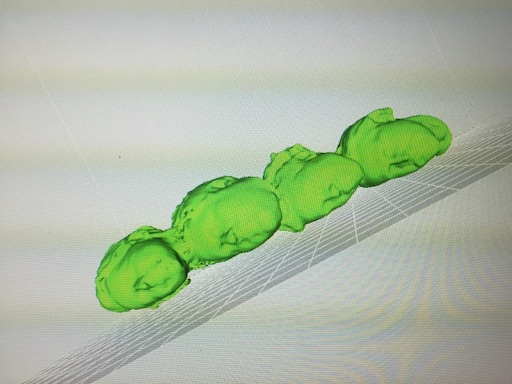
Head totem
The procedure was the same as when printing the test piece.
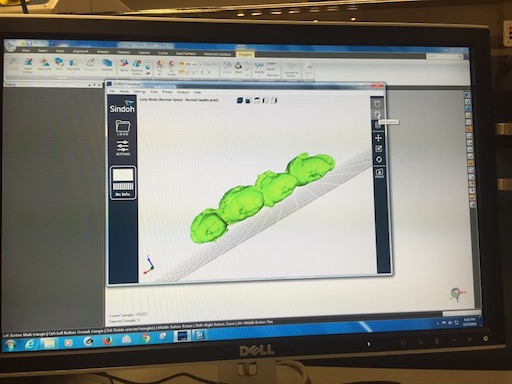
3D print ready head totem
After waiting a few hours, we got this marvelous result
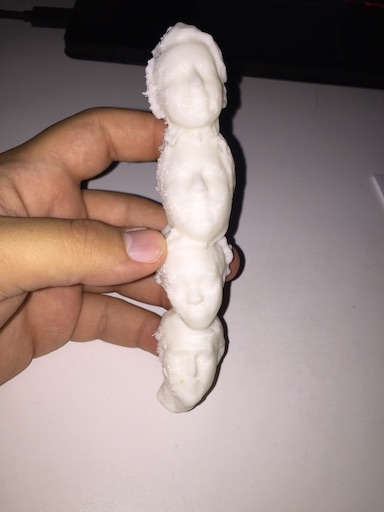
Marvelous Result
Files
Here are the files that I used for the models.