Week 8: Molding and Casting
This week we had to cast and mold something. I took advantage of this and decided to try my luck on doing a prototype for my final project. I decided to try to make a spherical shell.
The Idea
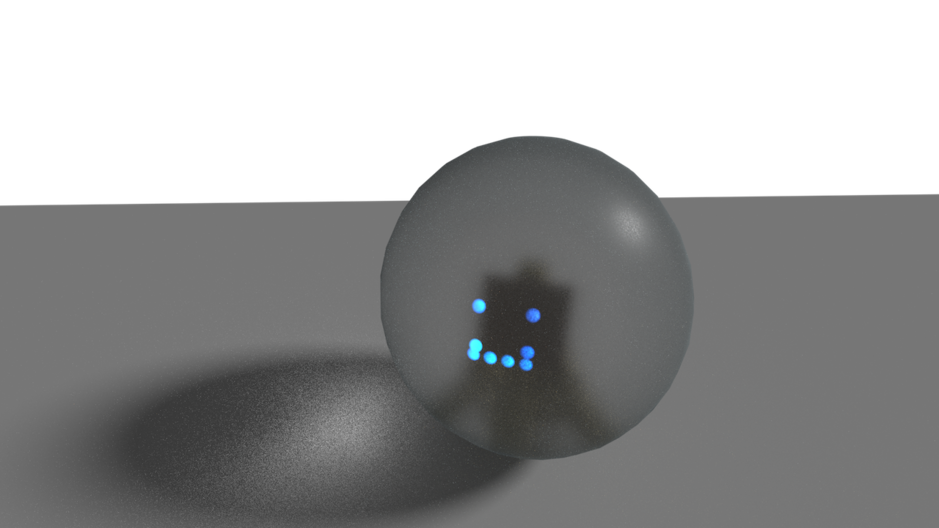
For my final project, I want to do a sphere robot that you can talk to, and it will follow you around. A principal component of this robot is the actual sphere. I want this sphere to be semi-transparent in order to project the glow of some LEDs into the semi-transparent sphere to give the idea of personality, through faces on the robot.
The idea
The design
For this week at least I wanted to see if I could do a proof of concept and make the shell. I went and created a 3D design of what I wanted the shell to look like with a thickness of an inch and a diameter of 18 inches. I decided to try my luck with fusion 360 so off I went. At first it was a bit daunting, but I slowly went understanding the basic workflow of the software. Eventually, I managed to split a sphere, and create the model of the shell that I wanted and then came the problem of generating a mold for it. Since the sphere needed thickness, the mold had to be a 2 piece mold. This took a bit but after a couple of tries, the approach was to create a block, subtract the shell that I designed. That would generate what the mold had to look like. Now I needed to do some more geometric operations. I made a second sphere that would intersect with what would be the inside of the mold and there I had the two pieces. Now I realize that an improvement to this was to make a "t" on top of that second piece to hold it when I went to cast it.
The design process
The casting
I was out for most of the week, so I didn't know the scale of what we were going to use to machine. I was bummed that we were casting on 3 inch things. I wanted to make it on a scale 6x as large. I'll see what I can do in the coming weeks. Once I had the mold model, I exported it to STL and loaded it up in the shop bot software. There, I had to adjust the scale of the drawing for it to fit within the mold that we were given. Eventually I was able to go through the settings with the help of Anna and Mina, and be able to mill my mold. Then came the problem.

Settings

Still more settings

Original 0 position

Moar settings/Adjusted 0 position
The problem was that my mold was actually off scale, and the piece that would give it thickness, was also not in the correct scale! To solve this, Anna gave me the idea to cast the outside mold with the oomoo and then use that, by lifting it up, to do the sphere.

Thickness mold

Hand modeling by Anna and Mina
I did just that and left it to dry!

Poured oomoo

Result

Waiting!

Final Result!
Here are the files that I used for the models.