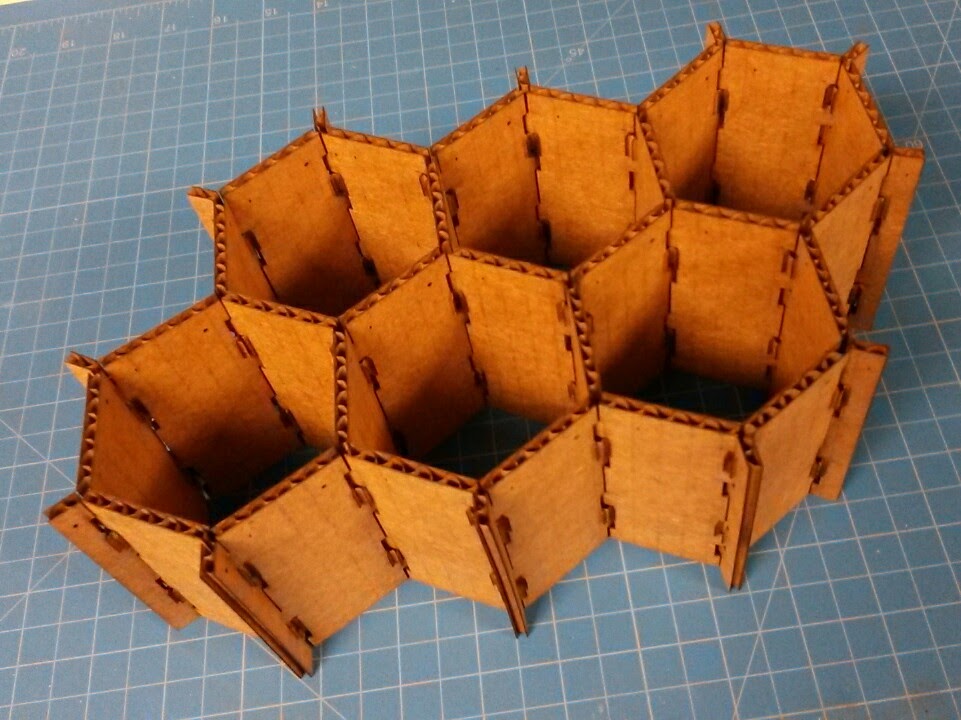
This week's assignment was to design, make, and document a parametric press-fit construction kit, accounting for the lasercutter kerf, which can be assembled in multiple ways. I chose to focus on making and augmenting different forms of lighting for my room. To do this I developed two different press fit connection methods using laser cut cardboard components. I also got a little side tracked and made a lamp that I found on Instructables.
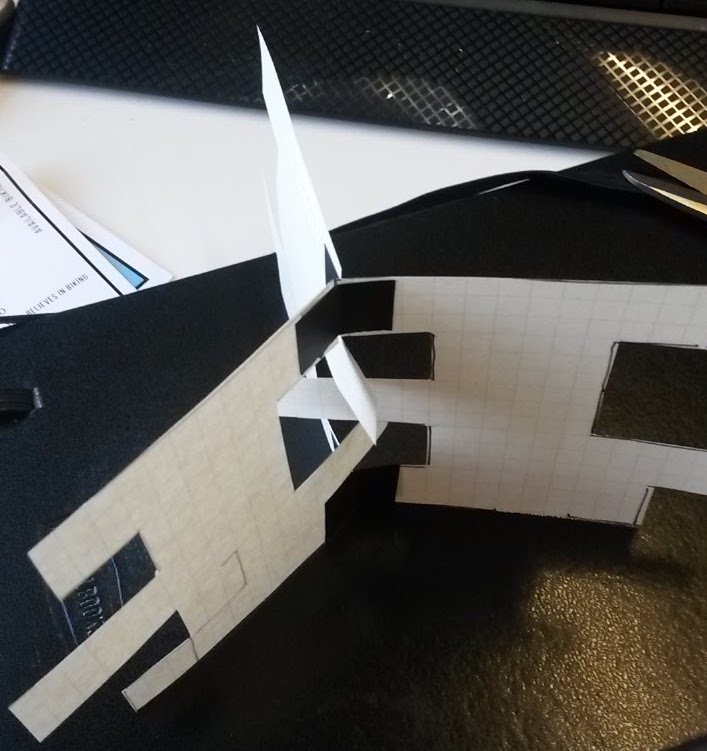
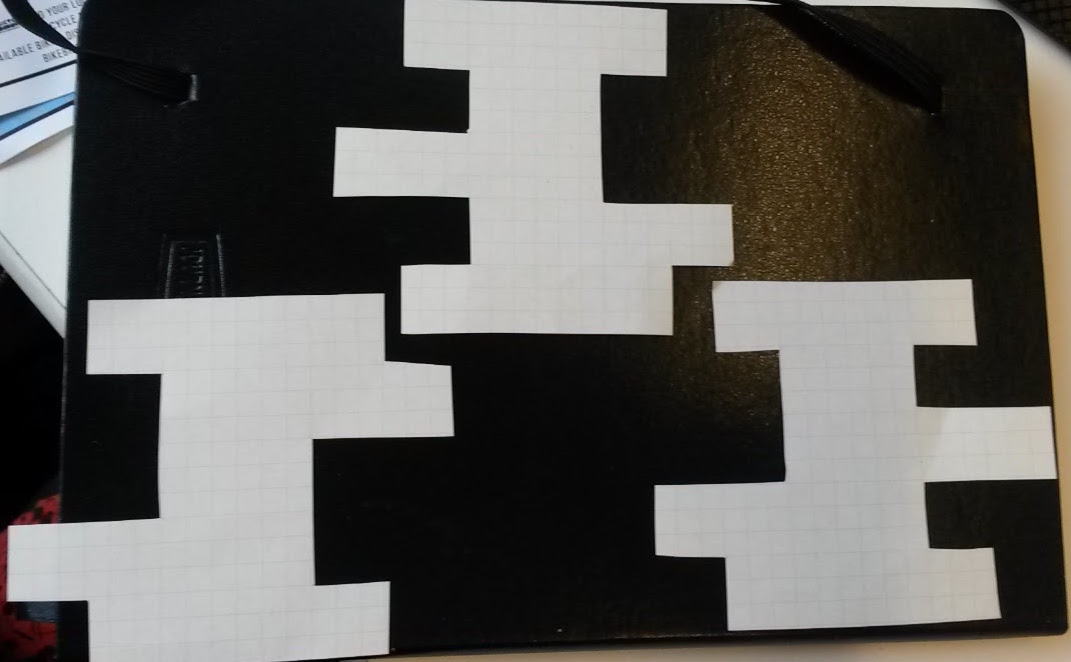
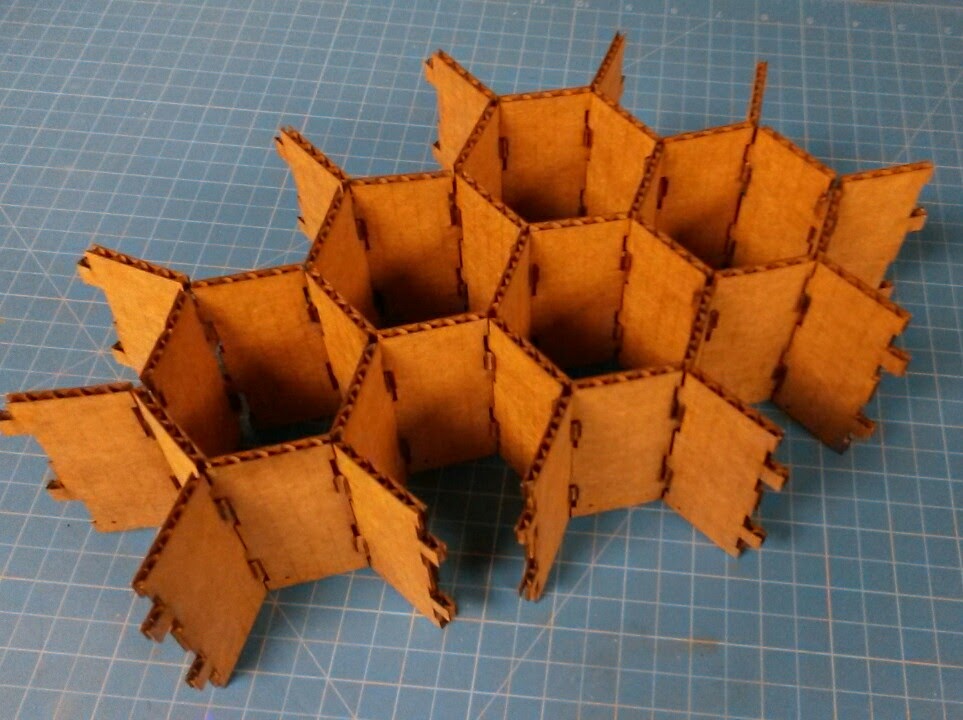
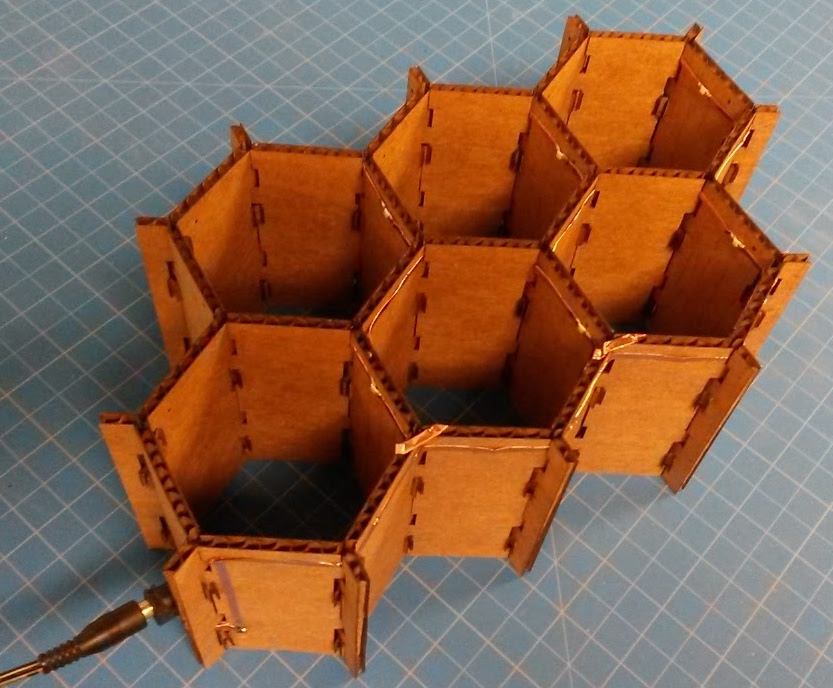
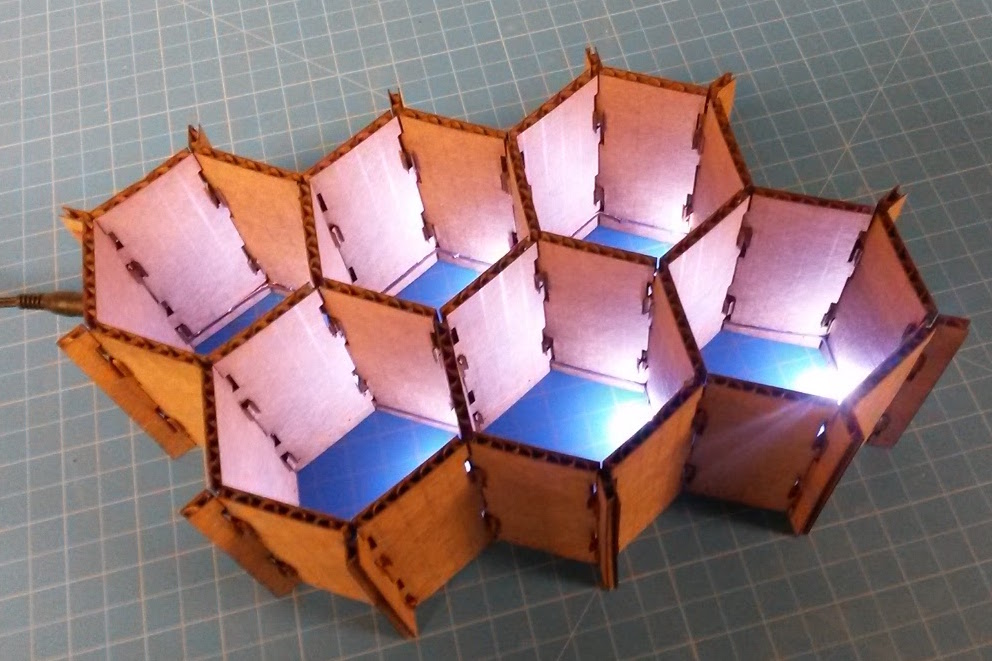
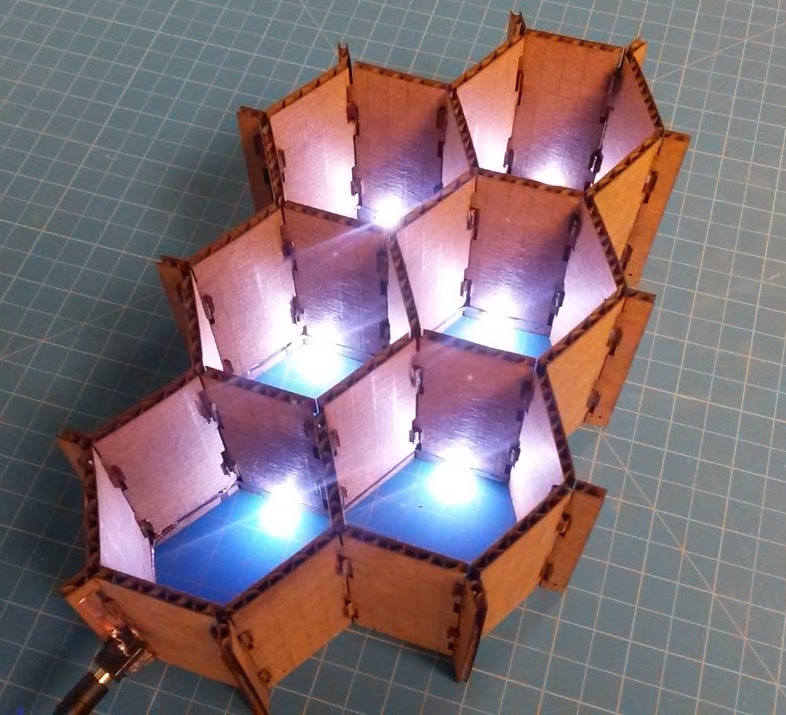
I was inspired by Sam's kiri lamp and interested in figuring out how to make a 3 point connection using cardboard. In addition I wanted to learn how to use Processing to generate parametric geometeries. So I set about making a cardboard honeycomb structure with LEDs installed at the base of each cell. I began by coming up with a high level connection method using paper.
Generating geometry parametrically - I used Processing to generate the three component types and included a slider to allow the user to vary the thickness of the building material and width of the pieces. I have the Processing script outputting a .pdf file. Processing generates its images at 72 dpi as default, therefore I use this scaling factor to ensure the parts are generated to the correct size.
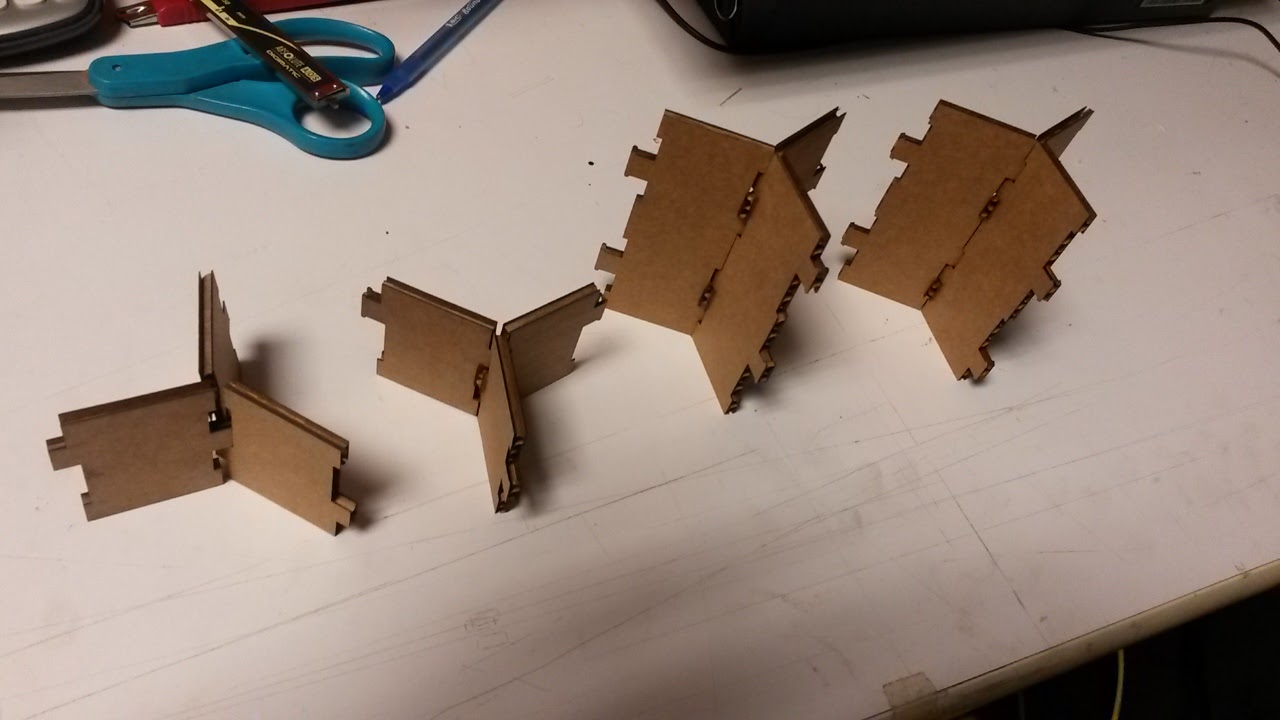
Refining connection design - The image on the left shows a few iterations of the connection design. I started with a single insert coming from each side however the connection wasn't very secure so I doubled them up. Next I added little hooks onto the edges of the inserts to keep the pieces in place. If I had more time I would add these hooks back into the processing script


After assembling the first set of pieces I realised I need 'end caps'. I then added a circuit made up of LEDs, resistors and flexible copper traces to make the structure into a lamp. Power comes from a 9V wall adapter power supply. In the end, the design didn't emit a huge amount of light. To improve I would add more LEDs, lower the height of the honeycomb cells and use a semi-transparent material.
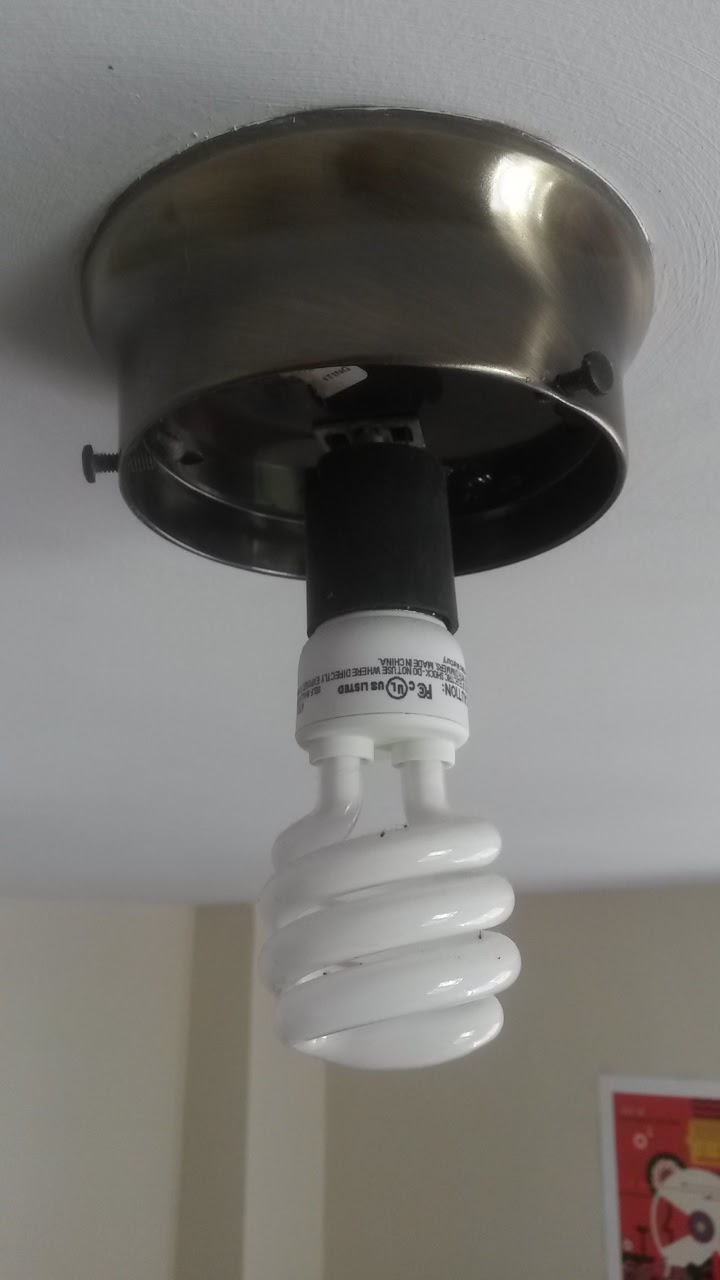
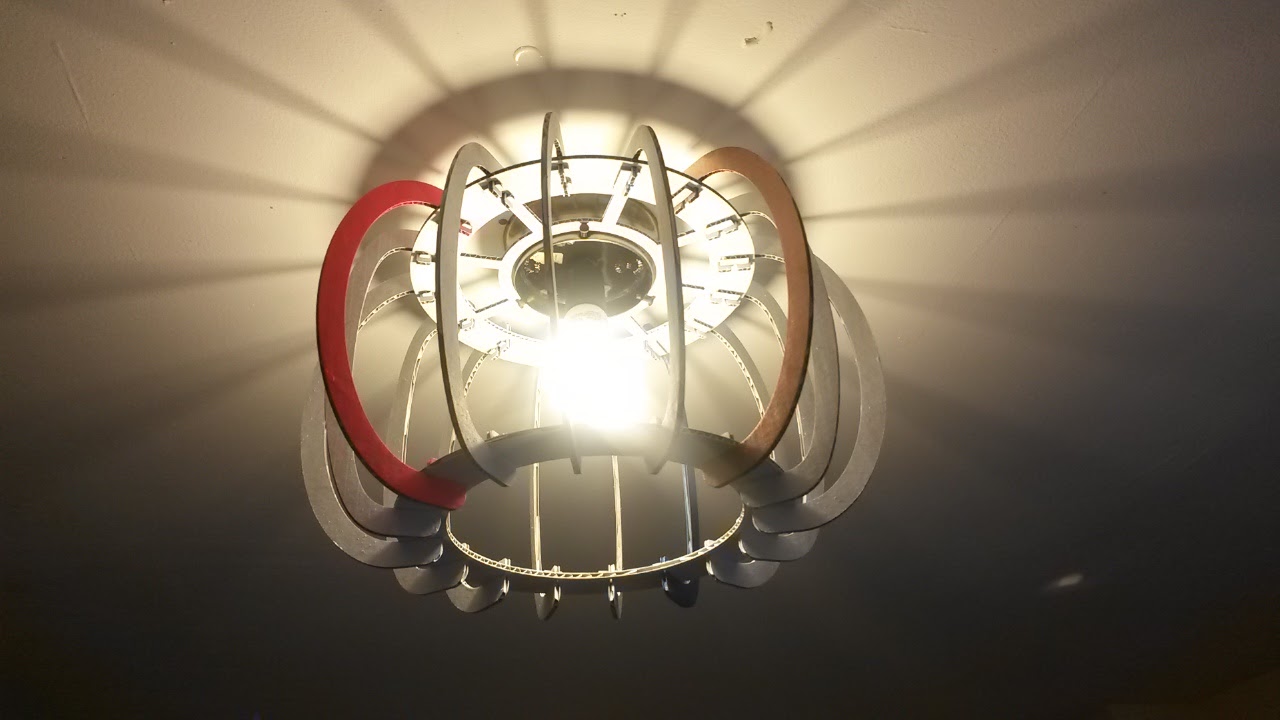
My bedroom currently has a bare bulb hanging from the ceiling so I decided to make a lamp shade for it. I've heard that Boston winters are a little bleak, therefore the lampshade needs to diffuse light effectively whilst not looking too much like a primary school art project. I had a look at Instructables for inspiration and found this lampshade as a starting point. This person uses glue to assemble the lampshade so I started off by designing a press fit connection to use instead.
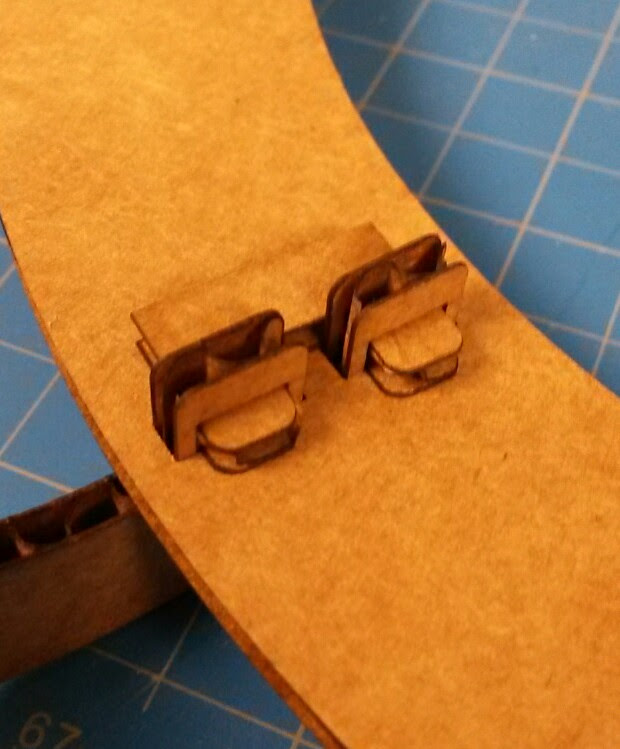
I came up with the following connection. It was important to fillet the corners of the clips to ensure they didn't get caught when pushed through the slots. Initially the arms of the clips were narrower than the spacing of the corregation of the cardboard, therefore I widened them to ensure they were stiff enough.
My first design had 8 semi-circular rings. I considered trying to skin the whole thing however I didn't want to block out too much light, also it kind of looked like a pumpkin so I added 8 more semi-circular rings with a smaller curvature to break up the pumpkin shape.
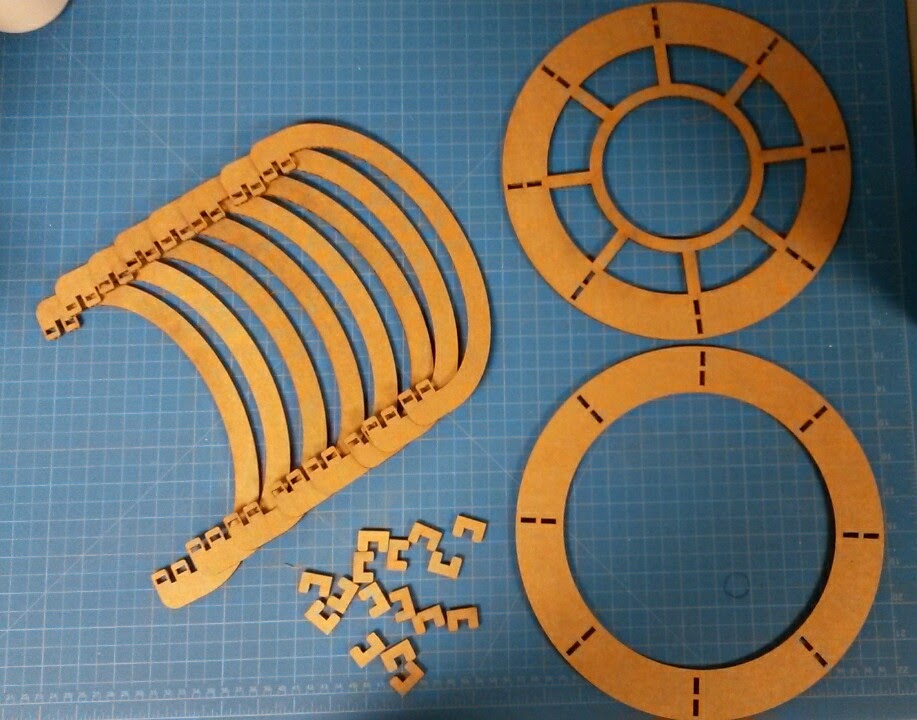
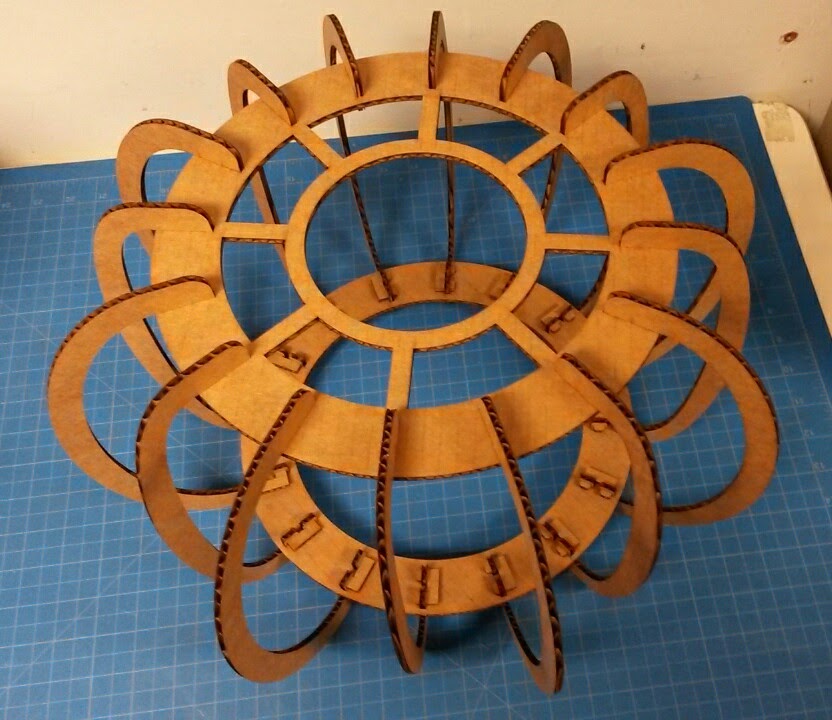
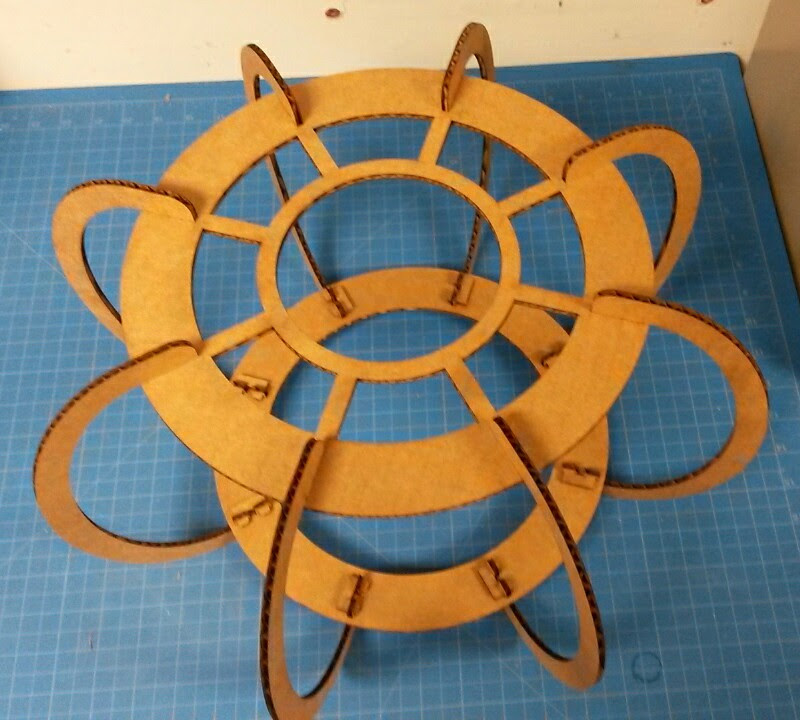
I wasn't too keen on the brown colour of the cardboard, plus I figured a lighter colour would diffuse light more effectively so I spray painted the whole thing white, pink, blue and gold. Didn't realise until I fitted it onto the lamp that it would make a nice looking pattern on the ceiling.
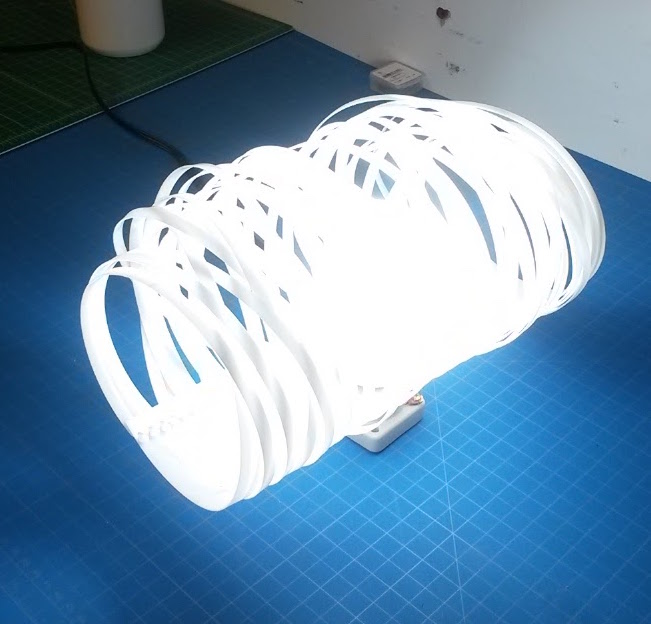
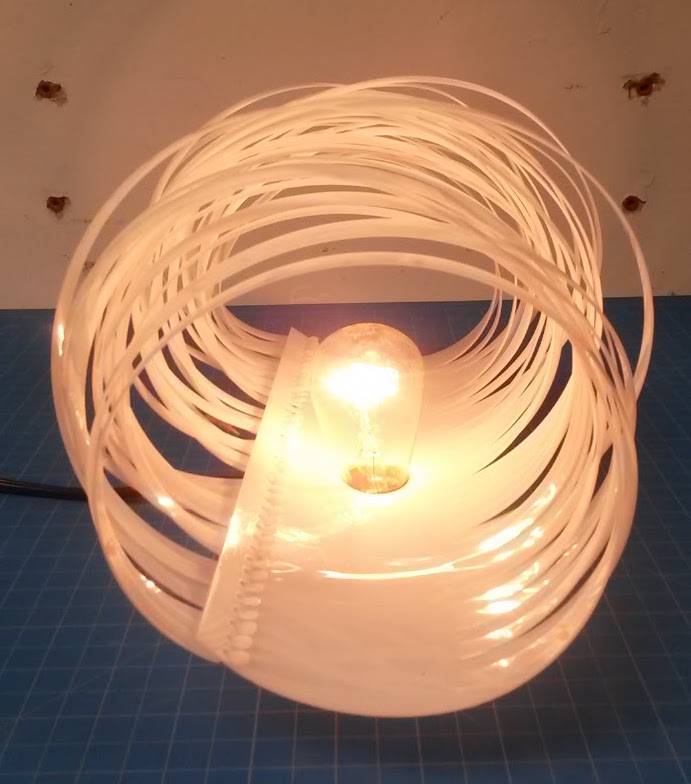
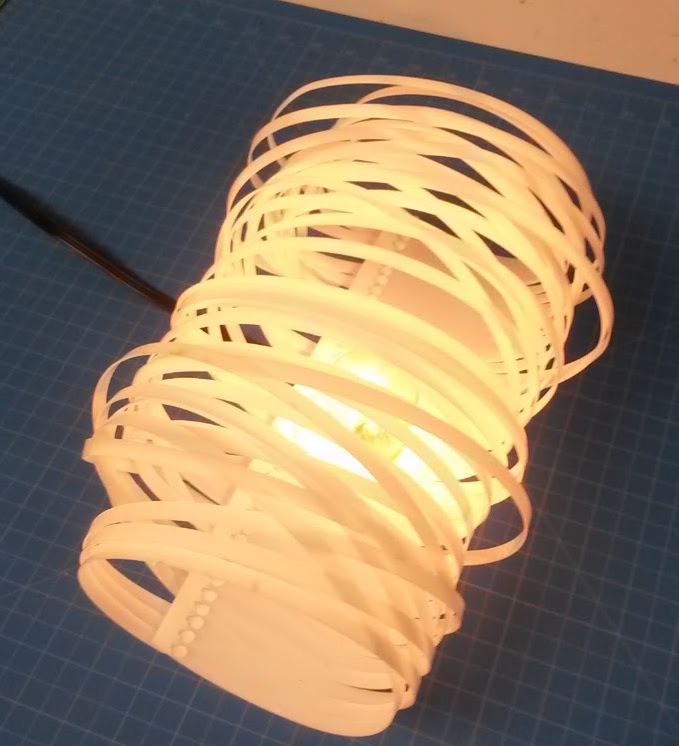
I found this design on Instructables. The author has created a Grasshopper program that generates the cut pattern based on several parameters that the user can choose. I cut the pattern out using a 1/32" Delrin sheet. I got a light bulb, bulb fixture and power cable and hooked it all up.
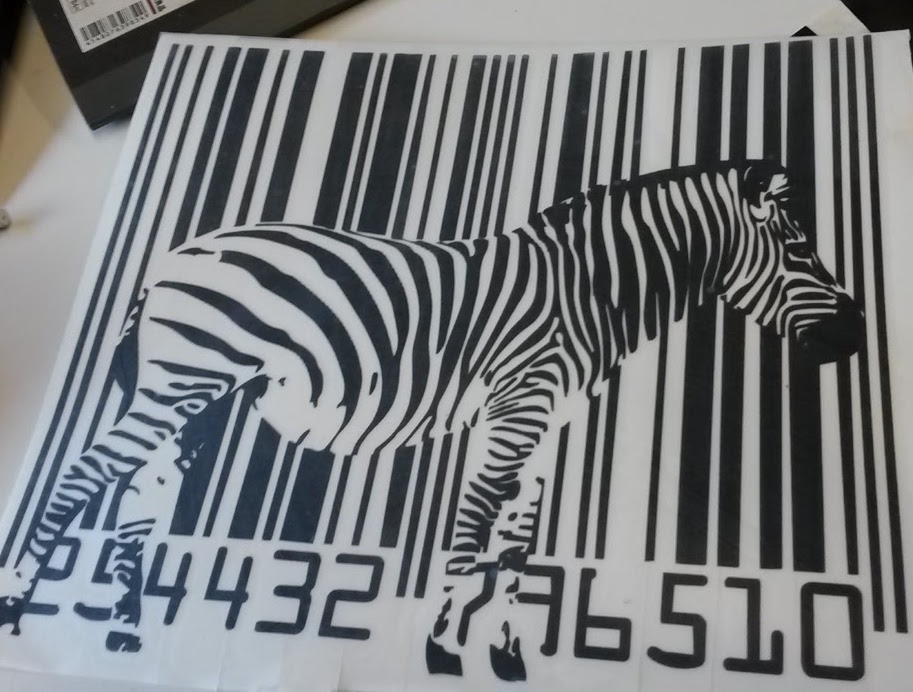
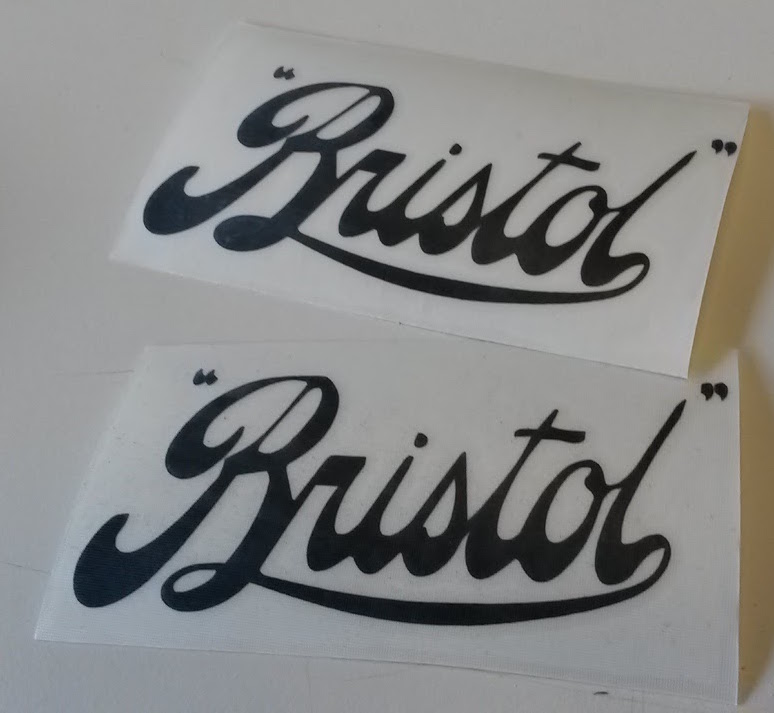
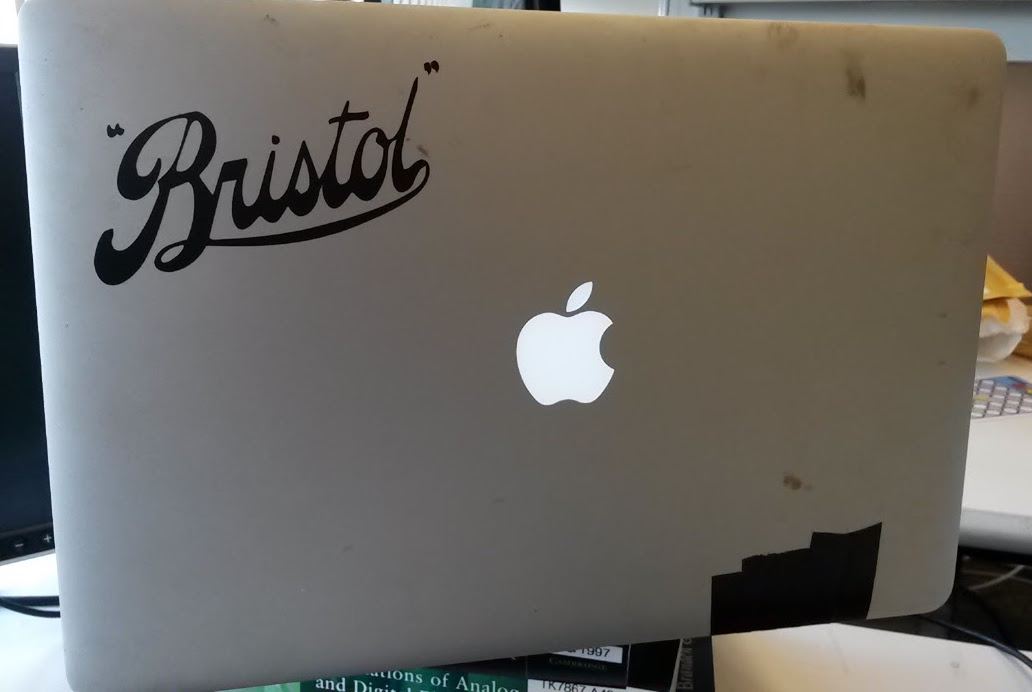
Finally, I had a go with the vinyl cutter. Went on Google to find things that reminded me of Bristol, my home town in the UK. The zebra image is by Banksy. It was pretty tricky to weed (remove the vinyl that wasn't part of the image). The Bristol logo belongs to the Bristol Aeroplane Company.
