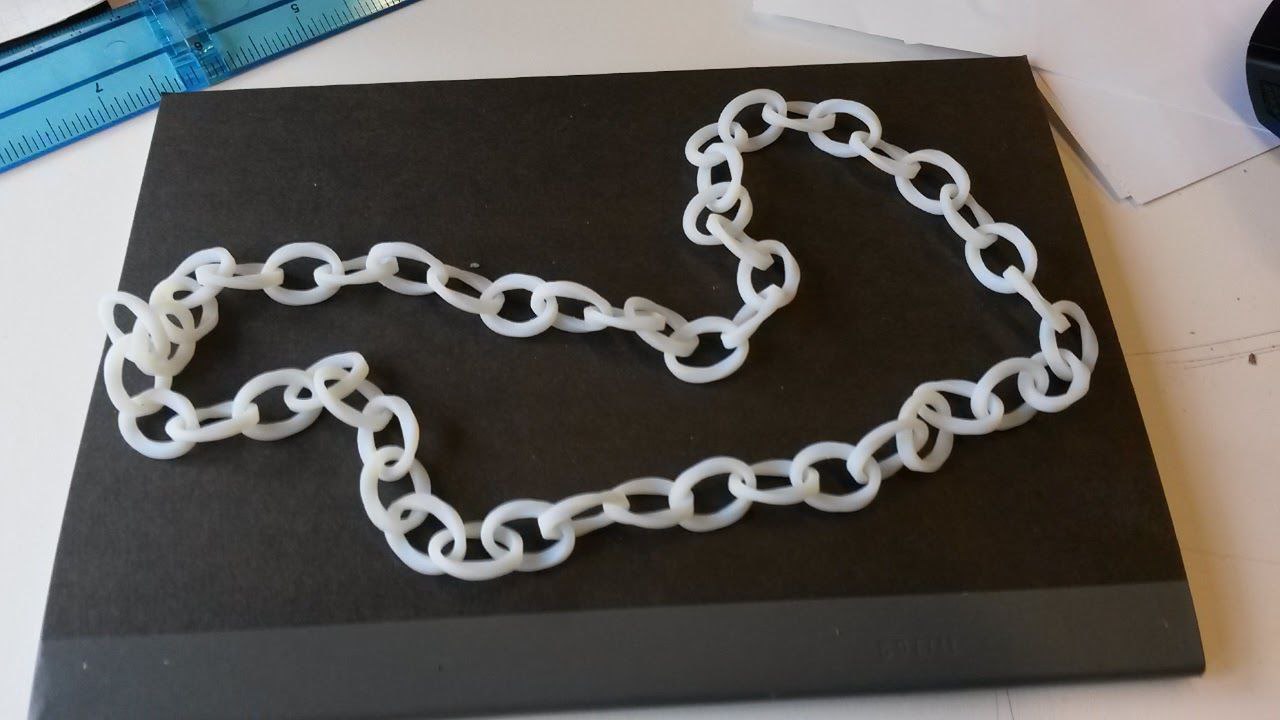
Our assignment was to 3D print something that would be impossible to fabricate using a subtractive process. I made a Mobius Strip generator during the first week of the class, for this assignment I used this form links of a chain for a necklace. I tried printing on three different printers, results below.
This printer uses a process called Fusion Deposition Modelling (FDM) and costs around $1,300 on Amazon. For it's price it prints at a very high quality due to it's design whereby the build plate sits within a closed volume enabling consist temperature control just below the melting point of the feedstock.
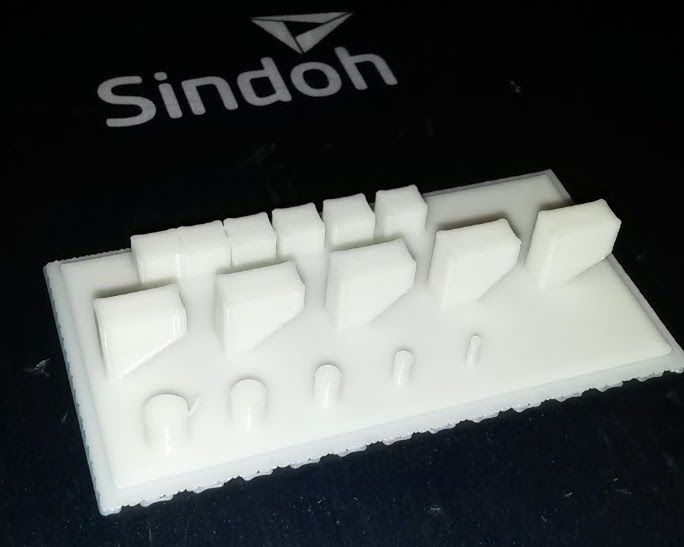
I began by working with Shani to characterise the Sindoh's printing capability. The resulting piece showed that printer can successfully produce cylindrical towers of 1mm diameter, slots 0.5mm wide and angled profiles at 45 degrees.
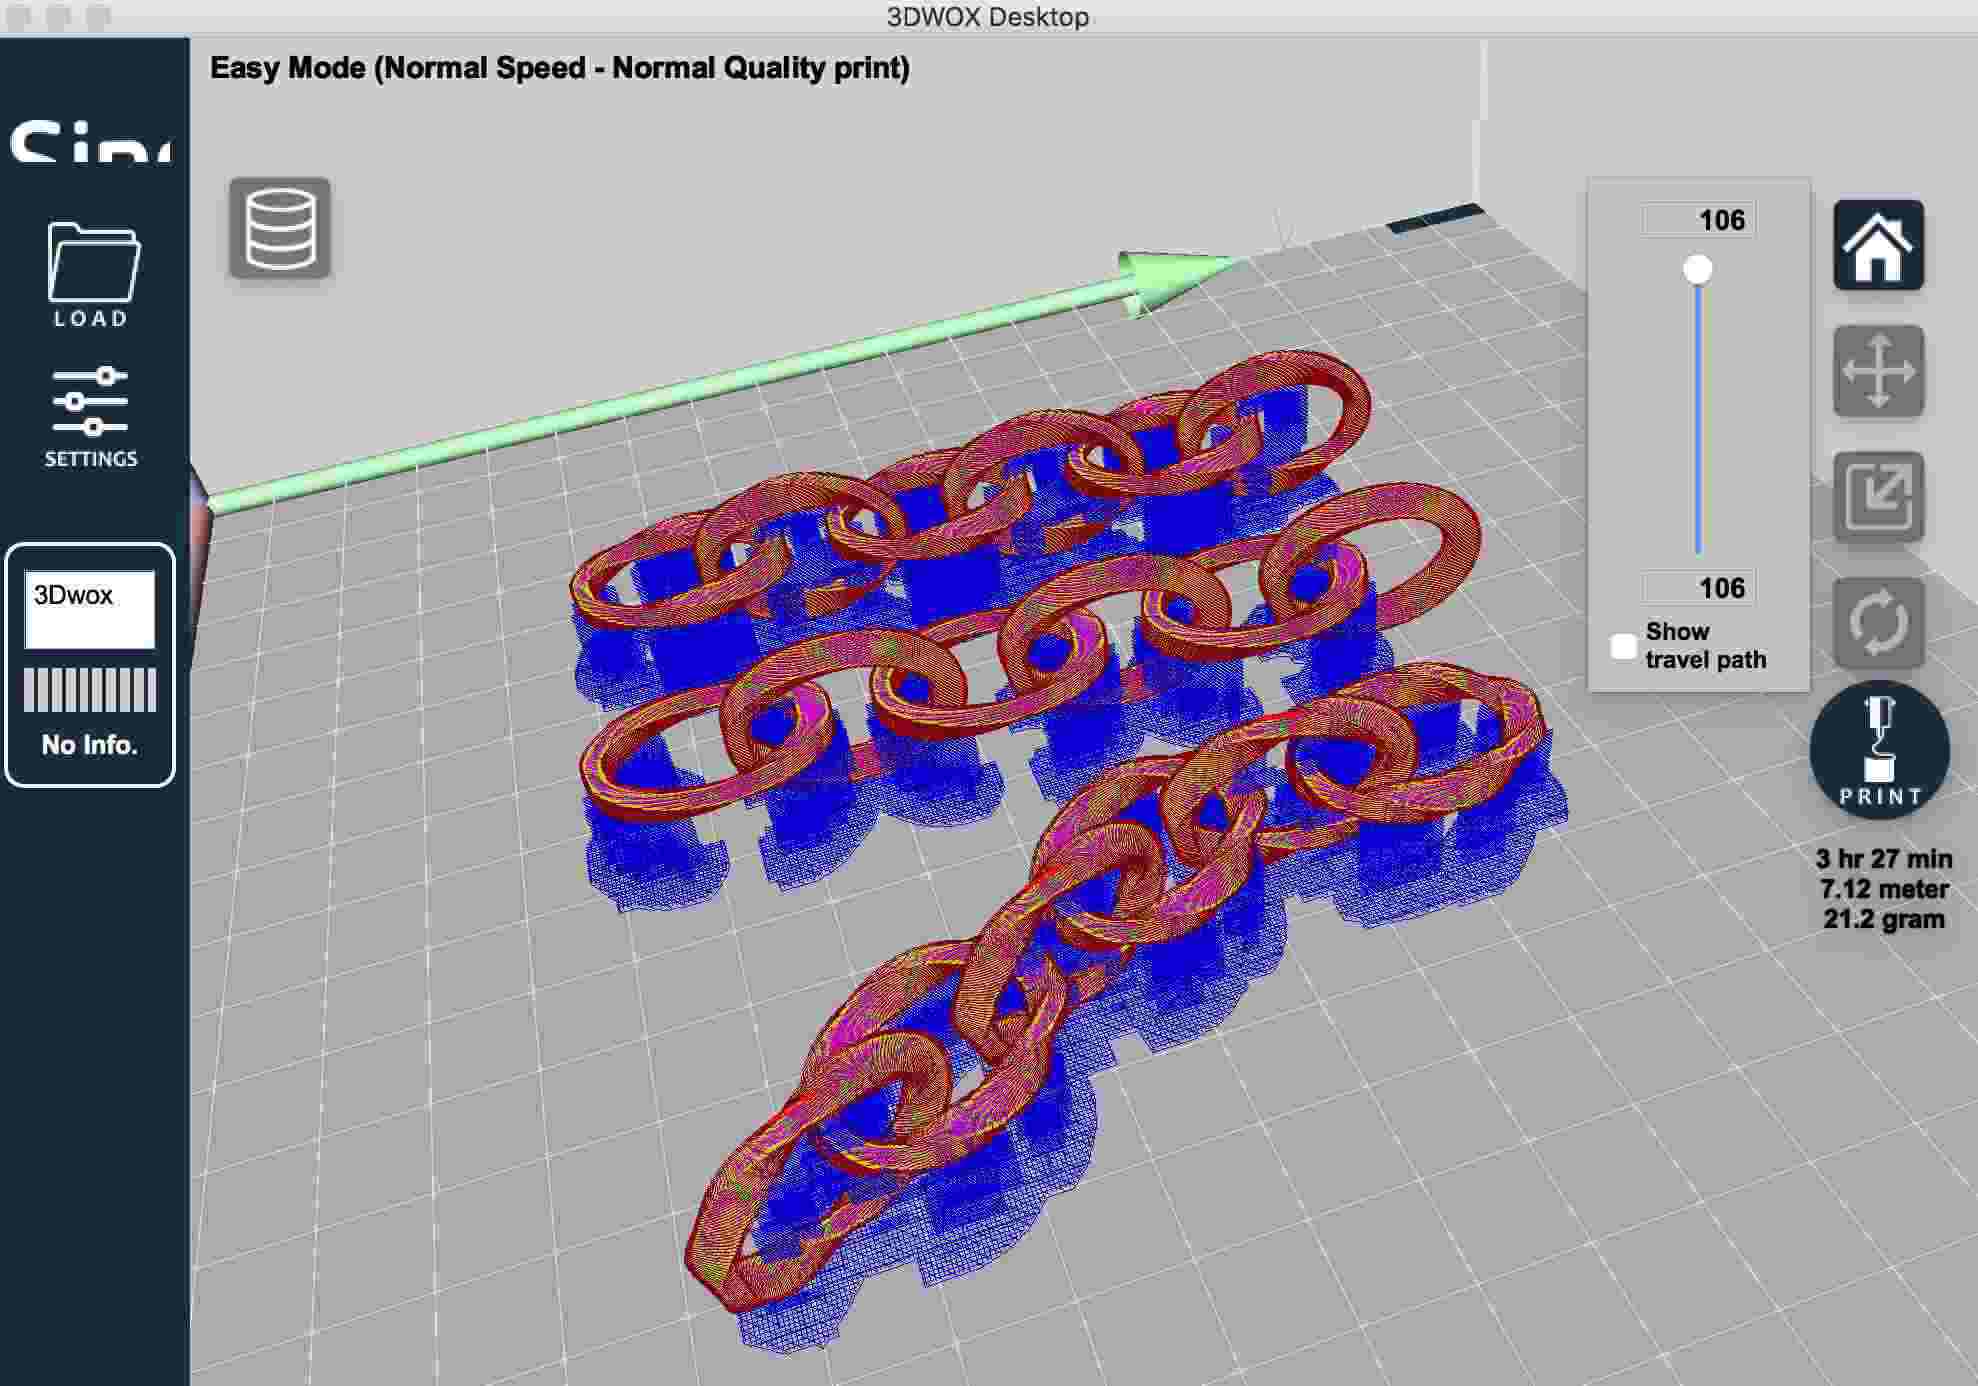
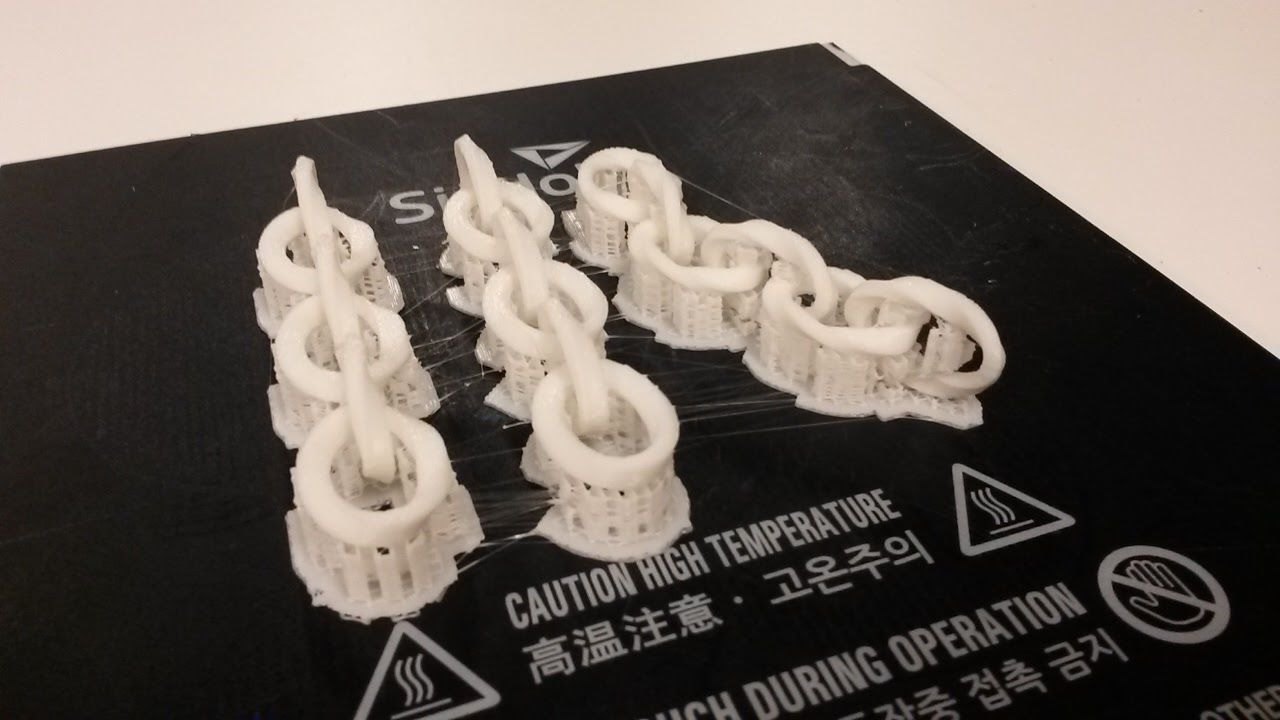
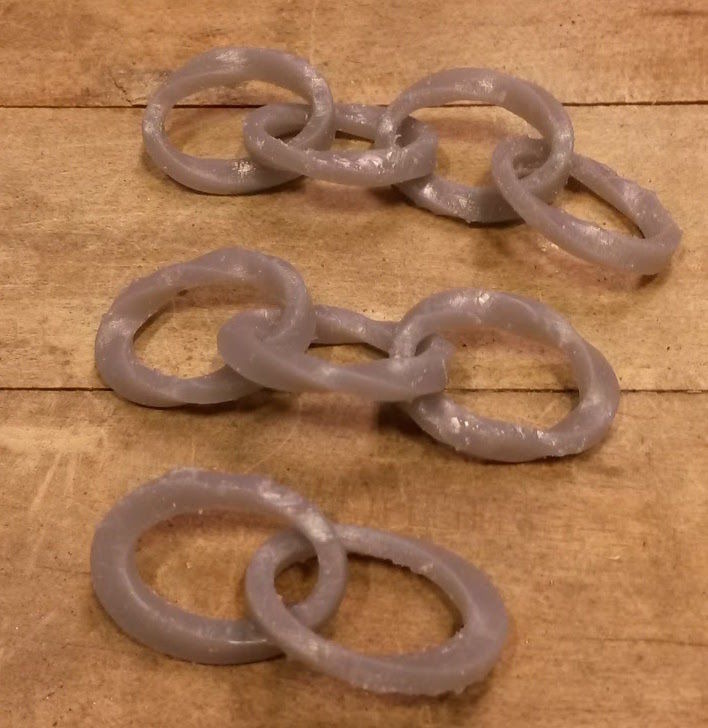
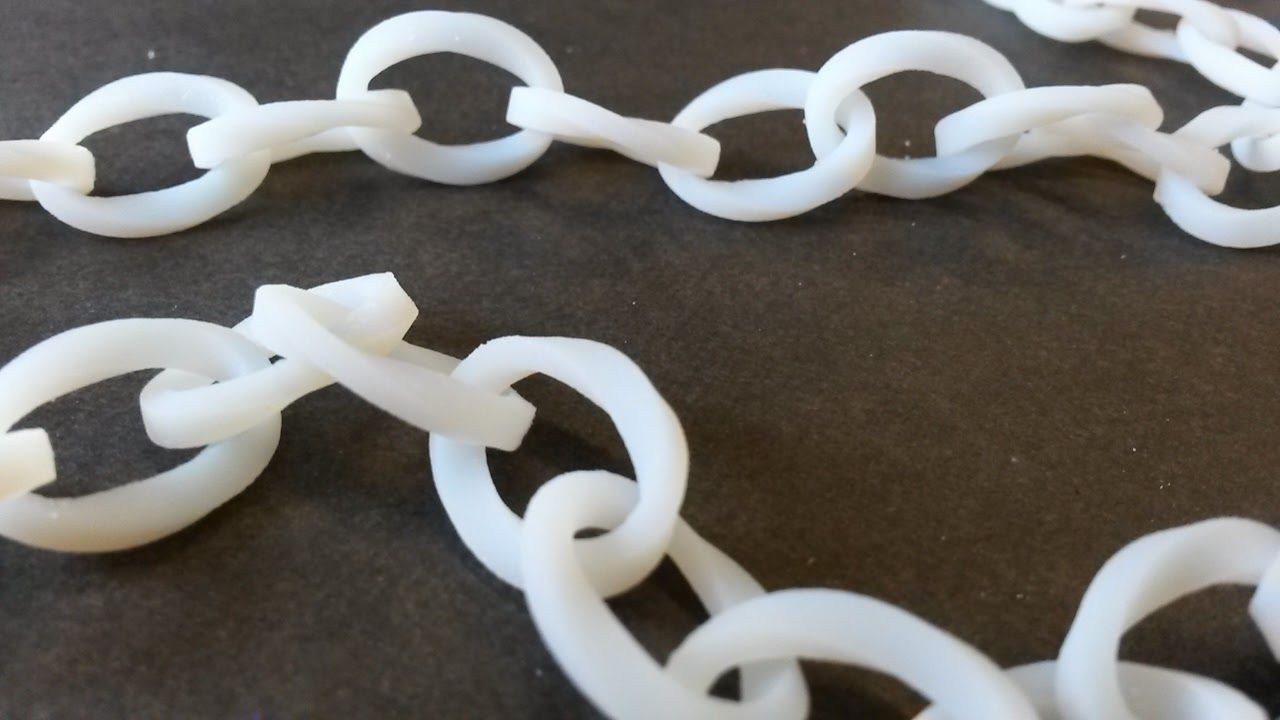
I printed three variants of the Mobius Strip chain, one with a single twist in each link, one with 2 twists and one with three twists. I used Sindoh's software generate the support structure, choosing the 'Everywhere' option from the dropdown menu. The Sindoh prints it's support structures using the same material that the part is built from and it is removed fairly easily using small plyers or clippers. Support structures for previous jobs that I've printed on the Sindoh were easy to remove and left only minor defects on the surface of the part. On this occasion, a the chain had a small surface area relative to the geometry of the support material meaning that lumps and bumps left over after removing the support were clearly visible. It is possible to sand this down, however for a longer chain this technique may take quite a while. Furthermore the resolution of this printer is not capably of creating clean angles on the chain links.
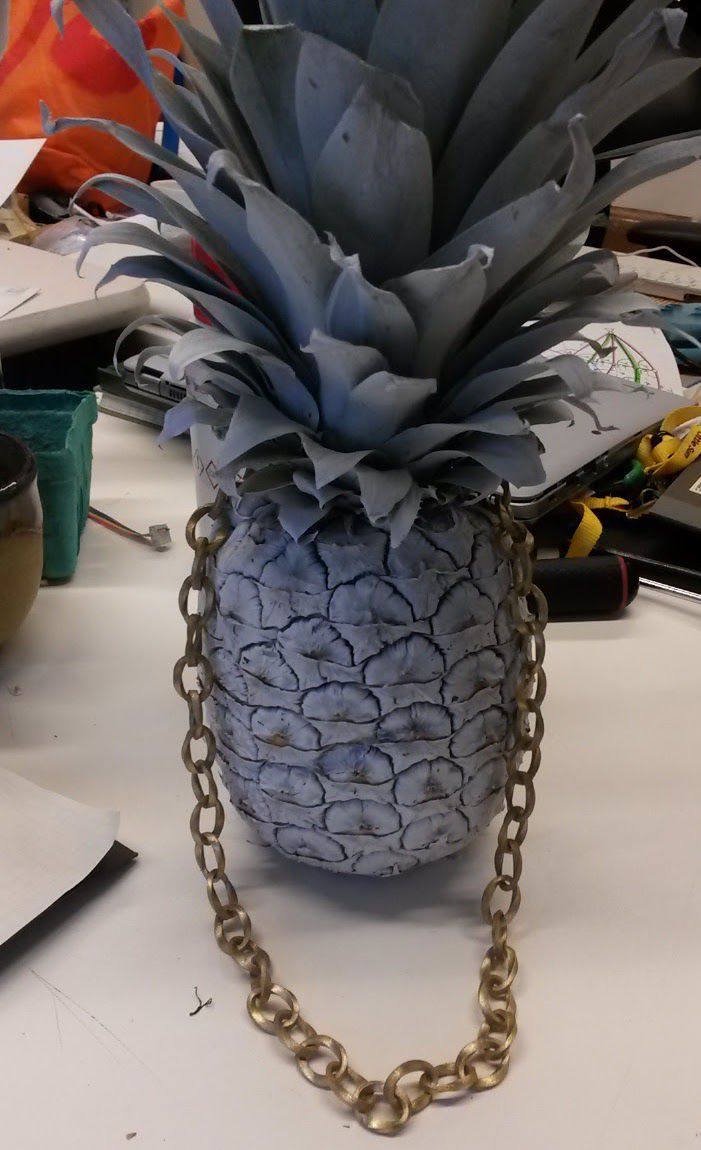
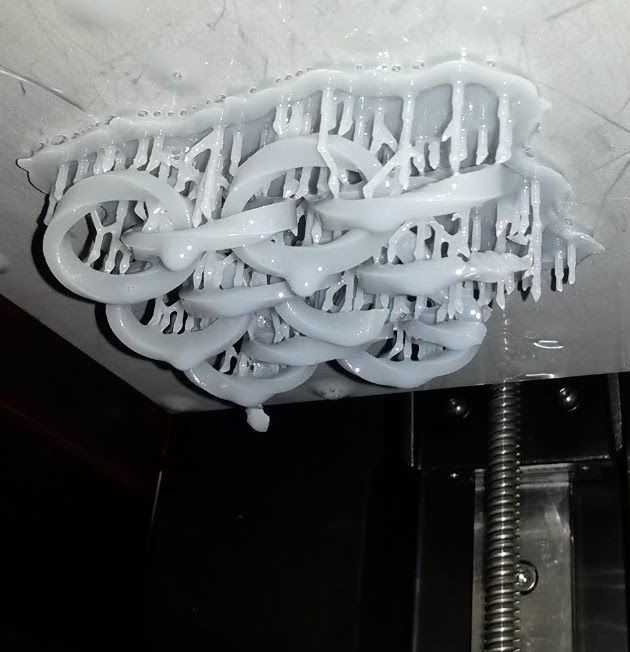
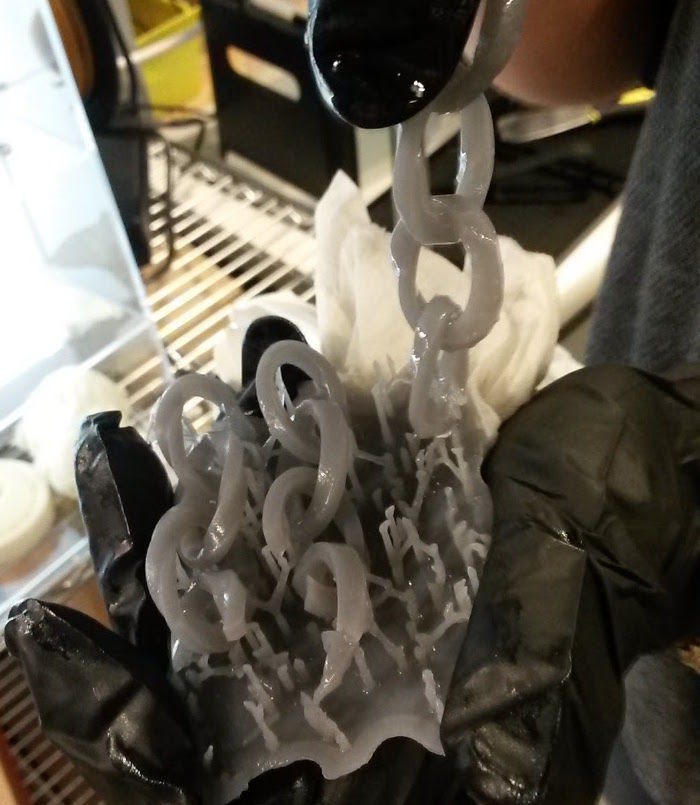
This printer uses a process called Stereolithography (SLA or SL) and costs $3,500. If the printer is well maintained then printing is as simple to start a job as pressing go. Post processing requires a few more steps that the Sindoh where the user must clean of larger drips of the resin using a paper towel and deposit the part into alcohol for less than a minute clean off the rest of the resin. I used Formlabs' software to generate the support structure for the chains. Unfortunately the print partially failed. After investigating the resin bed, I found pieces of cured material floating in the resin as well as some pieces that had adherred to the bottom of the bed. Like the sindoh, the support structure is made from the same material that the piece is built from, and like the Sindoh this caused defects to the surface.
Despite getting fairly poor results with this printer I still plan to continue experimenting with this machine based on the fact that Formlabs sells a Castable Resin. This would allow me to print a full chain which would be useds as a plug to create a mould for the necklace. I'd then be able to cast the chain out of metal. This will require careful redesign of the support structure to serve a dual purpose, initially as a support structure during the printing process but later to serve as spues for the casting material to flow along.
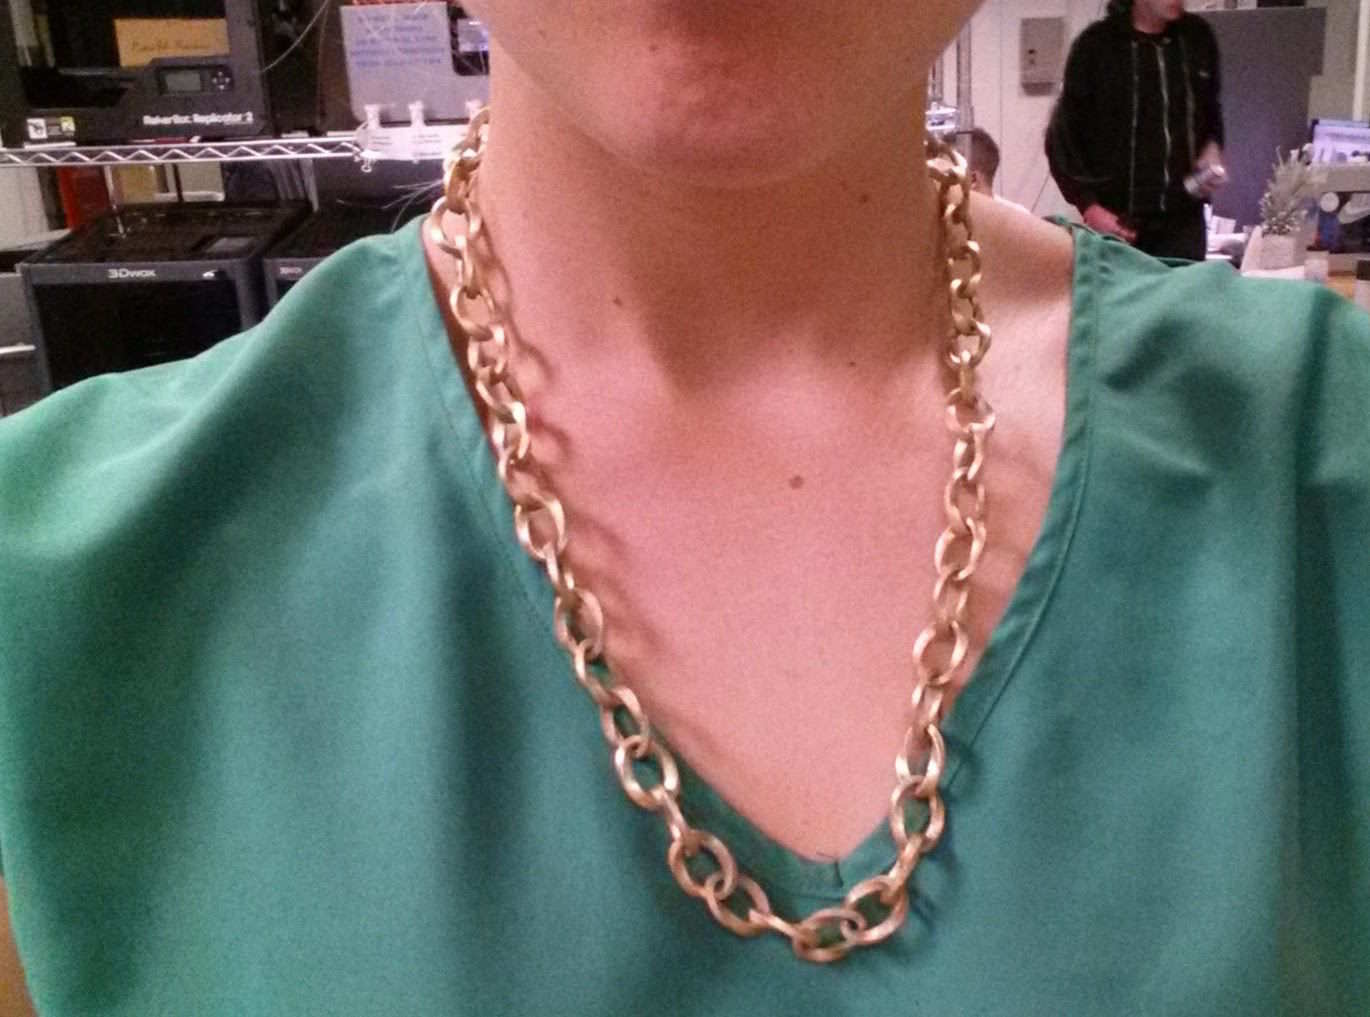
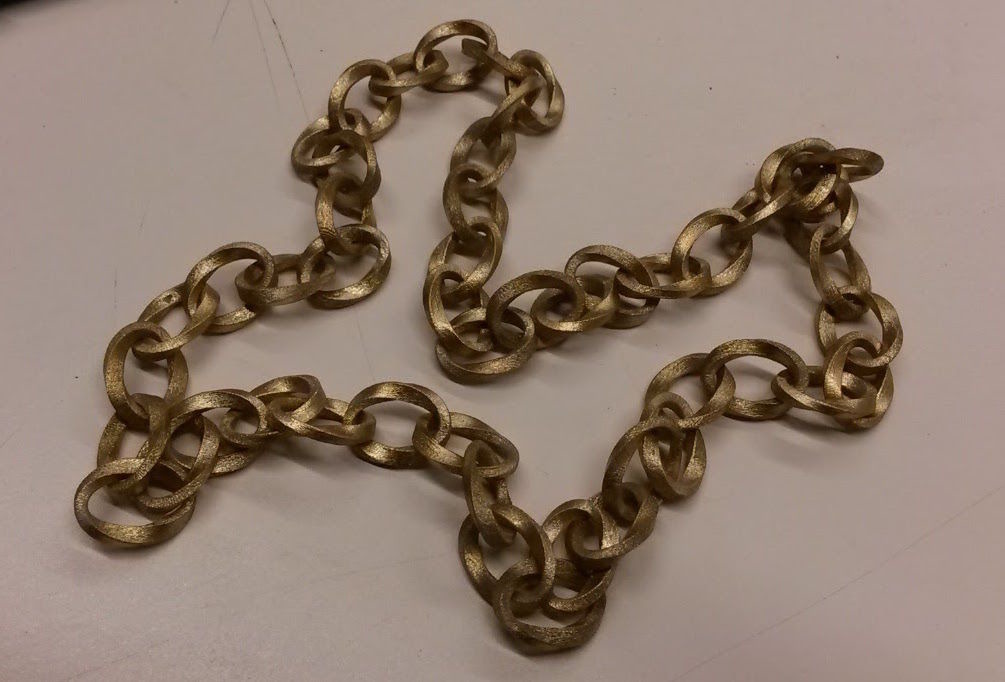
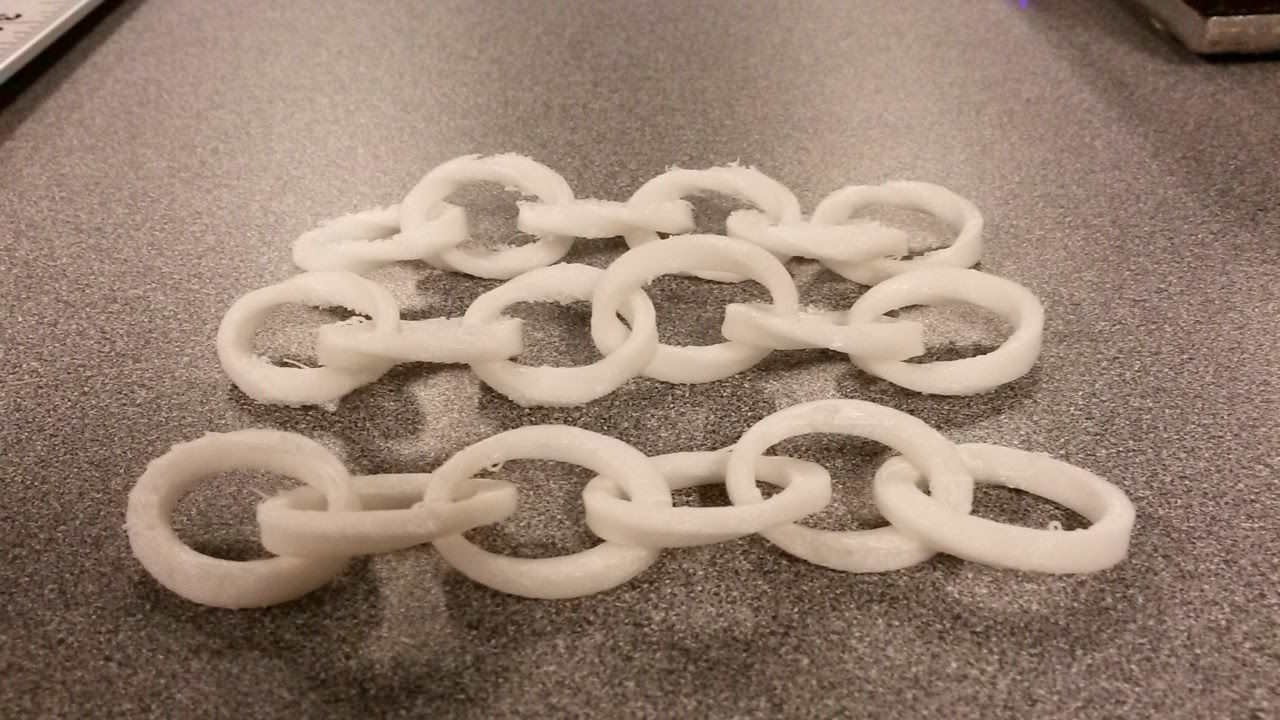
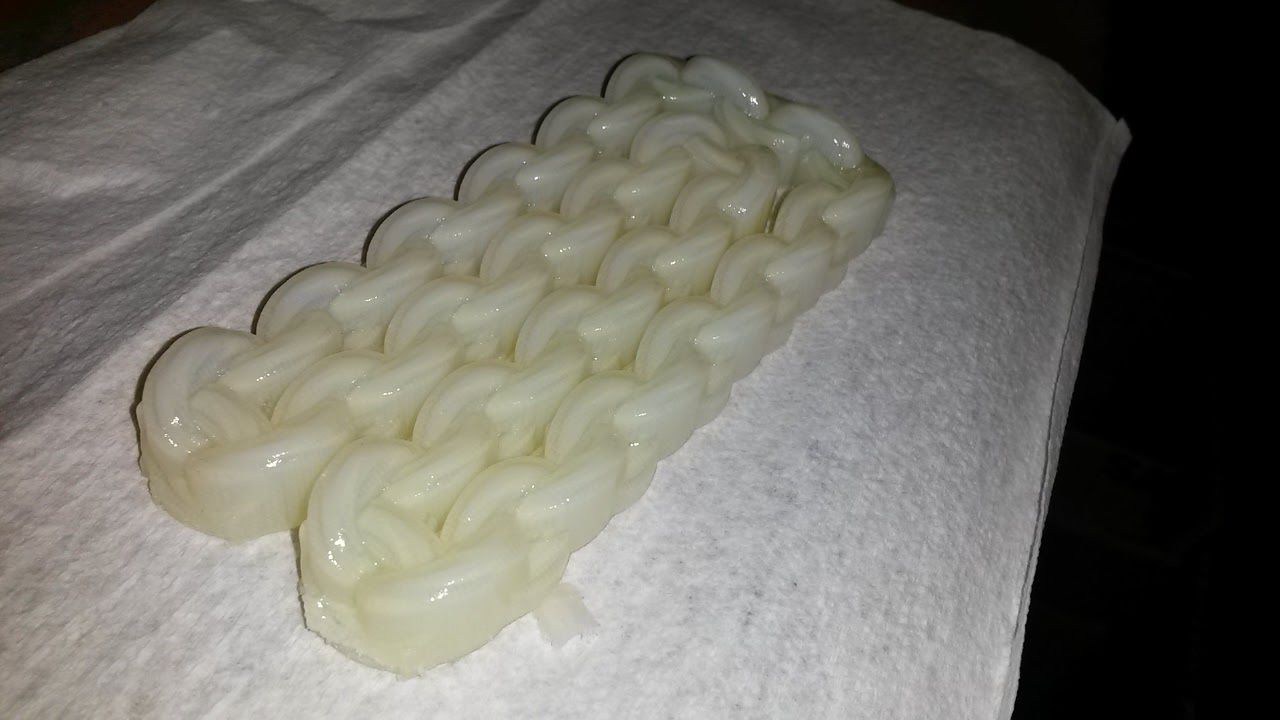
This printer uses a process called Polyjet and costs around $80,000. Having printed three variants of the chain I decided to use the two-twist chain link as my final design and scaled the dimensions of the links down slightly and modelled a complete chain, long enough to fit over my head. The Eden creates support structures from a different material to that which it prints the part from. A printed part therefore comes out of the printer encased in the support material, this is removed using a high pressure jet of water. This process lent itself incredibly well to my design and resulted in a complete chain. I chose to spray paint it gold. Unfortunately the paint wasn't durable enough for dancing at a party.
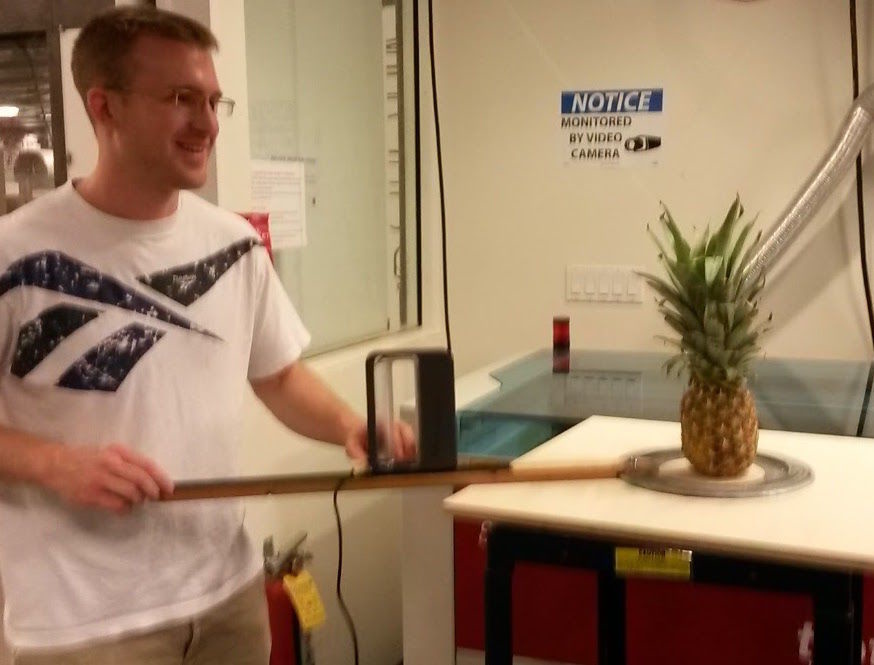
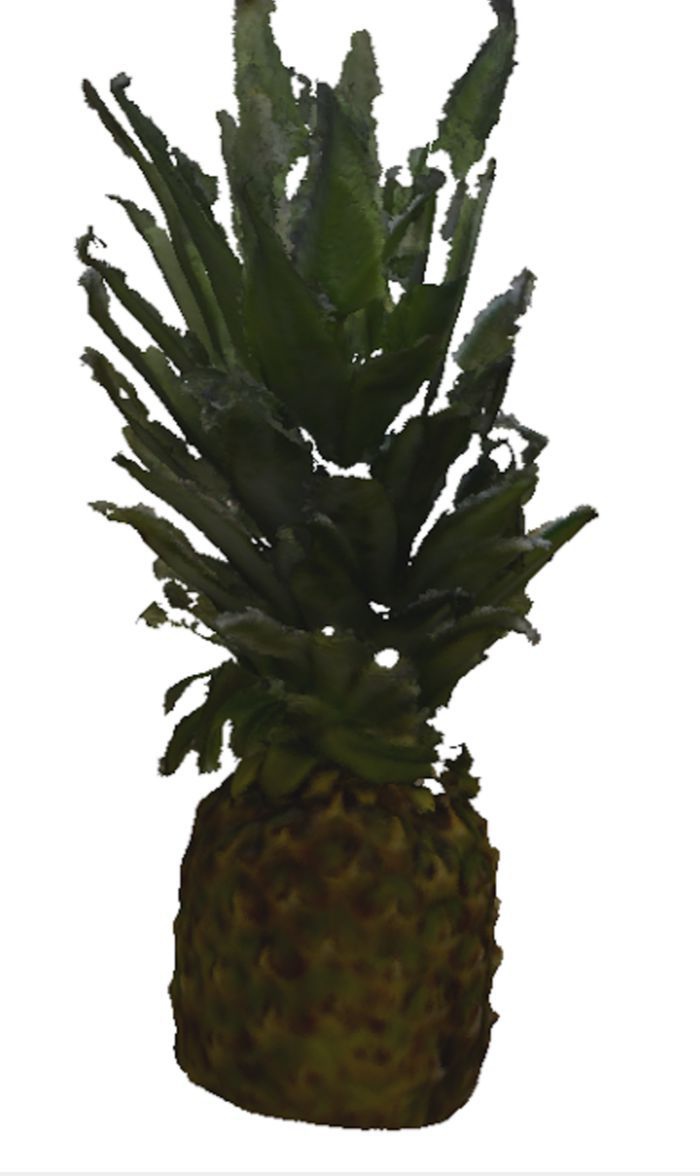
Our assignment for this was to scan something. In order to understand the limitations of this technique I wanted to scan something with unusal textures and features, therefore I decided to scan a pineapple.
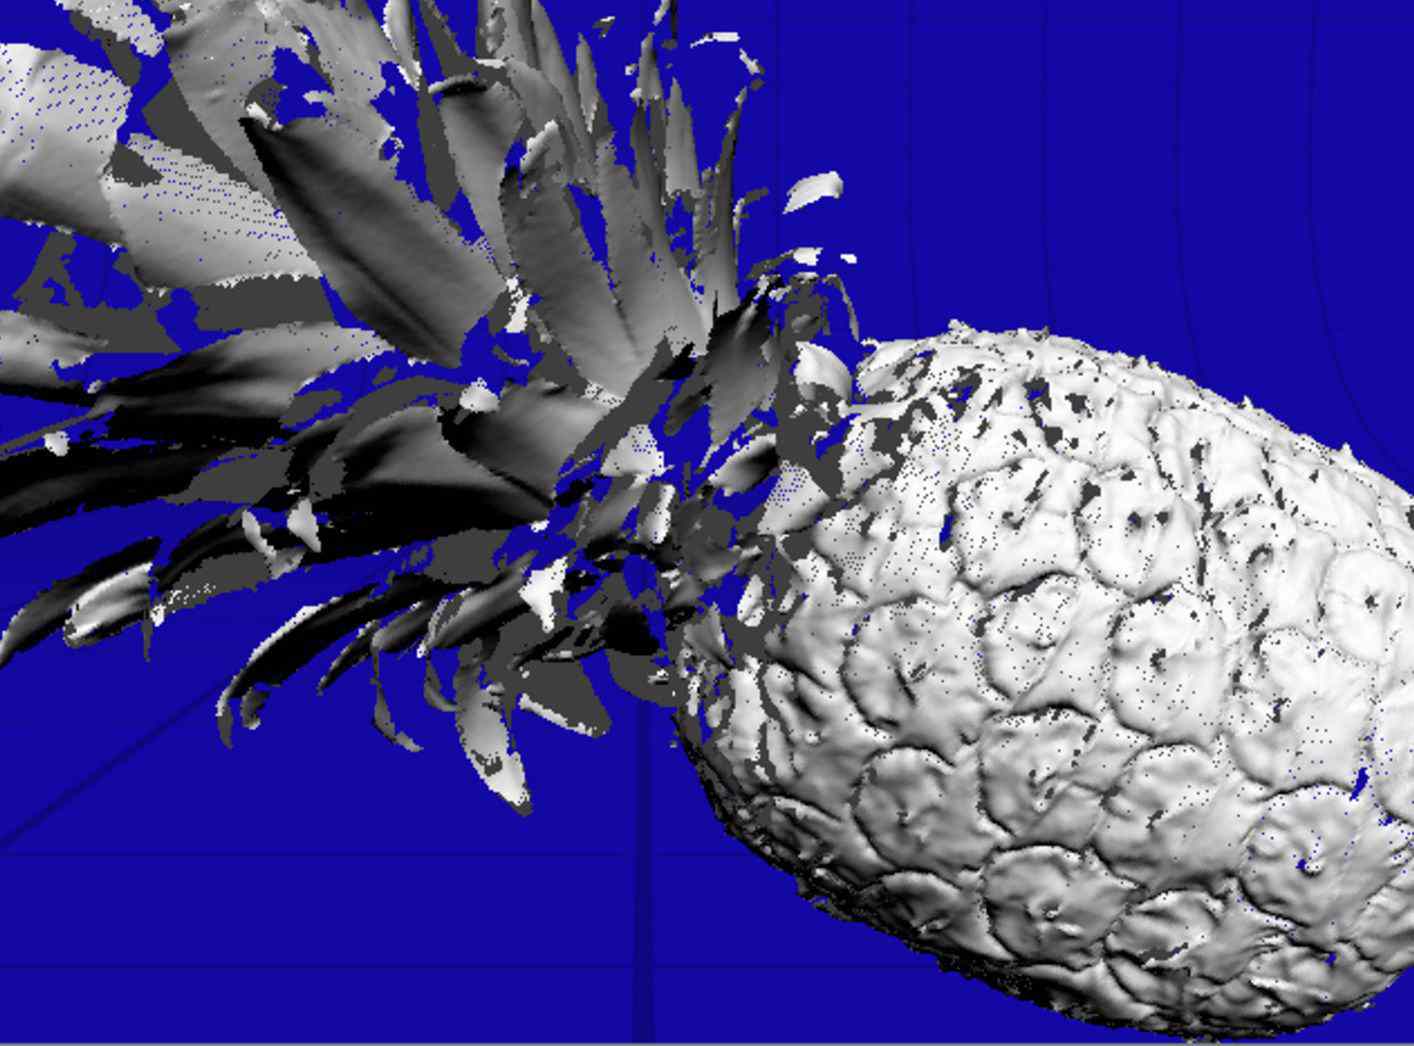
This is a hand held scanner and must be rotated around an object whilst keeping a the focal point (indicated on the computer screen) at the centre of the object that is being scanned. This process can prove fairly tricky, therefore John and Tom fabricated a rotating arm to mount the scanner on. The results of this process didn't acheive a very accurate representation of pineapple's texture, it did however do a fairly good job of interpreting the pineapple's leaves.
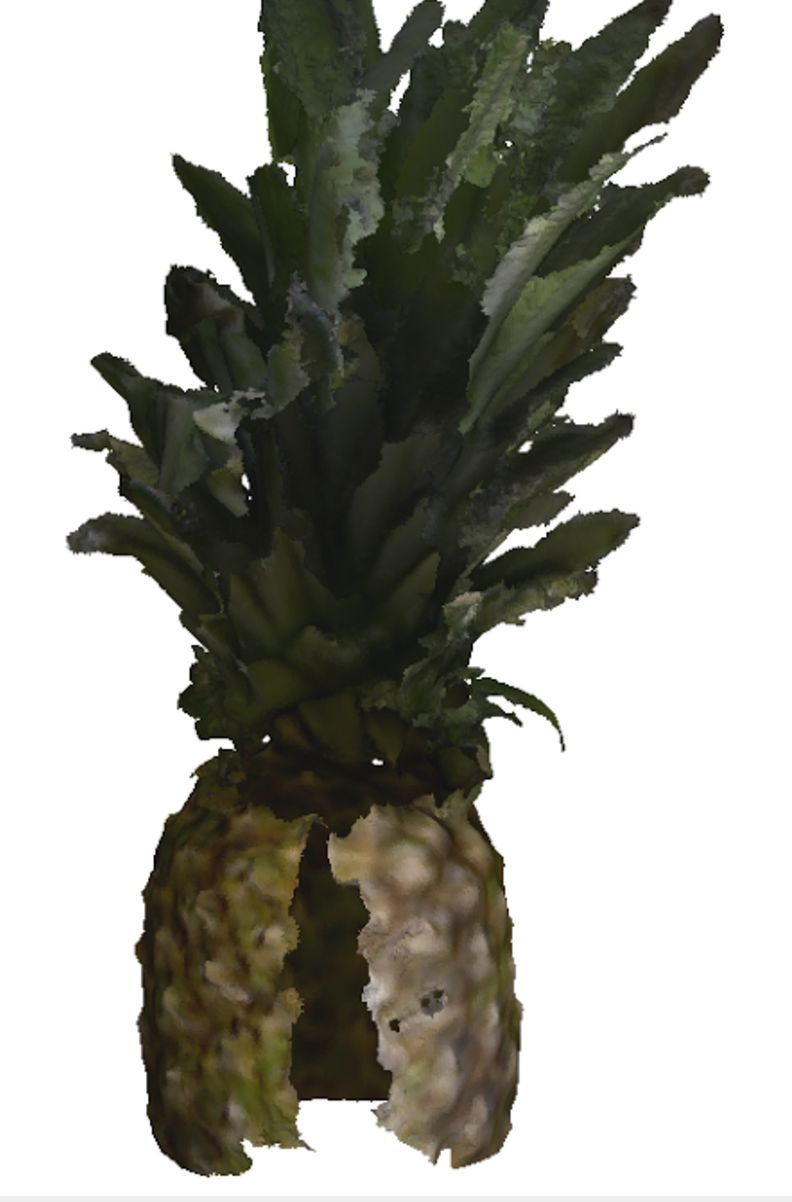
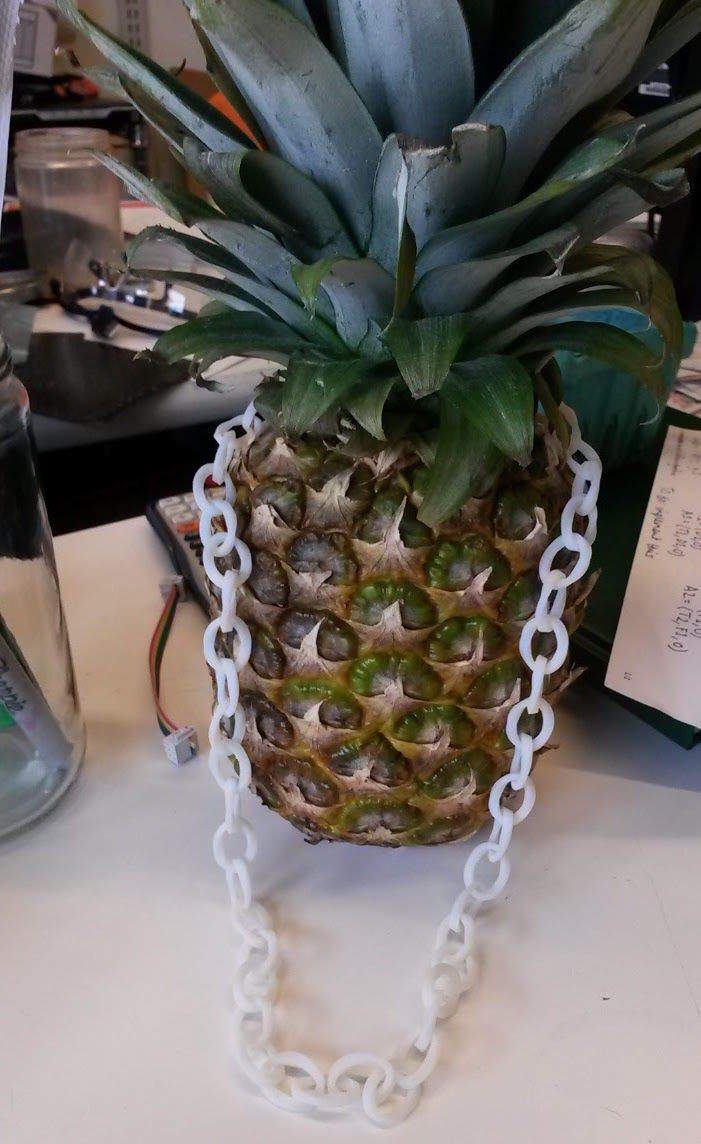
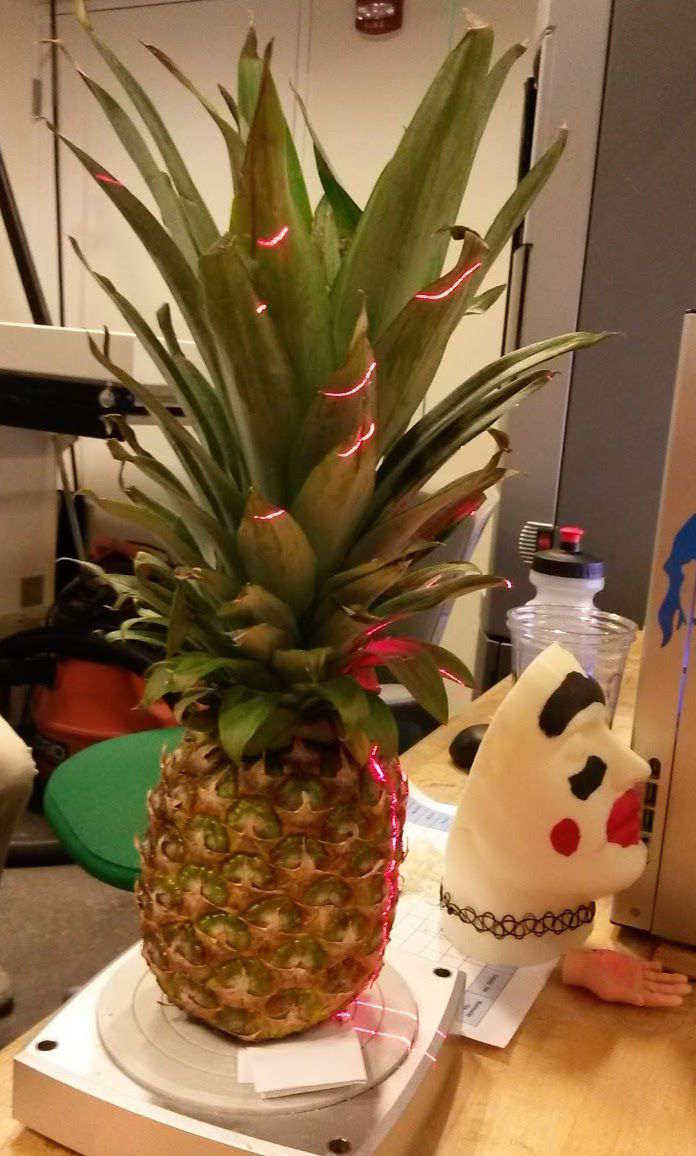
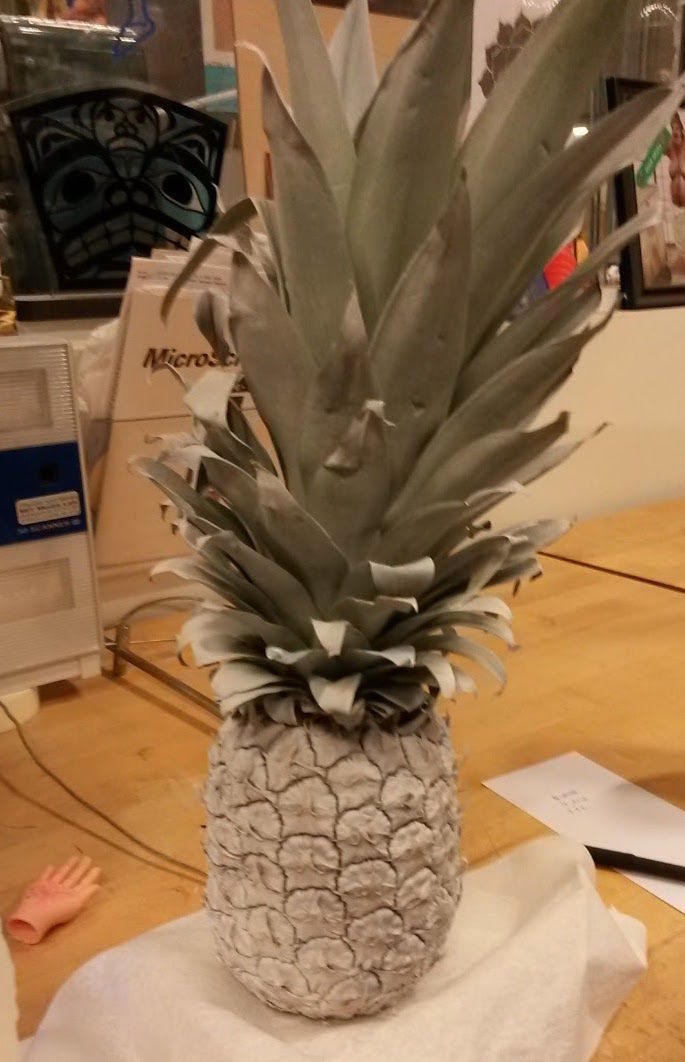
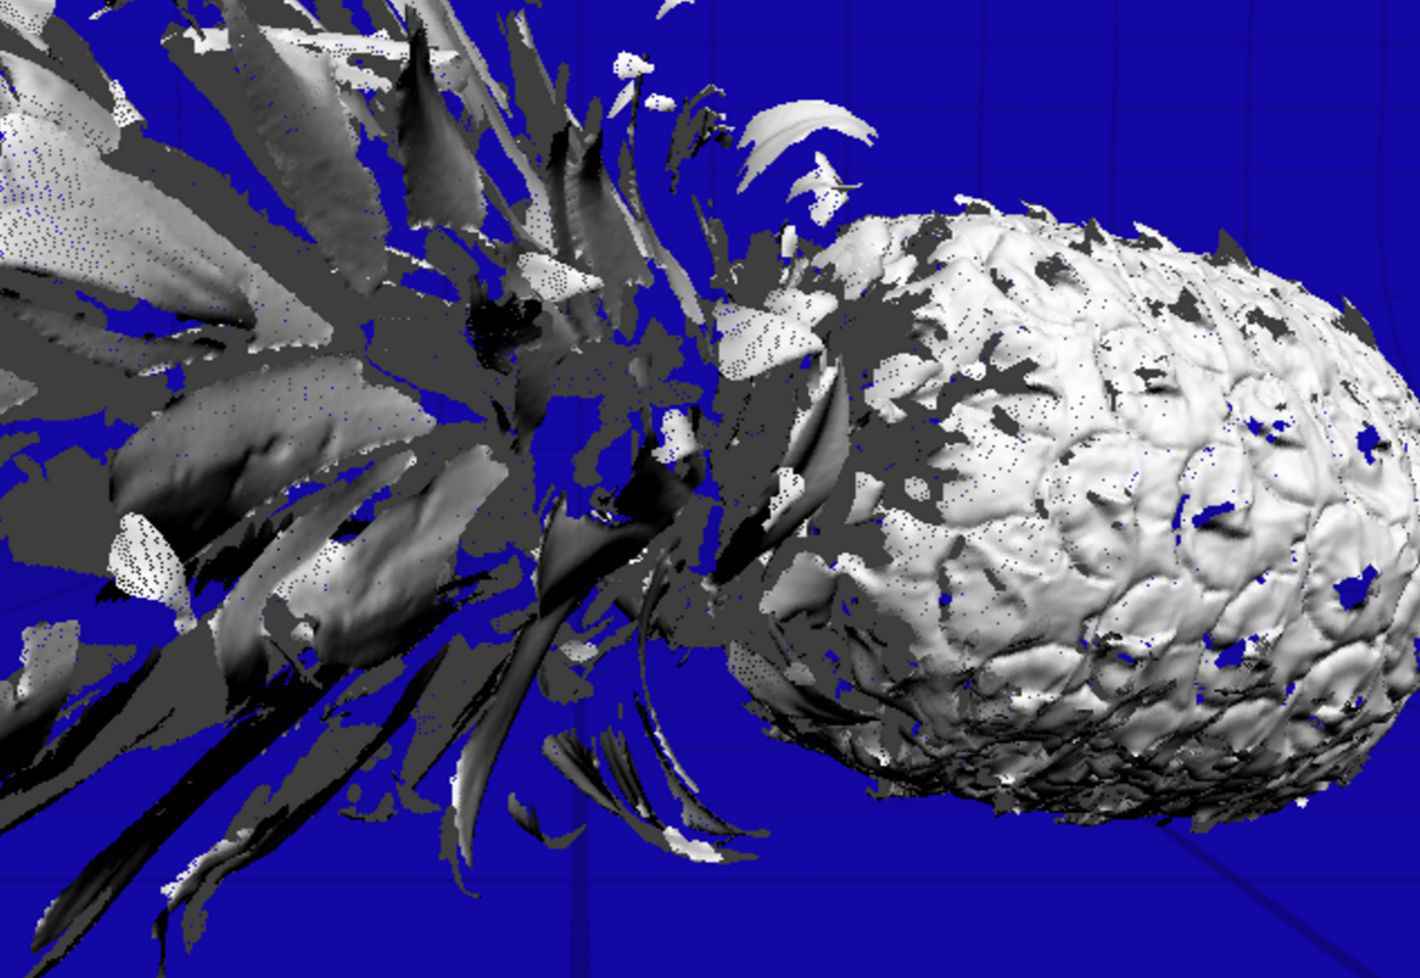
This scanner achieved a far more accurate representation of the pineapples textured surface, however, as the rotation plane was fixed, the scanner did not have sufficient data to interpret the leaves. In addition, protrusions from the main body resulted in holes in the scan. After a suggestion from Tom Lutz I tried scanning the pineapple white to see whether a uniform colour would achieve a better scan. The colour change didn't seem to dramatically improve the scan.
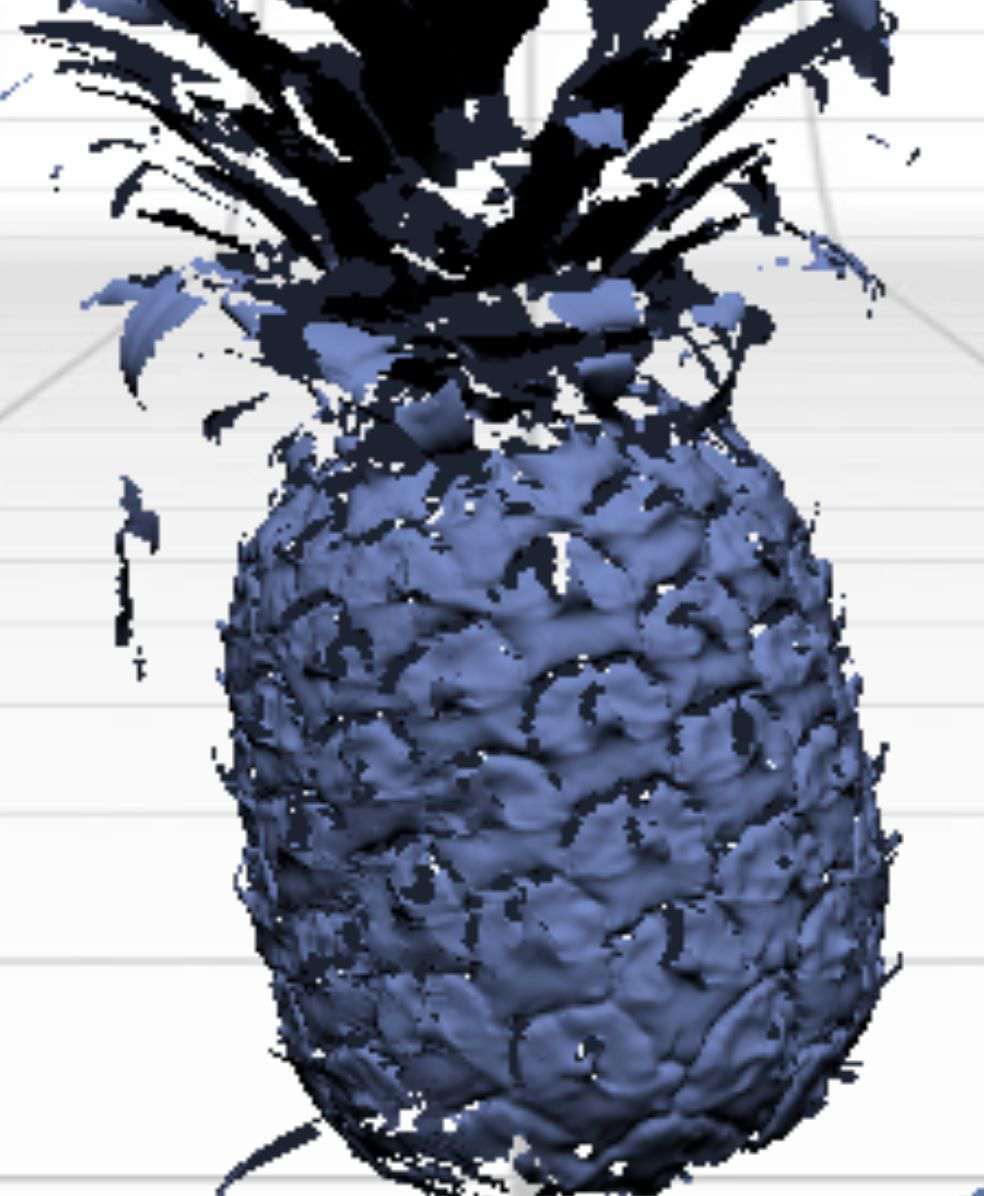
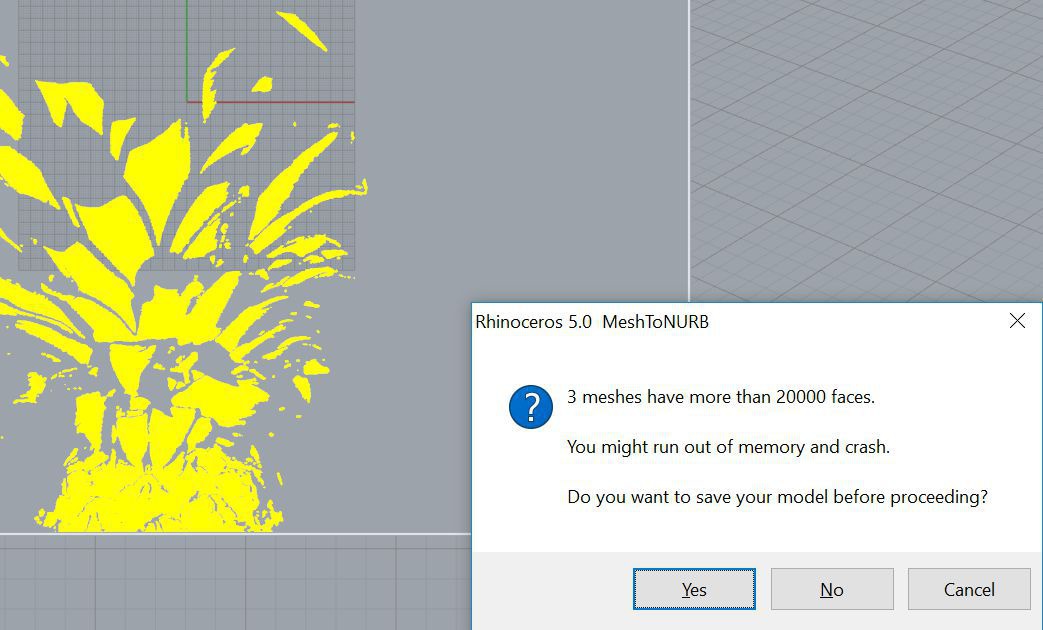
The tails that protrude from each panel of the pineapple cast a shadow which the scanner is unable to see behind. This created holes in the scan. I managed to get a cleaner scan by chopping these off (bottom right screenshot). In conclusion, if I really wanted to create a realistic 3D model of a pineapple I would most probably incorporate patches of the texture from the NextEngine scan and the leaves from the Sense scan into a single Rhino model and work from there.


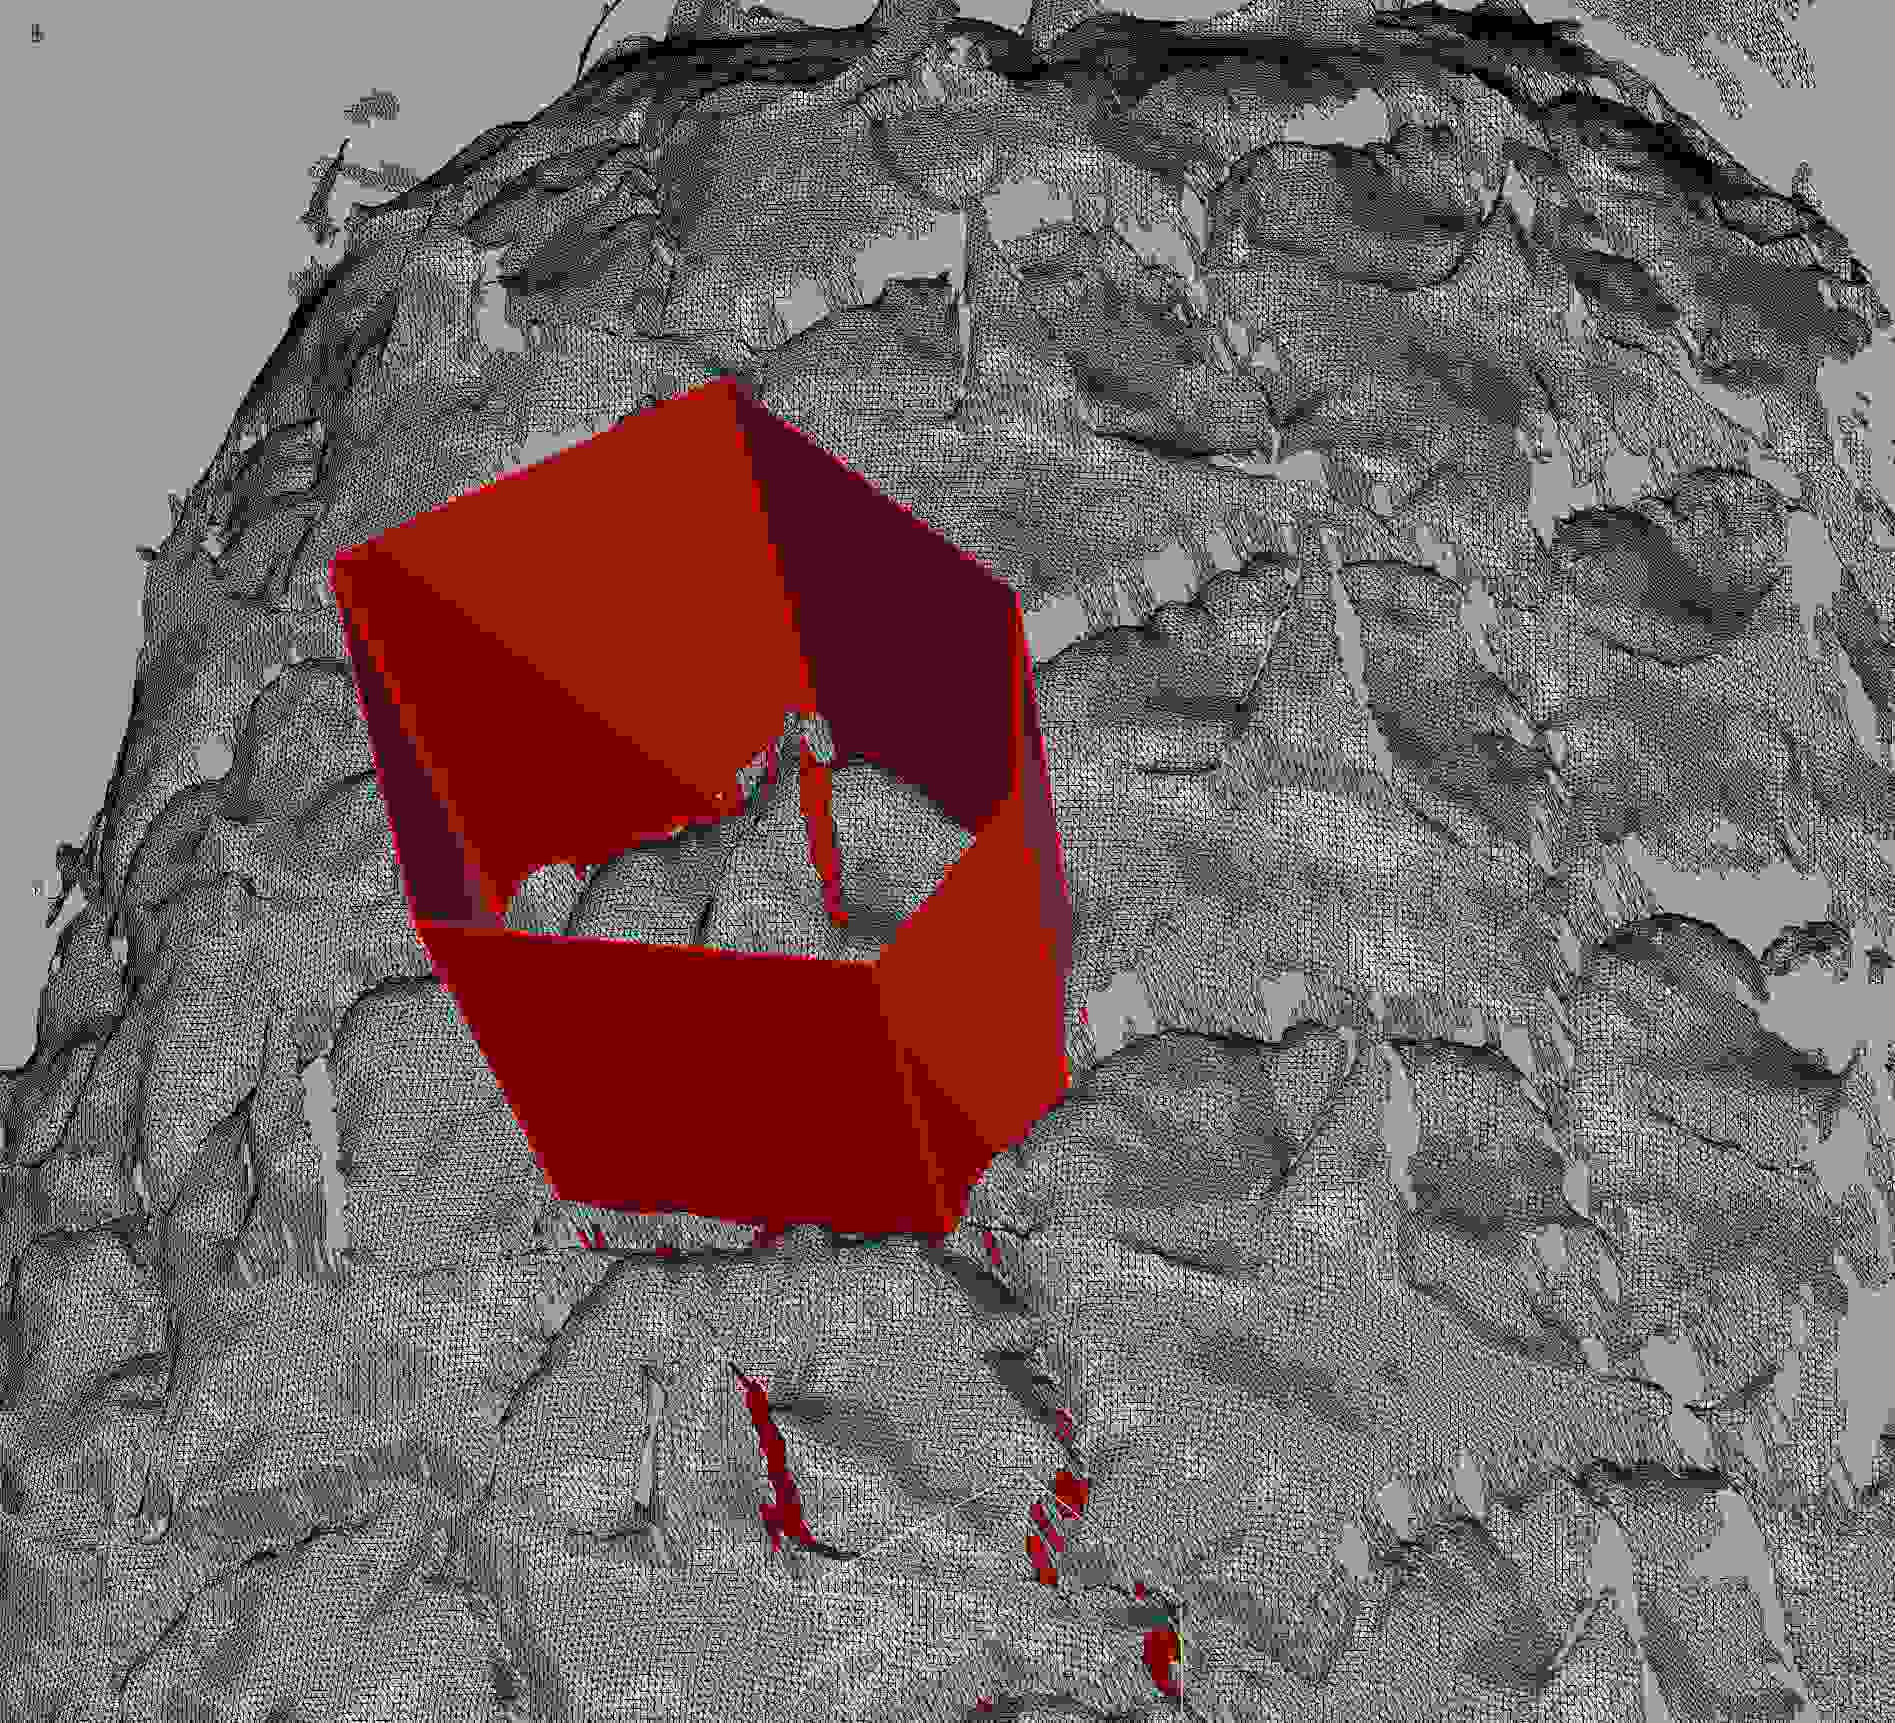
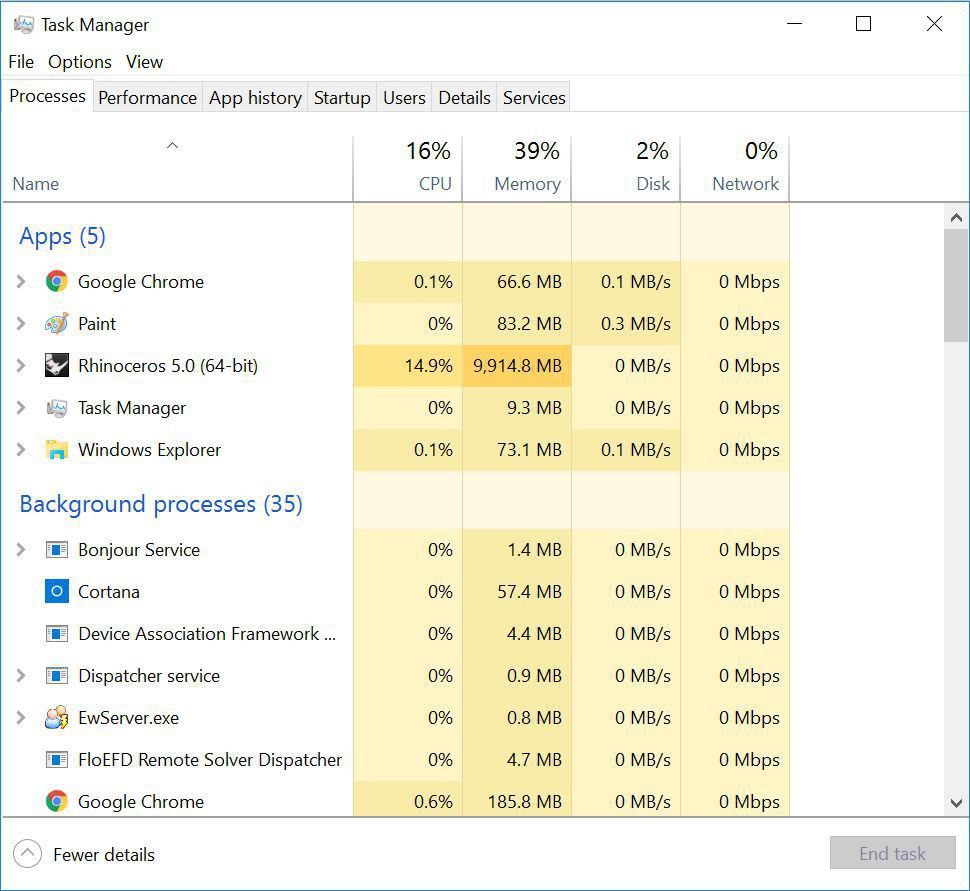
I used Rhino to work with the stl. The stl file contained more than 20,000 faces, a file of this size ran pretty slowly on my MacBook Pro (processor = 2GHz and memory = 16Gb), so I did this section of work on a more powerful desktop computer (processor = 3.7GHz and memor = 32Gb). I started by converting the mesh to NURB format for Rhino. Rhino makes a point of encouraging users to save large files before running this command incase they run out of memory. I then tried exploding the polysurface however this took too long so instead I tried slicing a section of the polysurface using planes. Commands such as converting from wireframe view to shaded view after MeshtoNURB took too long so I kept ending up having to quit Rhino and start again. Trying these processes out makes you realise that when dealing with large files, it's good to understand how your CAD software is going to carry out certain commands before you action them. After trying multiple command sequences and restarting Rhino 5 times I gave up.
du where du stands for 'Disk Usage'. Good tutorial here