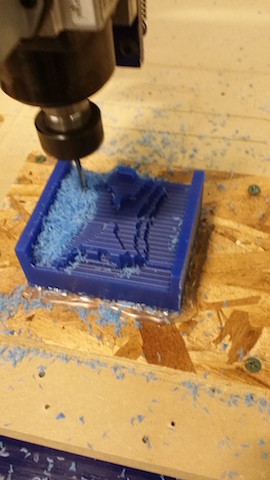
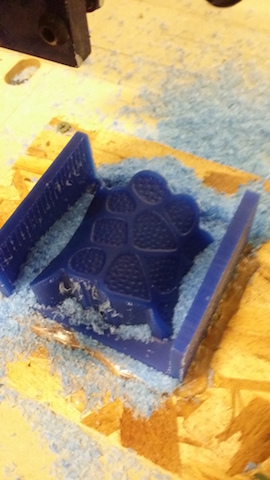
Machining the Wax Block
Weʼre trained on a ShopBot Desktop CNC mill. In contrast to the 2.5D paths we did on the large router, we will do 3D paths on this mill, which requires the ability to simultaenously move the spindle up and down on the Z axis while moving on the X or Y axes.
The ShopBot is hooked to a Windows workstation (mas863/FabClass16). PartWorks 3D on it reads many 3D file types including of course .stl.
- When designing the part to be milled, add some margins to make sure the wall thicknesses in the block are decently thick.
- “Use Model Silhouette” should be 0.0" to avoid the tool eating away the walls at full diamater.
- “Depth of Model below Surface” should be 0.25" so our mold has a bottom. “Cut Plane Position in Model” should also be 0.25" so our wax block still has a bottom. This reduces our model’s height to 1".
- Ensure the tool in the tool library is set to 0.125" Ball Nose, 0.125" Pass Depth, 50% Stepover (5% for Finishing Toolpath), Feed Rate 120.0 and Plunge Rate 60.0 "/min.
- For the Roughing Toolpath, make sure “Profile” is set to “None”. Leaving it on is causing unpredictable behavior that has resulted in a broken tool so far.
- To set the spindle speed turn the gray knob on the ShopBot to F100 (for our wax block we want 6000r.p.m∕60Hz=F100).
- When loading the part file in ShopBot, leave the yellow sheet as is and hit START in the red control panel.
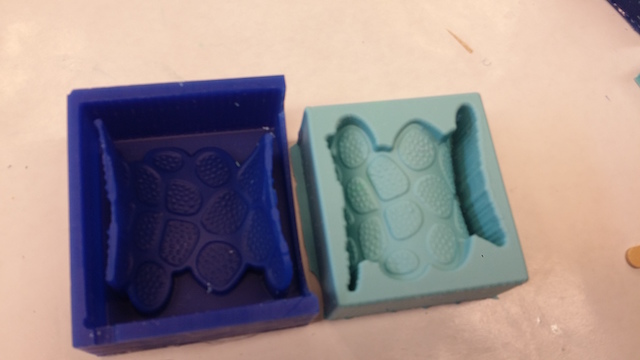
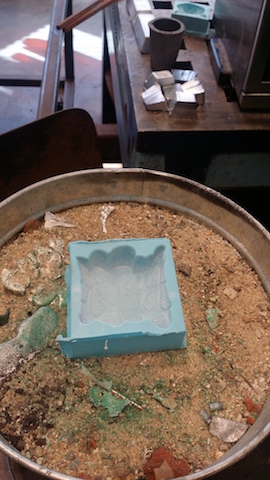
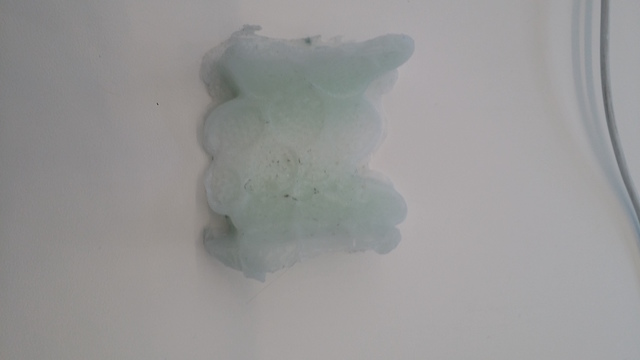
Casting the Silicon Mold
We use OOMOO® (blue silicon rubber) to create the mold, on which there’s a good tutorial from 2013.
Notes:
- Use air compressor to clean inside of wax block first.
- When stirring the individual OOMOO parts and later the mix, stirr sideways and not up and down to avoid creating bubbles.
- Tap the wax block with the poured OOMOO on the table to get bubbles out.
- Even though you think there are no bubbles left, use vacuum pump for about 30min and more bubbles will come out.
- The stated curing time is 75min but it needs longer to fully solidfy. The mold is best left over night before casting.
- Use air compressor on the side of the OOMOO to get it out of the wax block.
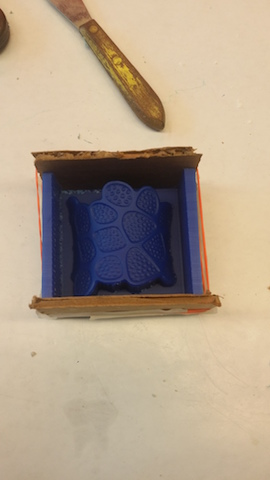
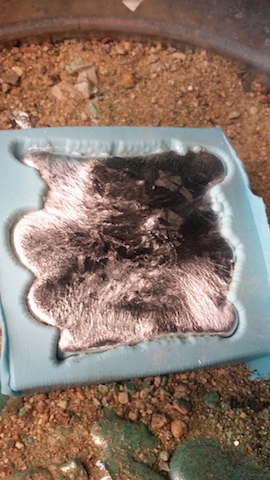
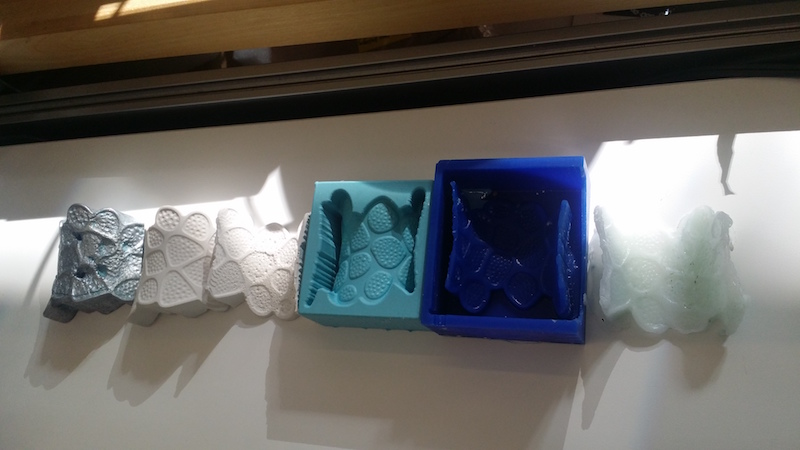
Casting the Object
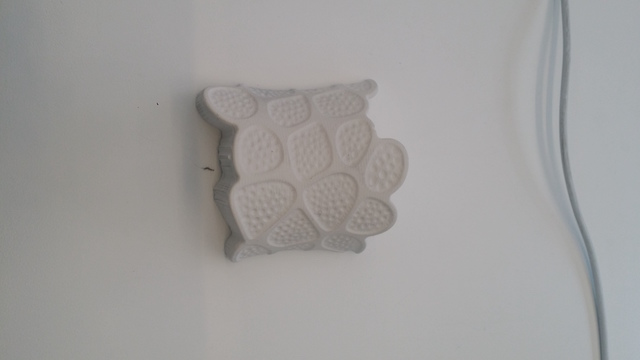
We use Drystone (white and smooth, like gypsum) to cast the object, on which there’s a good tutorial from 2013.
Notes:
- Pour a thin layer to cover the bottom and then tap on the table to get bottom bubbles out. Cast in layers and continue tapping.
- Tom helped us for metal casting
- Low-melting metal pewter alloy called "Cerrotru" (Tin (Sn) 42%, Bismuth (Bi) 58%), which has a melting temperature of 281°F/138°C. Set the oven to 450°F for 15 mins. Unfortunately we ran out of this material and we used another metal that would melt at 900°F
- OK to grab with gloves, cool for 10 mins
- Smooth surface, no bubbles, can sand by hand to smoothen/level