This week in HTMaA we learned about casting and molding. The assignment was to design a 3D model, create a mold of it, machine it using the shopbot, and finally cast parts from it.
In thinking about my final project, I would like to try to cast my own buttons to be used with an arcade game cabinet. Since my cabinet will serve as a showcase for Scratch projects, I want to create buttons for the Scratch specific inputs, mainly the green flag and red stopsign to start and stop projects.
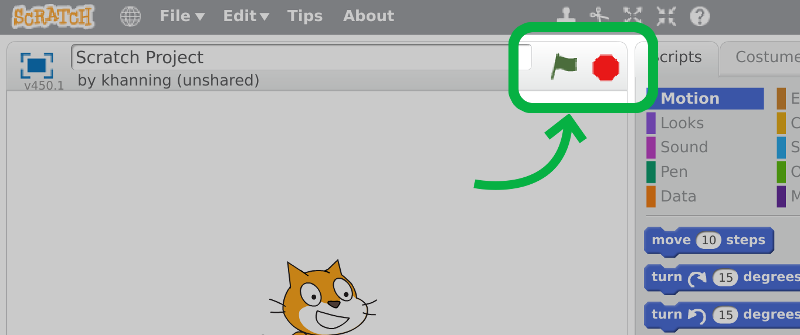
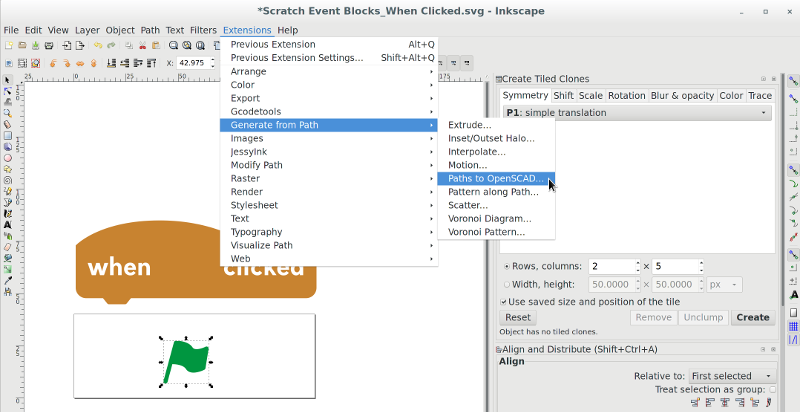
For this assignment I decided to start with the green flag button since it is used to start almost all Scratch projects. To do this, I first located a SVG copy of the 'when green flag is pressed' block and isolated the green flag graphic using Inkscape. I had trouble extruding the SVG using my usual tools, so I decided to use a 3rd party Inkscape extension that coverts Paths to OpenSCAD
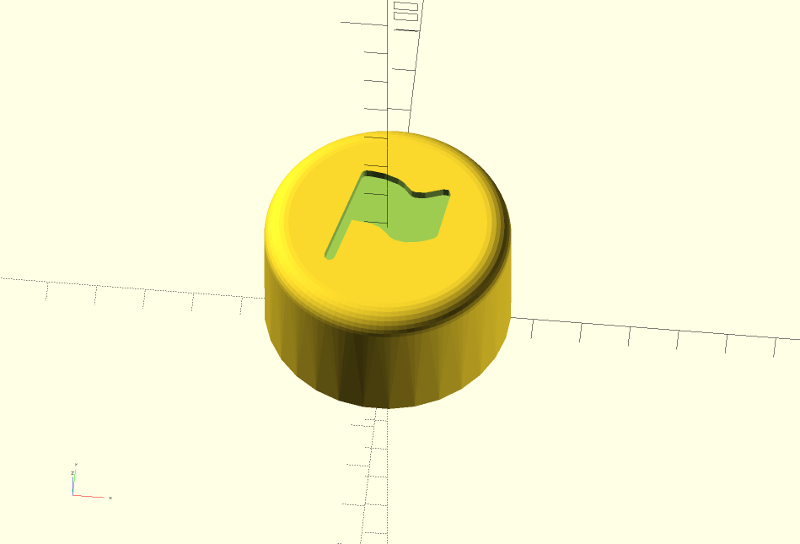
Once I had the green flag graphic in OpenSCAD it was trivial to create a generic button shape and subtract the green flag from it.
Now that I had my model it was time to create the positive by milling it out of the wax block. After a bit of resizing in the PartWorks 3D software I was able to get the part to fit with sufficient room for walls around the object. Unfortunately, I forgot create a gap at the top of the model so my initial milling didn't leave any room for the base of the negative. In addition, the model was set to cut too deep and the part that grips the endmill shaved off some of the top of my model.
Since I only needed the model to be cut a little deeper I was able to modify the settings in PartWorks 3D to recut the same block of wax a little deeper.
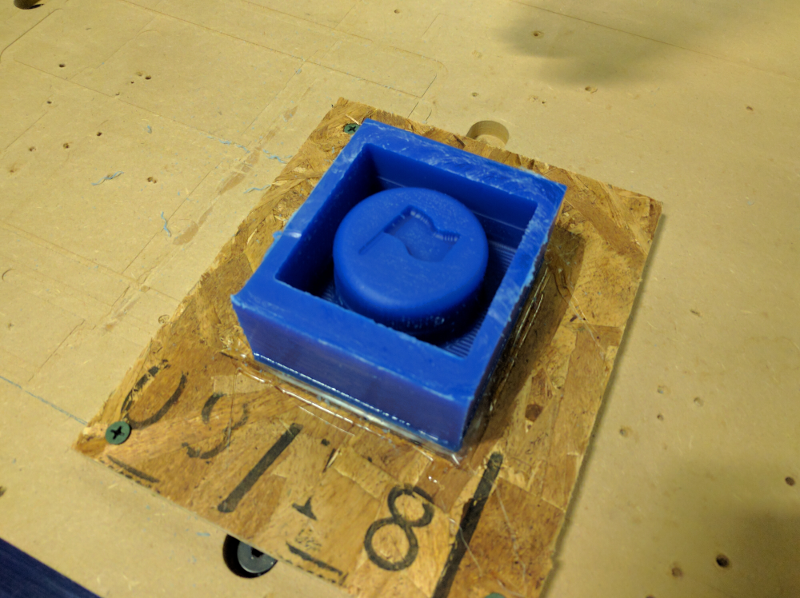
This time the model came out great, but still I didn't leave enough room at the top for a stable base. John suggested that I create cardboard walls around the wax block to keep the oomoo contained.
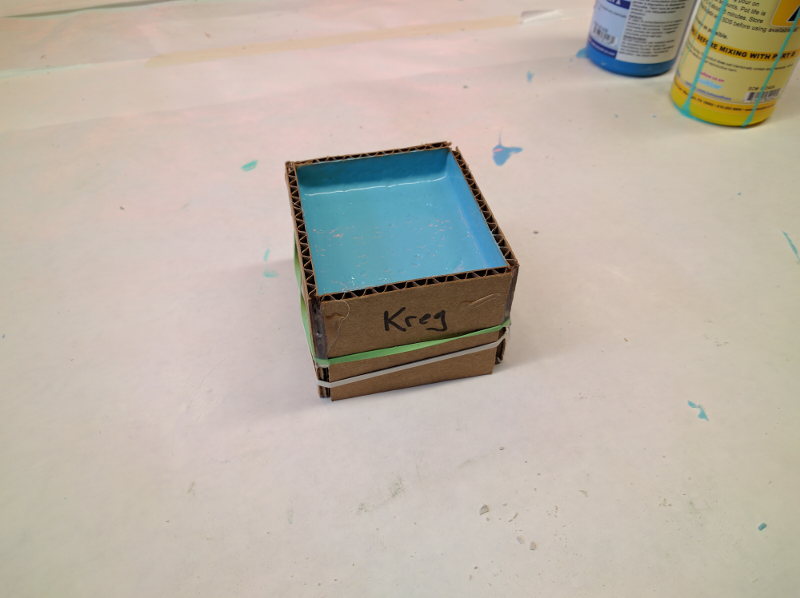
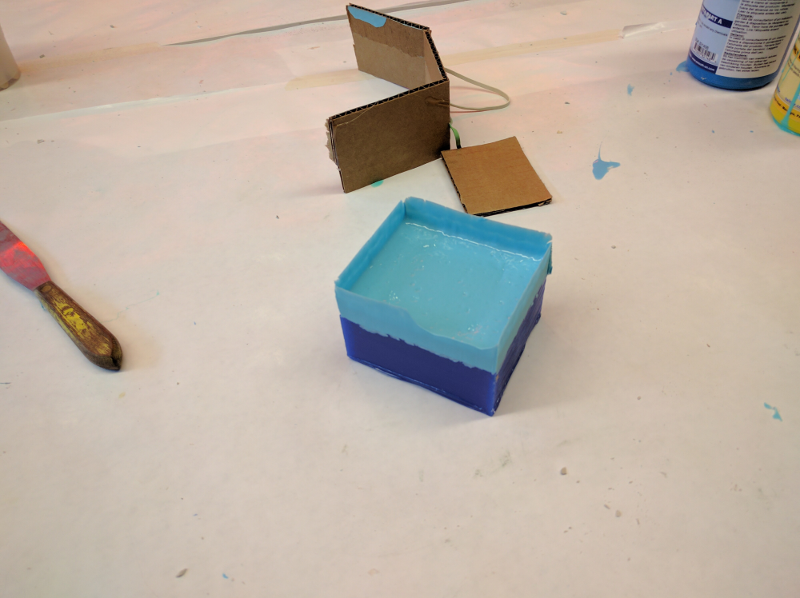
After mixing equal parts of oomoo and using the vaccuum to remove air bubbles, the mold was left out overnight to cure. The walls worked perfectly and after trimming away the extra oomoo I was left with a clean looking mold.
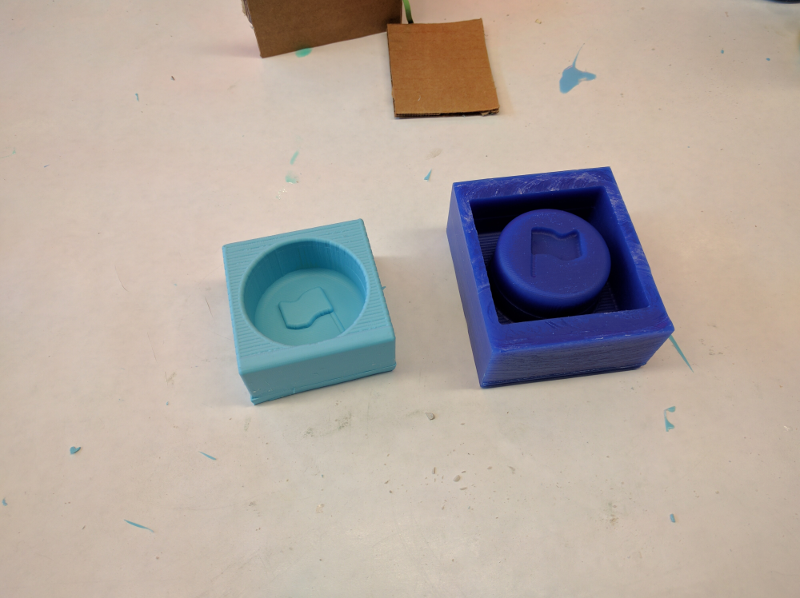
I decided to do my initial cast in drystone, but I will later like to explore some softer materials since I will be casting buttons for my arcade cabinet. I again waited overnight to let the drystone dry and the next day the model popped right out. Unfortunately, there was one small air bubble that got trapped in the mold.

Next I would like to explore using epoxy with pigments to create a nice green flag button for my arcade cabinet.