
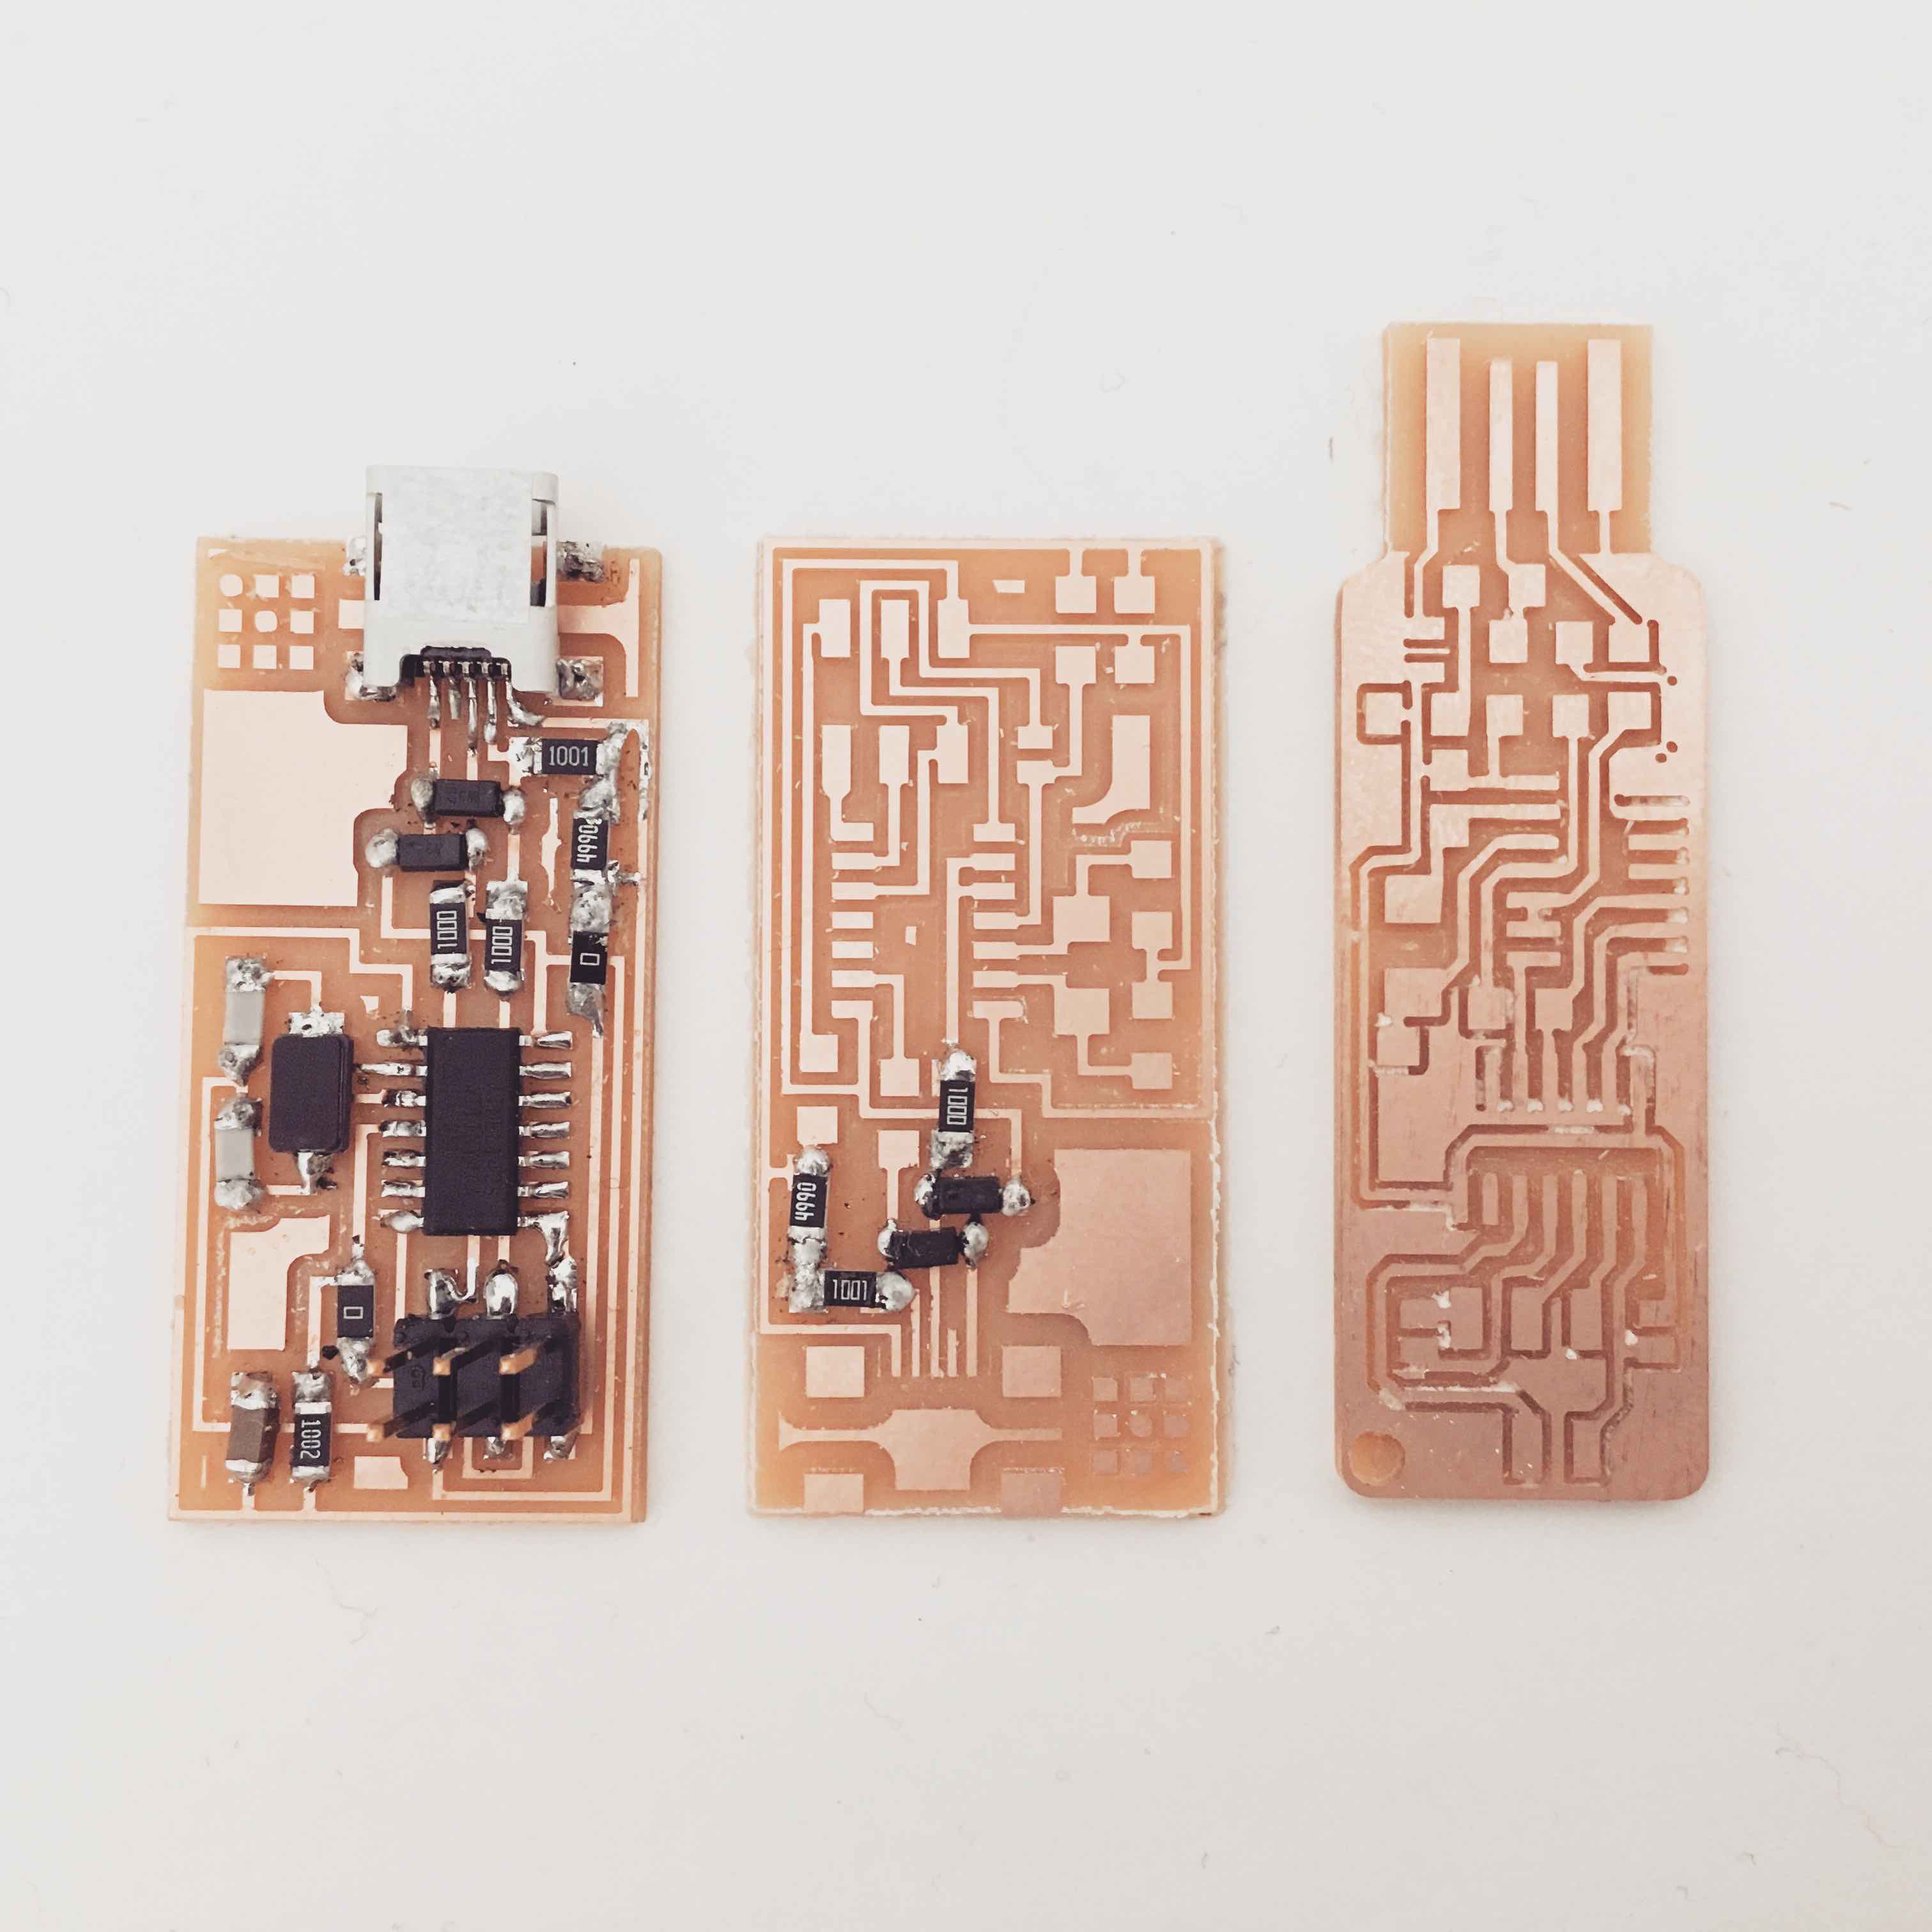
The goal this week was to mill, solder, and program an in-circuit programmer or fabISP. I started off by milling a few boards. Given my lack of soldering experience, I figured I would probably ruin a few boards. I tried a couple different offset values and printed two regular hello.ISP.44 fabISPs along with one of the USB designs from Andy’s tutorial.
Milling FabISPs
I tried offset values of 4, 5, 6, and 0. We were running into issues with the bed of the milling machine being uneven. This caused the traces to be uneven and parts of the board to be left untraced. John helped us debug and we were able to fix the issue by increasing the depth for the traces to 0.005 from 0.004. Since we were printing multiple boards, Stefania, Kreg and I ended up milling multiple boards on each 7.50 x 5.00 cm to minimize waste.
Soldering Struggles
I had never soldered before so seeing the size of the boards and tiny components was initially a tad intimidating. Kreg gave me a great tutorial on how to solder and desolder. Some lessons I learned while soldering the boards were:
I checked all my connections with the multi-meter as I went along just to make sure I was getting things attached correctly. This helped a lot in debugging later since I was confident of what was already working vs. not.
Programming
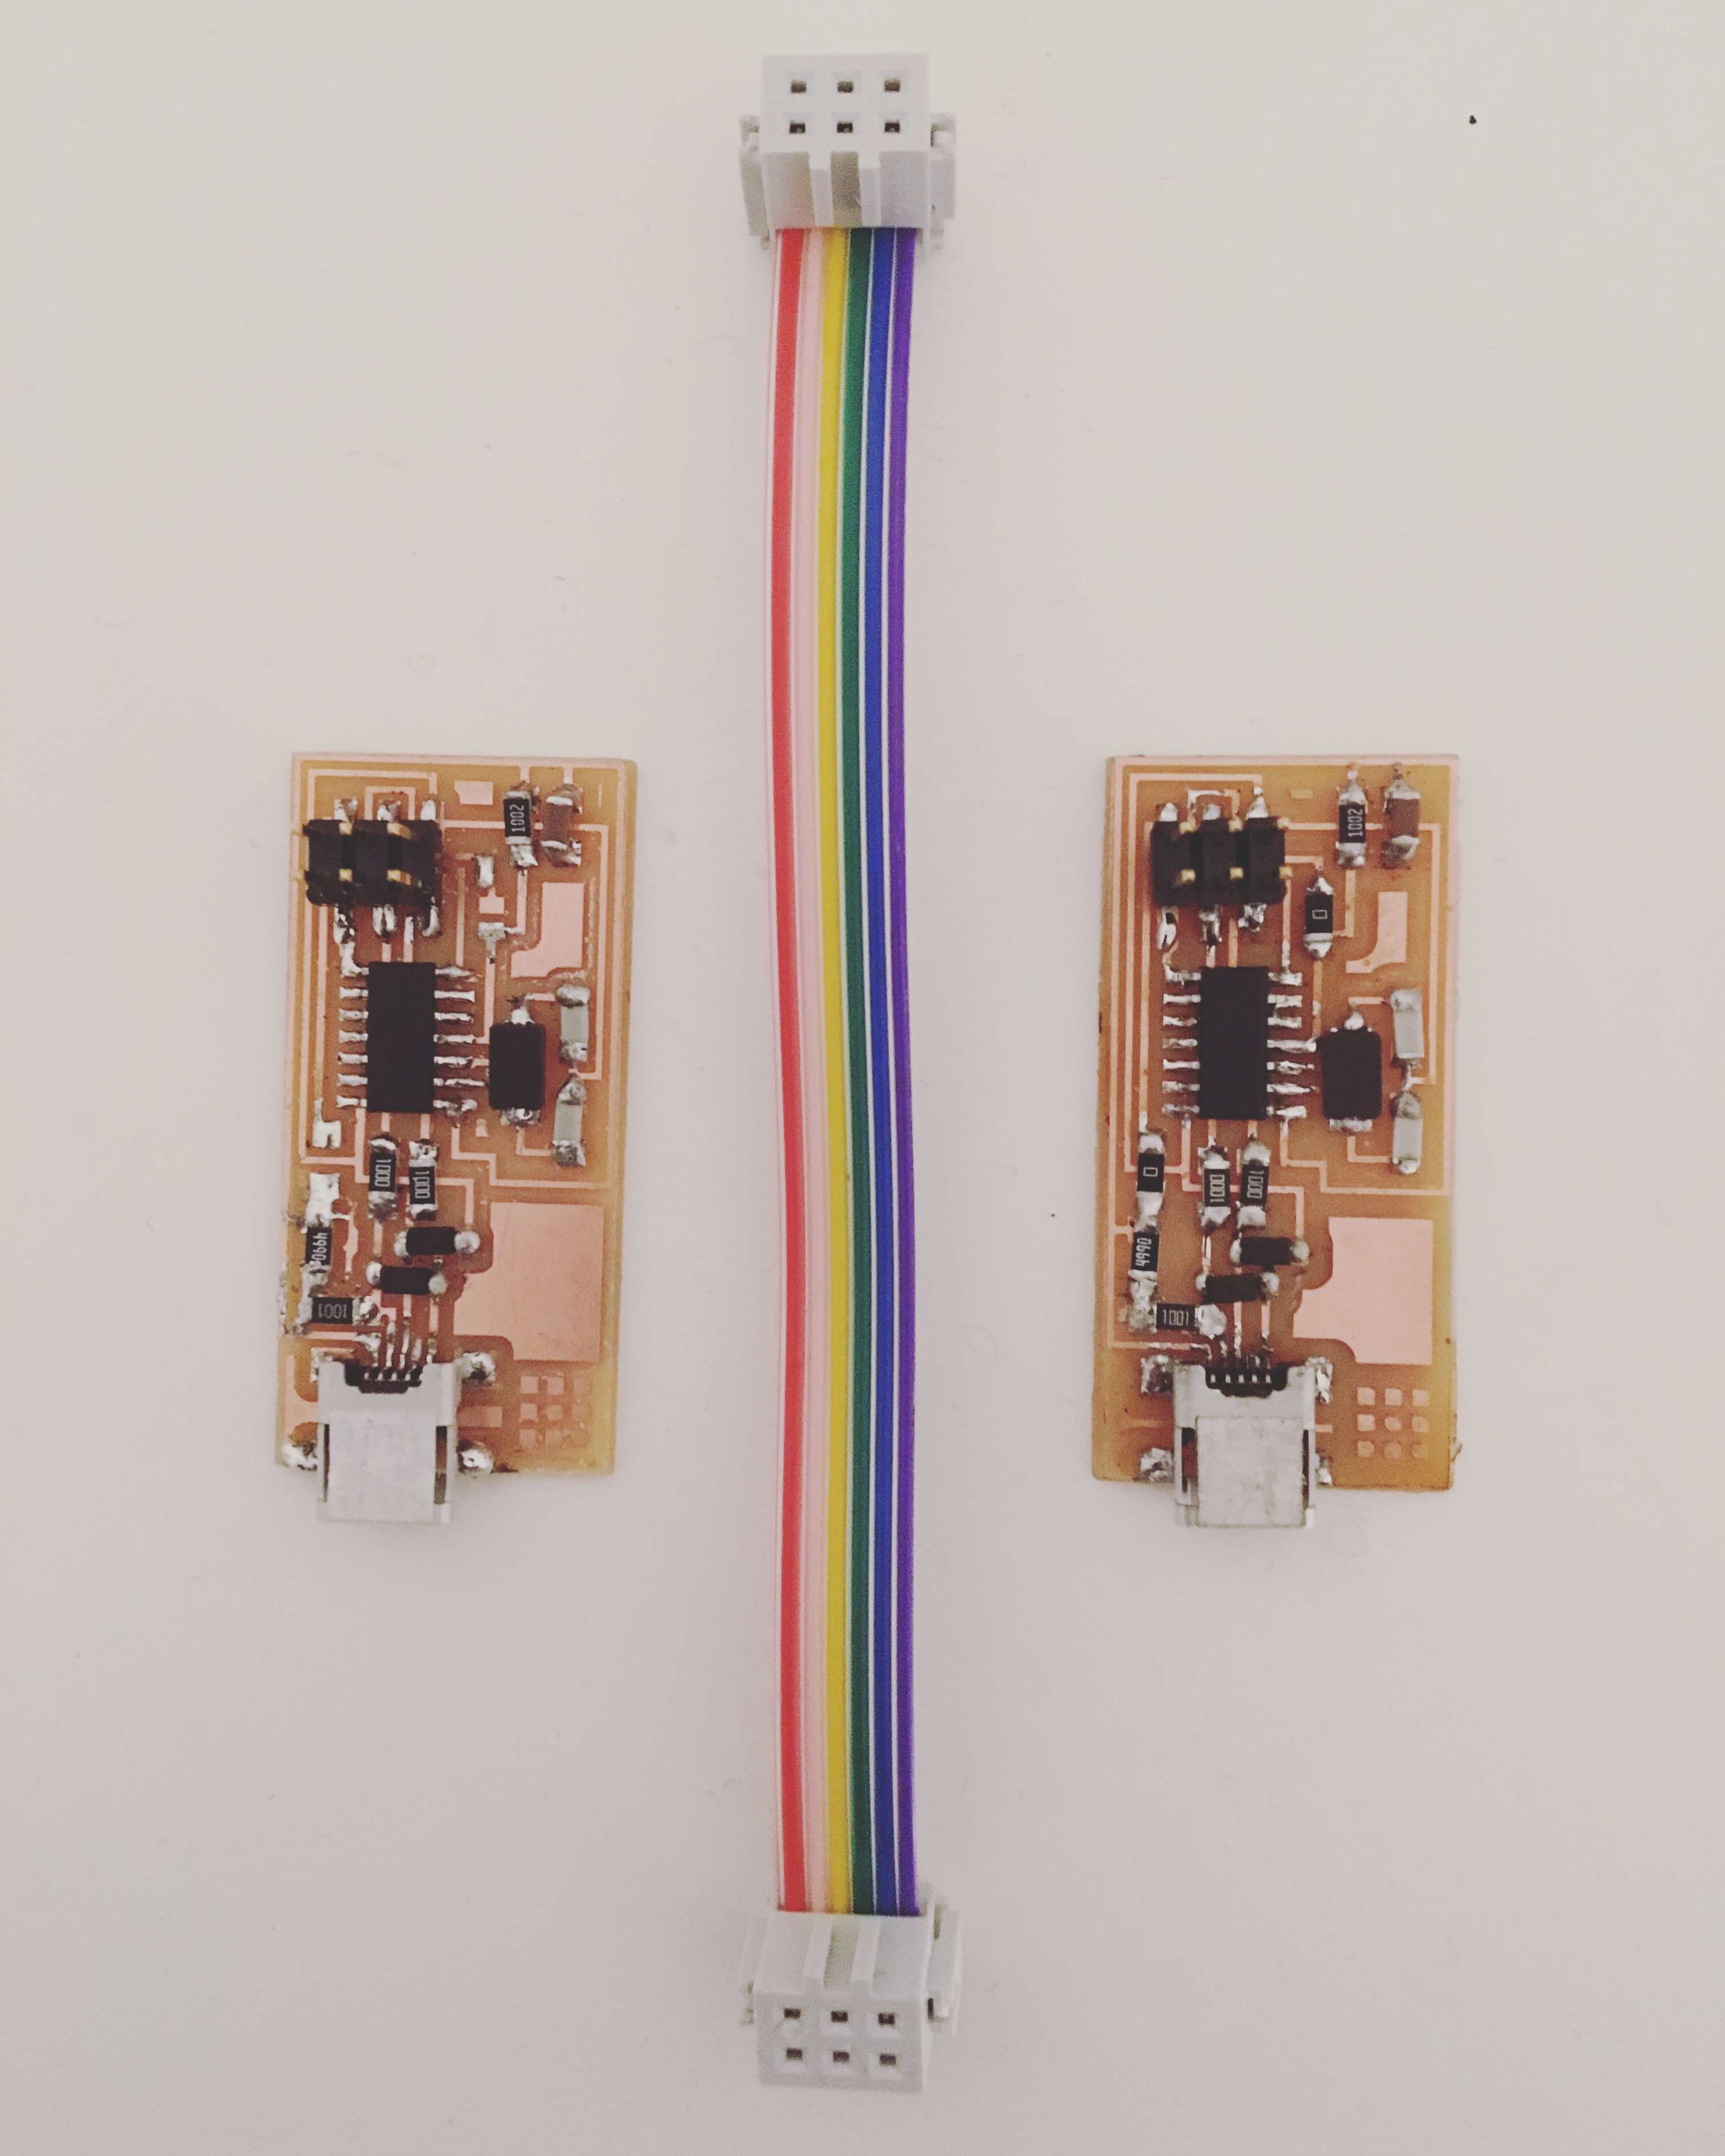
I didn’t have enough time to solder Andy’s USB FabISP design. However, I did make two of the hello.ISP.44 boards. When I tried to program the first one with the Atmel-ICE programmer, I kept getting errors. Brian helped me debug this over email. It turned out that the Atmel-ICE programmer was not supported in the Makefile for Mac OSX. I decided to switch over to the avirisp2 programmer which worked like a charm! I found it helpful to use the command “system_profiler SPUSBDataType” in terminal to check if the board was recognized after I programmed it.
The second board was a bit tougher to debug. I was hoping to program the board with the first board I had created. However, I kept getting a “not found” error for the board. First, I checked the micro USB and re-soldered the component. Taking it off with a heat gun was easy, but putting it back on was really difficult. The mounds of solder that were already on the board made it really hard to get things aligned. Eventually, Hisham and Randi helped me use the heat gun to heat all the solder and placed the micro USB on with tweezers. I went back with solder and got everything good to go. However, the board still didn’t work.
Ultimately, I ended up having to resolder the attiny44 microcontroller and make all the connections “smooth and shiny”. This fixed the problem and I was able to use my first board to program the second!
Reflections
Overall, it was a challenging, but fun week. When I first printed the board, I thought I got the dimensions wrong since I wasn’t expecting it to be so small. However, I got a lot better at the soldering by the second board and was able to finish it in half the time! Major shout outs to everyone who helped me figure things out this week!
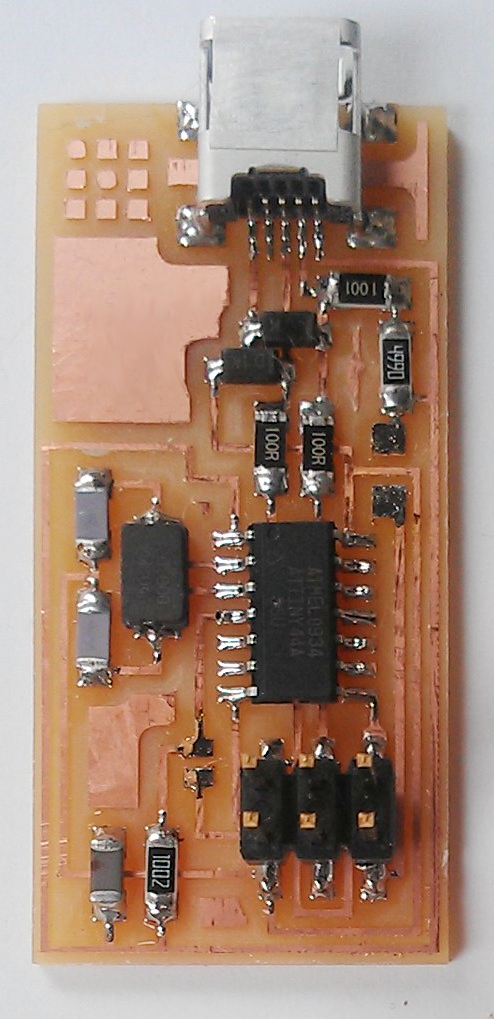
milled boards

attiny44 microcontroller solders
milled boards