WEEK 13: _ assemble and automate your machine
Machine Design
This week was fast and fuirous. As a group, we've been set to the task of making our own machine that makes, from modular controls and cardboard stages. The instructions are all well documented and developed by , check it out. Our focus this week was on just two ends of the process: the End Effector and the app and interface.
Our project in mind: A DIY extrusion printer, via attaching a hot glue gun as our tool head.
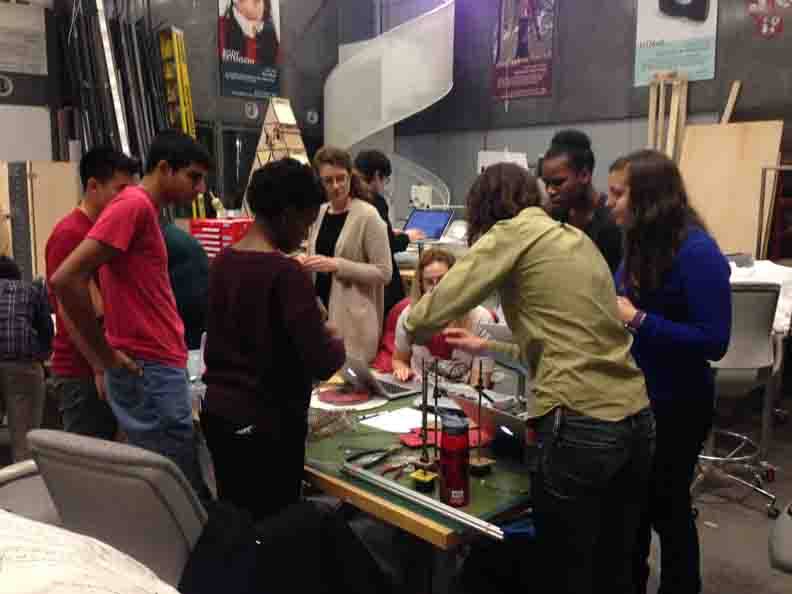
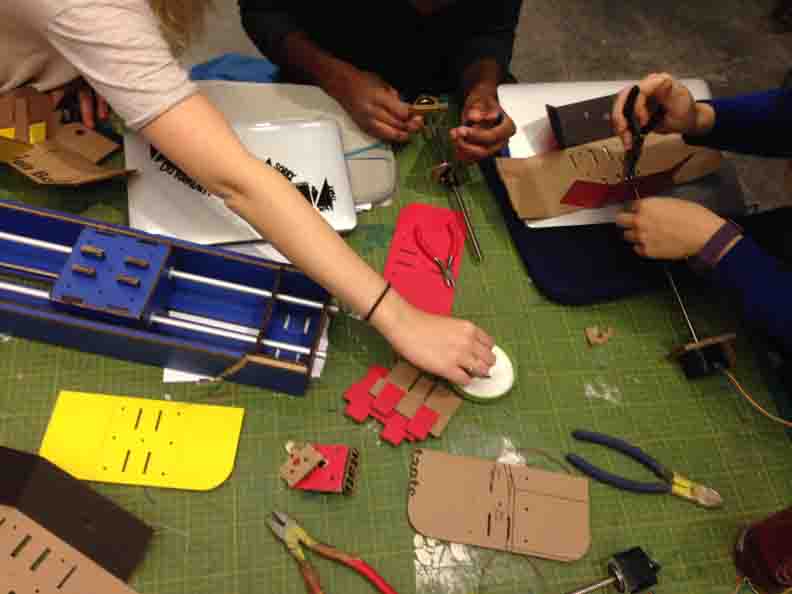
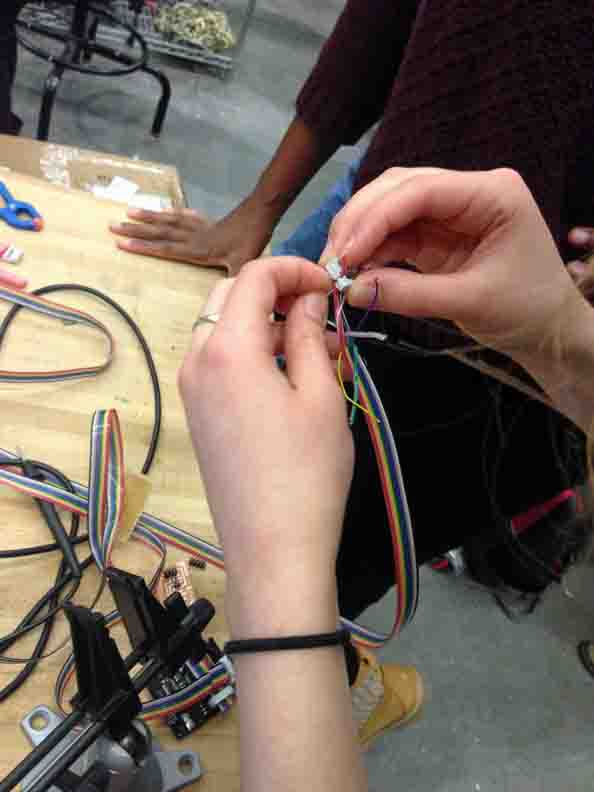
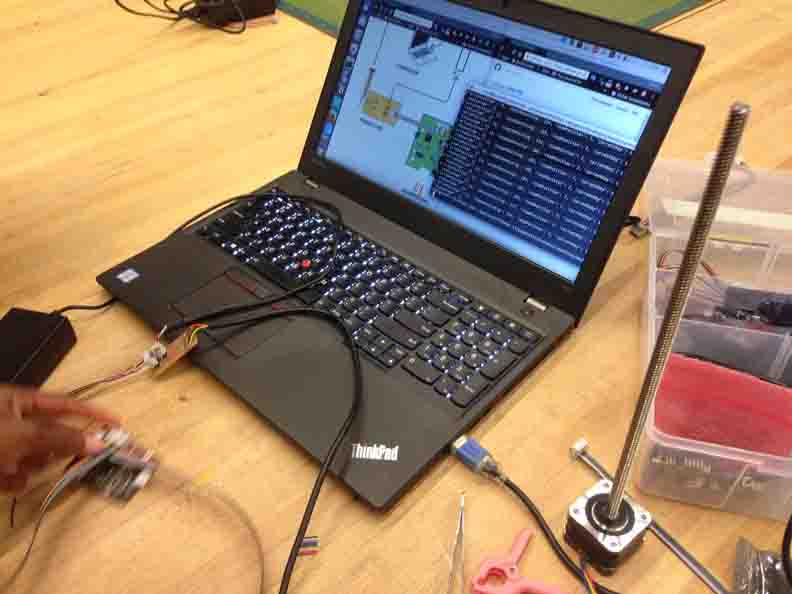
Between the group we took on (1) the laser Cutting of cardboard stages, (2) the assembly of motors with stages, (3) the fab of the power connector board, (4) the uploading of the pygestalt control system, and finally (5) the use of Mods.
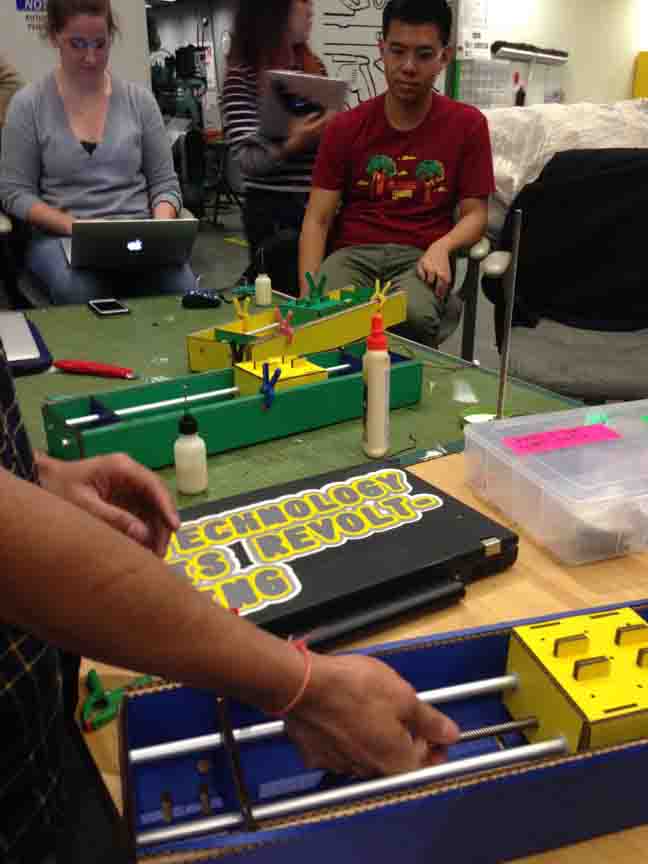
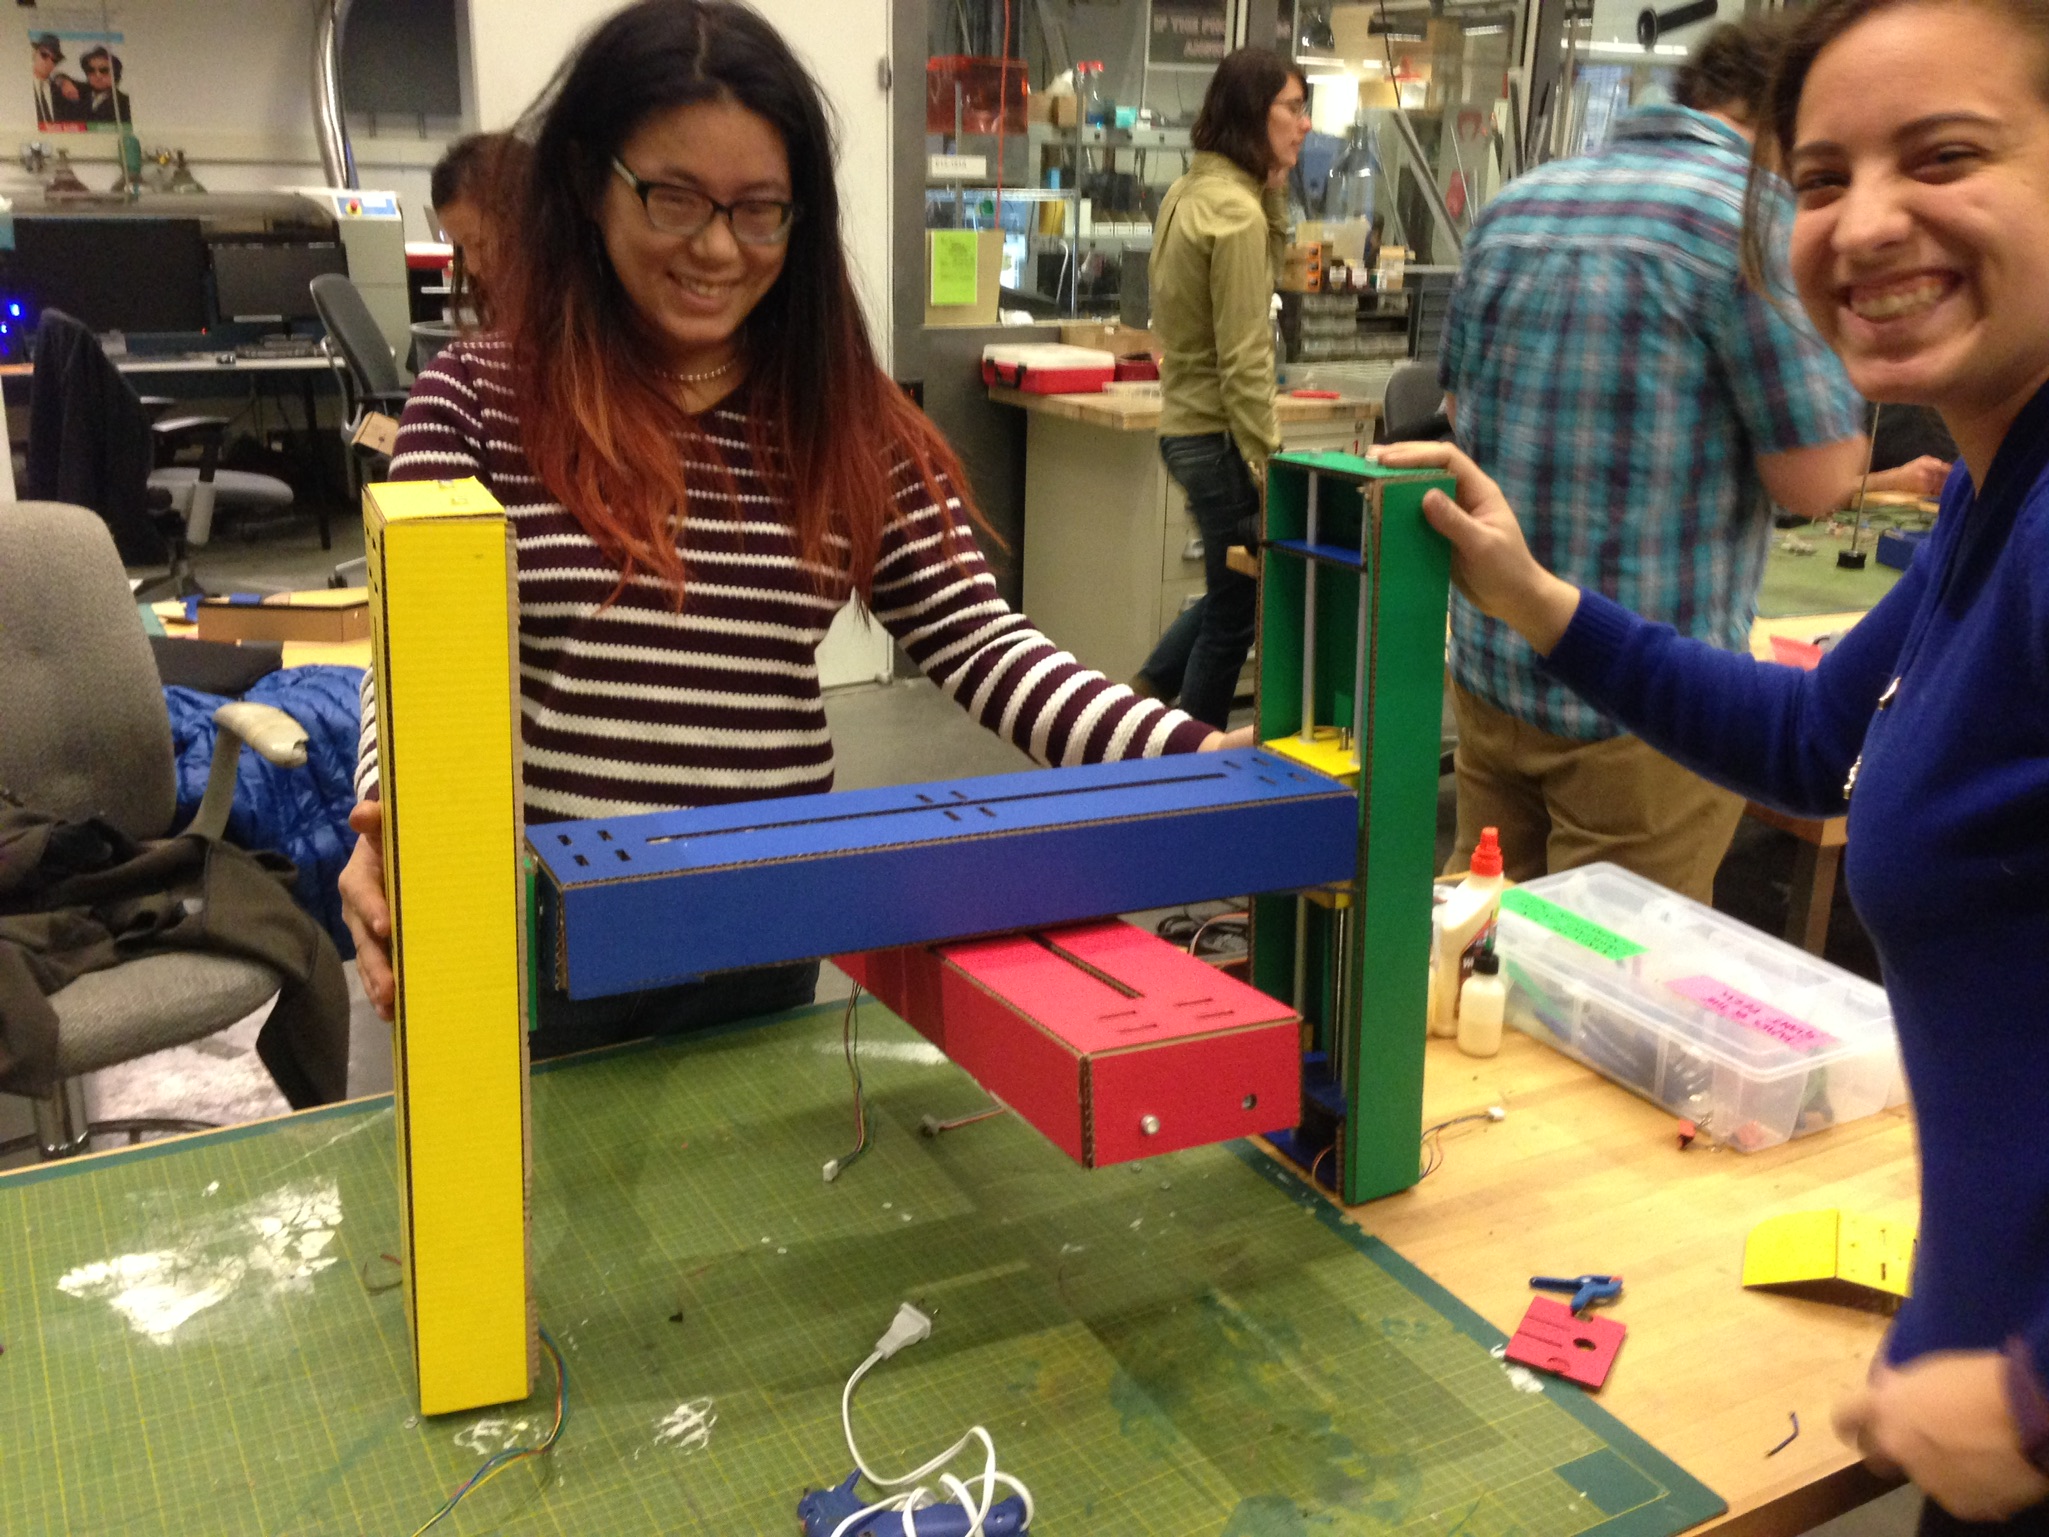
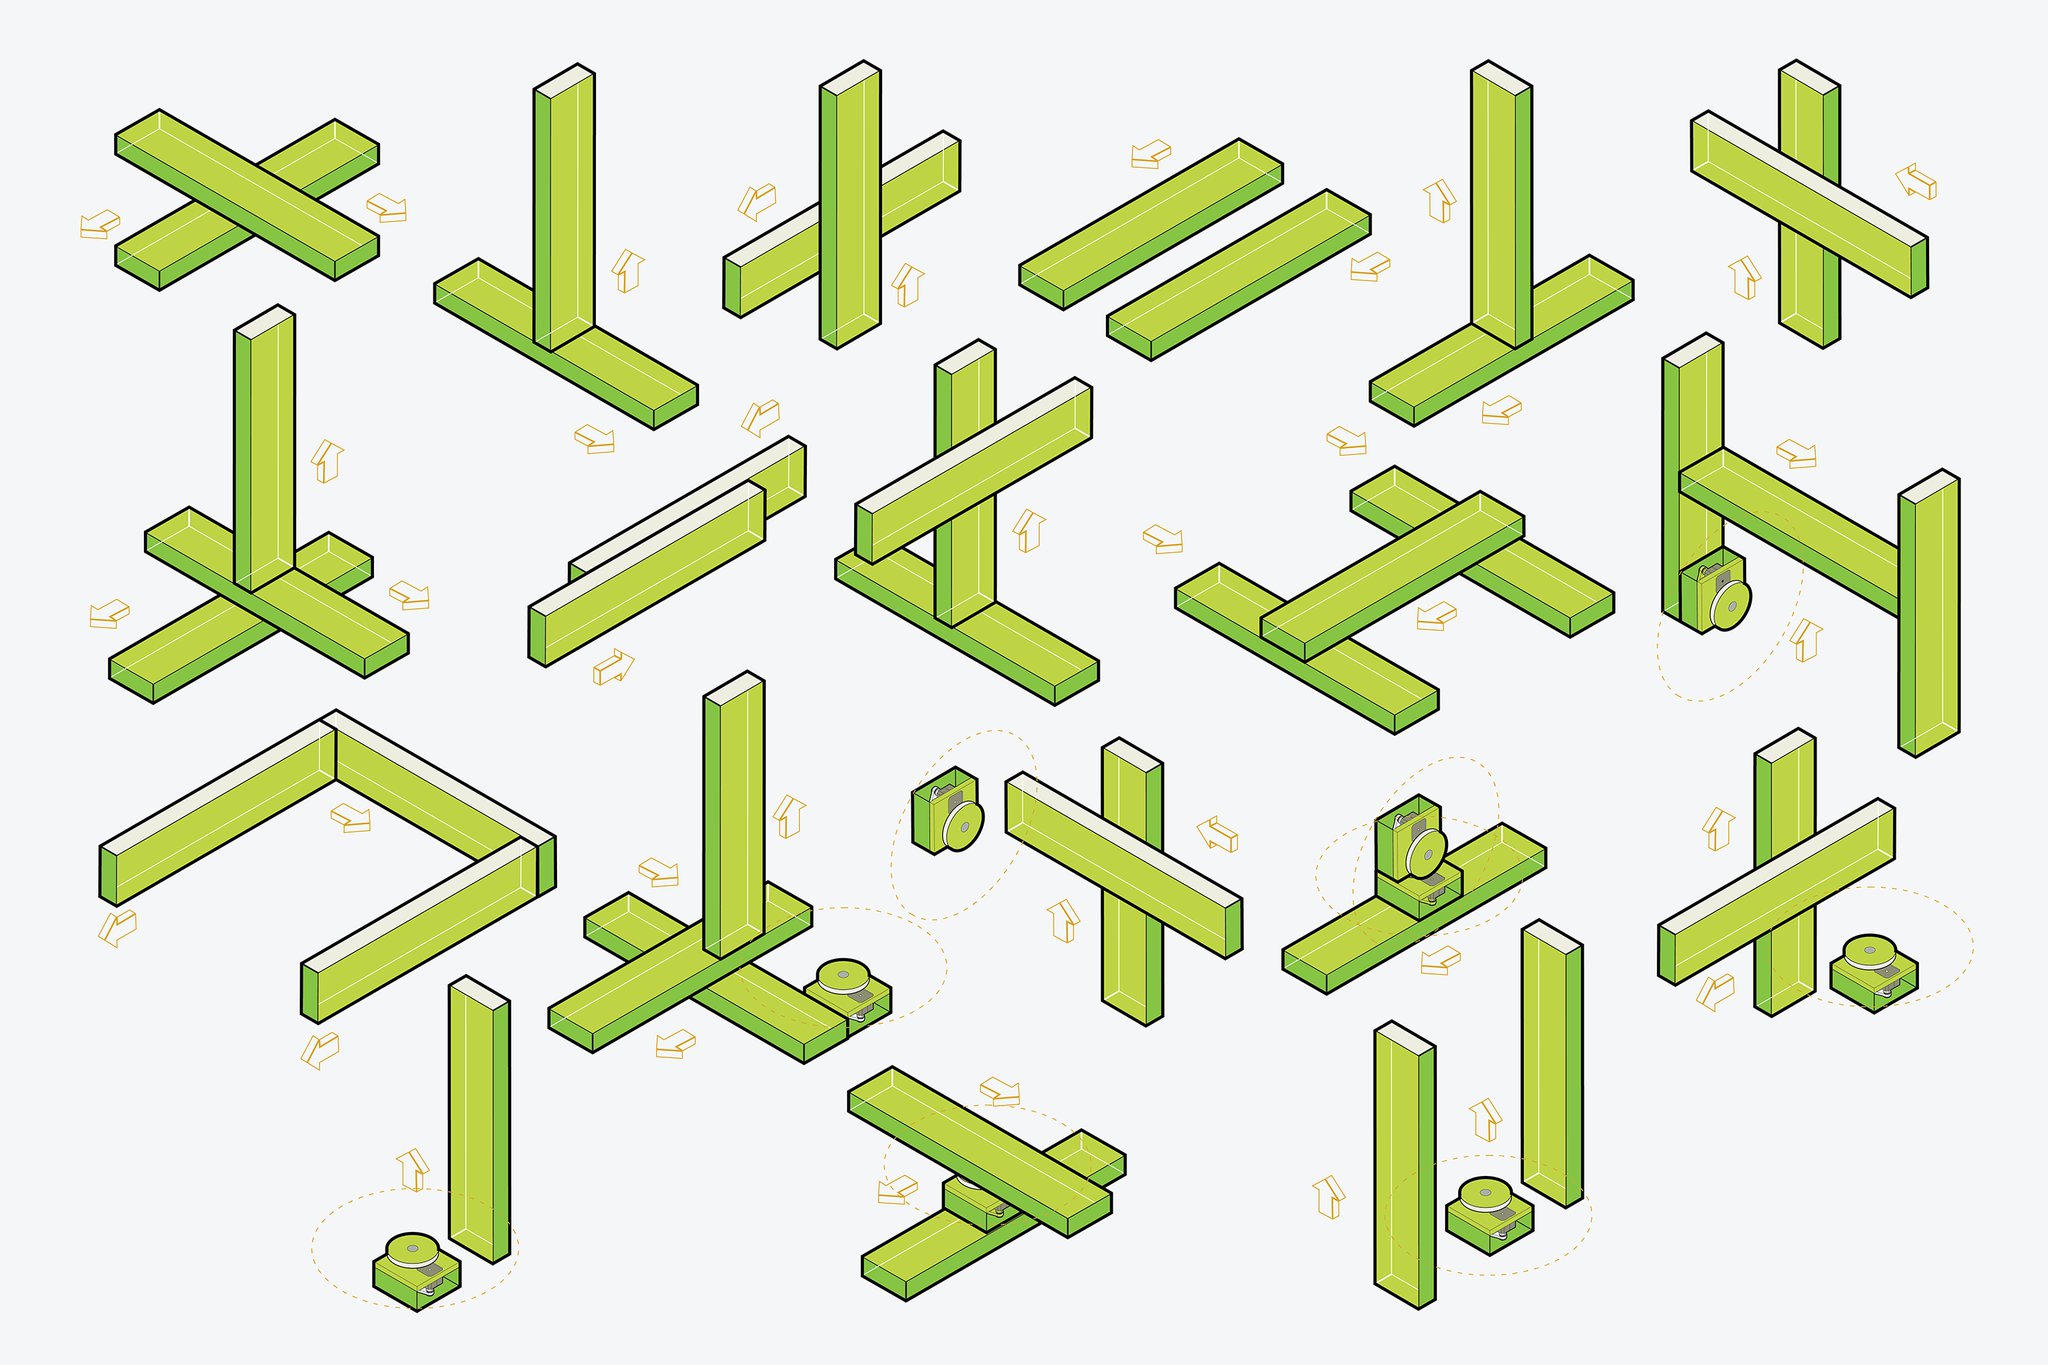
My contribution came in the Assembly. After getting the initial work of fastening motors to the stages with alluminum guide shafts for four stages (good for tinnnny fingers), we collectively brainstormed about what orientation to have the axis, in order to rig the hot glue gun the the machine. There are a lot of orientations...
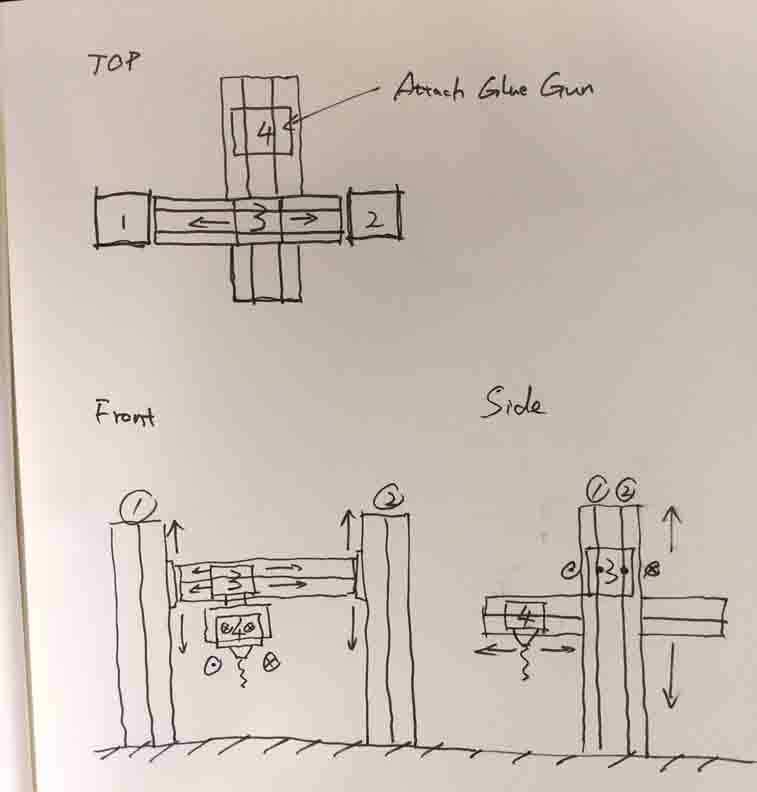
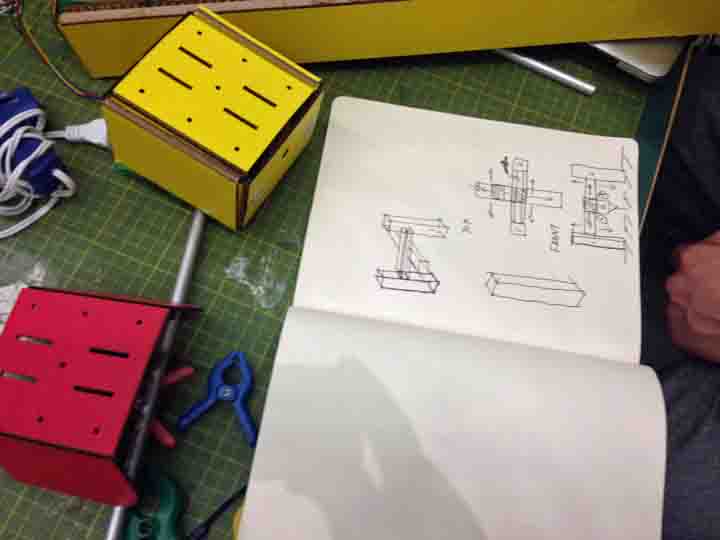
Qicheng and I discussed how to reinforce the weight-supporting 'tool heads' - as you can see in the diagram, since one of them [3 to 4] would be suspended from the tool head above it. The motors are considerably heavy, but you may actually stabilize the rig by adding counterweight the the end of the stage without the motor.
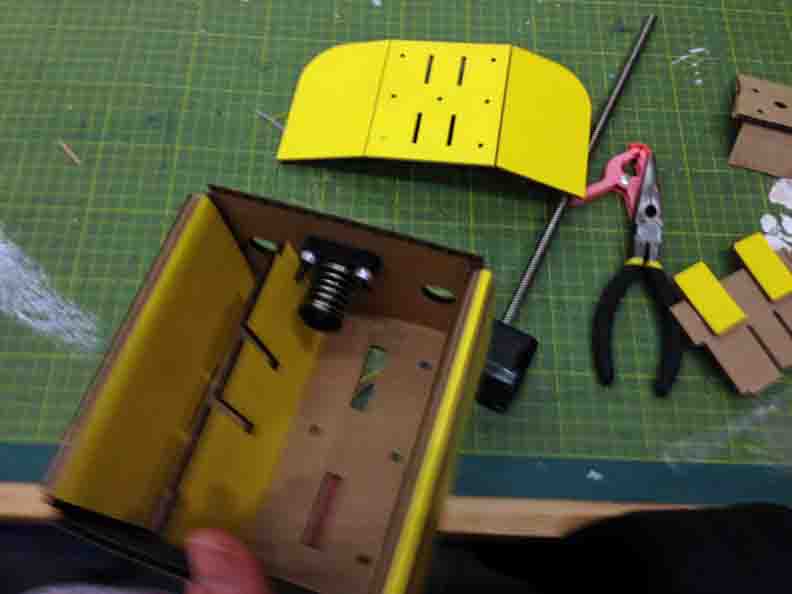
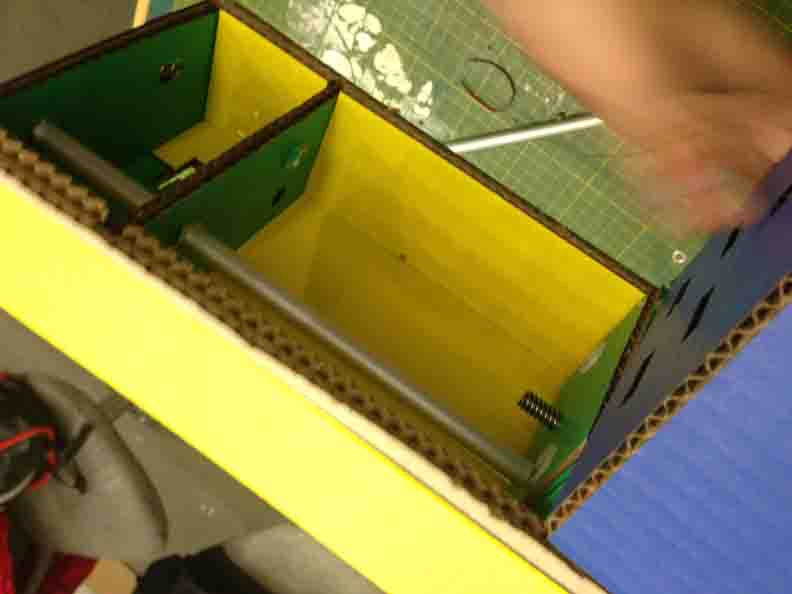
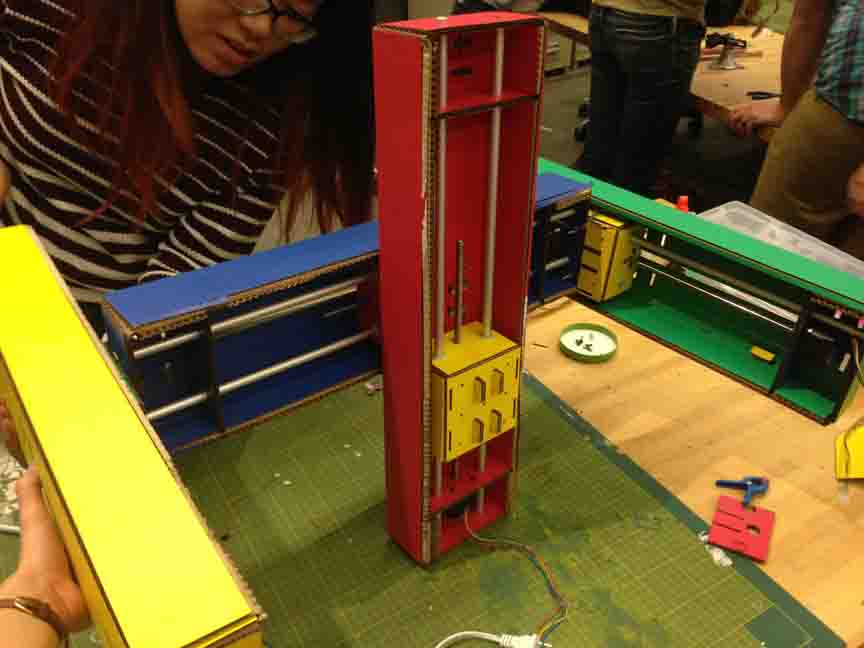
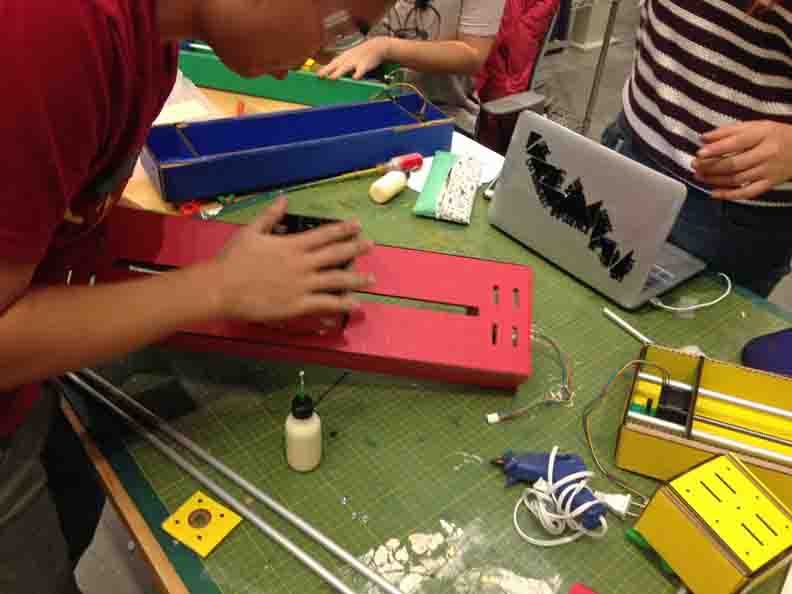
We did so by un-assambling the tool head portion of the stage and dirlling four additional holed in the tool-head to back-of-stage connection and adding 4 additional 12mm lead screws with fasterners to disperse the weight and keep the surface of the cardboard from ripping off, from the weight of the fourth axis.
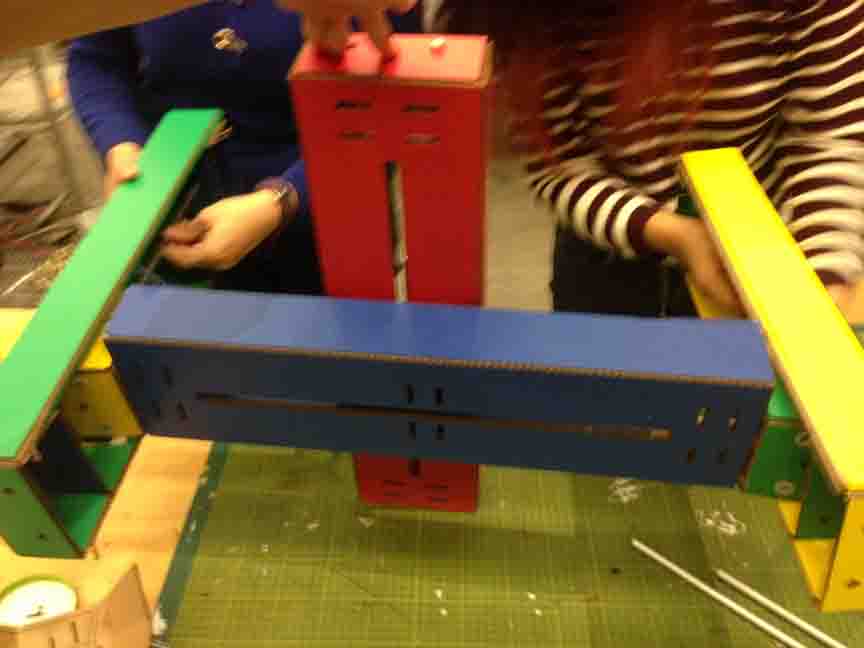
With the axis assembled, we got the motors running smoothly. Our next step would be to look into the mods provided, here and design for our custom use case. Also, I'm pretty sure we're going to need to find a ridgid material to make a base. Ta da!